Als nailart nieuw voor je is en je nog moet leren hoe je cat-eye nagels maakt, dan zullen deze zes tutorials over het gebruik van platte magneten je zeker helpen.
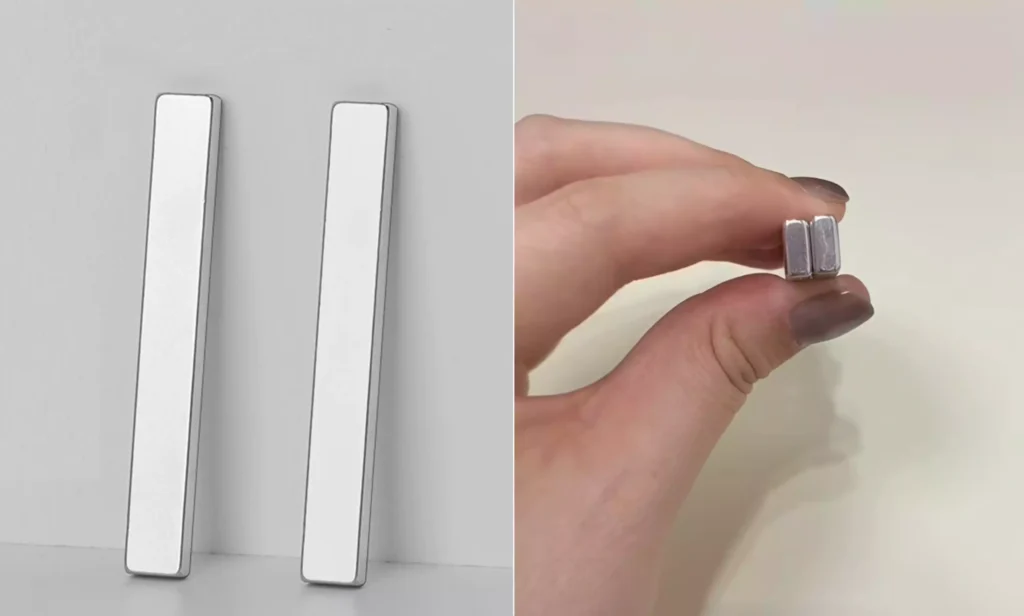
Maak eerst twee platte magneten klaar en laten we beginnen met onze nail art creatie!
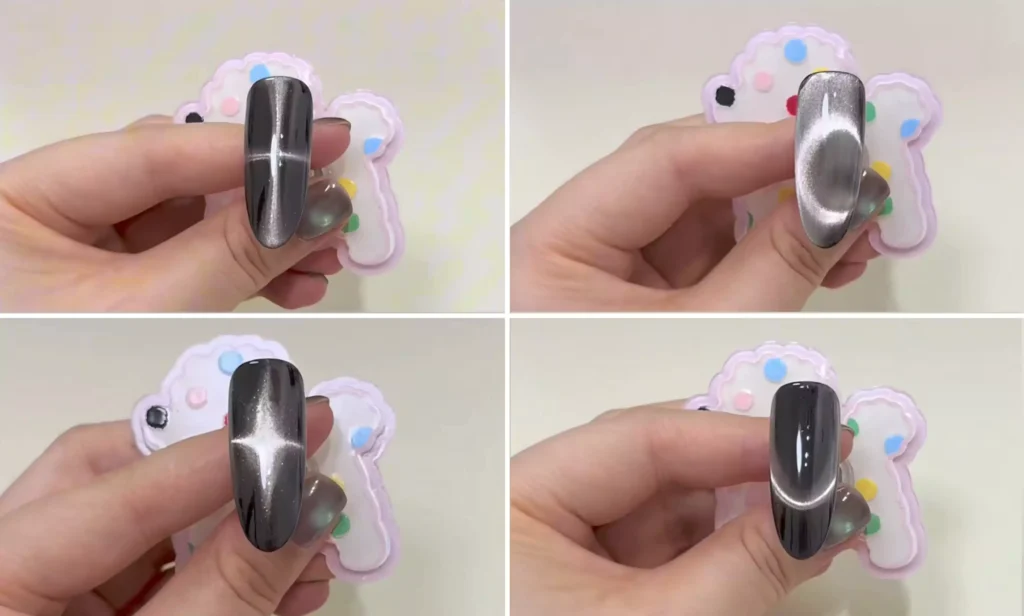
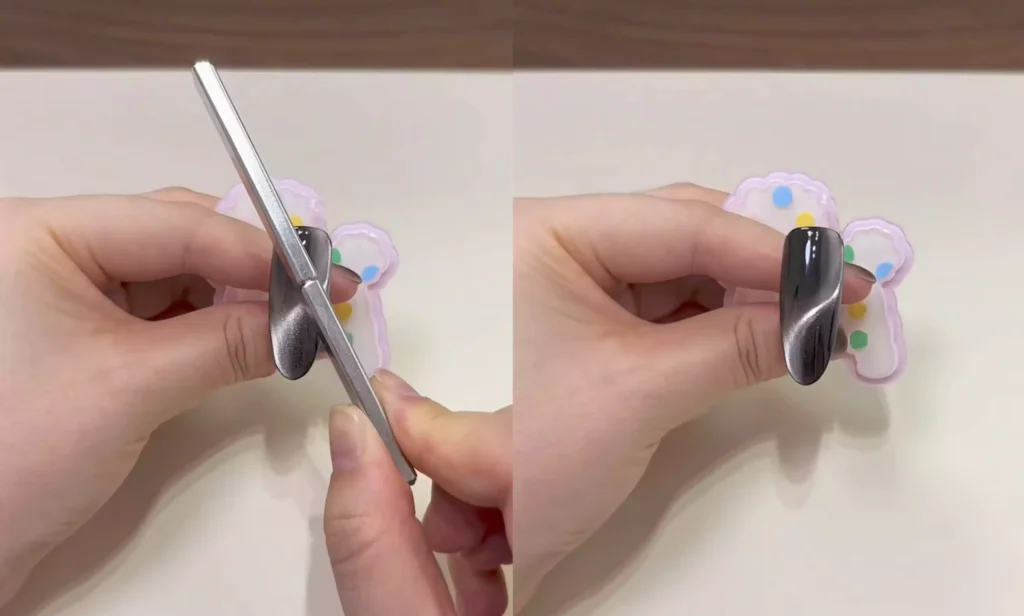
01 Vierpuntige ster kattenoog:
Plaats twee magneten tegen elkaar. Beweeg de magneten op het nageloppervlak waar al brede glitters zijn aangebracht omhoog, omlaag, naar links en naar rechts om de glitters aan te trekken. Zo creëer je een delicaat kattenoogeffect met vier puntige sterren.
Het is belangrijk om te weten dat je, voordat je een ander cat-eye effect gaat proberen, eerst een brede glans op het nageloppervlak moet aanbrengen - dit is een fundamentele stap.

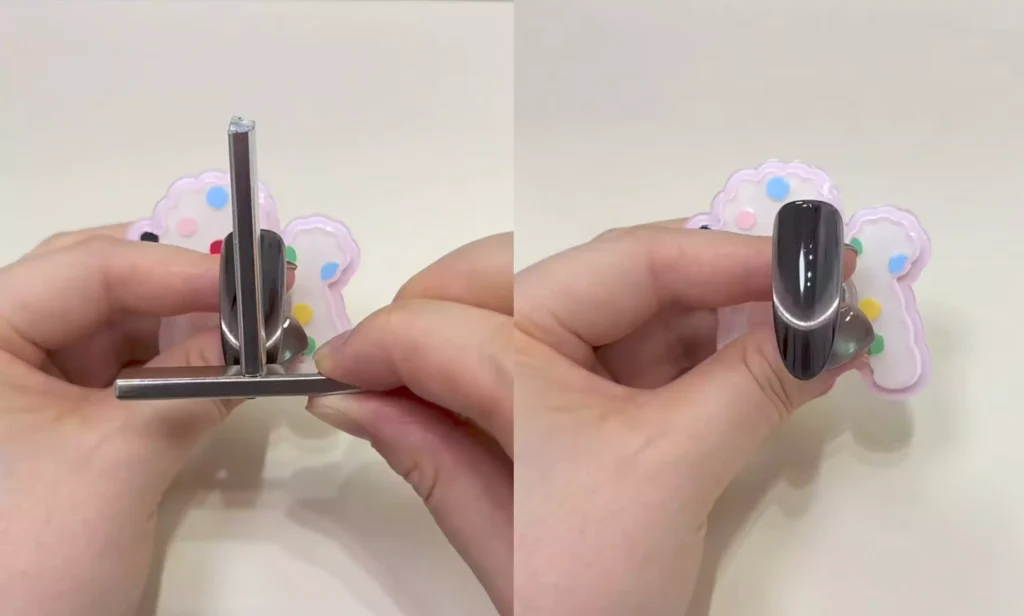
02 Frans kattenoogeffect:
Plaats twee magneten in een T-vorm en houd ze parallel aan het nageloppervlak terwijl je de lichtabsorptie uitvoert. Het Franse kattenoogeffect verschijnt dan.
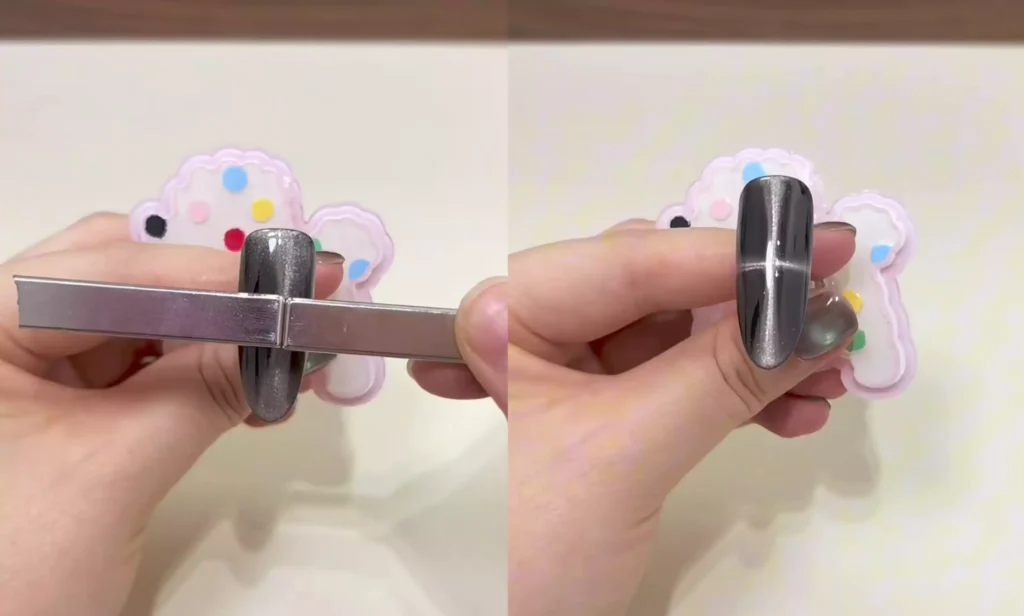
03 S-vormig lint kattenoog:
Plaats twee magneten samen onder een hoek op het oppervlak om een dynamisch S-vormig katteoogeffect te creëren.
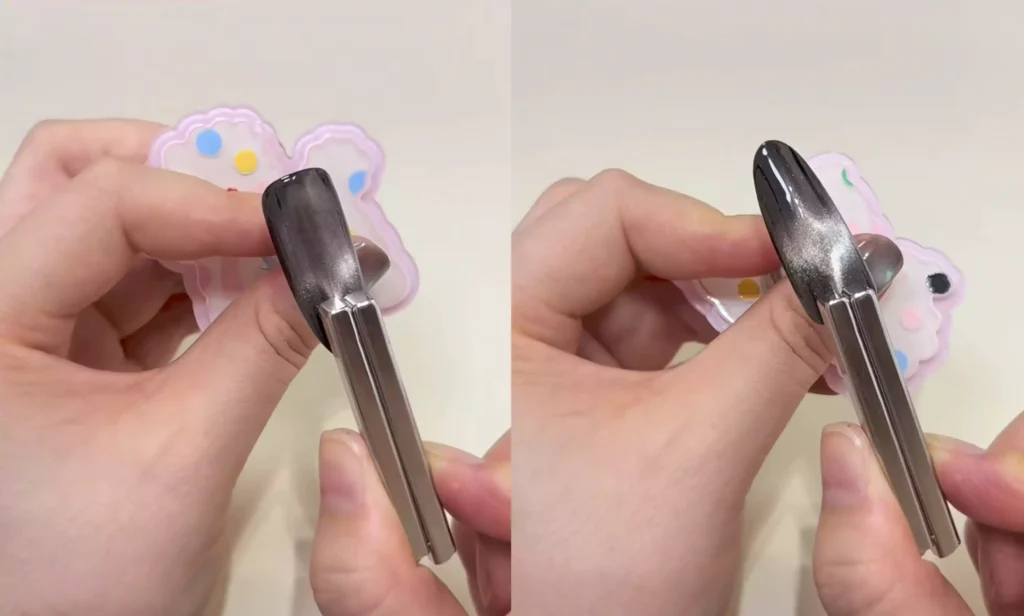
04 Kattenoog met zwart gat:
Gebruik één hoek van de magneet,
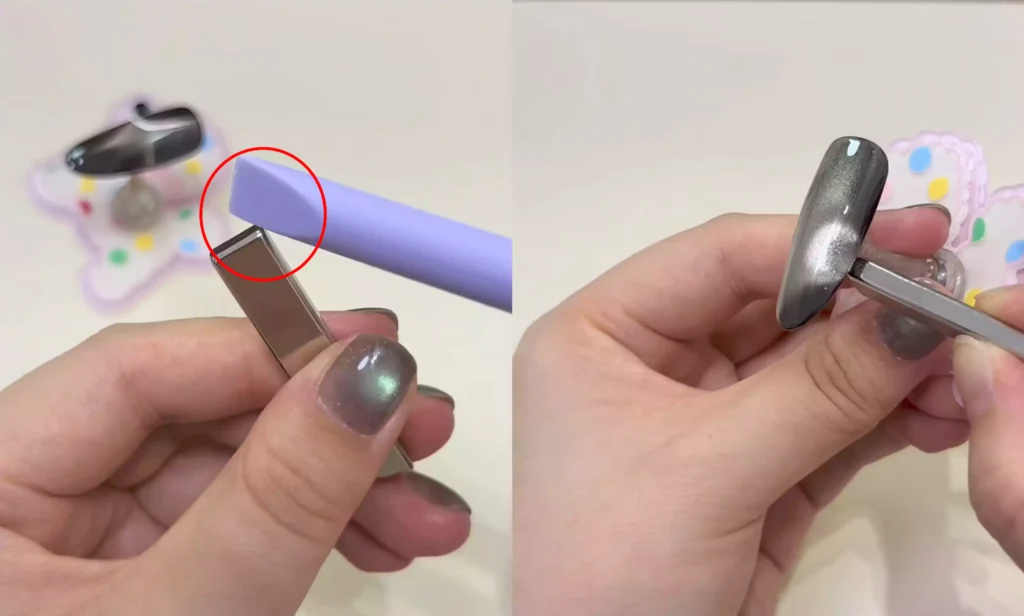
Plaats de magneet onder de nagelplaat om licht aan te trekken en het unieke zwarte kattenoogeffect is compleet.
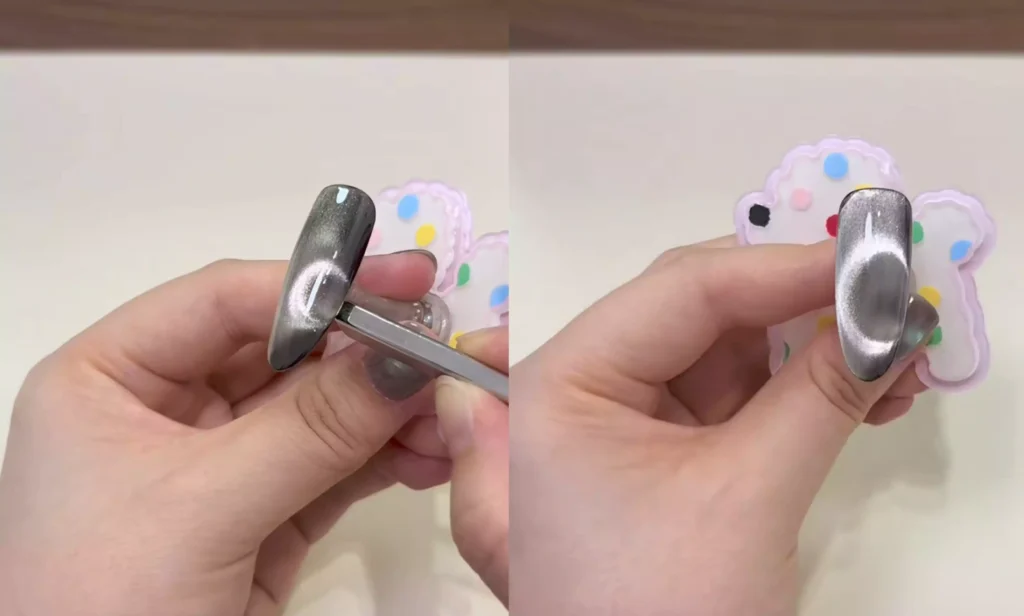
05 Garnalenlijn Kattenoog:
Houd de magneet verticaal en parallel aan het nageloppervlak om het kattenoogeffect van de garnalenlijn te krijgen.
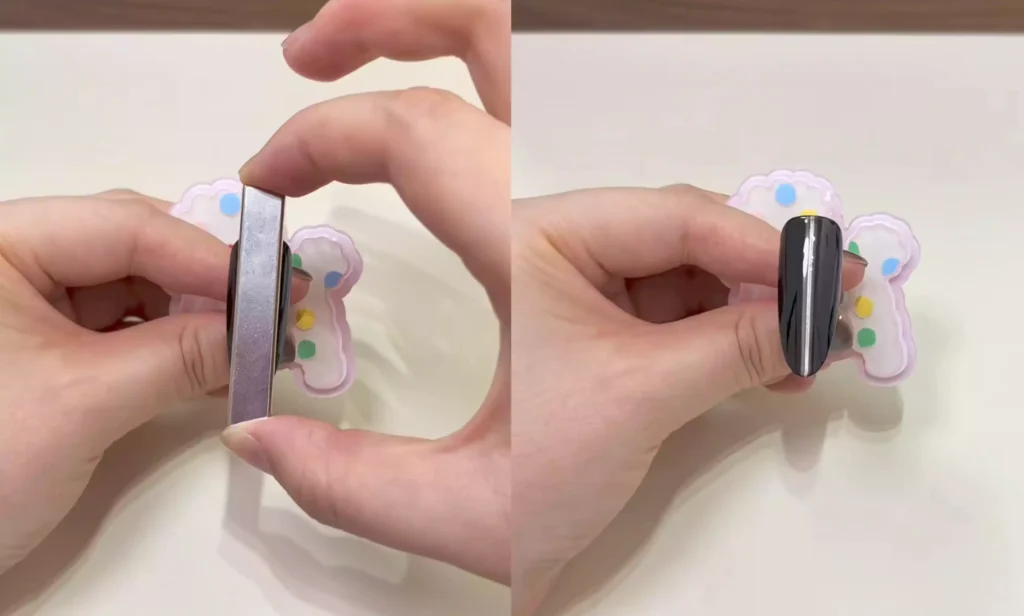
06 Kruis Kattenoog:
Plaats twee magneten horizontaal op het oppervlak om alles aan te trekken, waardoor het gekruiste kattenoogeffect ontstaat.
Zijn deze designs niet superleuk? Probeer ze uit en creëer je eigen unieke cat-eye nail art.
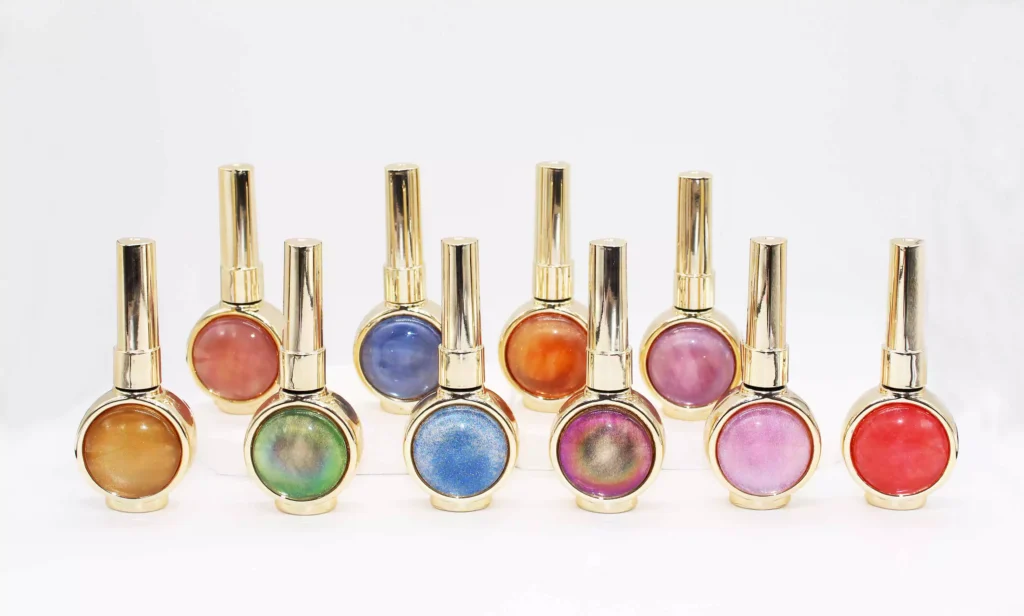
Tot slot kan ik CHROMÉCLAIR's HEMA-vrije gelpolish. Het merk legt sterk de nadruk op veiligheid, met irritatiearme en milieuvriendelijke formuleringen (HEMA-vrij & TPO-vrij) die het risico op allergieën aanzienlijk verminderen en tegelijkertijd de gezondheid van de nagels verzorgen. Met een uitgebreide kleurenselectie en een lange houdbaarheid (ongeveer 21 dagen) kan elke gebruiker genieten van een zorgeloze en comfortabele manicure-ervaring.
Als je tijdens het proces tegen problemen aanloopt, bekijk dan de onderstaande instructievideo. Als je de handleiding nuttig vindt, geef dan een duim omhoog en sla hem op - en abonneer je op mijn kanaal! Tot de volgende tutorial!