
Hi, I’m Starry. Let’s cut to the chase—can you skip base coat when doing nail art? Should you go with wipe-on top coat or no-wipe? And if your base coat never dries, did you accidentally buy a fake?
Today, I’m breaking down all the core knowledge on basislaag en toplaag. I’ll walk you through why you absolutely need them, how to use them without messing up, and even the little details of applying gel polish that make all the difference. By the end of this, you’ll never second-guess these steps again, and you’ll stop damaging your nails or ruining your hard work.
I. First, the Conclusion: You Can Skip Base Coat, But Trust Me—Don’t
A lot of people skip base coat to save time, thinking one less step is no big deal. But let me tell you, I’ve seen way too many cases where skipping it leaves nails thin, brittle, and totally beat up.
I remember three years ago, a new nail tech came to me for help. She said her clients were always complaining about nail pain and polish peeling off too fast, and a lot of them ended up with yellow nails after a manicure. I asked her to send me a video of her process, and right away I noticed—she was skipping base coat entirely to work faster, just slapping on colored gel polish straight away.
So I had her do a simple little experiment. On the same hand, she applied base coat then gel polish on two fingers, and just gel polish directly on the other two. Same curing time, same aftercare, and here’s what we saw after 7 days:
- Nails without base coat: Big chunks of gel polish lifted at the edges. After removal, the nail surface was dull and yellow, and you could feel how thin they’d gotten when you gently scraped them;
- Nails with base coat: The gel polish was still rock solid. After removal, the nails were evenly colored, no obvious damage—total night and day.
Here’s a quick industry stat for you, too. According to a nail material industry survey, nail art without base coat peels 60% more often than with it, and the nail damage rate is over 80%. That’s not a number to ignore.
The core of what base coat does is twofold: isolation and adhesion. It keeps the pigments and chemicals in gel polish from seeping into your nail layers—you know, the stuff that causes yellowing and brittleness. At the same time, it helps the gel polish stick better to your nail surface, so your manicure lasts longer. Plus, it makes removal way easier later, so you don’t have to tear off the top layer of your nails (which is brutal, by the way).
So unless you’re only putting on a layer of clear polish and taking it off the same day, don’t skip base coat. Especially if you’re a frequent manicure lover—base coat is your nails’ best defense.
II. Base Coat Practical Guide: Only 1 Layer, 3 Details That Make or Break It
A lot of people either apply base coat too thick (which makes it impossible to cure right) or too thin (so it does nothing at all). Some even skip edge sealing, and that’s why their polish peels off in days. From my years of hands-on experience, nailing base coat comes down to three simple things: the right number of layers, proper edge sealing, and curing it correctly.
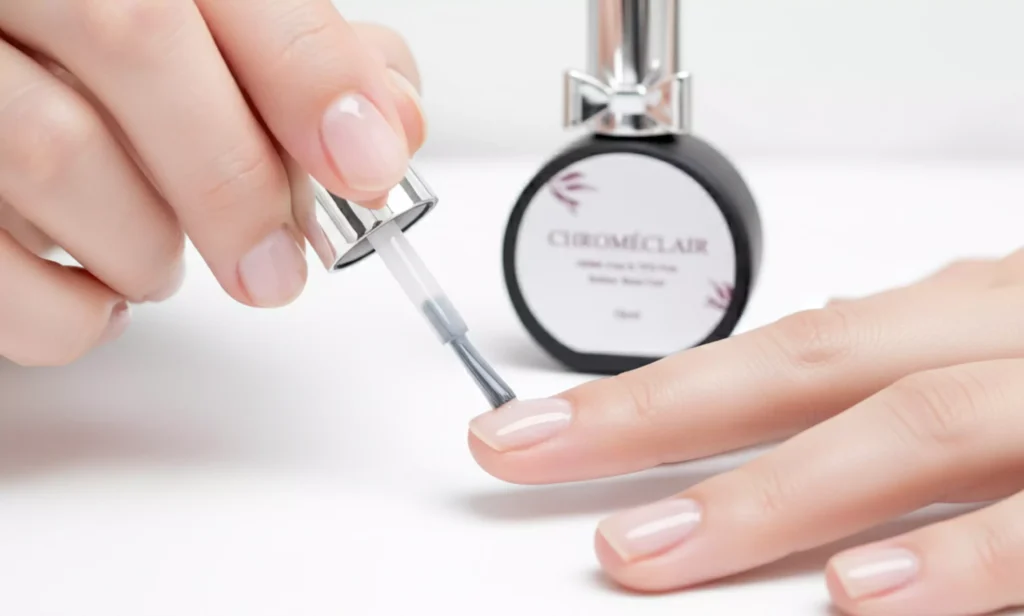
1. How Many Layers of Base Coat? Answer: Just 1, and Keep It Thin
A lot of beginners think two layers will be more firm, but that’s a total myth. If you apply base coat too thick, the surface will cure under the lamp but the inside won’t. That’s why your next layer of gel polish wrinkles or peels off—and it can even make your nails feel stuffy or itchy, which is never fun.
Here’s how to do it right. Grab a small amount of base coat, scrape off the excess on your palette, and apply it evenly from cuticle to tip. The thickness should let you still see the natural texture of your nail—don’t cover up that natural shine.
2. Must-Do Step: Edge Sealing (More Important Than You Think)
I’ve seen so many nail techs apply base coat perfectly evenly but skip edge sealing, and their clients’ manicures peel from the tips in less than 3 days. Edge sealing is just extending the base coat to the edge of your nail tip, which forms a little protective film that keeps the gel layer from peeling off due to daily friction.
Here’s a quick pro tip. After applying base coat to the nail surface, just gently brush the edge of the nail tip with the brush. You don’t need to grab more base coat—just use what’s left on the brush to add a thin little seal. It takes two seconds and makes all the difference.
3. Curing Time & Tack-Free Layer: Stop Wiping It—It’s Supposed to Be Sticky
I get this question all the time: “The base coat is sticky after curing—did I not dry it enough?”
Let me set the record straight once and for all. That sticky layer (we call it a tack-free layer) is totally normal. Do not wipe it off! That stickiness is what helps the next layer of gel polish adhere better, so your color stays put longer. It’s not a mistake—it’s by design.
Curing time matters too, of course. For a regular 48W LED lamp, 1 to 2 minutes is enough. If you’re using a 36W lamp, though, I’d bump that up to 2 to 3 minutes. Cure it too short, and the base coat won’t set fully—that’s when you get peeling later. But don’t stress about it never curing; just leave it under the lamp a little longer, and it’ll be good to go.
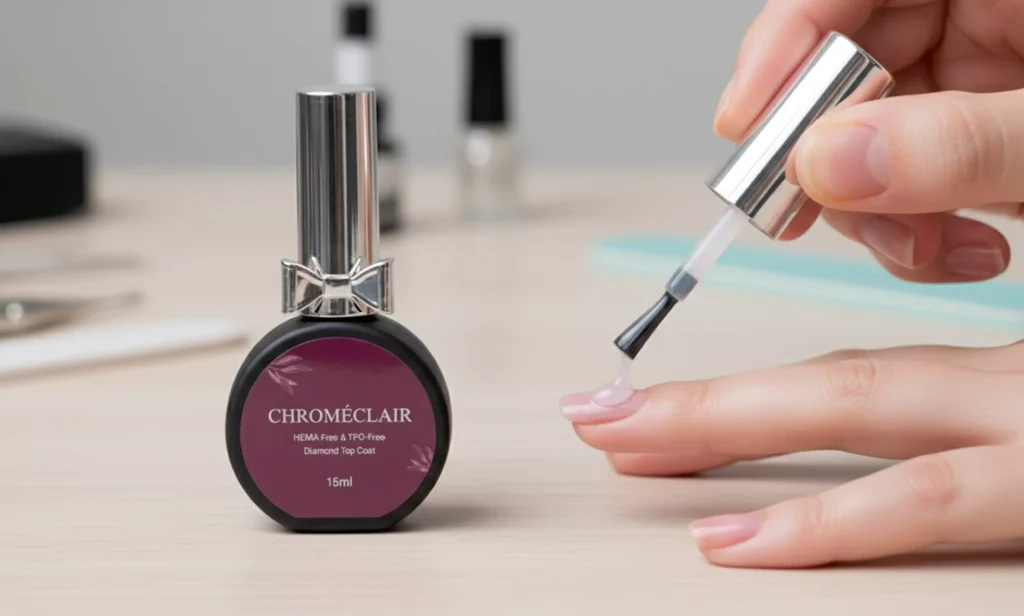
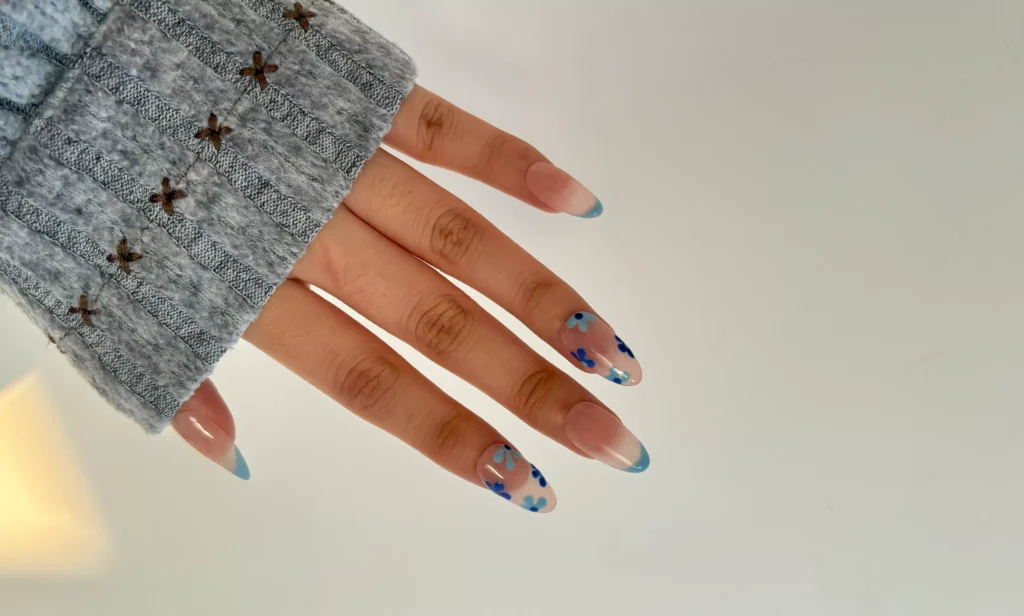
III. Top Coat: Your Manicure’s Last Line of Defense—Choose Wisely
If base coat is your nails’ protective shield, top coat is the tough jacket over it. It’s the final step in your manicure, and it’s what decides how long your hard work lasts and how good it looks. A lot of people’s manicures wear off or fade in less than a week, and nine times out of ten, it’s because they chose the wrong top coat or didn’t apply it right.
I did a little test myself a while back. I used the same base coat and gel polish, then applied three different top coats. I put them through all the daily stuff—typing, doing dishes, carrying groceries—and after 7 days, the difference was pretty obvious:
- No-wipe top coat: Highest gloss, least wear, just a few tiny scratches, and hands down the most durable;
- Wipe-on top coat: Medium gloss, a little wear at the edges, and you have to wipe off the tack-free layer with professional alcohol. It’s a bit more work, but it’s worth it if you love a smooth finish;
- Matte no-wipe top coat: No gloss, shows a bit more wear, but it’s perfect if you’re into that matte vibe. Just be a little gentler with it in daily life.
First, Let’s Cover the Basics: Top Coat Has 3 Non-Negotiable Functions
A lot of people think top coat only adds shine, but it does way more than that—let me break it down:
- Anti-wear and anti-peeling: It keeps daily friction and little bumps from damaging the gel polish directly, so your manicure lasts longer;
- Color protection and anti-yellowing: It blocks air, moisture, and dust from getting to the gel polish, which prevents oxidation and yellowing—so your color stays bright;
- Texture boost: Whether it’s glossy or matte, top coat smooths out the nail surface and makes your manicure look more polished (pun totally intended).
Quick heads-up here. If you skip toplaag, that gelpolish is exposed to the air, and it’ll wear off or fade in less than 3 days. It’ll also pick up dust and oil, which is a nightmare to clean. Basically, you’re wasting all the time you put into the rest of the manicure.
How to Choose Between the 3 Top Coat Types? Just Go With What Works for You
There are three main types of top coats on the market, and I promise it’s not as complicated as it looks. Don’t overthink it—just pick the one that fits your style and workflow:
- No-wipe top coat: My go-to recommendation. It’s super easy to use, sets right after curing, and you don’t have to wipe off any tack-free layer. High gloss, great durability—perfect for beginners and busy nail techs;
- Wipe-on top coat: It has a tack-free layer after curing that you need to wipe off with professional alcohol. After wiping, the gloss is more subtle, which is great if you love a mirror finish. The only downside? It’s a tiny bit more work;
- Matte no-wipe top coat: It dries to a matte texture, which is elegant and long-lasting. Perfect for simple, minimalist manicures, but it’s not as wear-resistant as glossy top coat. Just avoid heavy friction, and you’ll be fine.
IV. 5 Pitfall-Avoiding Tips for Gel Polish—Even Beginners Can Nail This
Even if you pick the perfect base coat and top coat, applying gel polish the wrong way can ruin your whole manicure. We’ve all been there—gel buildup, wrinkling, edge lifting, incomplete curing. But if you remember these 5 tips, you’ll avoid those headaches entirely.
These are the tips I drill into every nail tech I train. Beginners, take notes—you can follow these step by step and never mess up:
- Application direction: Apply evenly from cuticle to tip, and don’t brush back and forth in one spot. Not only does that make the gel layer uneven, but it also causes buildup, which leads to incomplete curing later;
- Thin coats, multiple times: This is the most important tip—seriously. Don’t try to get full color in one coat. Do 2 to 3 thin coats, curing for 1 minute each time. This keeps the color even and prevents buildup or wrinkling;
- Control gel amount: Don’t apply too much or too thick at once, and don’t grab more gel than you need. Too much gel overflows onto the cuticle (total pain to clean), and thick layers won’t cure fully under the lamp;
- Application angle: Keep the brush relatively parallel to the nail, apply gently, and let the gel flow naturally. Don’t press the brush hard—you’ll end up with an uneven layer;
- Edge sealing at every step: This is non-negotiable. It’s not just base coat—you need to seal the edges with gel polish and top coat too! That’s the secret to a long-lasting manicure, and it stops edges from lifting or peeling.
V. A Little Food for Thought: Will Future Base/Top Coats Be More Nail-Nourishing?
After 8 years in the nail material industry, I’ve noticed a clear shift. People aren’t just after pretty, long-lasting manicures anymore—they want ones that don’t damage their nails. It’s all about healthy, nourished nails now.
A lot of people’s nails get fragile and break easily from frequent manicures. So here’s my bold prediction: Future base coat and top coat will focus way more on nail-nourishing functions. Think ingredients like keratin and vitamin E—stuff that isolates and protects your nails while also feeding them, so even frequent manicure lovers can keep their nails strong.
Right now, my team is working on developing this kind of nail-nourishing base coat. After tons of experiments, we’ve found that base coat with added keratin not only blocks pigments but also makes nails tougher after removal than regular base coat. I’m willing to bet these products will be everywhere soon.
Finally: Let’s Chat—Share Your Manicure Fails
Everything I just covered is the practical, real-world knowledge I’ve picked up over 8 years in the industry. Base coat, top coat, gel polish application—all the stuff that actually matters when you’re doing nails day in and day out. I hope it helps, whether you’re a seasoned tech or just starting out.
Here’s the thing—nail art isn’t rocket science. As long as you use the right method and pick the right materials, you can have beautiful manicures that don’t ruin your nails. Trust me, I’ve made all the mistakes so you don’t have to.
Now I want to hear from you. Have you ever messed up a manicure by skipping base coat or picking the wrong toplaag? Or do you have any burning questions about applying base coat or top coat? Drop a comment below—I’ll answer every single one, no matter how small!