Hello everyone, I’m Starry. With 8 years in nail product R&D and hands‑on salon training, I get messages from techs every day:
“My gel shrinks,” “Lifting at the free edge,” “My client has an allergic reaction.”
The truth is, 90% of these problems aren’t from bad products—they come from small, overlooked details in your application.
Today, I’m breaking down the 6 most commonly messed‑up steps, based on my own mistakes and thousands of trials.
I’ll show you what you’re doing wrong and how to fix it immediately.
New techs avoid disasters; seasoned techs keep clients longer.
By the end, you’ll skip at least a year of trial and error.
1. Tool Disinfection: Not a Formality — Your First Safety Line
I see so many techs skip disinfection when busy, thinking,
“The last client was fine, no need to bother.”
But this shortcut can cost you long‑term clients and even legal trouble.
A salon I consulted with once had 3 clients develop nail fungus because they didn’t disinfect their files properly.
They closed for half a month for corrections and lost a fortune.
Bacteria on nail tools (files, cuticle nippers, pushers) can survive over 48 hours at room temperature.
Wiping them quickly is not enough, especially for nippers with trapped debris in the hinges.
Starry’s Proven Correct Method
- Use 75% medical alcohol (not 95%! Higher concentration corrodes tools and irritates nails).Fully submerge metal tools (nippers, pushers, tweezers) for a full 20 minutes. Not one second less.
- For porous files and buffer blocks:Spray with 75% alcohol, wipe thoroughly with clean paper (focus on grit gaps), then UV‑sterilize for 30 minutes.
- Important rule:Repeat disinfection before opening, and after every 3 clients all day.It’s not extra work—it’s protecting your clients and your business.
2. Nail Surface Buffing: Inadequate = Guaranteed Lifting | Over‑buffing = Damaged Nails
Buffing is what makes base gel stick.
Yet most techs fall into two extremes:
they skip it entirely, or buff so hard they thin the nail plate.
Both cause failure.
Early in my career, I rushed and only buffed the center of the nail.
The next day, the client had lifting around the edges, and removal took off a layer of her natural nail.
Later testing showed:
Shiny, unbuffered areas reduce base gel adhesion by 60%.
The goal is to remove shine so the gel can “grip.”
Starry’s Proven Correct Method (Must‑See for New Techs)
- Use the coarse side of a buffer block.Buff in circular + one‑way strokes, covering the center, edges, and free edge.Stop when the entire surface is matte with zero shine and feels slightly rough.
- Always clean dust afterward!Brush gently from cuticle to free edge, then wipe with alcohol‑dampened lint‑free wipe.Dust left on the nail causes bubbles, streaks, and shrinking.
- Avoid:Don’t use metal files for surface prep—they cause deep scratches that lead to lifting.Stop buffing when the nail starts to look white; over‑buffing weakens nails and causes sensitivity.
3. Cuticle Care: Not “Cut It All Off” — Cut Correctly
Many techs ignore cuticles or cut too aggressively.
Later lifting, inflammation, and irritation almost always trace back to this step.
Healthy cuticles protect the nail root.
Your job is to remove excess dead cuticle, not strip it all away.
A new tech asked me why her clients got red, sore skin after cuticle work.
I watched her:
she cut dry cuticles directly, no softening, no pushing.
She snipped live skin and damaged the nail matrix.
Starry’s Proven Gentle, Safe Method
- Apply cuticle softener around the nail edge.Let sit 1–2 minutes to fully soften (don’t overapply—avoid getting on the nail plate, it ruins adhesion).
- Hold a pusher at 45° and gently push dead cuticle toward the fingertip.Light pressure only—do not tear live skin.
- Use cuticle nippers only on pushed‑up, dead tissue.Focus on sidewalls and hangnails.Never cut the soft, live skin at the nail root.Wipe the area with alcohol afterward to remove residue.
4. Free Edge Capping: The “Fix” for Tip Lifting
The #1 client complaint:
“Everything stays fine except the tip lifts and chips.”
This is almost always no capping or poor capping.
I ran a side‑by‑side test:
Same gel, same cure time.
- Properly capped nails: durability up 70%, lasts 25+ days.
- No capping: lifts within 5–7 days.
Many techs only cap partway or load too much gel, ruining both look and wear.
Starry’s Proven Correct Method (Clean & Long‑Lasting)
- Cap every layer: base, color, and top coat.Before capping, wipe excess gel off the brush so it doesn’t drip or pool.
- Rest the brush lightly on the free edge and coat evenly from one side to the other.Make sure the entire edge is sealed with no gaps.
- Check from the side: the free edge must be smooth, no bulges, no missing spots.This locks the gel in and stops water and dirt from getting under.
5. Gel Application: Thin, Multiple Coats Win — One Thick Coat = Disaster
Many techs rush and try to cover in one thick layer.
Result: streaks, uneven surface, shrinkage, bubbles, and uncured gel.
It actually wastes more time and hurts your reputation.
Early on, I tried one‑coat coverage.
Color was so thick it didn’t fully cure even at 120 seconds, then shrank and chipped.
The only reliable method is thin, repeated coats.
It gives even color, no shrinkage, and better adhesion.
Starry’s Proven Correct Method (Even Newbies Get It Right)
- Dip brush in gel, twist gently, and wipe excess on the bottle neck.Brush should be moist, not dripping or clumpy.
- Apply first to the free edge (to prep for capping), then center → cuticle → sides.Pull brush lightly for smooth, thin coverage.First coat does NOT need to be fully opaque.
- Cure, then apply a second thin coat.Color becomes rich and even without shrinkage or streaks.
Pro tip:
- Dark colors: max 3 thin coats.
- Light colors: usually 2 coats is enough.Thick application = dull color + uncured gel.
6. Curing Time: Not Longer = Better — Precision Is Key
Most techs have no real curing system:
they cure too short (gel stays sticky, uncured)
or too long (yellowing, brittle gel, nail damage).
Myth busted:
A slight tacky layer after curing is normal, not undercured.
This “tack layer” helps the next layer bond.
You don’t need to wipe it unless stated.
Starry’s Proven Curing Times (Standard 48W LED Lamp)
- Base coat: 30 seconds
- Builder / strengthener gel: 60 seconds
- Color gel (each coat): 60 seconds
- Top coat: 90 seconds (most important for shine and durability)
Avoid:
If using a 36W lamp, increase time slightly (e.g., base 45s, top 120s).
Always place fingers in the center of the lamp—edges cure poorly near the sides.
Starry’s Personal Recommendation: Safe Gel for Sensitive Clients & Consistent Clients
After years in nail materials, I prioritize safety + performance.
Many clients have sensitive skin or weak, over‑processed nails.
My go‑to for myself and partner salons:
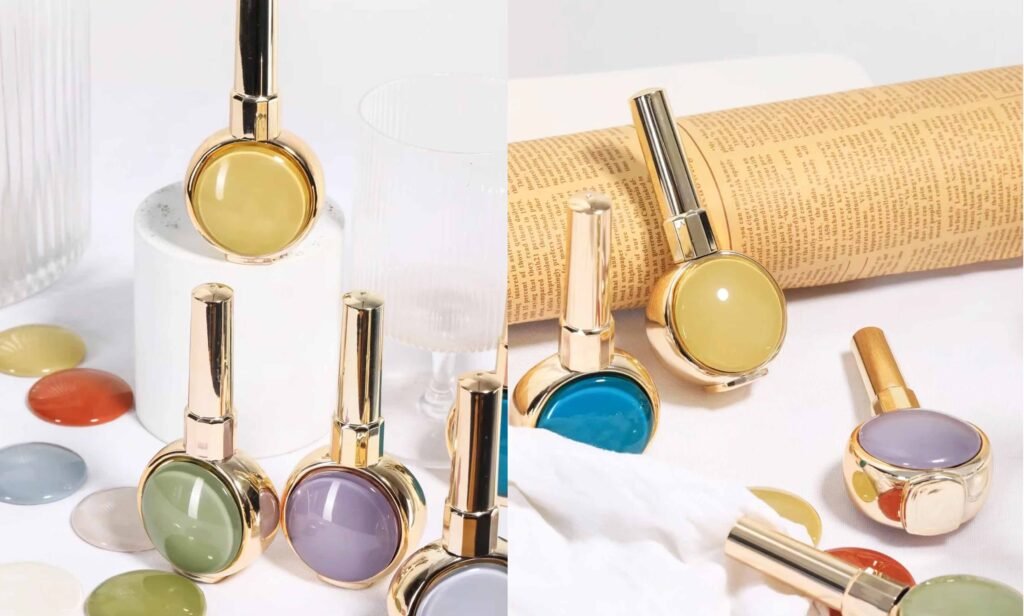
CHROMÉCLAIR HEMA free Gel Polish
(HEMA Free Gel Polish / Low‑Irritation Gel Nail Color)
Why it stands out:
- Ultra‑safe, low‑irritation:Truly HEMA free & TPO free—no common allergy‑triggering ingredients.Sensitive clients report no redness, itching, or reaction.
- Strong wear time:Tested to last 21–35 days with proper prep. Rare lifting or chipping.
- Beginner‑friendly:Smooth, self‑leveling formula, low shrinkage, few brush lines.Full coverage in 2 thin coats, saving you time.
A Small Thought — The Future of Nails
Lately I’ve been thinking:
Will nails shift more toward health + efficiency?
Could we see gels with built‑in gentle antimicrobial agents?
Something that simplifies disinfection and boosts safety without hurting adhesion or color.
Research is already moving this way.
I’m testing related formulas now, and I believe these safer, smarter products will become mainstream soon—making techs’ work easier and clients safer.
That’s all for today!
Nails don’t have to be complicated.
Nail these 6 details + choose reliable products, and you’ll avoid almost all common disasters.
Question for you:
What’s your biggest struggle in application?
Shrinking? Lifting? Client allergies?
Comment below—I’ll reply and help you fix it.
Would you like me to also make this into a 1-page printable cheat sheet for salon use?