Small mistakes can ruin your Cat eye gel polish manicure fast. You want your nails to look flawless and last longer. Here’s why it matters:
- Clean, dry nails help stop peeling and chipping.
- Thin, even layers prevent bubbles and smudges.
- Simple tips give you a stunning cat eye effect.
Recreate the magnetic look at home
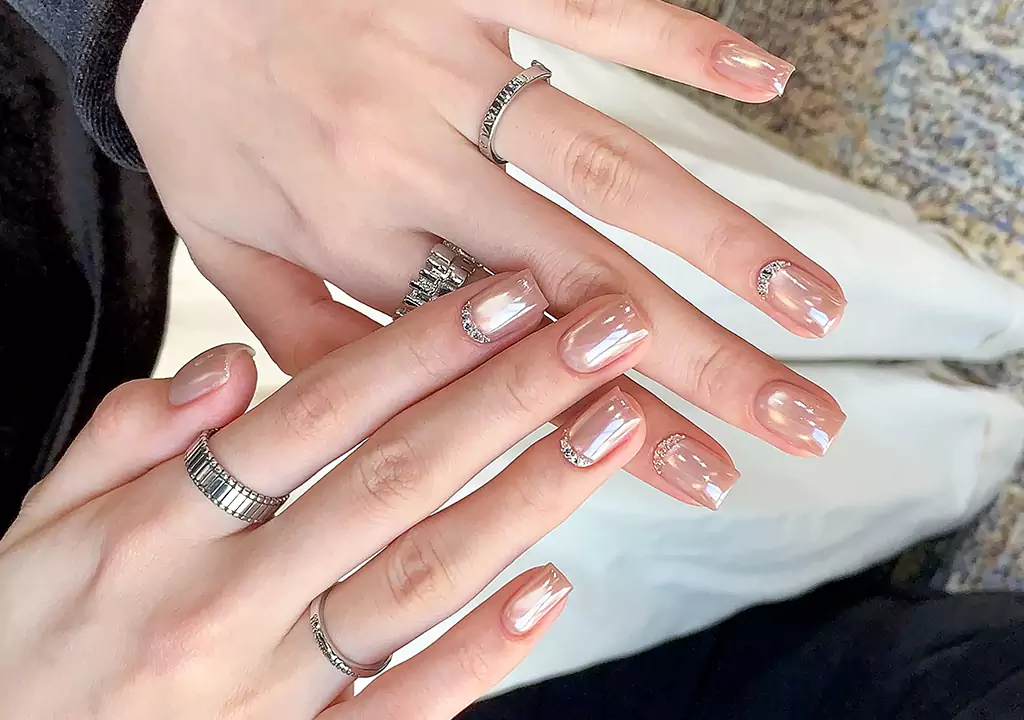
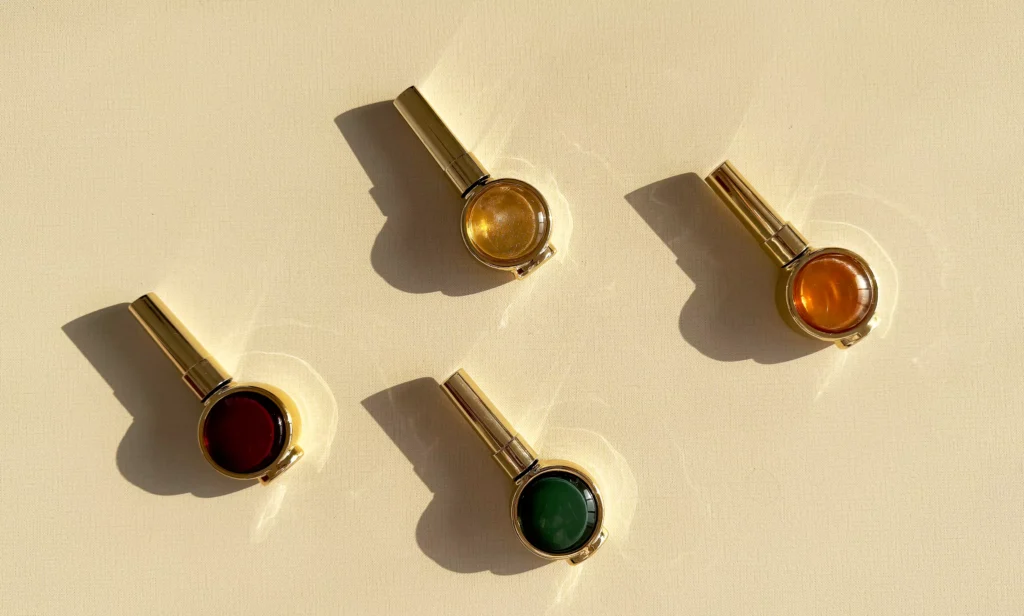
Cat eye gel works best when the shade, magnet, and top coat are chosen together. Start with the cat eye range or pick CE02 as a high-impact first shade.
Key Takeaways
- Always clean your nails before applying cat eye gel polish. Clean nails help the polish stick better and last longer.
- Use a base coat to strengthen your manicure. It helps the gel adhere and keeps your design looking sharp.
- Apply thin layers of polish and cure each layer properly. This prevents bubbles and ensures a smooth finish.
Mistakes in Nail Prep
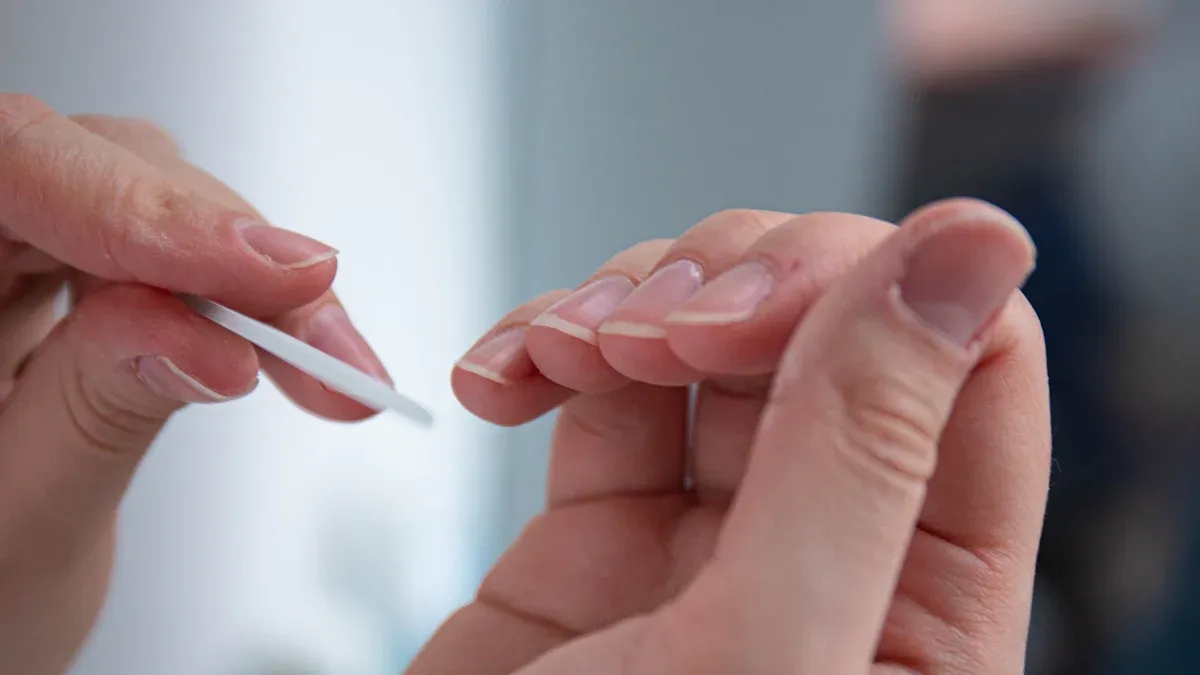
Skipping Cleaning
While you may want to immediately apply the polish, applying it without cleaning your nails first will cause damage to the cat eye gel polish. If you have dirt, oil or traces of previous polish remaining on your nails, the gel will not be able to adhere to it. Poor adherence to the surface will mean that you end up with an unattractive, dull effect and the polish chips easily. It is necessary to ensure that your nails are clean to ensure proper adherence of magnetic particles when curing.
Recommended next step
Complete the Cat Eye Look
Cat eye gel is not just one bottle. The magnetic effect works best when color, magnet, base, and top coat are chosen as a complete look.
- Apply the cat eye shade over a prepared base.
- Shape the magnetic effect before curing.
- Seal with no-wipe top coat for a glossy finish.
Tip: It is best to use a lint-free wipe with rubbing alcohol to make sure that there is no trace of oil and dirt left on your nails.
Missing Base Coat
Skipping the application of base coat saves some minutes, but the results are very poor, making your nails very fragile and susceptible to cracking and chipping. This base coat serves as two-way tape when applied before gel polish application. This product helps in bonding with your natural nails and helps gel polish adhere well. Besides, the base coat helps in maintaining the magnetism with the top coat, which helps create a cat eye effect.
If you want a manicure that lasts, never forget the base coat. It is one of the most important tips for a salon-quality look at home.
Stirring Cat Eye Gel Polish
Why Stirring Matters
You might not think about stirring your cat eye gel polish, but this step makes a big difference. The magic of cat eye polish comes from tiny magnetic particles inside the bottle. These particles create the cool, shifting effect you love. If you skip stirring, the particles settle at the bottom. You end up with a weak or uneven cat eye look.
Tip: Always stir your polish before you start. This helps the magnetic particles mix evenly, so every swipe gives you a bold, eye-catching effect.
Proper Stirring Technique
You do not need to shake the bottle hard. In fact, shaking can cause problems. When you shake the polish, you add air bubbles. Bubbles ruin the smooth finish and make your manicure look messy.
Here’s how you should stir cat eye gel polish:
- Open the bottle and use the brush or a clean stick.
- Gently swirl the brush in circles. Move slowly and avoid fast motions.
- Make sure you reach the bottom and sides of the bottle.
- Keep stirring until the color looks even and smooth.
A gentle stir keeps the polish silky and ready for the magnet. You get a flawless cat eye effect every time. Remember, patience pays off. Take a few extra seconds to stir, and your nails will thank you!
Layering Issues
Thin vs. Thick Coats
You might think a thick coat of polish gives better coverage, but that is not true for cat eye gel polish. Thick layers take longer to cure and often lead to smudges or bubbles. The polish can wrinkle or stay sticky underneath. When you use thin, even coats, you get a smooth finish and better control over the design. Thin layers help the magnetic particles move freely, so you get a sharp and clear cat eye effect.
Tip: Always wipe off extra polish from the brush before you paint. This helps you avoid thick, messy layers.
Curing Between Layers
Curing each layer is a must if you want your manicure to last. After you paint a thin coat, hold the magnet close—about 1-2 millimeters above the wet polish. Keep it steady for 10 to 15 seconds. Do not touch the polish with the magnet. This step locks in the design before you cure under the LED or UV lamp. Cure the first coat while keeping the magnet in place for the best results.
When you add a second thin coat, repeat the magnet step and cure again. Work quickly so the polish stays wet and easy to shape. If you rush or skip curing, you might see dull spots or patchy lines. Take your time with each layer, and you will see a big difference in shine and durability.
- Apply thin, even coats.
- Use the magnet right after painting.
- Cure each layer fully before moving on.
Patience and practice give you salon-quality nails at home.
Magnet Technique Errors
When you use magnetic gel, the way you handle the magnet can make or break your manicure. Let’s look at the most common mistakes and how you can fix them for a flawless cat eye effect.
Magnet Positioning
You want to get the magnet close to your nail, but not too close. If you hold it too far away, the magnetic gel won’t react well, and you’ll see a weak shimmer instead of a bold stripe. If you use a high-quality magnet and keep it about 3mm to 5mm above your nail, you’ll notice the magnetic particles line up perfectly. This creates that sharp, luminous line that shifts in the light. Always check that your magnet is strong enough for the job.
Here’s a quick table to help you spot common errors:
| Common Error | Effect on Cat Eye Effect |
|---|---|
| Curing the polish before applying the magnet | Causes diminished or uneven effects |
| Holding the magnet too far from the nail | Leads to unsatisfactory results |
| Shaking the nail while the magnet is in place | Results in inconsistent patterns |
| Using a weak magnet | Produces blurry lines |
Magnet Timing
Timing matters when you use magnetic gel. You should hold the magnet steady for 5 to 10 seconds. If you rush, the design looks blurry. If you wait too long, the polish starts to set and the magnetic particles won’t move. Keep your hand still and count slowly. You’ll see the stripe appear right before your eyes.
Tip: Always apply the magnet before curing the polish. This locks in the design and keeps your cat eye effect crisp.
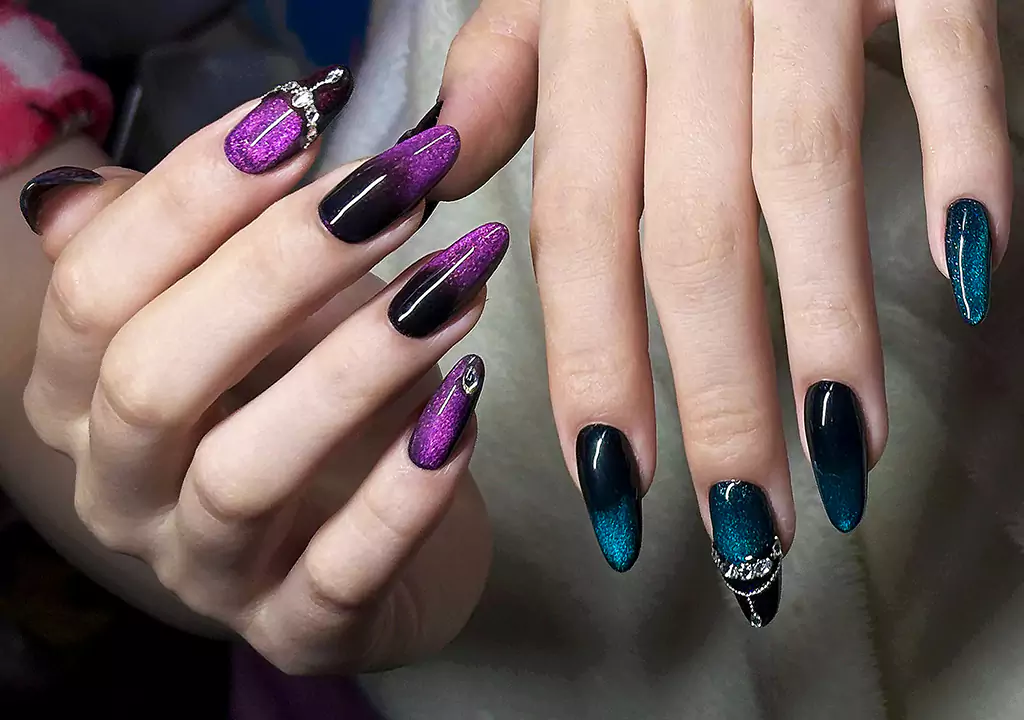
Experimenting with Angles
You can get creative with magnetic gel by changing the angle of your magnet. Hold it straight for a classic line. Tilt it for wavy patterns. Try moving it in circles or an “S” shape for more complex looks. The angle and speed of your magnet movement change how the light catches your nails. Don’t be afraid to experiment. Each angle gives you a new style, so play around until you find your favorite.
- Straight angle: sharp line
- Tilted angle: wavy pattern
- Circular motion: round or “S” shapes
With the right magnet technique, you’ll master the cat eye effect and make your magnetic gel manicure stand out.
Rushing Multiple Nails
One Nail at a Time
You might want to paint all your nails at once to save time. That sounds easy, but it can ruin your cat eye gel polish. The best way is to focus on one nail at a time. This lets you control the magnet and the polish before it starts to set. You get a sharp, even cat eye effect on every nail. When you rush, you lose that control. The lines look messy, and the shine fades fast.
Working on one nail at a time also helps you avoid smudges. You can hold the magnet steady and watch the magic happen. If you try to do too many nails, you end up with uneven patterns and dull results. Take a deep breath and slow down. Your nails will look much better.
Risks of Rushing
If you rush through your manicure, you face a lot of problems. Here are some common risks when you try to do multiple nails at once:
- Achieving a consistent magnetic effect is difficult. You might see uneven lines and patterns.
- Thick or uncured layers can cause bubbling and bumpy surfaces.
- You might touch other nails or your skin by accident. This can cause irritation or mess up your design.
Alert: Take your time with each step. Rushing leads to mistakes and less durable results.
Remember, a perfect cat eye look needs patience. Slow down, enjoy the process, and you will love your nails every time.
Ignoring Imperfections
Accepting Flaws
You might notice small mistakes after you finish your cat eye gel polish. Maybe the magnetic line looks weak, or you see streaks on the surface. It’s easy to feel frustrated, but you don’t have to settle for less. Most imperfections happen for simple reasons. You might use a weak magnet, hold it too far from your nail, or move it too quickly. Sometimes, uneven polish or thick coats cause streaks and blurry lines.
Here are some common imperfections you might spot:
- Weak magnetic effect
- Uneven lines
- Streaking
If you see these flaws, don’t panic. You can fix most of them before curing. Grab your polish brush and gently move the magnetic particles back into place. You can also add a thicker coat if the effect looks too faint. Working on one nail at a time helps you catch mistakes early.
Note: You don’t need to accept flaws. You have options to fix them and get the look you want.
Redoing the Cat Eye Effect
Sometimes, you just want a fresh start. If your design looks off, you can redo the cat eye effect before curing. Use your brush to smooth out uneven lines or redistribute the particles. Try holding the magnet closer or at a different angle. If the effect still looks weak, apply another thin coat and repeat the magnet step.
Here’s a quick troubleshooting checklist:
- Fix the design with your brush before curing.
- Cure each nail right after you finish the design.
- Avoid using a metal table when curing.
- Try a thicker coat for a bolder effect.
😺 With a little patience, you can turn mistakes into a stunning cat eye manicure. Don’t be afraid to experiment and redo your design until you love it!
Top Coat and Curing Mistakes
Skipping Top Coat
You might feel ready to finish your manicure after the last color layer, but skipping the top coat can ruin all your hard work. The top coat does more than just add shine. It seals in the magnetic particles and protects your design from chips and scratches. If you forget this step, your cat eye gel polish will not last as long or look as glossy.
Here’s what happens when you skip the top coat:
- The magnetic effect fades faster because nothing locks it in.
- Your nails chip and peel easily.
- The surface feels sticky and looks dull instead of shiny.
Tip: Always finish your gel application with a top coat. This step gives your nails a smooth, glassy finish and keeps your design looking fresh.
Curing Problems
Curing each layer is just as important as the application itself. If you rush or guess the curing time, your manicure might stay soft or peel off too soon. Every brand has its own recommended curing times, so check the instructions on your polish. Most brands suggest curing the base coat, color coat, and top coat for different amounts of time.
Here’s a quick guide to help you:
| Coat Type | LED Curing Time | UV Curing Time |
|---|---|---|
| Base Coat | 45 seconds | 90 seconds |
| Color Coat | 60 seconds/layer | 2 minutes/layer |
| Top Coat | 60–90 seconds | 2 minutes |
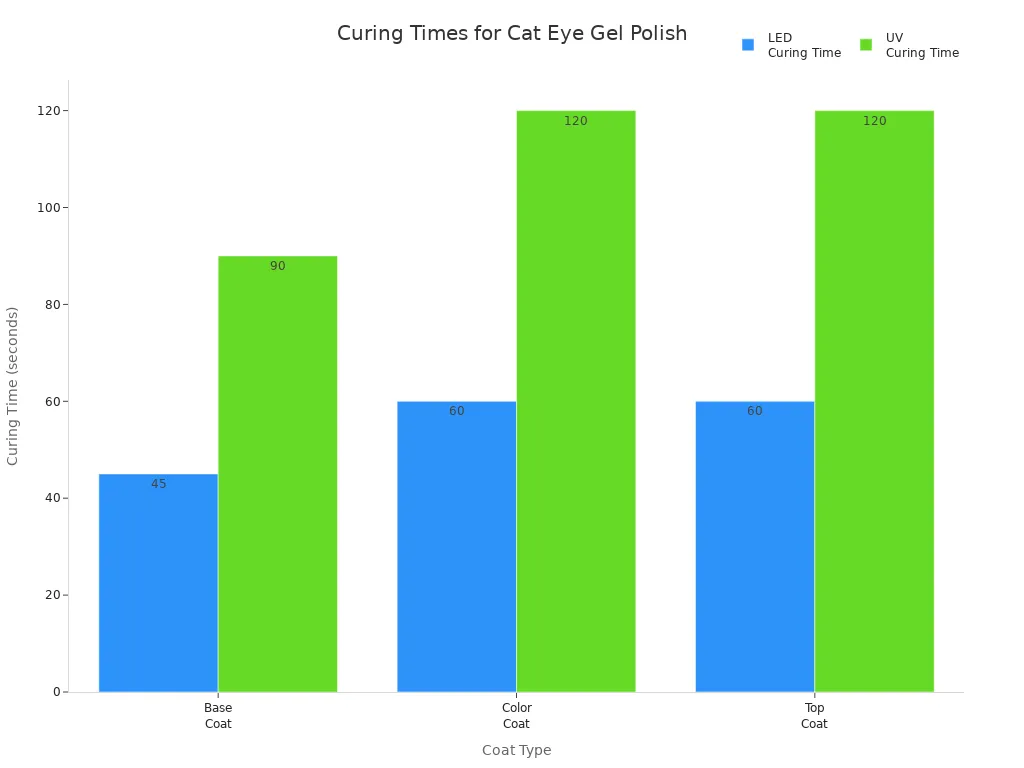
If you cure after every coat, including the top coat, you get nails that last longer and shine brighter. Take your time with each step, and you’ll love the results.
You can get a perfect cat eye effect if you avoid common mistakes. Nail techs suggest you:
- Plan your design and move slowly.
- Build layers for better curing.
- Use matching base and top coats.
- Pick safe, high-quality products.
Practice often. Try new methods. Each time, your skills will grow. You’ve got this! ✨
CHROMÉCLAIR’s cat-eye gel nail polish features a new formula, fulfilling the “double-free” promise—HEMA-free and TPO-free. This is not just about removing certain ingredients, but a complete reshaping of the concept of healthy nail care. It means a lower risk of allergies, and it means delivering professional salon-grade color retention and shine, along with ultimate gentleness and safety, to your fingertips.
FAQ
Can I use any magnet for cat eye gel polish?
You need a strong nail art magnet. Regular fridge magnets do not work well. Nail magnets shape the metallic particles for that cool cat eye effect.
Why does my cat eye effect look blurry?
You may hold the magnet too far or move it too quickly. Try holding it closer and keep your hand steady for a few seconds.
How do I fix mistakes before curing?
Use your brush to smooth out lines or add a thin coat. You can redo the magnet step before you cure the polish.