Hi, I’m Starry, with 8 years of experience in nail product R&D and practical teaching. Every day, I receive messages from fellow nail technicians: “I clearly followed all the steps, but my gel polish still lifts in 3 days” “My clients keep complaining about short-lasting manicures—what’s going wrong?”
In today’s article, I’ll cut to the chase. Combining thousands of my own practical experiments and real failed cases from my students, I’ll break down the 7 core reasons why gel polish peels. Each reason comes with specific solutions that even beginners can follow directly, helping you say goodbye to “peeling anxiety” for good.
1. The Most Common Pitfall: 90% of People Don’t Prep the Nail Surface Properly
Many nail technicians think “peeling is due to bad gel polish,” but I’ve done an experiment: the same bottle of gel polish can last over 20 days with proper nail prep, but only 3 days at most if prepping is inadequate—nail surface preparation is the “foundation” of long-lasting wear.
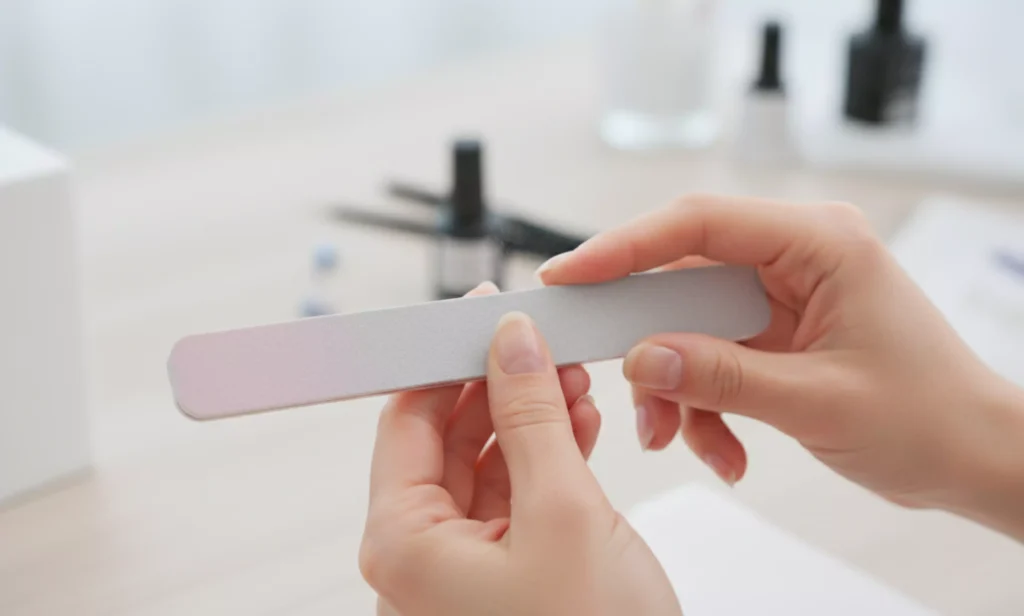
1.1 Insufficient Sanding: Smooth Nails Can’t Hold Gel
The natural surface of nails secretes a layer of oil, which is the “arch-enemy” of gel polish. I remember once, a new student only gently rubbed the nail surface twice with a buffer, saying “it looks matte enough,” and the client reported lifting the next day.
The correct method is simple—remember these 3 key points:
Recommended next step
Smooth, Long-Lasting Gel Routine
Bubbling, peeling, shrinkage, and dull wear are usually system problems. Build the manicure with prep, base, color, and top coat together.
- Prep the nail plate before color.
- Use a base coat that matches the gel system.
- Finish with a compatible top coat for wear and shine.
Shop long-lasting routine kitSee no-wipe top coatCompare all routines
- Use an 180/240-grit buffer to sand the nail surface horizontally until it loses its shine and has a fine matte texture;
- Don’t use overly coarse files (e.g., below 100 grit), as they will damage the nail surface and reduce adhesion instead;
- After sanding, use a clean brush to sweep away nail dust in one direction to avoid residue.
1.2 Incomplete Cleaning: The Invisible “Barrier” Is the Key
After sanding, the nail surface will have tiny dust particles, unremoved oil, or even moisture from your hands—these form an invisible barrier that prevents the Rubber Base Coat from sticking firmly.
I did a comparative experiment: one group wiped the nail surface with 75% medical alcohol pads, and the other only used a dry cloth. The former had 60% longer wear time. A reminder here: always use 75% medical alcohol pads for cleaning, wiping repeatedly 2-3 times until the nail surface is completely dry and oil-free.
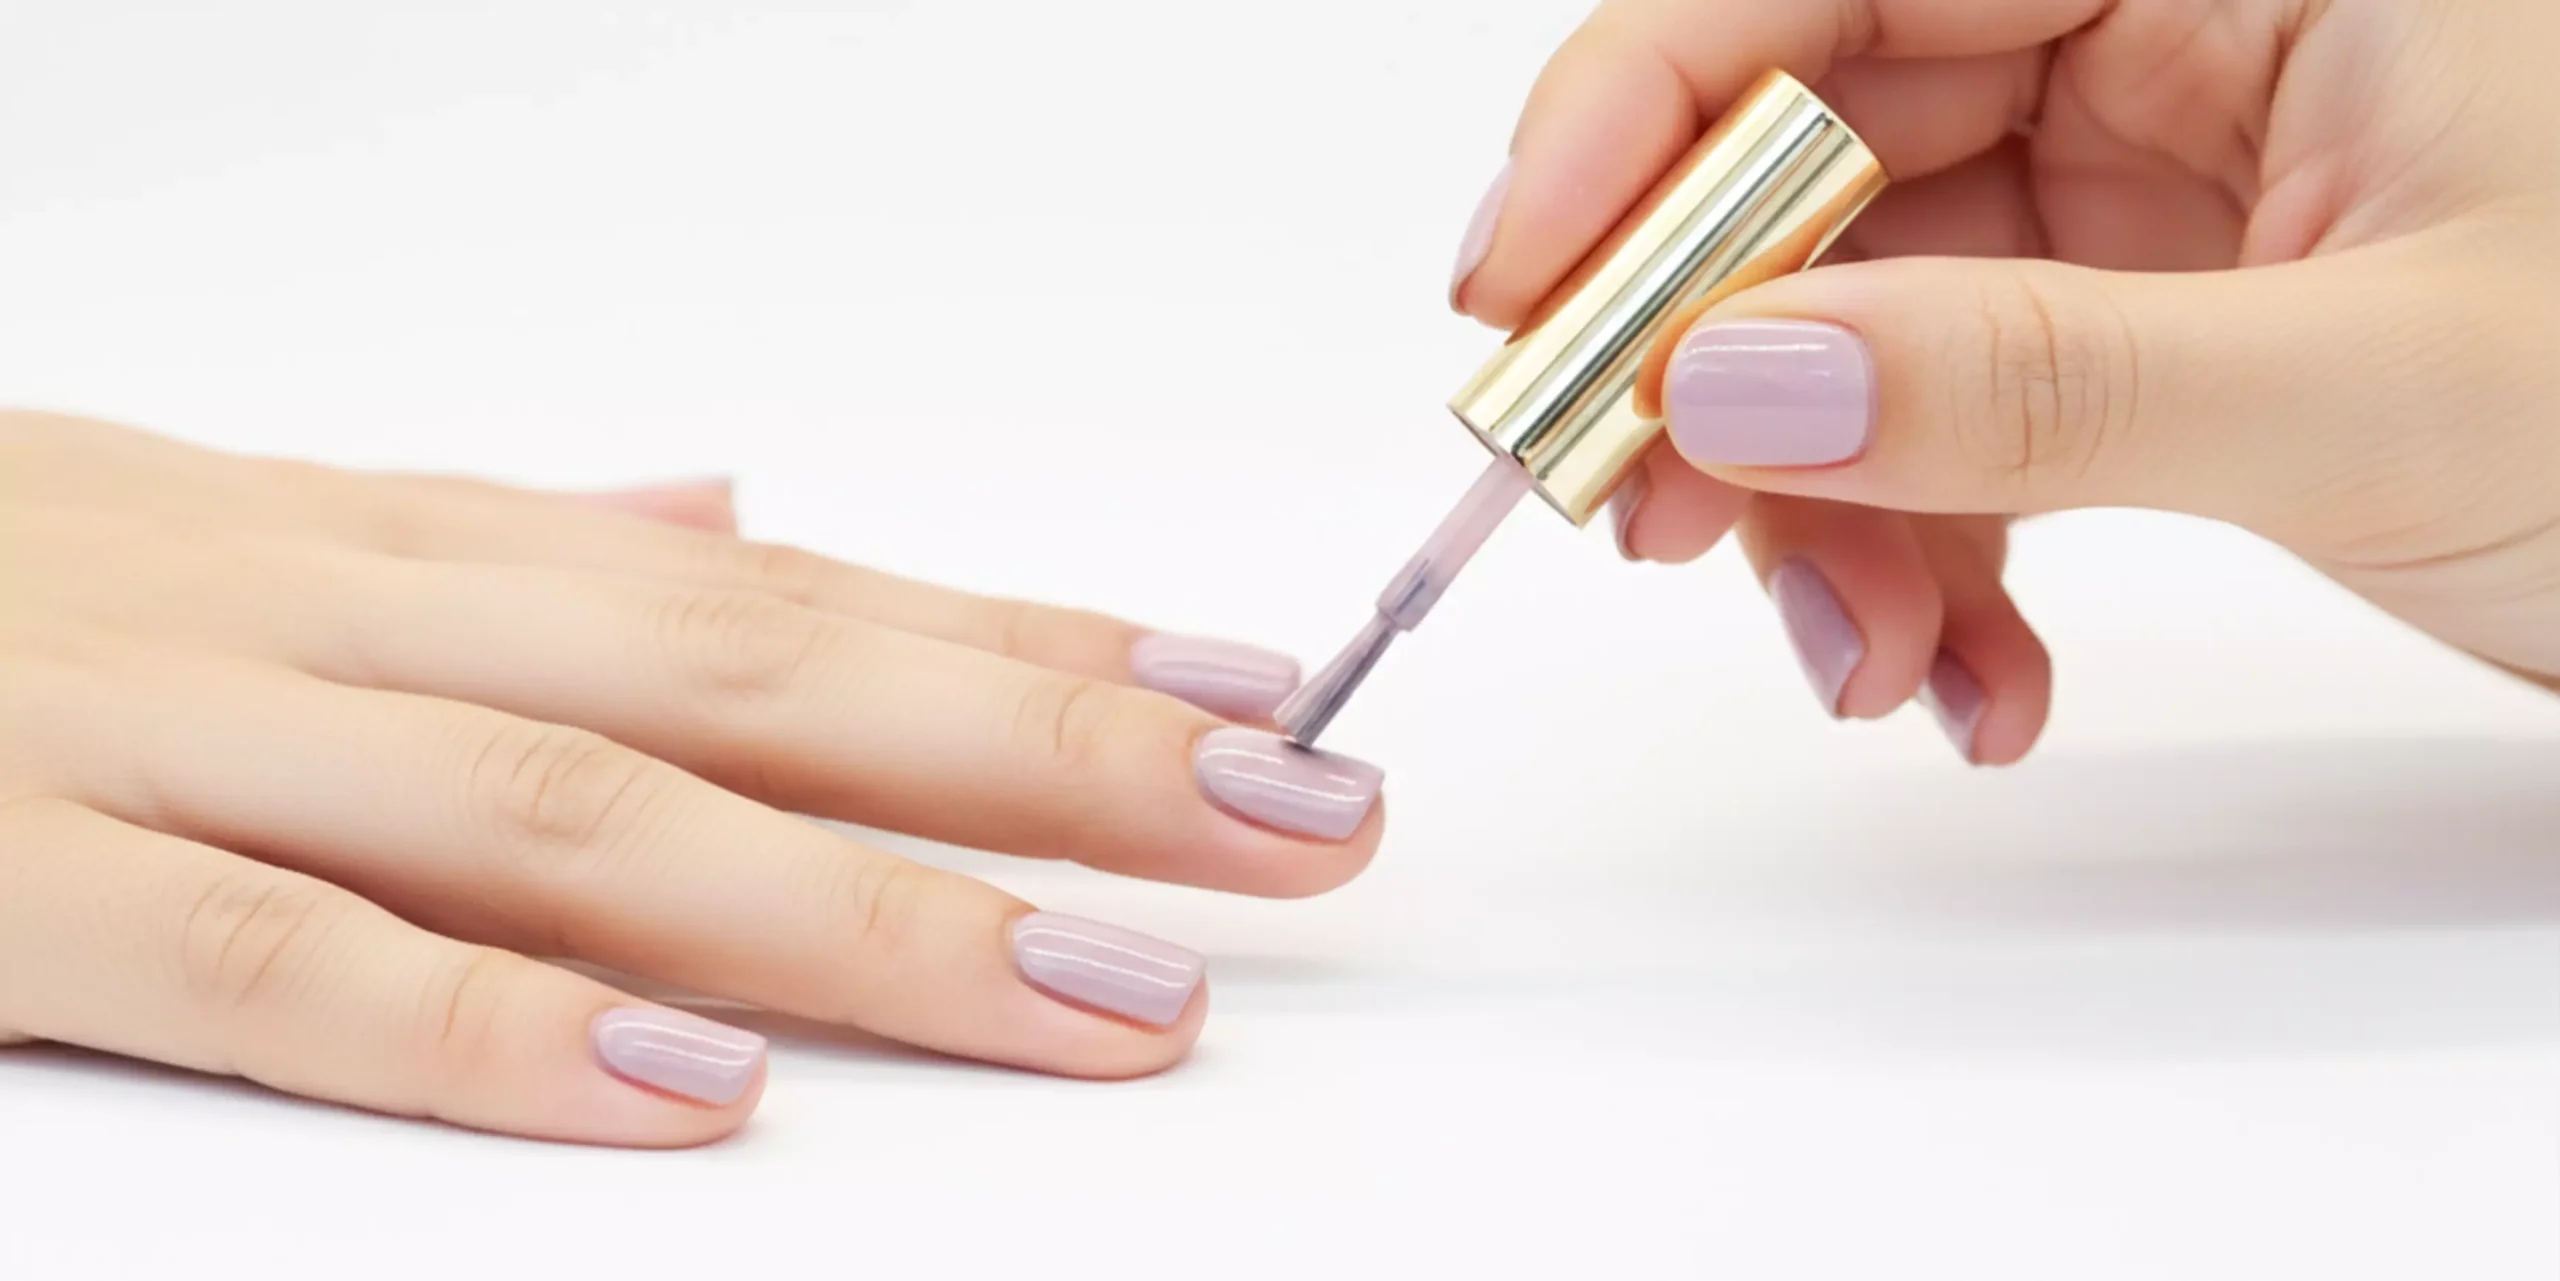
2. Application Technique: Thin and Even Is the Key to Longevity
Many beginners pursue “one-coat coverage” and apply gel polish too thickly, not realizing this is a major cause of peeling. The most extreme case I’ve seen: a student applied 3 thick coats of color gel at once, and it cracked and peeled within a day after curing.
2.1 Applying Too Thickly: Incomplete Curing = Guaranteed Peeling
Gel polish curing requires UV light to penetrate the gel. If applied too thickly, the surface cures first while the inside remains sticky. After drying, it will wrinkle, crack, and adhesion will drop significantly.
Solution: Follow the “thin coats, multiple layers” principle. Apply thin layers of base coat, color gel, and Diamond Top Coat, curing each layer before applying the next. Even if it takes 3 layers to get even coverage, don’t take shortcuts by applying thickly once.
2.2 Uneven Application: Uneven Stress = Easy Lifting
Uneven thickness (some areas too thick, some too thin) leads to inconsistent curing—thick areas won’t cure completely, while thin areas wear easily. Uneven stress distribution causes lifting at weak points within a few days.
Pro tip: When applying gel, start from the center of the nail and spread outward to both sides, gliding the brush gently to avoid accumulating gel at the cuticles or nail tips. After application, use a clean brush to trim the edges slightly to ensure even coverage.
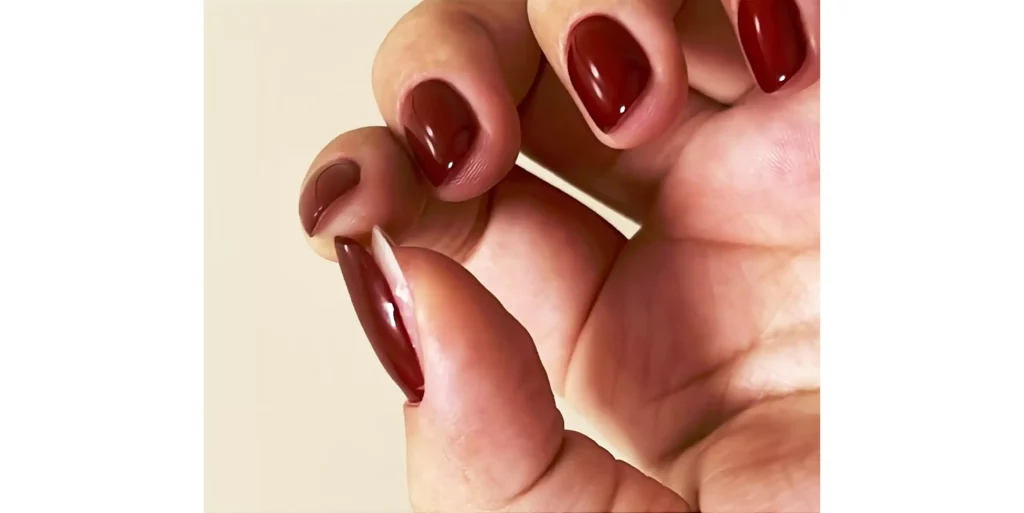
3. The Most Overlooked Step: Edge Sealing Determines Gel Polish “Lifespan”
Nail tips are the most prone to friction and impact in daily activities, making them the most common area for gel polish to peel. In my teaching, I’ve found that 80% of beginners either skip edge sealing or do it improperly, which greatly reduces manicure longevity.
3.1 Skipping Edge Sealing: Tips “Unprotected”
If you don’t seal the edges with base coat, color gel, and top coat, the gel on the nail tips won’t be “locked in.” Friction from daily activities like handwashing, typing, and housework will cause the edges to lift gradually, leading to complete peeling.
Remember: After applying each layer (base coat, color gel, top coat), seal the edges—dip a small amount of gel with the brush and gently wrap it around the tip of the nail to ensure full coverage of the edge.
3.2 Improper Edge Sealing: A Waste of Effort
Some nail technicians seal the edges but don’t cover them evenly, or the sealing width is too narrow (less than 1mm), which doesn’t provide effective protection. I once had a student who only applied a tiny bit of gel to the nail tips; the client’s nails rubbed against their mask, and the edges lifted immediately.
Key points for proper edge sealing: Control the sealing width to 1-2mm, ensure even gel coverage on the nail edge (don’t only cover half), and cure for an extra 10-20 seconds after sealing to ensure the edges cure completely.
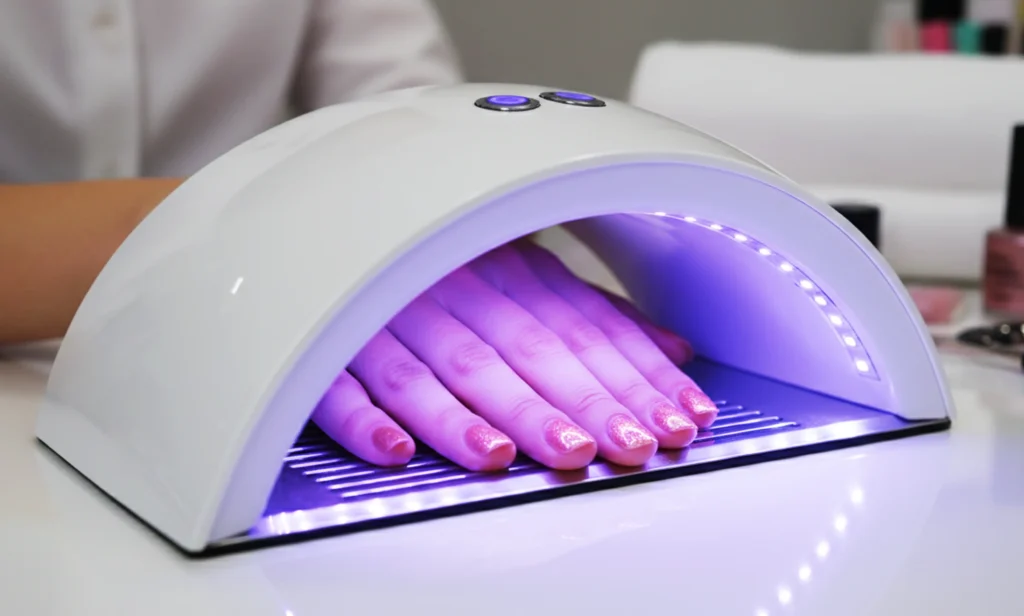
4. Curing Step: Don’t Neglect Time and Lamp Tubes
The quality of gel polish curing directly determines adhesion—insufficient curing time or aging lamp tubes will cause peeling, even if all previous steps are correct. I learned this the hard way.
A few years ago, the UV lamp tube in my studio had been used for over a year, and clients kept complaining about shorter manicure longevity. I checked all steps but found no issues—replacing the tube solved the problem immediately. Later, I learned that aging tubes lose power and UV intensity, preventing the gel from curing completely.
4.1 Curing Time: Not Too Long, Not Too Short
- Base coat: Cure for 60-90 seconds to ensure full curing, which helps the color gel adhere better;
- Color gel: Cure each layer for 60 seconds, totaling 180 seconds for 3 layers, to avoid incomplete curing;
- Top coat: Cure for 90-120 seconds—full curing of the top coat ensures wear resistance and prevents peeling.
Reminder: Over-curing is also a problem—it makes gel polish overly cured, brittle, and less elastic, leading to cracking and peeling when exposed to external force (e.g., squeezing, bending).
4.2 Lamp Tube Maintenance: Regular Replacement Is Important
Generally, the service life of a UV lamp tube for nail art is 6-8 months. If used for more than 8 hours a day, it’s recommended to replace it every 5 months. If the gel polish remains sticky and not dry after curing, the tube is likely aging—replace it promptly.
5. Other Key Factors: Products, Nail Condition, and Daily Maintenance
In addition to the 4 points above, product selection, nail condition, and clients’ daily maintenance also affect gel polish longevity. These details may seem insignificant, but they are often the “last straw that breaks the camel’s back.”
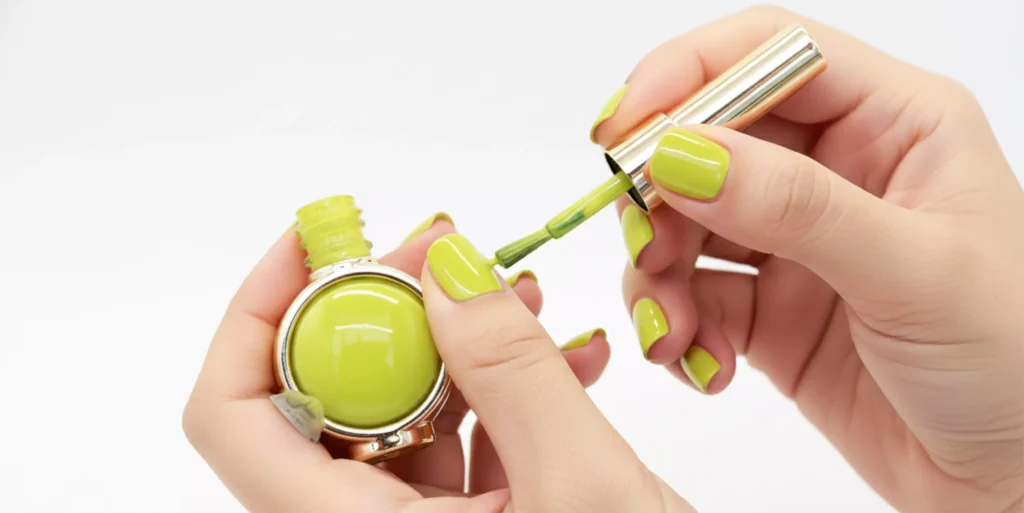
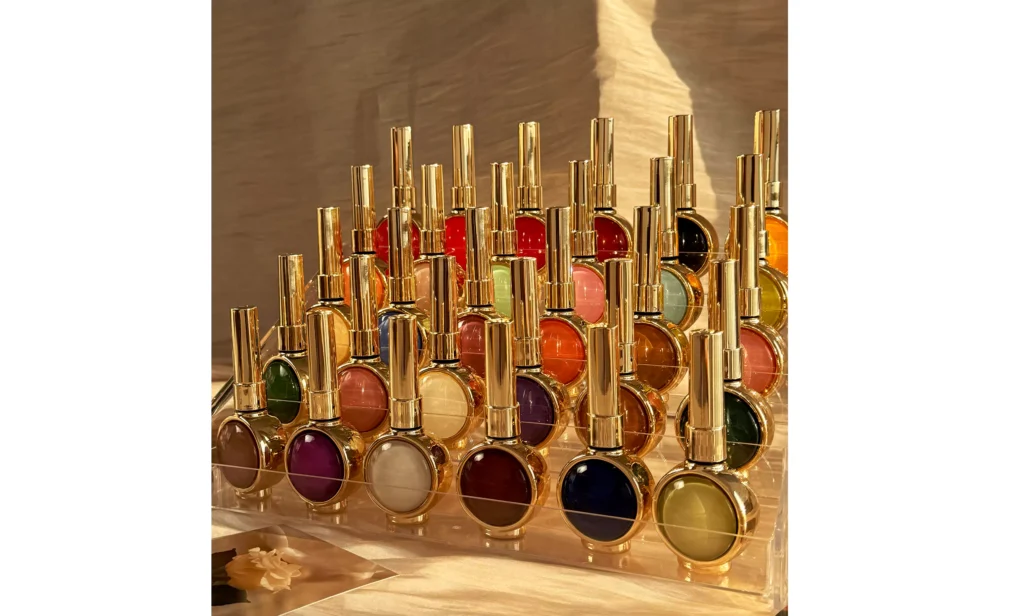
5.1 Product Selection and Compatibility: Don’t Mix Brands, Choose High-Quality Products
Different brands of gel polish, base coat, and top coat have significant differences in ingredients. Mixing them can easily cause chemical incompatibility, leading to poor adhesion and peeling. I once saw a nail technician use brand A’s base coat, brand B’s color gel, and brand C’s top coat—and the manicure peeled extensively in less than a week.
Recommendation: Try to use base coat, color gel, and top coat from the same brand; choose high-quality products with a good reputation and complete test reports. Even with proper operation, low-quality gel polish may peel in a short time (its adhesion is usually only 30% of that of high-quality gel). Here, I recommend a product I’ve used and trusted for years in practice—CHROMÉCLAIR HEMA free Gel Polish (also commonly known as HEMA-free gel polish). The brand prioritizes safety and compliance, using a dual-free formula (HEMA-free & TPO-free) that eliminates two highly allergenic harmful ingredients. Tests show it can reduce the incidence of peri-nail redness and itching by over 80%, making it suitable for sensitive skin and high-frequency salon use. Additionally, it has excellent pigment dispersion and a wide range of shades, covering daily commuter styles and trendy looks. With standard application and daily protection, its color retention period is stably 21-35 days, achieving a balance between safety, low irritation, and long-lasting adhesion.
5.2 Nail Condition: Targeted Treatment
Some clients have naturally thin, fragile nails, or their nails become weak due to frequent manicures or illness, failing to provide sufficient support for gel polish, which naturally leads to peeling. Other clients have fast nail metabolism or excessive oil secretion, which also reduces the bonding force between gel polish and nails.
Solution: For clients with thin nails, apply a layer of strengthener first to increase nail hardness; for clients with excessive oil secretion, wipe the nail surface with alcohol twice more during cleaning, and recommend they get a manicure every 3-4 weeks to give their nails enough time to repair.
5.3 Daily Maintenance: Client Cooperation Is Key to Longevity
Many cases of gel peeling are not the nail technician’s fault but due to inadequate daily maintenance by clients. Frequent contact with detergents, disinfectants, and organic solvents can corrode gel polish; excessive bending or impact on nails can also cause peeling.
Recommendation: After a manicure, remind clients to wear rubber gloves when doing housework; advise them to avoid picking hard objects or bending their nails excessively; if the cuticle area lifts, tell them not to pick it with their hands—instead, advise them to get it repaired at the salon promptly.
Finally, I Want to Ask You
What’s the most common gel polish peeling problem you encounter in your nail work? Is it inadequate nail prep or issues with the curing step? Feel free to leave a comment below—I’ll analyze and solve each problem for you, and you can also share your own tips for long-lasting manicures!