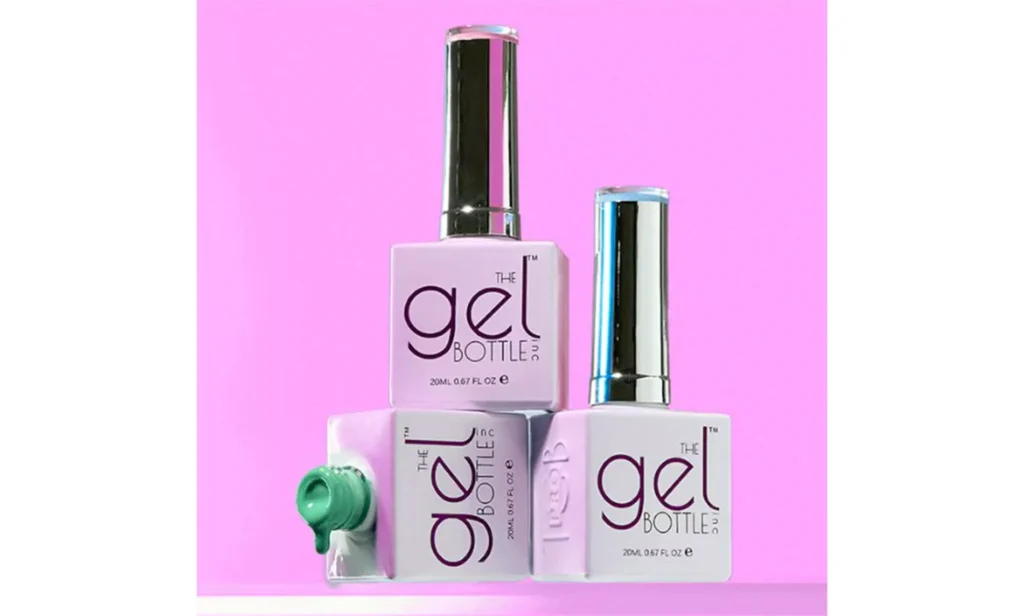
Hi friends, I’m Starry. your go-to nail supply pro with 8 full years of hands-on experience. I work directly with gel polish raw material makers, brand manufacturers, and nail salons every single day, so I know exactly how messy this market can get. Whether I’m restocking wholesale for local salons or helping new nail techs pick their first gels, I hear the same complaint nonstop: there are way too many brands out there, and quality is all over the place. Cheap formulas feel like a total gamble, pricey ones can come off like a scam, and so many products chip, lift, or shrink within days — even when you apply them perfectly.
And let me be clear this isn’t some boring textbook list of rules. Every single tip here comes straight from my day-to-day grind: testing gels firsthand, running real-life trials, and fixing customer mishaps one by one. By the time you finish reading, whether you’re a salon owner buying in bulk or a DIY nail lover doing your own mani at home, you’ll be able to tell top-tier gel apart from cheap junk in seconds. No more throwing hard-earned cash away on bad products.
1. Don’t Fall for Official Swatches! Test Shades Yourself to Avoid Wasting Money
Let’s be real for a second most of us pick gel polish just by scrolling through those pretty, heavily edited official swatches. We fall hard for that perfect shade online, only to end up with something totally different once we paint it on a nail tip. Honestly, this is hands down the most common mistake I see. Tons of budget brands retouch their swatch photos like crazy: light shades get whitened and brightened, dark shades get deepened, and beginners have no clue they’re being fooled.
My Step-by-Step Color Test (No More Surprises)
- Start with high-risk shades first: Stick to milky white, nude pink, light taupe, and sheer black. These are the most likely to show color mismatch, because they need super pure pigment. Cheap gel will fail this test instantly.
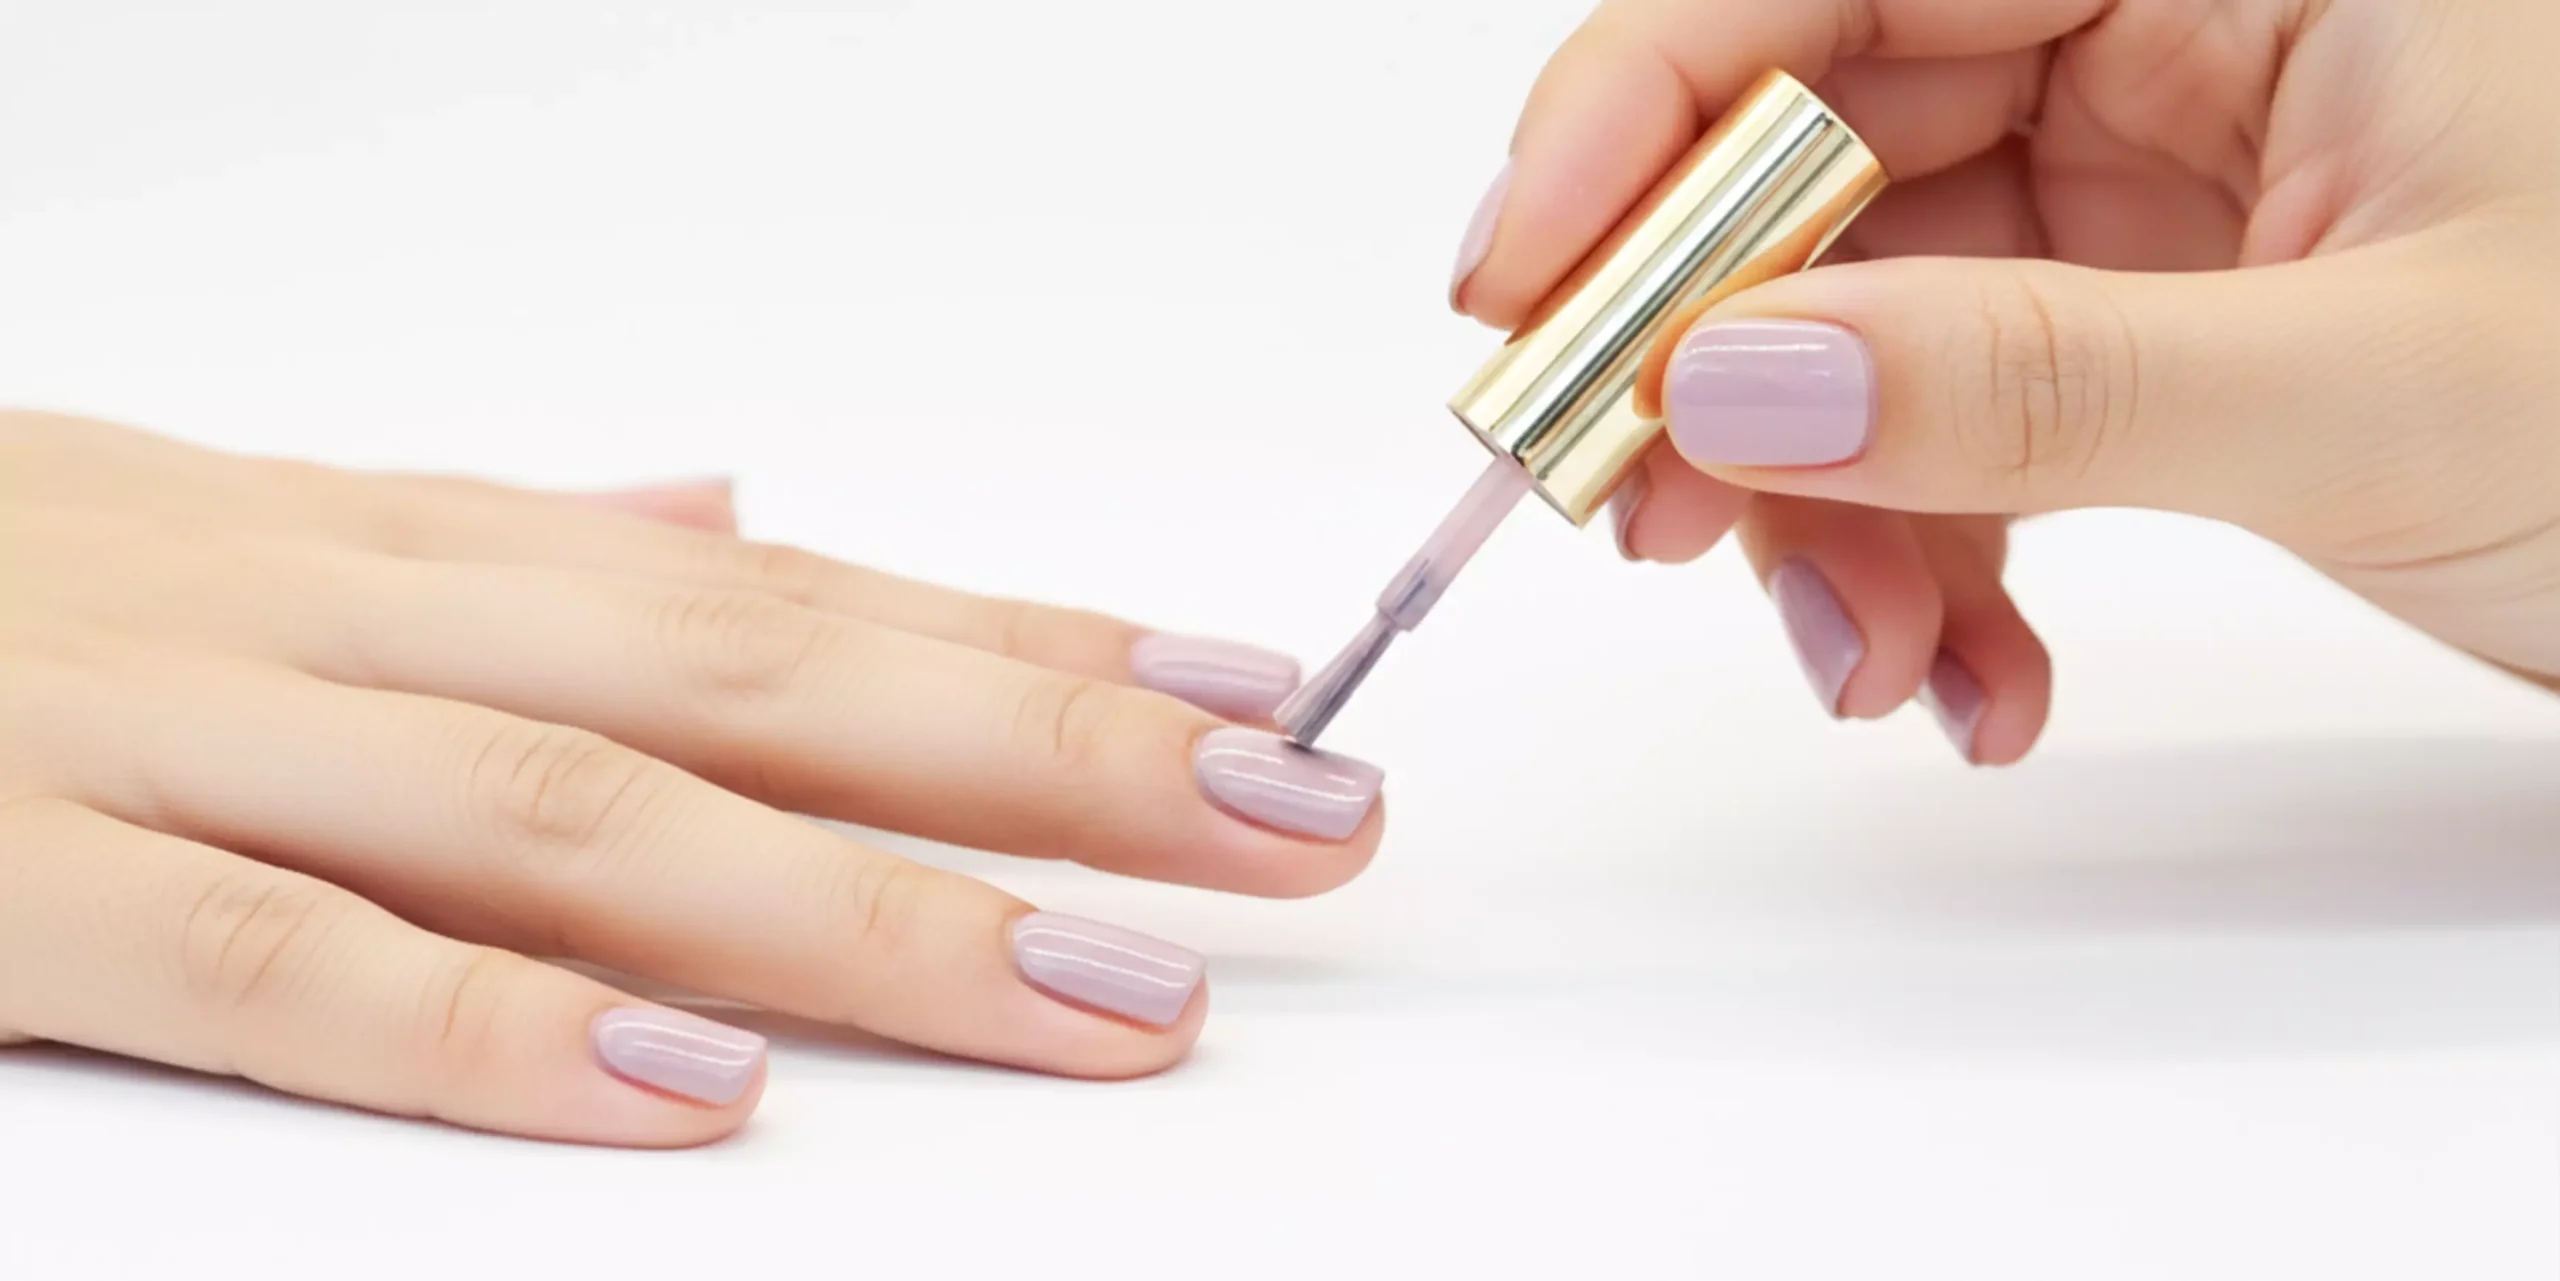
- My go-to testing method: Grab the same small amount of gel, spread it smoothly on a clean, dust-free nail tip, and apply exactly two thin coats. Let it air dry (no UV/LED cure yet) to check how evenly it spreads, then cure it and compare to the official swatch.
- Quality rule: Premium gel has barely any color difference and almost zero brush strokes. If it looks dull, gray, cloudy, or patchy? Put it right back it’s not worth it.
I actually remember testing a viral cheap gel for a regular salon client not long ago, and it was a total disaster. The official swatch was a soft, warm nude pink, but once applied, it turned flat gray and washed out every skin tone. I dug into the ingredients later, and turns out it used cheap industrial pigment — costing just 1/3 of premium cosmetic-grade pigment. For reference, my industry standard for a good gel is simple: it has to stay under 5% color difference to be reliable.
2. Consistency Is Everything: The Right Viscosity = No Brush Strokes (Even for Newbies)
A gel’s viscosity meaning how thick or thin it is makes all the difference in how easy it is to apply and how polished the final look is. Now, a common myth: thicker isn’t always better, and thinner isn’t always easier to control. After pairing gels with nail techs of all skill levels for years, I’ve figured out the perfect texture for every single type.
Recommended next step
HEMA/TPO-Free Starter Routine
First time trying CHROMÉCLAIR? Start with a small, compatible routine instead of one random bottle.
- Choose a HEMA/TPO-free color or set.
- Pair it with a compatible base and top coat.
- Use the same system for a smoother first manicure.
Shop starter routine kitStart with UV1 7PCSCompare all routines
Viscosity Order & Quick Application Tips
First, here’s the standard industry viscosity order (thickest to thinnest): opaque gel > sheer gel > glitter gel. And here’s the fun little hack: this order flips completely for ease of use. Glitter gel is actually the easiest to apply smoothly, which makes it perfect for total beginners.
- High-quality opaque gel: Thick but never clumpy, fully opaque in two coats flat no patchiness, no see-through nail bed. Perfect for beginners and busy techs who don’t have time for extra layers.
- Low-quality opaque gel: Either runny like water (still see-through after three coats) or so thick it’s hard to spread, leaving heavy, obvious brush strokes.
- Sheer gel: Balanced thickness, even, natural transparency no clumpy spots or uneven sheen.
When I train new nail techs, I always push two-coat full-coverage opaque gels right off the bat. From my years of hands-on experience, these cut down learning time by 60% and slash redo rates by at least half total game-changer for newbies.
3. Lifting, Brand Clashing, & Oil-Water Separation — Don’t Mix These Up!
Most people immediately blame the gel when their mani lifts or separates, but that’s not always fair and it’s usually a simple mix-up. Out of hundreds of complaints I’ve fixed over the years, 80% of lifting cases are either from mixing mismatched brands or mistaking the normal texture of Japanese jarred gel for spoiled, bad product.
Key Differences & How to Avoid Mistakes
- Lifting with same-brand products (correct application): Total low-quality gel. Gel polish is made from a precise mix of base gel and color pigment. Premium gels mix perfectly; use the matching base, color, and Diamond Top Coat the right way, and it will never lift or split. Lifting here means dirty pigment, a bad base formula, or expired gel.
- Lifting from mixed brands: Normal chemical reaction. Every brand uses its own resin and base mix. Mismatching them can cause a bad reaction, leading to lifting and peeling. Beginners should stick to full matching sets from one brand to stay safe.
- Oil-water separation in Japanese jarred gel: Totally normal. Japanese jarred gel has super high resin content and is extremely thick, so mild separation can happen after sitting for a while. Just stir it well with a mixing stick before using this is nothing like the separation of spoiled regular gel polish.
Speaking of this mix-up, a longtime salon client once threw away several bottles of nice Japanese jarred gel, totally convinced it was ruined because of a little oil-water separation. She was so upset when I explained the difference! After that, I held small casual workshops for local salons just to clear up this common mistake and stop people from wasting perfectly good product.
4. Shrinkage, Tacky Layer, & Cure Quality — Test in 3 Minutes Flat
Next up, two of the most annoying problems for both pros and DIYers: shrinkage and excess tacky layer. You spend forever perfecting your mani, only to watch it shrink at the edges or collect dust within days all that work for nothing. The good news is these two things are the quickest tests for a gel’s curing power and adhesion, and I always test them myself before recommending any gel to clients.
Shrinkage Test: The Real Check for Adhesion
Shrinkage almost always boils down to poor adhesion or low-quality resin in the formula. Top gel brands prioritize strong adhesion when they develop their products, and industry numbers back this up big time: less than 3% of complaints for premium gel are about shrinkage, while that number jumps to over 40% for cheap budget gels.
How to test: Apply your color gel, cure it fully under UV/LED, then let it sit for 24 hours. Check the edges no shrinkage and no visible natural nail means a quality gel. Always check reviews first; if multiple people complain about shrinkage, skip it entirely.
Tacky Layer Test: Spot a Bad Cure Fast
A thin, slight tacky layer after curing is totally normal for gel polish don’t panic over that. But thick, sticky residue that won’t go away? That’s a big red flag for low-quality gel, usually from not enough photoinitiator or a poorly balanced formula. Too much tack picks up dust instantly, ruins top coat adhesion, and makes your mani fall apart way faster than it should.
How to test: Wipe the nail gently with a lint-free nail wipe. Premium gel has minimal tack and wipes clean easily; cheap gel leaves a thick, goopy residue that sticks to the wipe and stays sticky. Avoid these at all costs.
Pro Quick Tip: Don’t Overdo It on Product
One quick pro reminder before we move on: even the best gel will wrinkle if you apply dark shades too thick no matter how long you cure it. This is 100% user error, not a bad gel. Always stick to the thin, multiple coats rule for a flawless, long-lasting finish, trust me on this.
5. Sheer Gel to Opaque Hack + Safe Formula Rules
Lots of us love sheer shades for that soft, natural look, but we also want fuller, more opaque coverage and there’s a right way to do it. The biggest mistake I see is piling on one thick coat to get more color, which just causes wrinkling and incomplete curing. Today I’m sharing my go-to pro trick I’ve used for years to nail that perfect balanced look.
My sheer-to-opaque secret is simple: Never use one thick layer. Start with a thin Rubber Base Coat of milky white gel, cure it fully, then add two thin coats of your sheer shade on top. This gives you rich, opaque color without heaviness or wrinkles, while keeping that soft, natural sheer finish we love. It works especially amazing for tricky sheers like clear pink and fluorescent yellow.
My Top Safe Pick: Non-Toxic, Skin-Friendly Gel
On top of performance, I always push safe formulas the nail industry is finally shifting to cleaner, gentler options, and I couldn’t be happier about it. Always choose HEMA & TPO-Free gel polish or vegan gel polish trusted brands you can count on include TGB and Chroméclair. HEMA is a super common skin irritant in nail products, and TPO can bother sensitive skin, too. These free-from formulas are safe for sensitive nails and even for pregnancy beauty never should come at the cost of your health.
Future Trend: Will Biodegradable Gel Go Mainstream?
Beyond these daily tips, I wanted to share a little industry trend I’m seeing lately sustainability is becoming a top priority for brands and techs alike. Many top manufacturers I work with are developing biodegradable gel polish ingredients right now. These formulas give the same flawless, long-lasting finish while cutting down on plastic waste and environmental harm from nail product disposal. I predict in 3–5 years, these eco-friendly, non-toxic gels will slowly replace cheap, harsh formulas and become the new industry standard. At the end of the day, beauty shouldn’t hurt our health or the planet.
Now I want to hear from you guys let’s chat! What’s your worst gel polish disaster? A shockingly wrong color that didn’t match the swatch, bad edge shrinkage that ruined your mani, constant lifting, or something else totally frustrating? Drop a comment below I’d love to troubleshoot with you and help you avoid these messy mishaps next time!