This tutorial will break down the technique for painting circles on nails into three steps, from the foundational base coat to detailed finishing touches. We’ll walk you through each step to help you master the art of creating perfect circles on your nails.
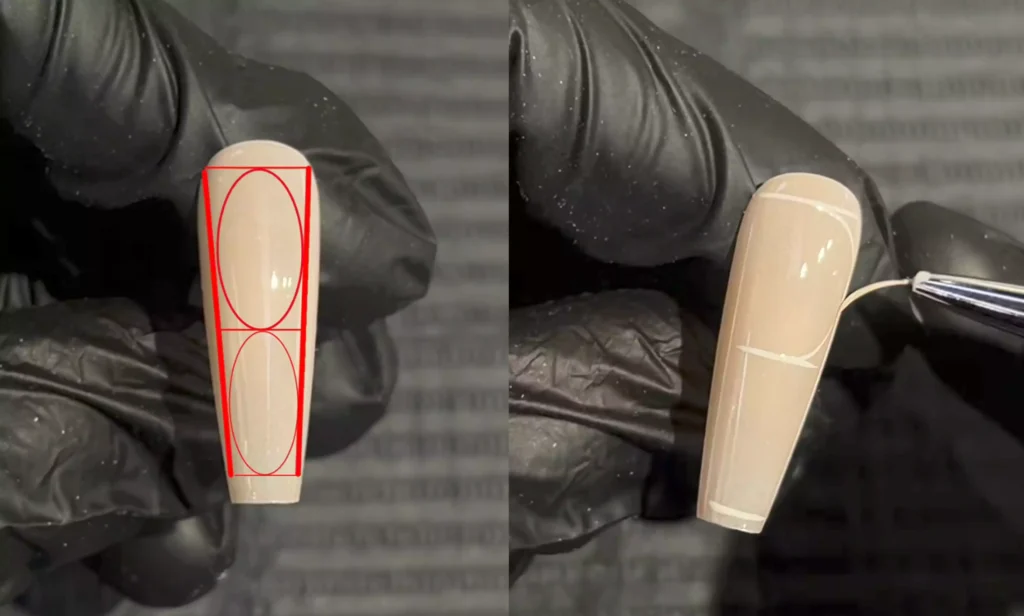
Step 1: Base Coat and Frame Positioning
First, apply a nude gel polish base coat (I used CHROMÉCLAIR’s Hema Free Gel Polish SR-13, which has excellent flow, is easy for beginners to apply evenly, and is non-toxic and healthy). Once the base coat is completely dry, begin the “frame positioning” step.
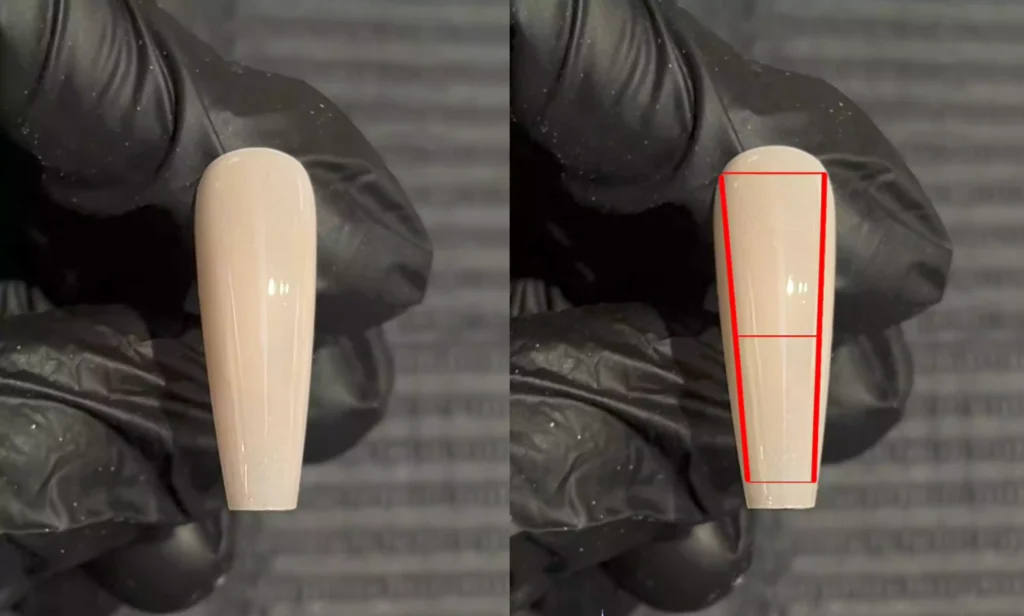
Using the nail art pen, draw vertical lines along both edges of the nail surface, leaving approximately two millimeters of space on each side;
Then draw a horizontal line across the center of the nail surface, dividing it into two equal parts;
Finally, connect the upper and lower endpoints of the vertical lines. At this point, two rectangular areas will appear on the drawing surface—this forms the basic framework for drawing a circle.
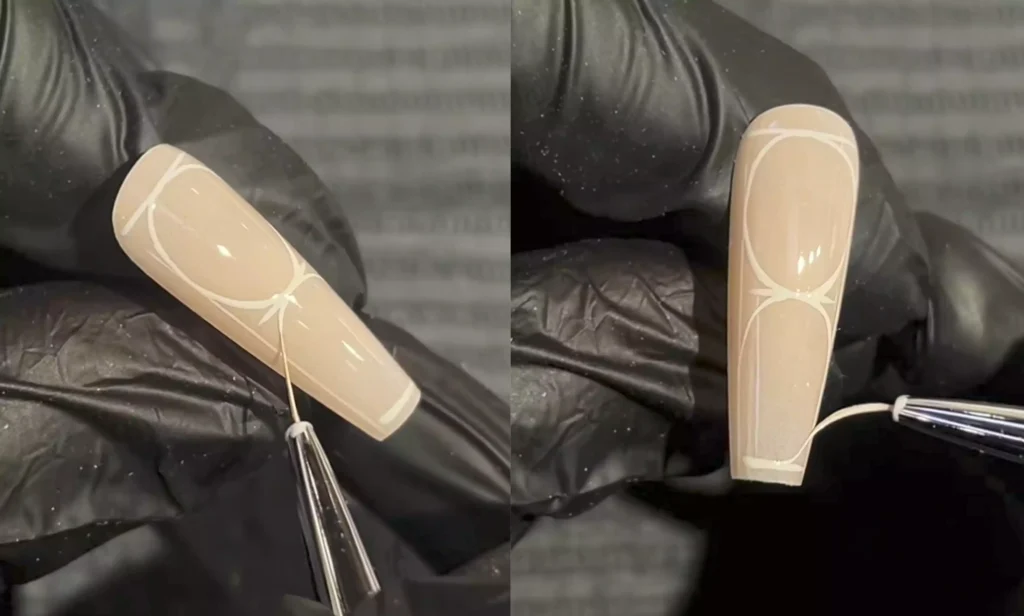
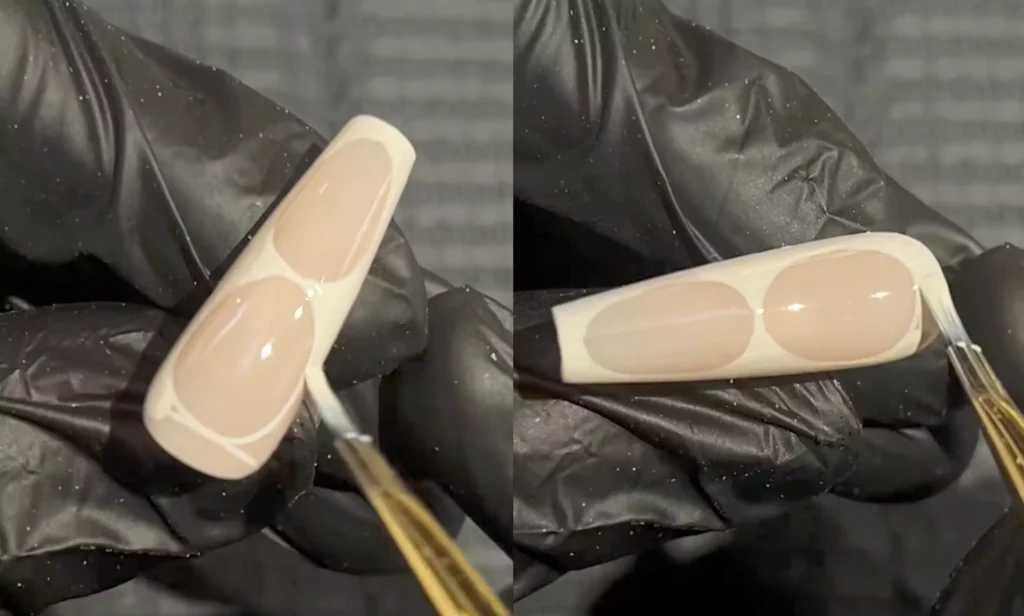
Step 2: Connecting Curves to Form an Ellipse
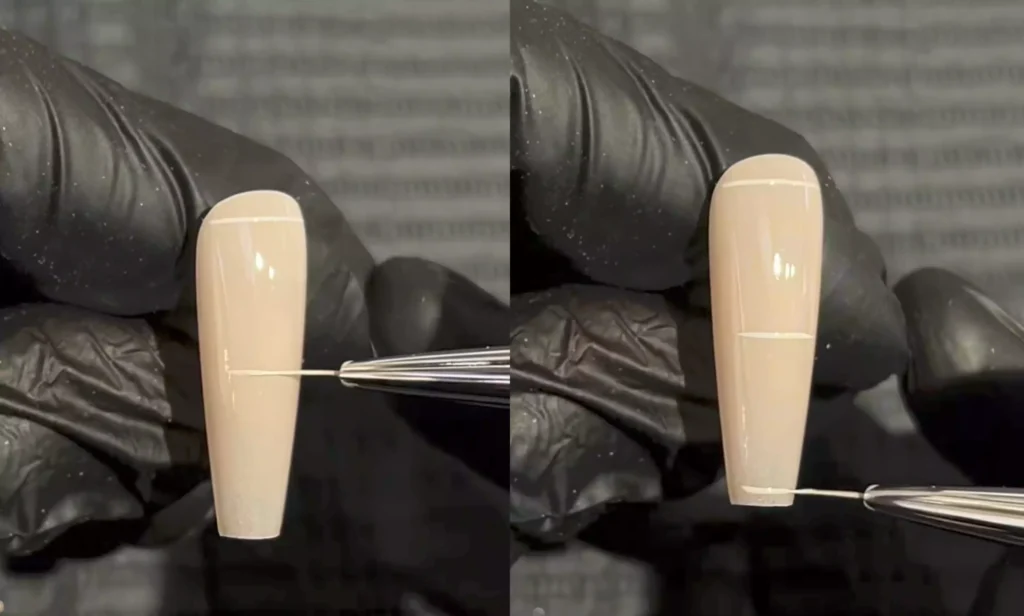
After completing the frame, proceed to the “Connecting Curves” stage. Locate the midpoint of each rectangle’s four sides and use a nail art pen to connect these midpoints with curved lines.
Draw an arc connecting the midpoint of the top edge to the midpoint of the left edge, and another arc connecting the midpoint of the left edge to the midpoint of the bottom edge. Repeat this process to complete the two arcs on the right side. When the four arcs naturally enclose the space, an ellipse is formed.
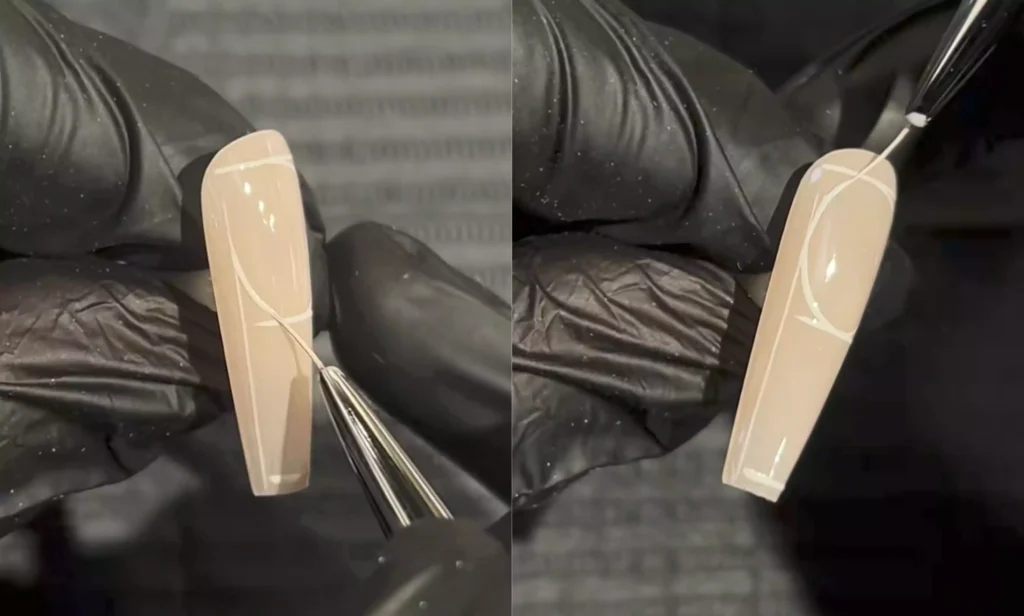
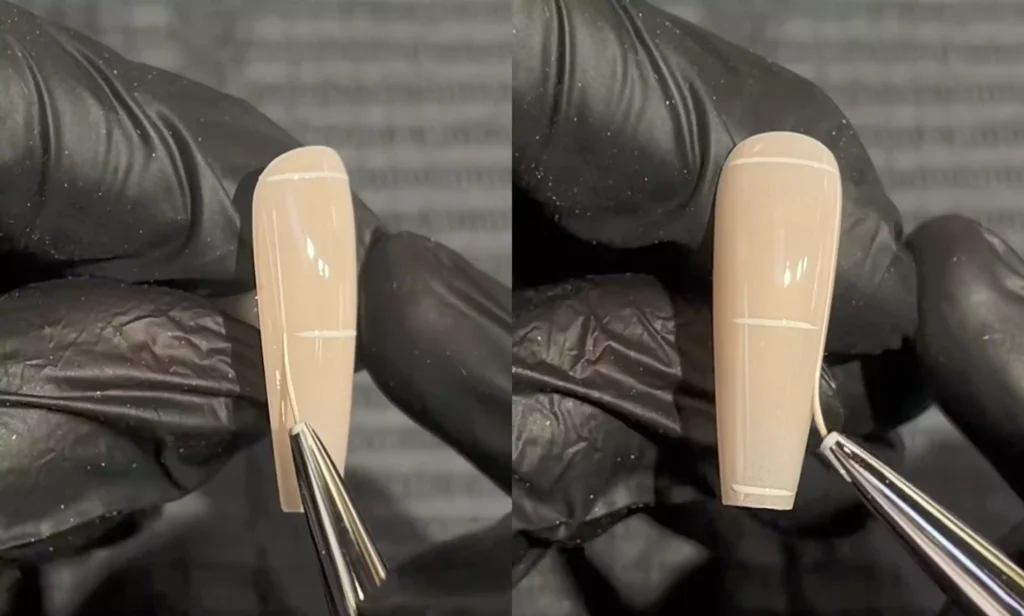
Repeat the same steps for the rectangle below. If the curve isn’t perfectly smooth at this stage, don’t worry—you can adjust it later.
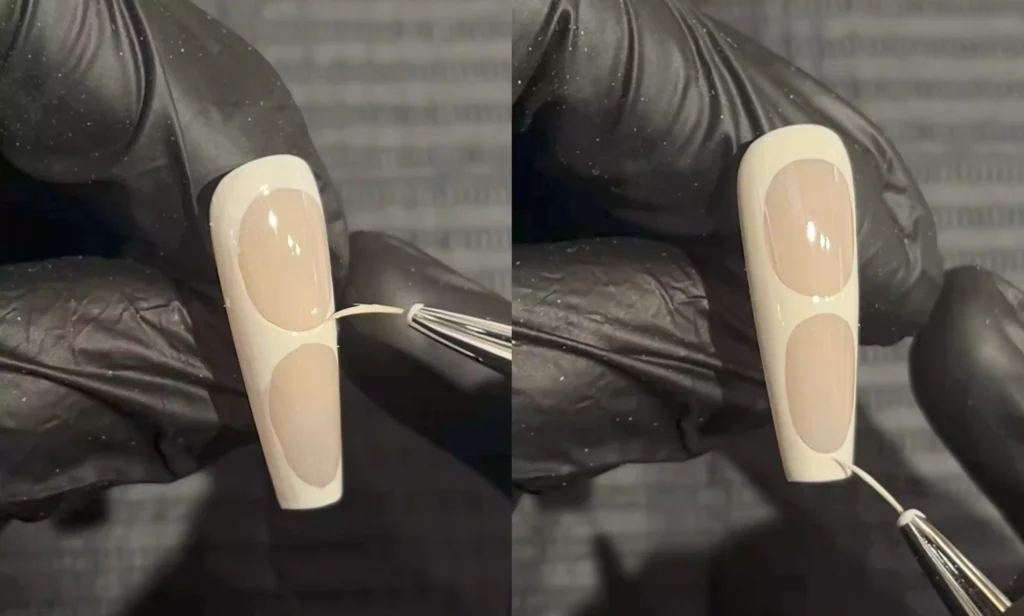
Step 3: Coloring and Final Details
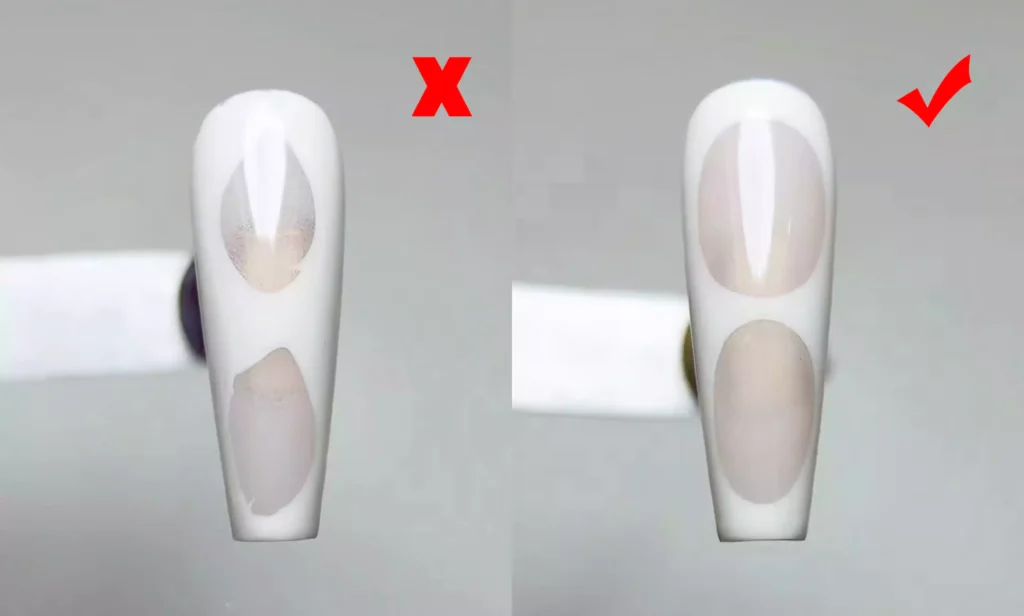
When coloring, first use the paintbrush to fill large areas within the oval shape with color.
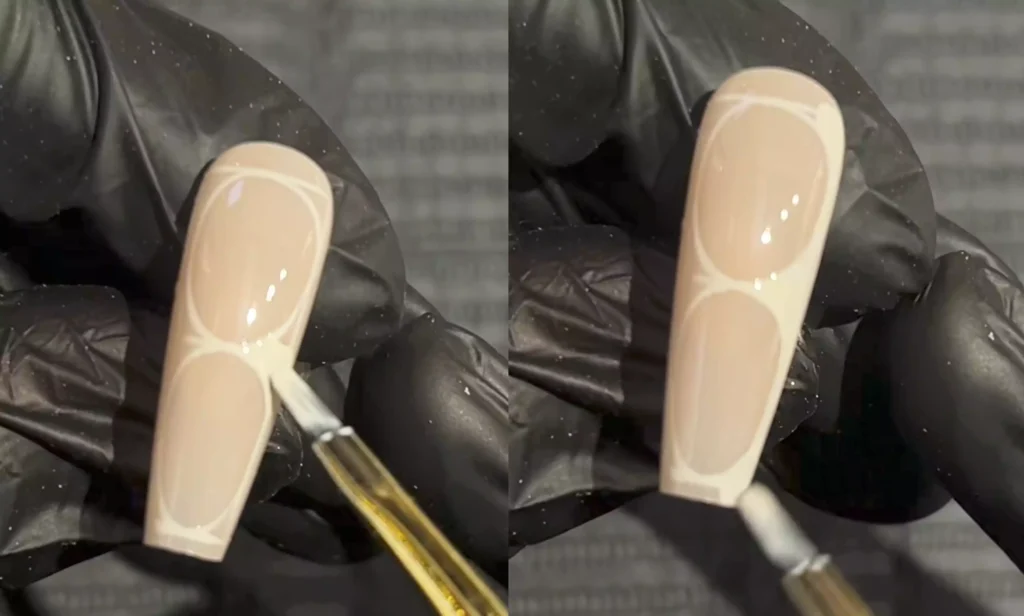
When coloring, be mindful of staying within the designated areas and avoid going outside the outline.
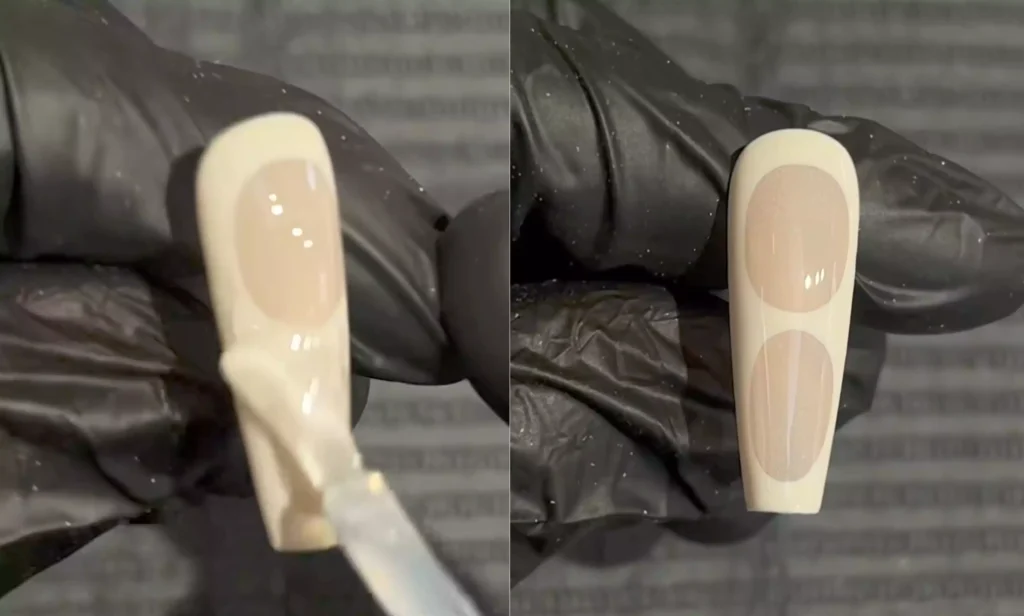
After completing the coloring, use a fine brush to refine the edges of the design and make adjustments at the intersections of lines.
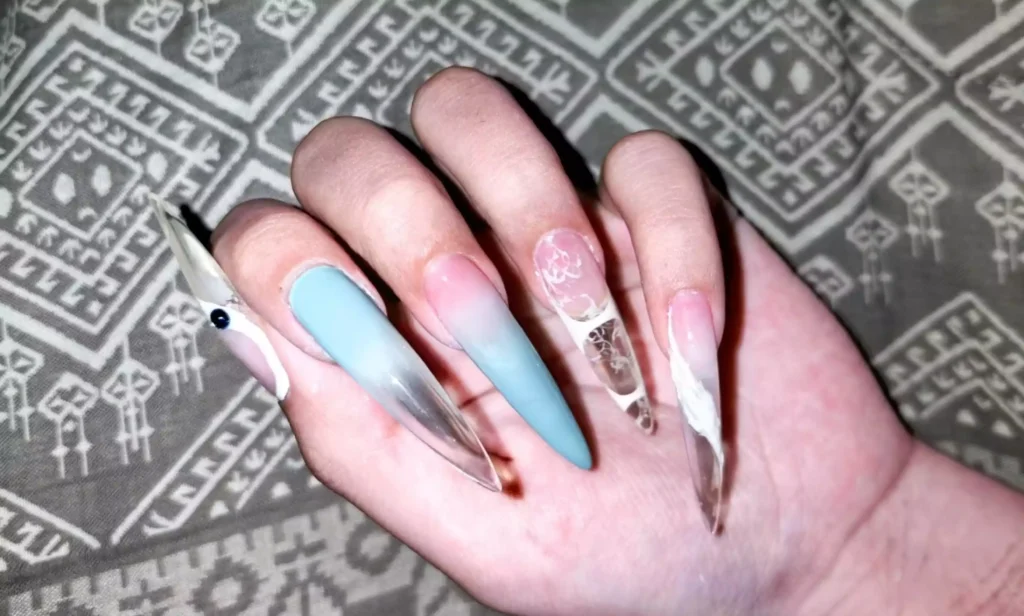
Once the details are perfected, doesn’t it look more exquisite! Finally, apply a top coat and cure it under a UV/LED lamp. That wraps up the entire circular nail art tutorial! Pretty handy, right?
Conclusion
By following the three core steps—“set the frame, connect the curves, and fill with color”—you can achieve neat circular patterns on your nails. With practice to master brush control and smooth lines, your circular designs will become more refined.
In this tutorial, I’m using CHROMÉCLAIR’s HEMA-free Gel Polish. Their products prioritize safety and low irritation (HEMA-free & TPO-free), are eco-friendly, and free from harsh or harmful ingredients to protect nail health. The color selection is super rich, the color retention time is long-lasting (about 21 days), and it keeps up with the trendy aesthetics, allowing you to use it with peace of mind and look good!

Having trouble with the steps? Don’t forget to check out the video tutorial at the end of the article! If you found this helpful, feel free to give it a thumbs up and save it ⭐. Subscribe to my channel, and see you in the next tutorial!