
Have you ever felt confident and proud after creating a perfect set of nails for a client, only to receive a barrage of questions a few days later like, “My nails are lifting,” or “The topcoat has become cloudy”? If you’ve ever been defeated by these gel polish problems, don’t despair—the issues you’ve encountered aren’t unique “mysterious malfunctions.” There are solvable reasons behind them, and this guide is your complete “troubleshooting manual.”
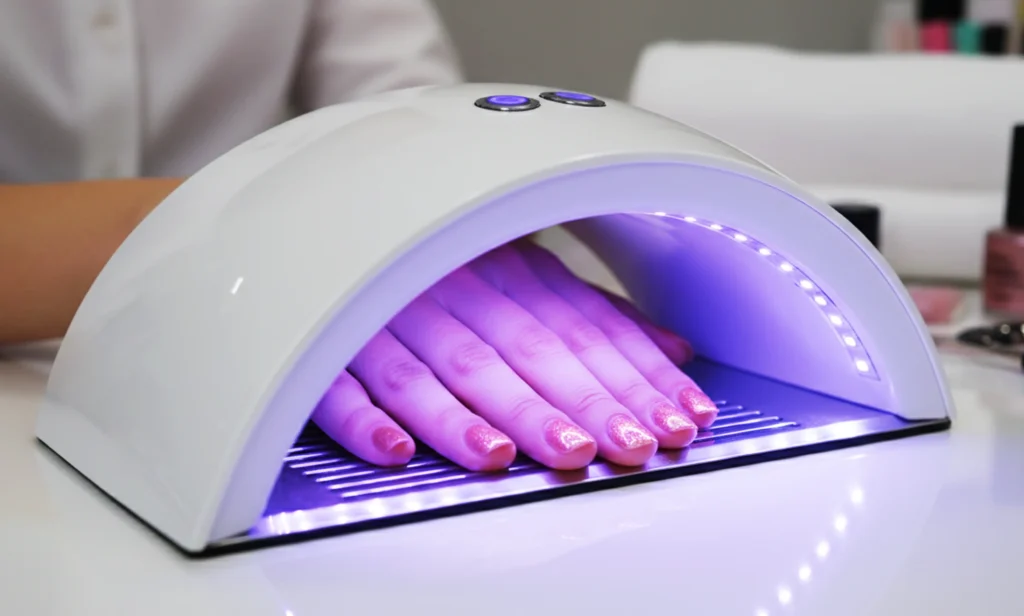
I. Gel Polish Not Curing Properly
Symptom: The gel polish remains sticky and not fully cured after curing under the lamp.
Reason A: Excessive application of the bonding agent (primer). Excessive bonding agent hinders light penetration, preventing the base layer from fully curing. The correct amount should be strictly controlled; it is recommended that the total amount for both hands does not exceed 0.1ml, and it should be applied thinly and evenly.
Reason B: Problems with the UV/LED lamp equipment. This includes insufficient light intensity, aging bulbs, or mismatched spectrum. LED/UV bulbs, in particular, have a limited lifespan and require regular inspection and replacement.
Reason C: Insufficient curing time. Curing times vary depending on the brand and type of gel polish. Typically, a single curing session requires 60-120 seconds; this time may need to be extended in winter or when the gel layer is thicker.
Reason D: Improper positioning. Fingers are not placed completely flat or are positioned sideways, preventing the nail surface from facing the light source directly, resulting in insufficient irradiation of some areas.
Solution: Control the amount of bonding agent; regularly maintain the UV/LED lamp equipment; strictly adhere to the recommended curing time; ensure the nail surface is fully exposed to the light source, and adjust the position for special nail shapes such as the thumb for separate curing.
II. Gel Polish Wrinkling
Symptom: The gel polish on the nail surface develops uneven wrinkles after curing.
Cause A: The colored gel is applied too thickly. A thick layer of gel shrinks rapidly on the surface during curing, while the inside remains uncured, resulting in wrinkles.
Cause B: Insufficient curing time under the lamp. The surface is partially cured, but the inside remains liquid. Subsequent handling or use causes wrinkles due to differences in elasticity.
Solution: Follow the “thin layers, multiple coats” principle; each layer of gel should be applied evenly and thinly; ensure sufficient curing time under the lamp for each layer, avoiding rushing to the next step.。
III. Gel Polish with Particles
Symptom: The finished nail surface has small bumps or a grainy texture.
Reason A: Inadequate pre-treatment. After filing, the nail surface was not thoroughly cleaned with a dust brush, and residual dust mixed into the gel.
Reason B: Improper application technique. Applying the gel too quickly, too forcefully, or at an incorrect angle (such as a 180° flat brush stroke) can easily create air bubbles, which solidify into particles after curing.
Reason C: Improper product storage. Residual gel on the bottle opening was not cleaned for a long time, and solidified fragments were introduced into the bottle.
Reason D: Incorrect operating environment. The brush or bottle opening was directly exposed to the UV/LED lamp, causing localized gel solidification and mixing with the liquid gel.
Solution: Thoroughly remove dust after filing; practice a smooth and gentle application technique, keeping the brush at a 45° angle to the nail surface; regularly clean the bottle opening; place the gel polish bottle away from the light source during operation.
IV. Dull Top Coat
Symptom: After curing, the top coat lacks shine and appears matte or hazy.
Reason A: Incomplete cleaning. Residual gel residue or cleaning solution affects the surface gloss. A dedicated UV gel cleanser should be used, and the surface should be wiped in a single direction, avoiding back-and-forth rubbing.
Reason B: Insufficient or too thin top coat application. The top coat usually requires two layers: the first layer is cured under a lamp for 2 minutes for initial setting, and the second layer is cured for 4-6 minutes to achieve sufficient hardness. Insufficient curing time or too thin application will affect the final gloss and durability.
Solution: Clean each finger separately with a clean cotton pad; ensure the top coat thickness and curing time are sufficient; choose a high-quality wipe-off top coat.
V. Cracking Phenomenon
Symptoms: Fine cracks appear on the surface of the top coat, or even peel off in flakes.
Cause A: The top coat is too thin or applied too few times. Insufficient thickness leads to insufficient hardness, making it prone to cracking after daily wear and tear.
Cause B: Misuse of no-wipe top coat. No-wipe top coats have poor elasticity and a brittle texture, making them unable to adapt to the elastic expansion and contraction of gel polish. Prolonged use easily leads to cracking.
Cause C: The natural nails are too soft and thin. Soft nails are easily deformed under stress, causing repeated stretching of the surface gel and resulting in fatigue cracks.
Solution: Apply two coats of top coat and ensure sufficient thickness; it is recommended to use a removable wipe-off top coat to enhance toughness; for customers with soft nails, apply a layer of strengthening gel or clear modeling gel after the base coat to increase support.
VI. Difficulty or Residue During Removal
Symptom: Gel residue remains after removal, or excessive filing is required to remove it.
Reason A: An unremovable, no-wipe top coat was used. This type of top coat prevents the nail polish remover from penetrating, so the top coat must be filed off before removal.
Reason B: Insufficient wrapping. The foil is too small or not wrapped tightly enough, causing the nail polish remover to evaporate and preventing it from fully dissolving the gel.
Reason C: Insufficient removal time. The recommended wrapping time is at least 5 minutes; this can be extended to 10-15 minutes in autumn and winter or when the gel layer is thicker.
Solution: Confirm the type of top coat; unremovable top coats require prior filing; use sufficiently large foil and wrap tightly; ensure sufficient soaking time for removal.

VII. Peeling at the Fingertip
Symptoms: The gel polish at the front edge of the nail lifts or peels off prematurely.
Equipment Issues: The UV/LED lamp is aging or has insufficient power, resulting in insufficient curing intensity at the nail edge.
Operational Issues: The client’s hand position during curing is incorrect (e.g., fingertips pointing upwards), the nail technician did not properly seal the edges, or the pre-treatment did not thoroughly clean the nail bed and the vertical surface of the nail edge.
Product Compatibility: Failure to use a bonding agent or strengthening gel, especially for thin or weak nails.
Technical Factors: The gel layer is too thick, insufficient curing time, inadequate edge sealing, etc.
Other: In very rare cases, it may be a product compatibility issue, but most peeling is related to application technique.
Solution: Ensure the equipment is functioning correctly; strengthen pre-treatment (cleaning, filing, and sealing the edges); select a bonding agent or strengthening gel based on the client’s nail condition; strictly follow application and curing guidelines.
VIII. In-depth Analysis of Other Common Problems
1. Lifting
This refers to the entire gel layer peeling off from the natural nail surface.
Causes: Incomplete cleaning of the nail surface, leaving behind oil or moisture; using different brands of products together, leading to compatibility issues; mistakenly using acrylic nail drying adhesive (whose acidic components can damage the structure of the removable gel).
Solutions: Thoroughly clean the nail surface with a dedicated cleaning solution and avoid subsequent contact; consistently use products from the same series; avoid using non-matching base products.
2. Delamination
This refers to the separation between the color gel layer and the topcoat, with air visible between the layers.
Causes: Not using a topcoat from the same brand; incorrect topcoat type selection (using a non-wipe topcoat); not capping the free edge of each gel layer; incorrectly wiping the color gel after curing before applying the topcoat; excessively thick gel layers.
Solutions: Use a matching wipe-off topcoat; ensure that each gel layer is capped; apply the topcoat directly after curing the color gel, without intermediate cleaning; control the thickness of each gel layer.
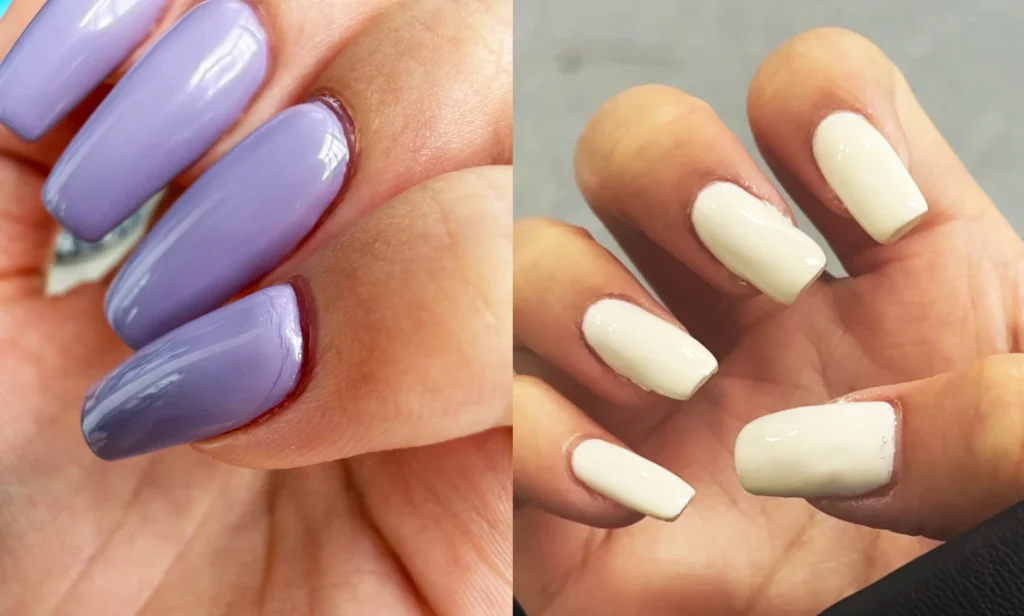
3. Discoloration
This refers to the finished gel polish color turning yellow or becoming distorted.
Causes: Applying the topcoat too thickly or curing for too long, leading to excessive UV reaction and yellowing.
Solutions: Apply a thin layer of topcoat; strictly control the curing time of the topcoat (usually no more than 2 minutes).
4. Reduced Gloss
This refers to the topcoat surface not being sufficiently shiny.
Causes: Uneven application of the color gel, leaving brush strokes; incorrect topcoat type selection; wiping too early after curing or using a cleaning solution containing acetone; reusing cotton pads with residual gel; too thin a topcoat or insufficient curing.
Solutions: Improve application technique to ensure smooth color gel application; use a dedicated UV gel cleaning solution and clean cotton pads; wait 20 seconds after curing before wiping; ensure sufficient topcoat thickness and complete curing.

Conclusion: Your hands are the best training ground for your skills.
In the world of gel manicures, problems are never the end, but rather the gateway to technical advancement. Every lift, every imperfection, every loss of shine silently reminds us that attention to detail is the only standard. Excellent work is hidden in the restraint of each thin coat, the patience of each moment under the lamp, and the thoroughness of each cleaning. May this “troubleshooting guide” accompany you as you transform experience into intuition and refine your skills into art, creating a lasting and dazzling landscape on your fingertips.
Remember: gels may age, lamps may become outdated, but a pair of meticulous and confident hands will always shine brightly.