Builder gel has lived up to its reputation as one of the essential products that everyone needs to have in the nail world, and it is loved for its incredible strength, long-lasting wear, and beautiful glossy shine. Whether you’re looking to add length to your nails, repair weak and brittle natural nails, or build a foundation for intricate nail art, builder gel is here to save the day. Nevertheless, even the best builder gel manicure will eventually come to an end—be it because it starts to lift off due to natural nail growth, or you’re looking for a change in nail art.
Many individuals make the critical mistake of forcefully prying off the builder gel. This often results in thin, peeling, or damaged natural nails. The trick to safely removing builder gel is softening it first before slowly lifting it off. With the right tools, you can safely remove your builder gel at home without damaging your nail plate. In this tutorial, Starry shares her professional tips on how to safely remove your builder gel like a pro, even if you’re a beginner.
Why You Should Never Force Off Builder Gel
Unlike conventional nail polish, builder gel is not removed by prying, picking, or scraping, as this strips layers of your own nail plate. This weakens your nails, makes them sensitive, and increases the likelihood of them breaking.
Although e-files are commonly used in nail salons to aid in the removal process, they are not necessary for home use. In fact, using e-files incorrectly increases the risk of nail damage for the amateur. A simple acetone soak and filing are all that are required for safe home use.
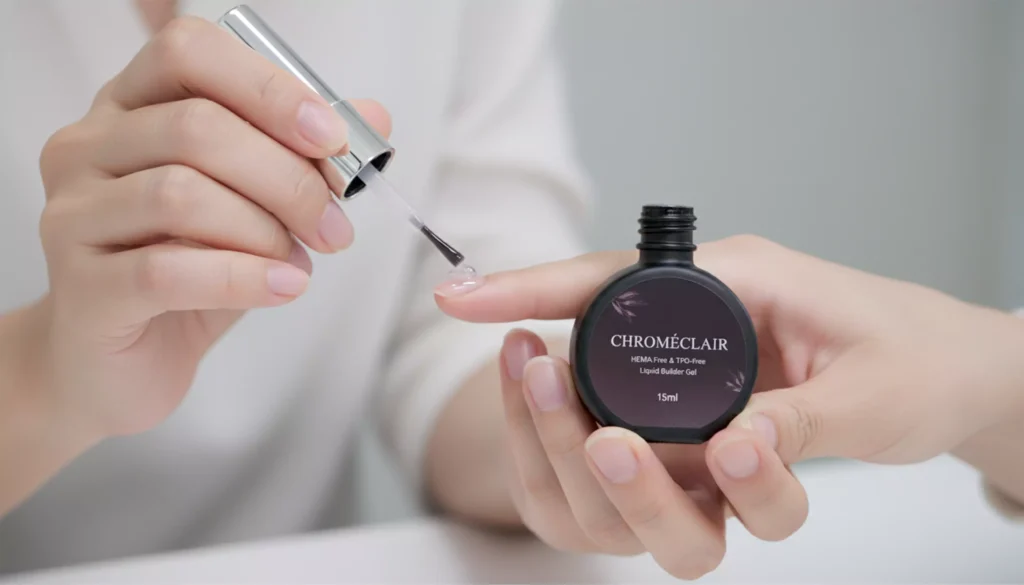
It is also important to note that the CHROMÉCLAIR Gel Constructor has a HEMA-free and TPO-free formula, which helps in the formation of a firm yet easy-to-soften gel layer after curing. This makes the process less stressful on the nails, thus becoming the best choice for both salon users and home users.
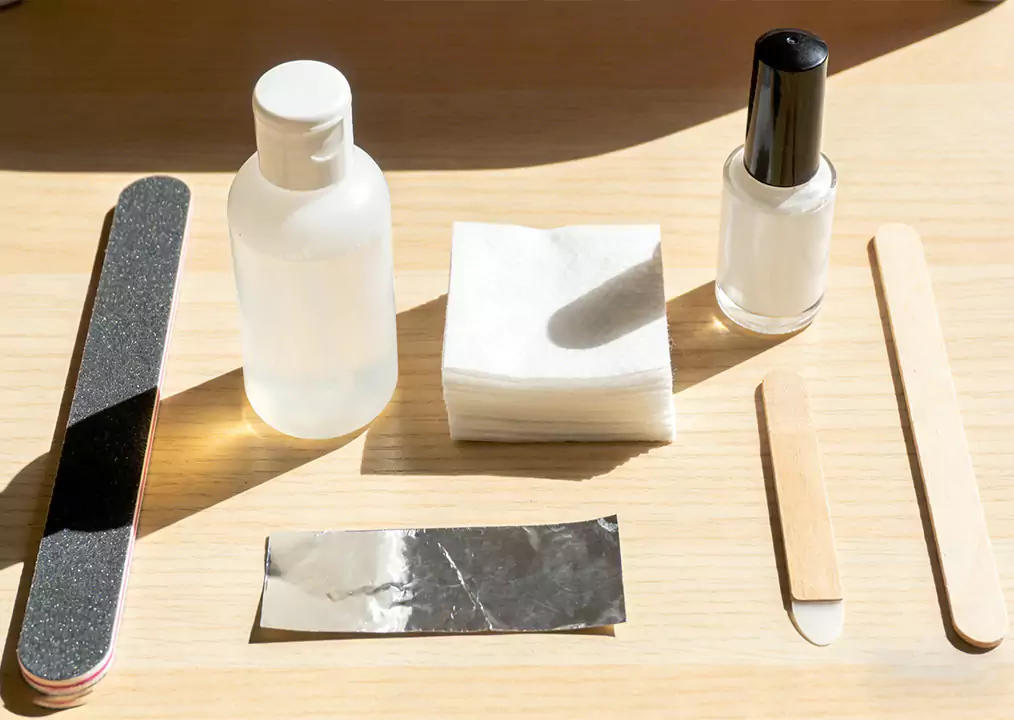
Essential Tools for Removing Builder Gel at Home
Proper tool preparation will guarantee a smooth and stress-freeremoval process. The following is a beginner-friendly checklist of basicand optional supplies you may find helpful for removing builder gel athome:
Basic Must-Have Tools
- Coarse nail file (100-180 grit) – This file buffs the shiny surface of the builder gel, breaking the seal to allow the acetone to penetrate effectively.
- 100% pure acetone – This is the best solvent to soften the builder gel. Acetone with water content will not be effective.
- Lint-free cotton pads or balls – Thick pads are best for holding the acetone and preventing any residue.
- Aluminum foil squares – This traps the heat and prevents the acetone from evaporating, thus increasing the efficiency of the acetone in softening the builder gel.
- Wooden orangewood stick or rubber-tipped cuticle pusher – This is the best way to lift the builder gel without scratching the nail plate.
- Fine buffer/file (180-240 grit) – This file smooths the leftover builder gel residue and evens the surface of the nail plate.
- Cuticle oil – This oil replaces the moisture lost due to the acetone.
- Rubbing alcohol or nail cleanser – This is used to clean the nail plate of any dust, builder gel, and acetone residue.
Optional Professional Tools
- Glass/Ceramic Nail Bowl – For full acetone soaking. Avoid plastic bowls, as acetone will cause corrosion.
- Carbide E-File Bit (Barrel or Cone Shape) – For experienced users to carefully thin out thick builder gel applications. Use low speed and light pressure only.
- Nail Dust Brush – For clearing dust for better visibility and a cleaner workspace.
6-Step Guide to Safe Builder Gel Removal
To safely and effectively remove builder gel without damaging your natural nails, you should adhere to this step-by-step guide.
Step 1: Trim Nail Length
The first step in removing builder gel is to trim the length of your nails using a nail clipper. It is important to avoid cutting too close to the skin and to avoid cutting your natural nails too short. If you have very long extensions, you can trim the edge slightly to make the filing process faster.
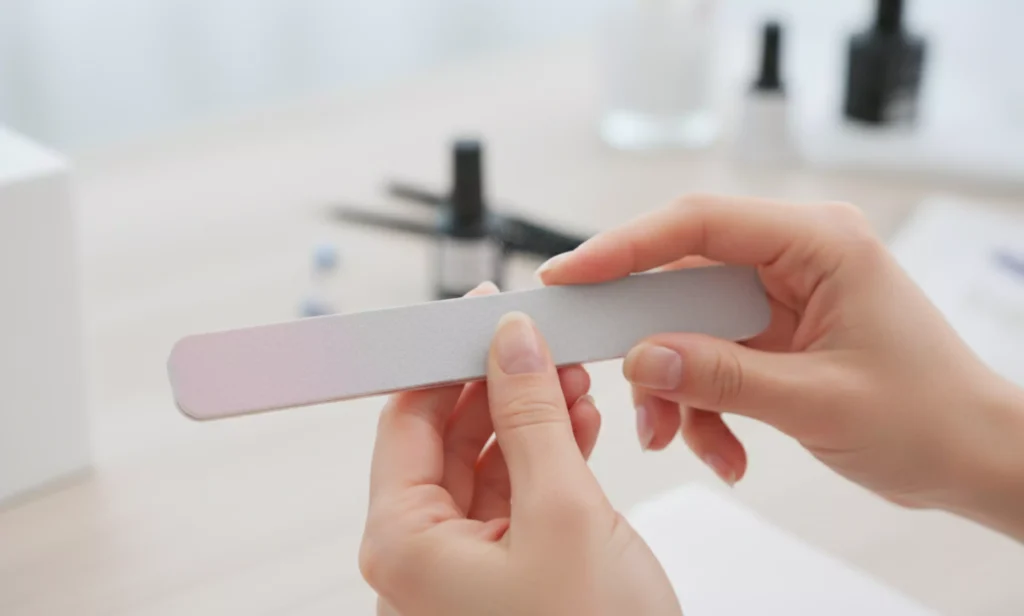
Step 2: File the Top Layer
Use a rough 100-180 grit file to buff the glossy finish of your builder gel. You’re filing off the glossy finish of your gel so that your acetone can penetrate; you’re not filing down your gel completely.
Be very careful not to file your own nail. You’ll need to brush away your dust often to check your progress. so you won’t need to press as hard to buff it.
Step 3: Soften Builder Gel with Acetone
There are only two ways to effectively soften builder gel, and one is recommended for better results, which is the Foil Wrap Method.
Foil Wrap Method (Preferred)
- Soak cotton pads completely in pure acetone.
- Position one cotton pad over each finger, completely covering the builder gel.
- Wrap each finger tightly in aluminum foil to seal and lock in heat and moisture.
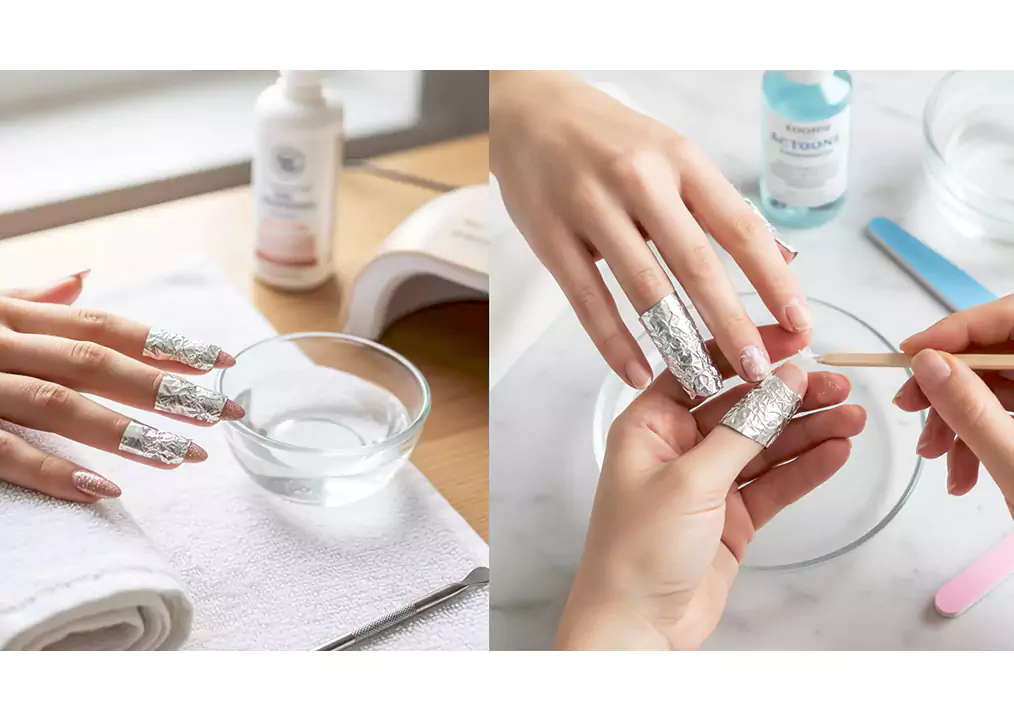
Bowl Soaking Method
- Pour pure acetone into a glass or ceramic bowl.
- Submerge your fingertips and soak them.
The soaking time should be between 15-20 minutes for standard builder gel buildups. When using thick buildups of builder gel, soaking time should be between 20-30 minutes. It is important to work in a well-ventilated area to avoid breathing in acetone fumes. Petroleum jelly should be applied to the cuticles before soaking.
Step 4: Gently Push Off Softened Gel
Once soaked, the foil wraps are removed. The builder gel should have a soft and gummy texture. A wooden or rubber-tipped cuticle pusher is then used to push the loosened builder gel away from the cuticle and towards the tip of the nail.
Never force the resistance gel. If the builder gel is hard in certain spots, it should be wrapped with acetone-soaked cotton and foil for 5-10 minutes. CHROMÉCLAIR Builder Gel has a smooth and pliable texture that lifts easily without clumping or sticking.
Step 5: Buff Away Residue
Using a fine 180-240 buffer, smooth out the remainder of the builder gel by lightly buffing the entire nail surface with a 180-240 buffer grit. The entire nail surface should be cleaned with alcohol or a nail cleanser.
If using an e-file, a small fine carbide bit should be used at low speed, lightly moving over the entire nail surface without pressing on the bit.
Step 6: Rehydrate and Nourish Nails
Since acetone is very drying to the skin, hydration is a must.
- Wash your nails with alcohol to remove any acetone.
- Apply plenty of cuticle oil to all nails and skin areas and massage until fully absorbed.
- Finish with hand cream for extra moisturizing
For best nail health, allow your natural nails to rest for 1-2 weeks before reapplying builder gel. Daily use of cuticle oil helps to rehydrate and prevent brittle nails.
Frequently Asked Questions About Builder Gel Removal
Can I remove thick builder gel without an e-file?
Yes, it is possible. Acetone soaking for an extended period (25-30 minutes) along with filing the top layer of the builder gel is enough to remove thick builder gels safely at home.
How long will the entire builder gel removal take?
The entire builder gel removal procedure will take around 30-40 minutes. The majority of the time will be taken up by the acetone soak, which will take around 15-30 minutes. The remaining time will be taken up by filing, pushing, and aftercare, which will take around 10-15 minutes.
What if I do not use cuticle oil after the removal?
If cuticle oil is not used after the removal, the nails will turn dry, the cuticles will peel, and the nail plate will also turn brittle. Acetone has the ability to dry out the oils on the nail plate, and therefore, cuticle oil should always be used
Do different builder gels have different removal times?
Yes. CHROMÉCLAIR Builder Gel (HEMA-free & TPO-free) softens faster and needs 5 to 10 minutes less soaking time than regular builder gels. Its softening properties also reduce nail sensitivity during removal.
Key Safety Tips for Removing Builder Gel
- Never pick or peel builder gel – This is the major contributor to nail damage.
- Avoid the use of metal tools – Metal tools can cause damage to the nail plate.
- Use non-plastic containers for acetone – Acetone can react with plastic and cause leaks.
- Ventilate your workspace – Acetone can cause dizziness.
- Allow nail recovery time – Avoid applying builder gel on consecutive days.
Conclusión
It is not about force but technique to remove builder gel. By filing the top layer, acetone soaking, lifting, buffing, and nourishing your nails, you can remove builder gel at home without damaging your nails.
Using high-quality and skin-friendly builder gel products like CHROMÉCLAIR can further reduce the difficulty of removing builder gel and minimize damage to your nails. Along with its other products like its popular top coats – Capa superior de diamantes, Matte Top Coat, No-Wipe Top Coat, Transfer Gel, and Rubber Base Coat – CHROMÉCLAIR offers a complete line of HEMA-free and TPO-free gel products that can be used for manicures without compromising nail health.
Beautiful manicures begin with healthy natural nails. Now that you know how to remove builder gel without damaging your nails, go ahead and get beautiful manicures with lasting builder gel without compromising your nail health.