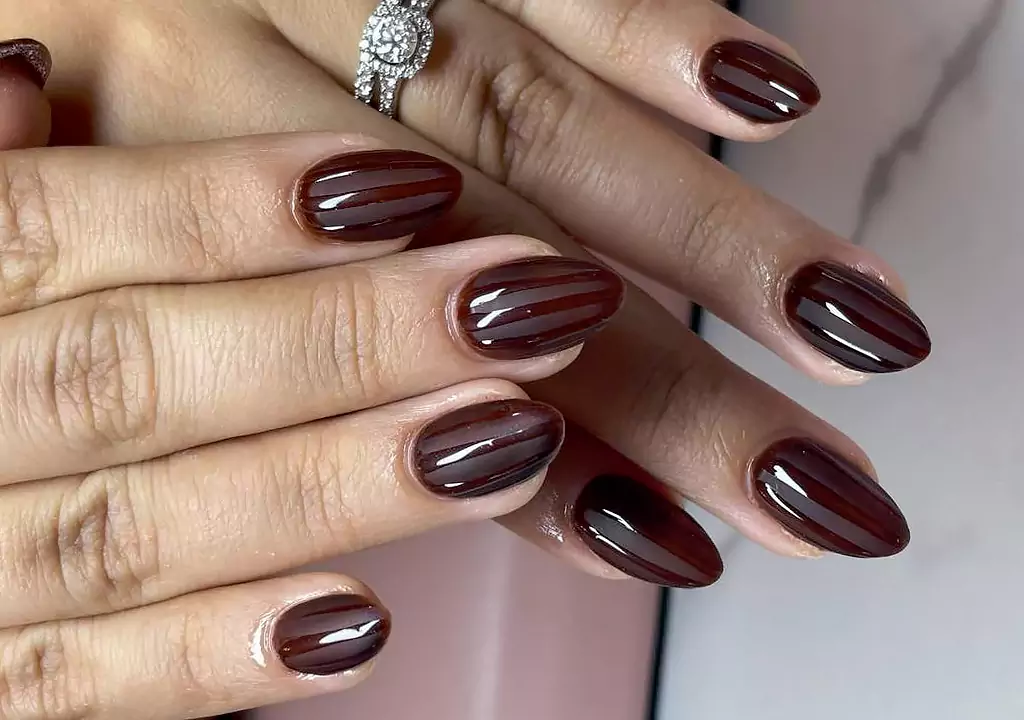
Ever dreamed of achieving a perfectly glossy manicure lasting up to several weeks without leaving the comfort of your home and going to a professional salon? Well, guess what – gel nail polish is officially in! With the development of advanced formulations and DIY kits, applying gel nail polish has become an enjoyable beauty experience, which is accessible to everyone and really fun to do. Regardless of whether you have never tried your hand at it or if you’ve already experienced some difficulties in this respect, here’s a step-by-step guide on how to apply gel nail polish on natural nails. We have gathered all the professional knowledge you need about the procedure and even have an inside scoop on a brand revolutionizing this field.
Principaux enseignements
- These new semi-permanent nail polish formulas provide a high-shine manicure at home.
- Correct preparation of the nails is mandatory for proper application.
- The “rule of four” (base, two colors, top) and thin coats are your keys to success.
- DAILY maintenance using cuticle oil increases longevity tremendously.
- CHROMECLAIR presents an efficient gel nail polish system that is easy to apply at home.
Why Preparation Is Key to a Perfect Gel Nail Polish Manicure
We cannot stress this enough: perfect nail preparation is what makes it all happen when it comes to a flawless gel nail polish manicure, no matter whether it’s a traditional soak-off type of gel or a new one. Imagine it as preparing your face before applying any cosmetics: properly cleaned, smooth, and free of oils nails ensure even application and lasting results. And here are some basic steps to get ready before you start applying gel nail polish at home.
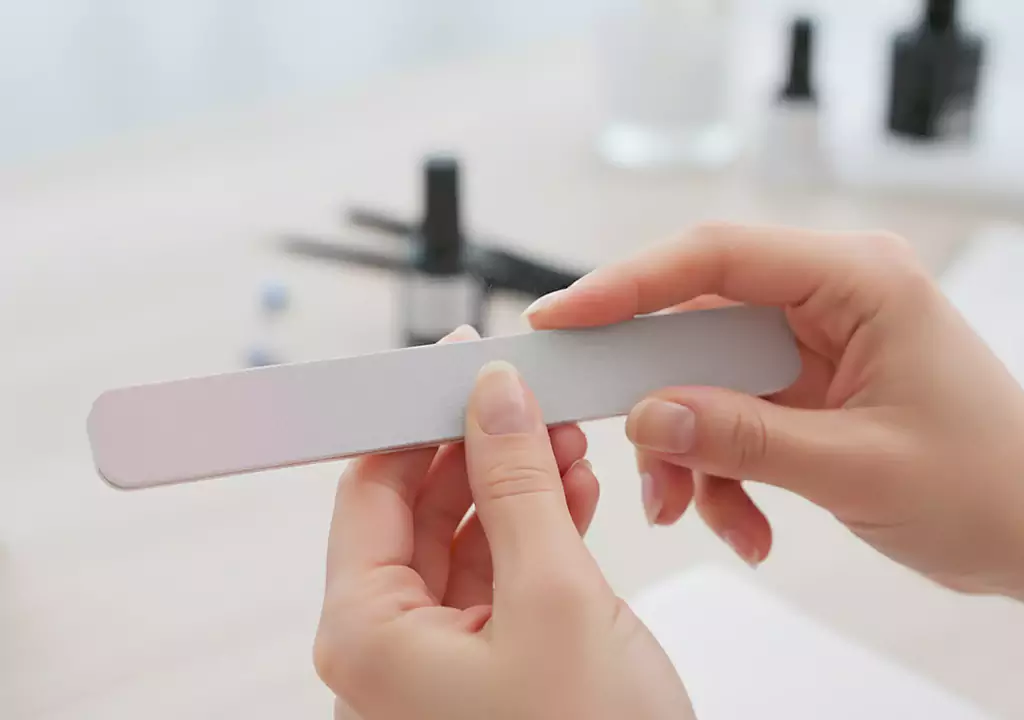
Step 1: File and Shape Your Nails
First, prepare the nails according to your desired length and shape. There are several different shapes, such as square, oval, almond or coffin, that you may prefer; however, while doing this process, do not forget to file nails in one way from the outer edge to the center in order to avoid splitting. This will create a perfect and even free edge; it is vital when learning how to paint gel nails on natural nails. First, shorten the nails using nail clippers, then file them to the correct shape.
Step 2: Give Your Cuticles Some Care
Having a well-prepared cuticle area aids in the easier application of the gel nail polish and minimizes early nail chipping. You need to put some drops of Cuticle Softener or Cuticle Remover in each nail for about a minute. Next, you should carefully push back the cuticles with the help of Steel Cuticle Pusher or Orangewood Cuticle Stick, and it exposes more nail plate surface, thus providing a contour which looks really neat. In case of using the E-File Pen, then you can use the Cuticle Ceramic Drill Bit, running it slowly to push back and eliminate extra cuticle, but always moving the bit in one direction in order not to do any harm. Finally, you should use Cuticle Nippers and cut off only dead skin.
Step 3: Buff, Cleanse, and Degrease
With the help of Buffer Sponge (typically 180 grit or higher), gently buff the surface of every nail to create a dull appearance. Through this process, microscrapes will occur that will open the keratin layers and enhance the adhesion of gel nail polish. The side areas and those around the cuticles should be given special attention, since they tend to lift if buffing is not done properly. Alternatively, E-File 240 Grit Sanding Drill Bit can also be utilized for the task.
Prochaine étape recommandée
Routine de démarrage sans HEMA/TPO
Vous essayez CHROMÉCLAIR pour la première fois ? Commencez par une petite routine adaptée plutôt que d’acheter un flacon au hasard.
- Choisissez une couleur ou un ensemble sans HEMA/TPO.
- Associez-le à une base et une couche de finition compatibles.
- Utilisez le même système pour une première manucure plus lisse.
Kit de démarrage pour magasinCommencez avec UV1 7PCSComparer toutes les routines
When you’re done buffing, brush any residue from your nails with the Dust Brush, wash and thoroughly dry your hands. It is extremely important to degrease the nails: soak a Lint-Free Wipe in the Gel Nail Polish Remover or nail cleaner and wipe each nail, the underside of the free edge, and the areas surrounding the cuticles. In this way, you will remove all dust particles and natural oils while dehydrating the nail plates—perfect preparation for gel nail polish. If you have pH Bond or Nail Primer at your disposal, apply a thin layer and allow it to air-dry for 60 seconds. Remember to put on Anti-UV Gloves or apply sunscreen to your hands 15-30 minutes prior to curing, but not on your nails!
Gel Nails: The 4-Layer Trick and How to Apply Them
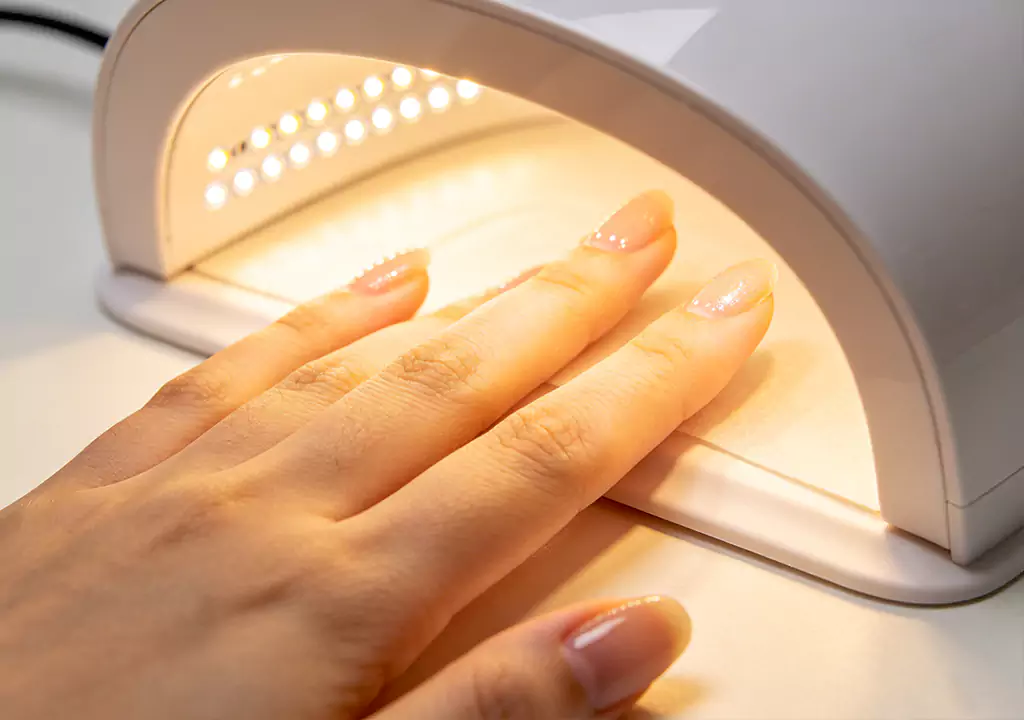
In order to apply gel nail polish like a pro, the trick is in using 4 layers: a base coat, two layers of colour and finally a top coat. It is important to cure all layers under either an LED or UV lamp in order to ensure glossiness. Remember to always apply gel nail polish on a clean and level surface without any sunlight exposure and to remove blue film on the base plate of your Gel Nail Lamp.
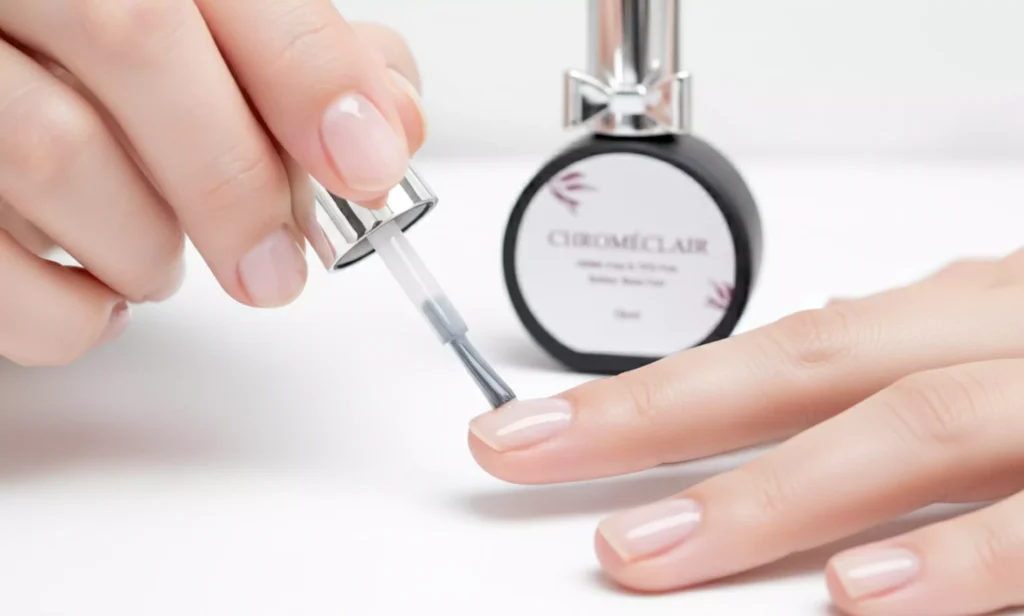
1. Apply a Thin Base Coat
Les couche de base acts as the first step in your gel nail polish manicure. It protects your natural nails while creating a tacky surface for an excellent adhesion of your nail polish color. Apply a thin coat but ensure that you cap the free edge by gently sweeping the brush at the tips of your nails. You should create a small space between the product and your cuticles to avoid direct contact of the gel nail polish with your skin. In case you flood your cuticle area with the product, use a Nail Art Brush or a Silicone Tool with the remover to clean your cuticles before curing. The curing process of the base coat takes 60 seconds under your LED light (time as per the manufacturer of the gel nail polish you are using).
2. Apply Two Thin Colour Coats
Regardless of whether you have selected a soft pink or a vibrant coral shade, remember to always paint your gel nail polish with two thin coats. Thick coats will cause air bubbles formation, wrinkles during the curing process and premature peeling off of the nails. Here is how to apply gel nail polish at home: wipe one side of the brush against the neck of the bottle to remove excess nail polish, then position it close to the cuticle with a bit of margin left and paint three strokes – one down the middle, and one on either side. This way, you get an even bubble-free coat that really is a thin one. Capping the free edges after each coat is a must. Cure the first color coat for 60 seconds under the UV/LED lamp until it is completely dried out. Applying the second coat of gel nail polish should be done once the first layer is completely cured.
Should you require additional strength, this is the time to introduce the Gel de construction into your nail application. You should apply one or two layers of the gel, allowing it to cure after each. If you have long nails, then you could create an apex – a little curve in the middle of the nail – in order to add strength and avoid breaking; you should use low heat setting and cure for 99 seconds when available.
3. Seal with a Top Coat
Topcoat plays a crucial role as the final protection, which makes all the difference between a good gel polish manicure and a failed one that does not last long even within two days. This step will help you protect the color, provide it with shine, and make the polish durable enough to remain perfect with normal use. Begin with applying the topcoat in thin layers and sealing the free edge, and then leave it drying for 60 seconds. This way, you will know that the gel nail polish is dry now.
Aftercare: Make Your Gel Nail Polish Manicure Last
As far as you are aware of how to put on gel nail polish, maintaining your freshness is going to be a part of your routine process. As soon as you are done with your nails, apply some Nourishing Cuticle Oil to each of your nails along with the skin surrounding them. This way, you are going to make your nails moist enough that they do not get dry and fragile. Make sure that you do this process regularly and in addition to this, use Complete Serum which includes vegetable glycerin, panthenol, and chestnut extracts.
Chromeclair: A Gentle, High-Performance Gel Nail Polish Routine
If you’re on the hunt for a gel nail polish system that is durable, easy-to-apply, and gentle on your nails, Chromeclair might well be something worth exploring. Chromeclair is the new generation gel nail polish designed to offer you performance and nail protection in one single product. The unique formulation and exclusive protocol make Chromeclair the first-ever patented polish, which actually protects and strengthens the natural nail beneath the colored polish in addition to being removable in just minutes without the need for drills and pure acetone soaks.
The Chromeclair collection is way more than just the average bottles of gel nail polish. There are Base Coats, Diamond Top Coats, Matte and No Wipe Top Coats, Transfer Gels, Rubber Base Coats and Builder Gels that are all 100% HEMA and TPO free. And it is not only about excluding a few irritants; it is about revolutionizing the concept of safe nail health care altogether. With HEMA and TPO out of the way, one can forget about allergy risks once and for all, while getting superb color retention and shine.
Whatever type of color you use from Chromeclair such as Soft Pastel Colours or bright red shades, you have to follow the same procedure: prepare yourself, apply layers thinly, and let them dry. The builder gels and rubber base offered by the manufacturer is ideal when it comes to experimenting with overlays and nail extensions without causing damage to the natural nails underneath them. With Chromeclair, applying gel nail polish will turn into a really pleasant activity.
Essential Tools for Your At-Home Gel Nail Polish Kit
- 180 Grit Nail File and Buffer Sponge
- Cuticle Softener or Cuticle Remover
- Steel Cuticle Pusher or Orangewood Stick
- Wipe, Nail Cleanser or Gel Polish Remover
- Base Coat, Gel Nail Polish Colour, and Top Coat
- LED or UV Gel Nail Lamp
- UV Protection Gloves and Cuticle Oil

Réflexions finales
Mastering the skills of applying gel nail polish yourself is not as difficult as it might seem at first glance, if you manage to learn patience and use several easy methods. Firstly, you need to start with nail preparation, then move on to the process of 4 coats and curing, and finally, maintain your nails on a daily basis. By choosing to apply gel nail polish that is high-quality and gentle for your nails, like Chromeclair, you gain yet another chance to care for your natural nails while getting beautiful manicure.