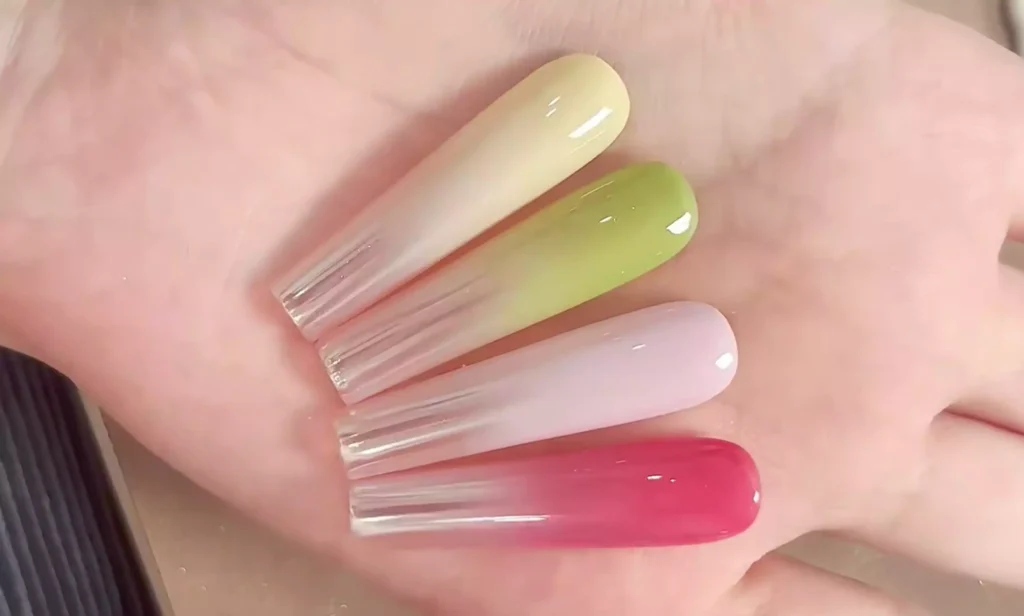
The popular aurora pink gradient style has recently gained traction, but conventional techniques often result in an unnatural effect. Today, we’re introducing a fresh approach to help you achieve a beautifully seamless aurora pink gradient manicure.
Problem Analysis: Drawbacks of Conventional Methods
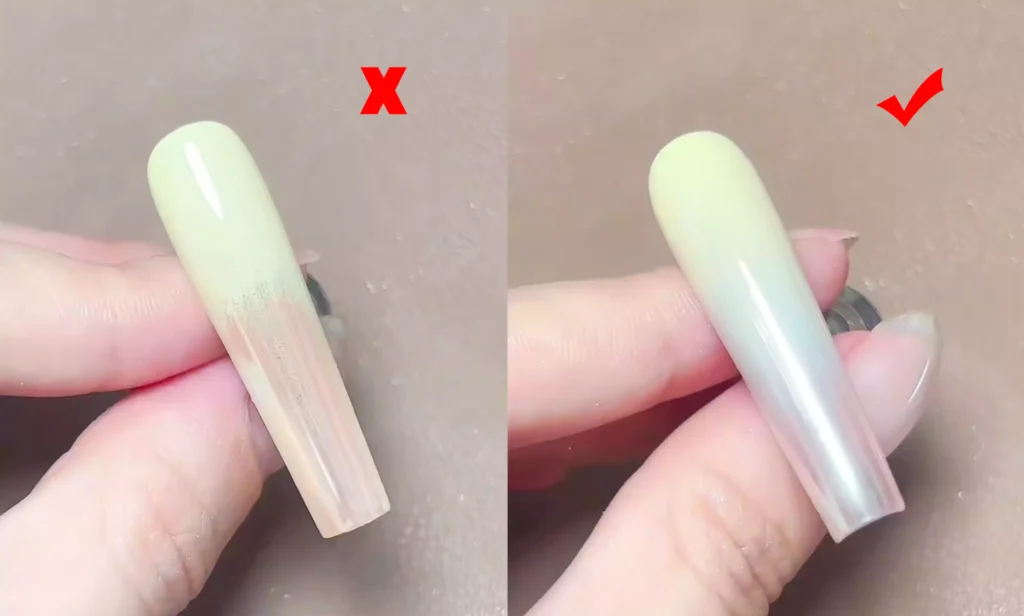
When creating gradient effects with Magic Mirror powder or Aurora powder, directly applying powder over a pre-applied base color often yields an unnatural, patchy finish. This occurs because the standard technique—applying base color first, then powder—creates layering that disrupts the natural transition.
Shift in Approach: Clever Use of Paddle Glue
We can shift our approach by using paddle glue to create the base color, then combining it with aurora powder. This method yields a more natural gradient effect.
Step-by-Step Guide
Step 1: Base Coat Application
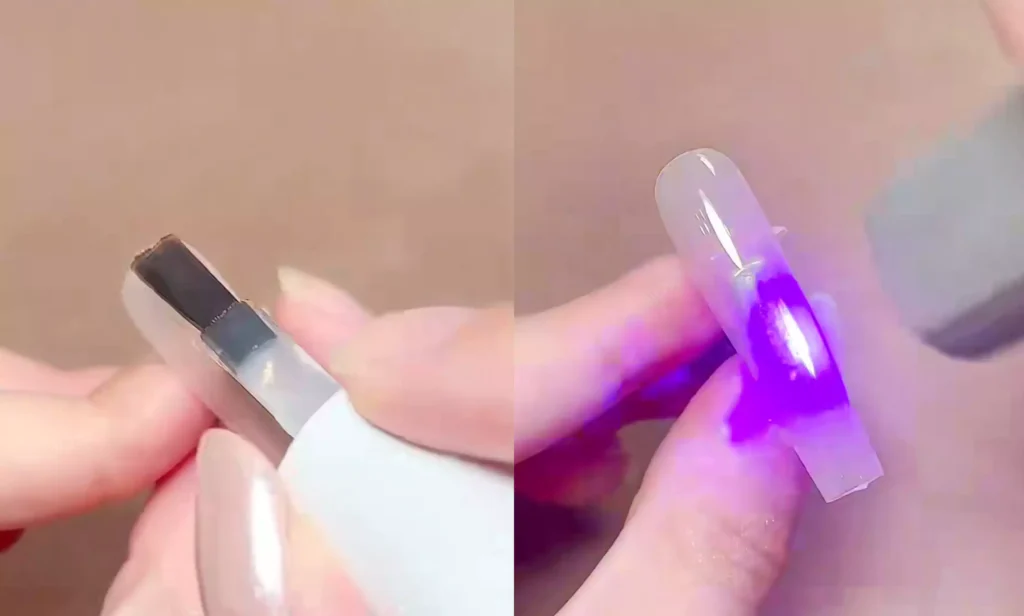
First, apply a nude-colored gel polish as a base coat to the nail surface.
After curing under the lamp, apply a dusting powder to the entire nail. Then apply a top coat and cure under the UV/LED lamp for approximately 40 seconds to prepare the foundation for subsequent steps.
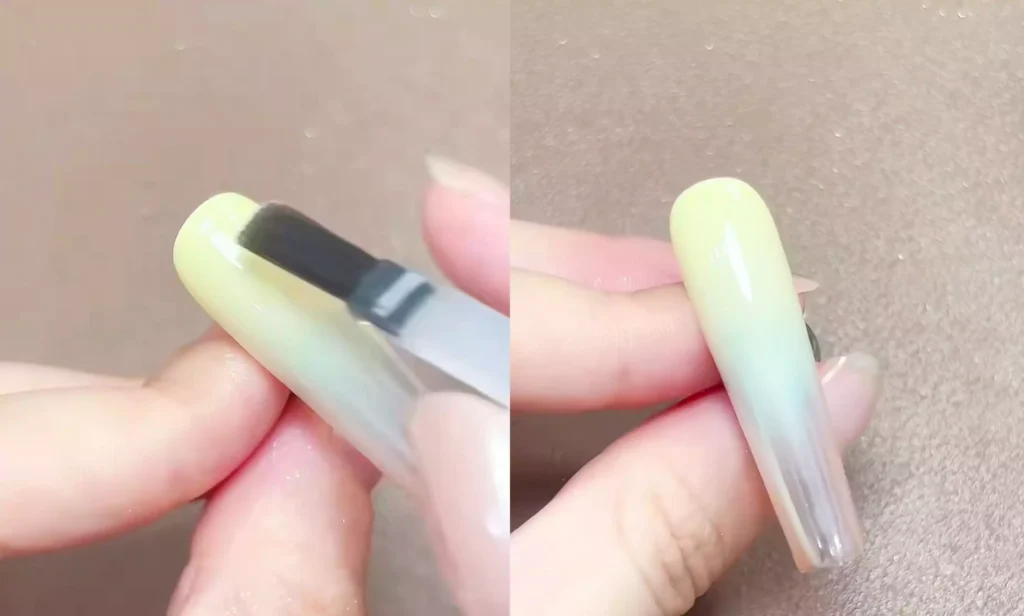
Step 2: Apply Aurora Powder
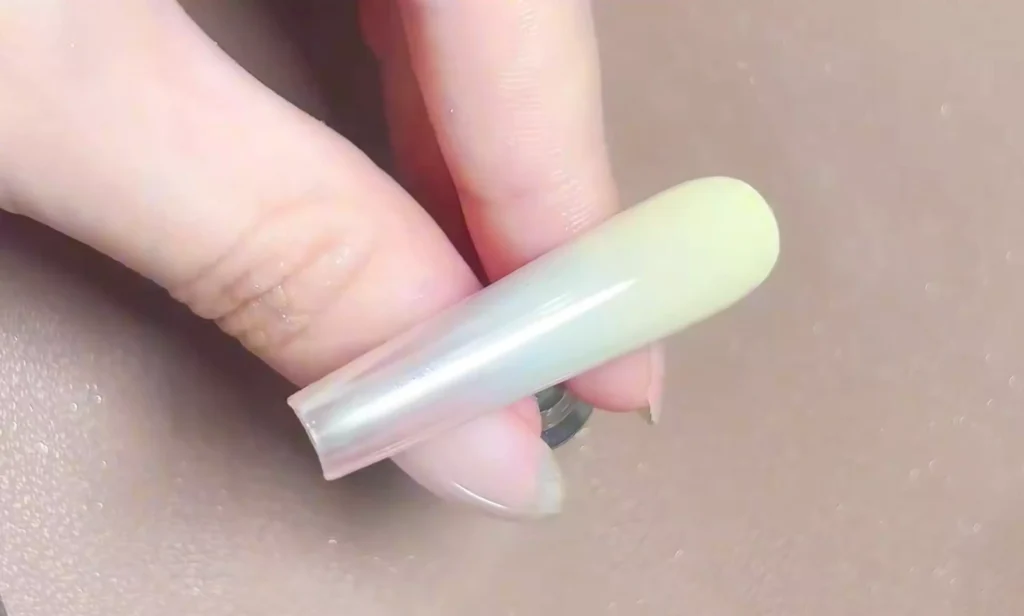
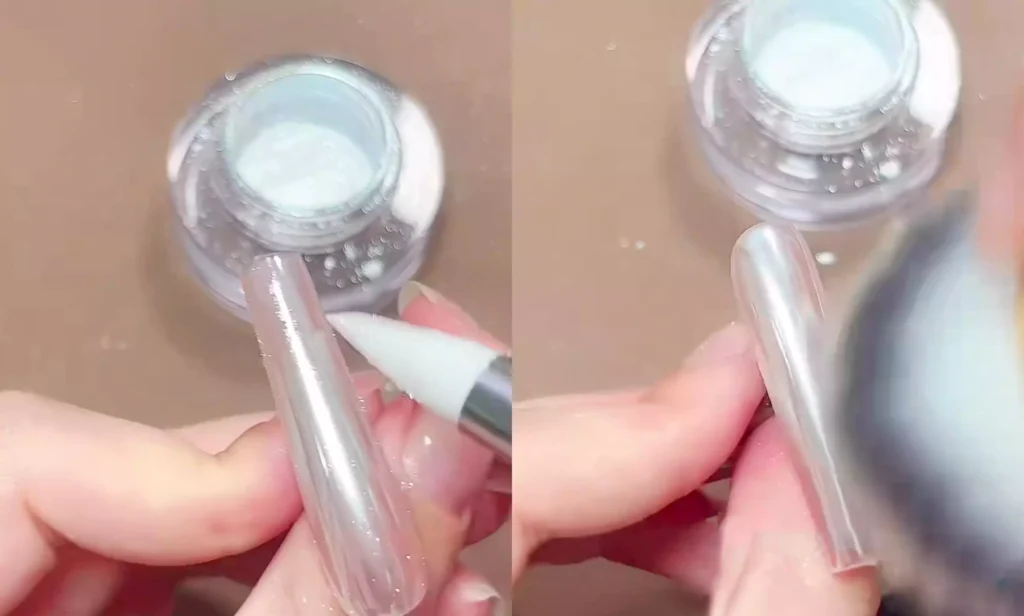
Apply the Aurora powder directly to the entire nail. First, use a silicone brush to pick up the powder and dab it onto the nail surface. Then vigorously rub the powder over the entire nail. Apply sufficient pressure during this step to ensure the Aurora powder is fully pressed into the nail surface.

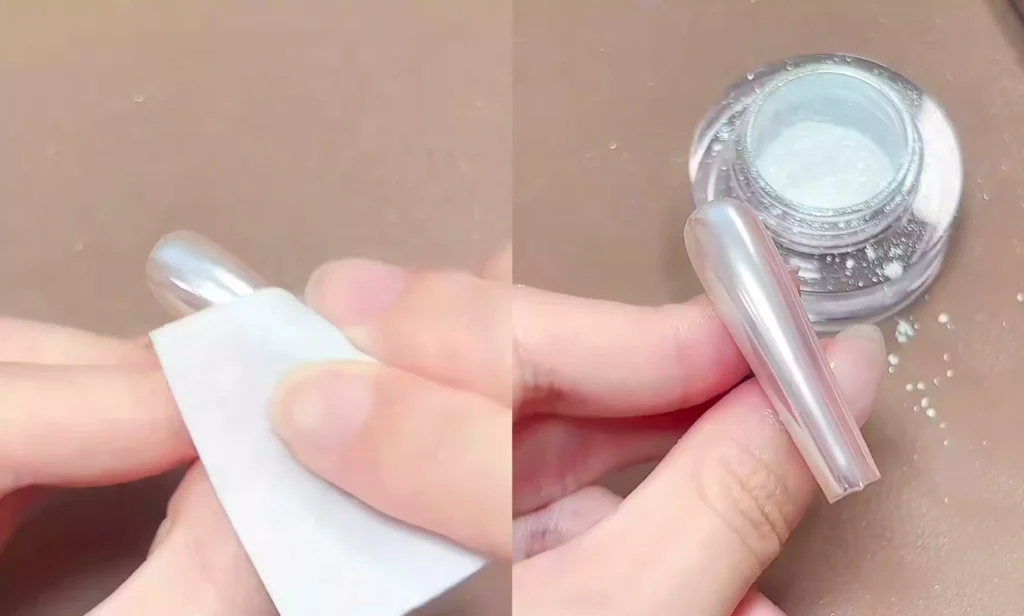
After applying the powder evenly, use a dust brush to sweep away any excess. At this point, the Aurora powder exhibits exceptional brightness, delivering a super-bright effect under both bright and dim lighting conditions. The visual impact captured on video falls far short of the dazzling brilliance visible to the naked eye.
Step 3: Powder Application
For the powder application step, select a thicker base gel or strengthening gel. Fast-flowing gels tend to dissolve the powder, whereas thicker gels better preserve the Aurora powder effect.
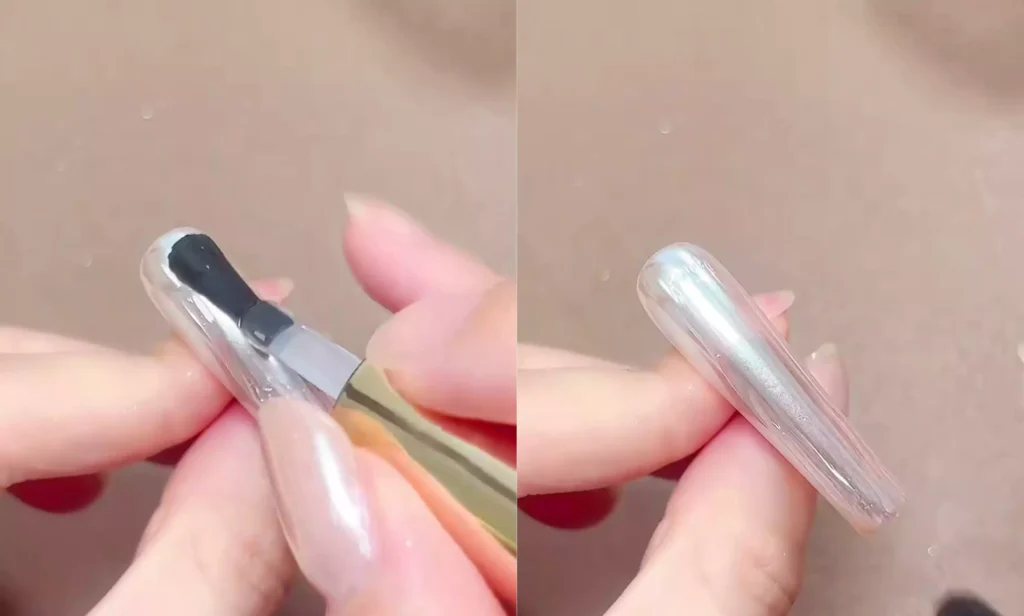
After applying the gel and curing under the lamp, the surface brightness remains virtually unchanged, but it will feel slightly tacky to the touch. At this point, it is essential to use a cotton pad dipped in alcohol to wipe off any excess gel.
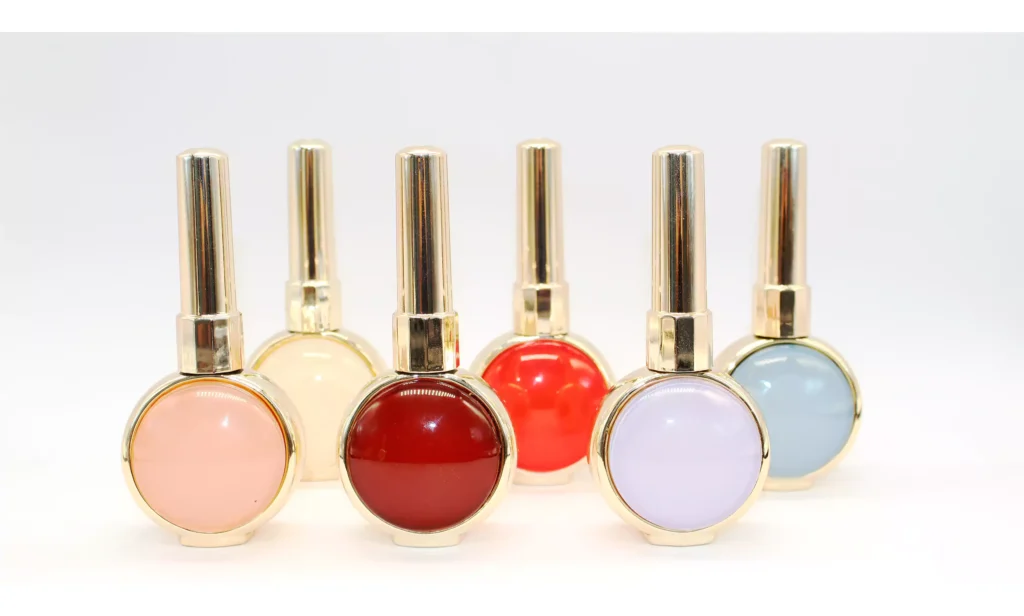
Step 4: Creating a Gradient with Sticker Gel
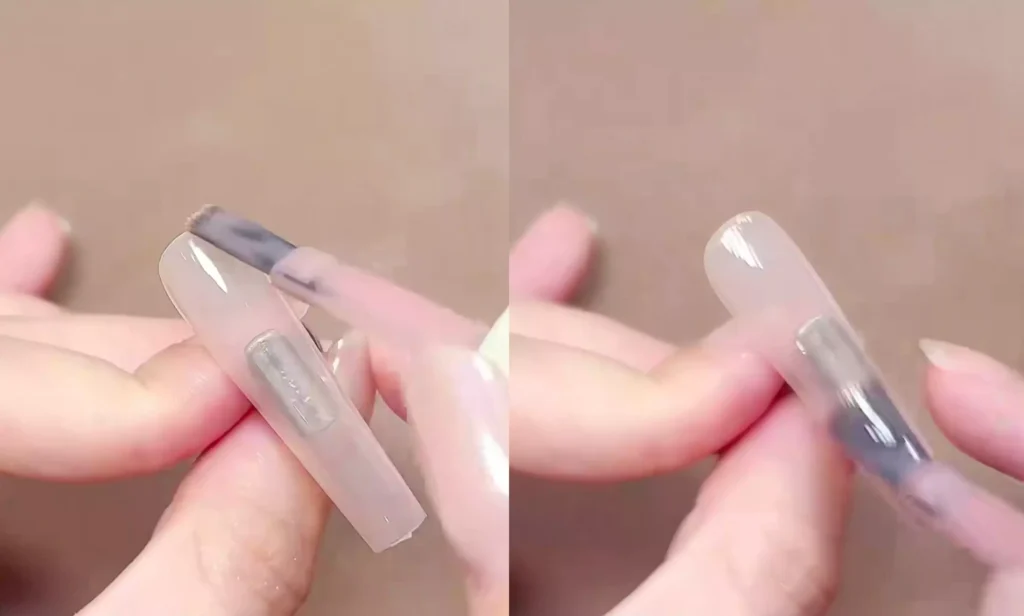
Select your preferred sticker gel. First, use a mixing stick to pick up an appropriate amount of gel polish and apply it to the cardboard.
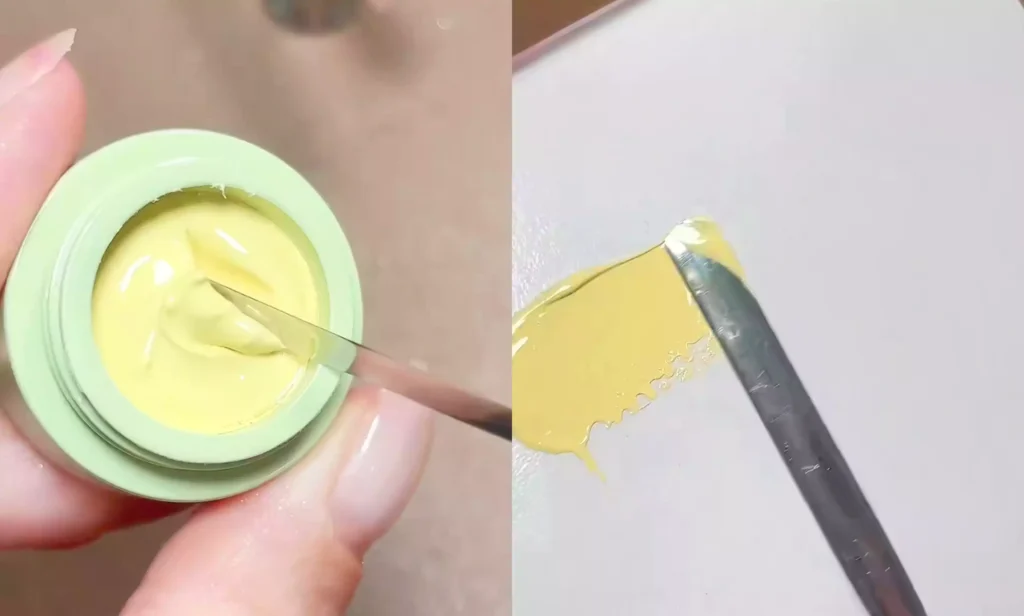
Next, use a sponge to evenly spread the gel polish.
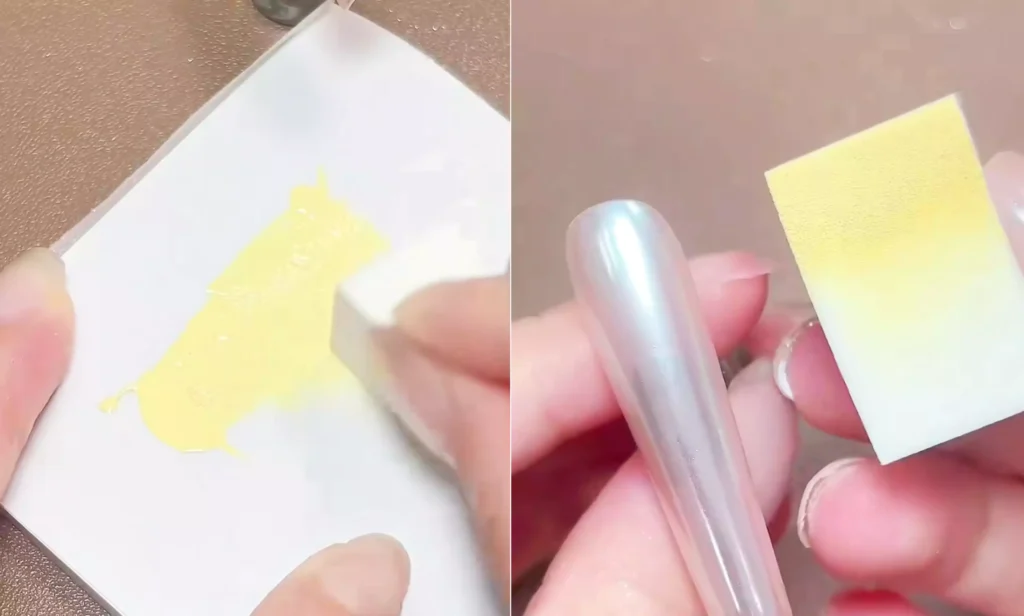
Then, use the sponge to create a gradient effect on the nail surface. Note that darker shades require 2-3 layers of application; the first layer should establish the widest color range for the gradient.
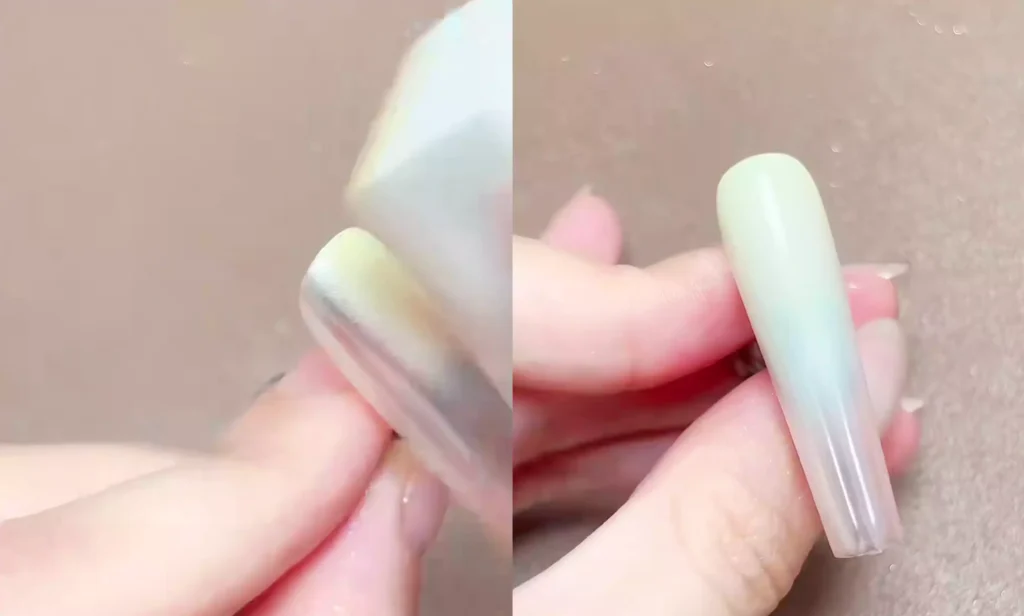
Apply a lighter shade first, then flash it under the lamp; Next, deepen the color at the base of the nail for the second coat. The process is quite simple.
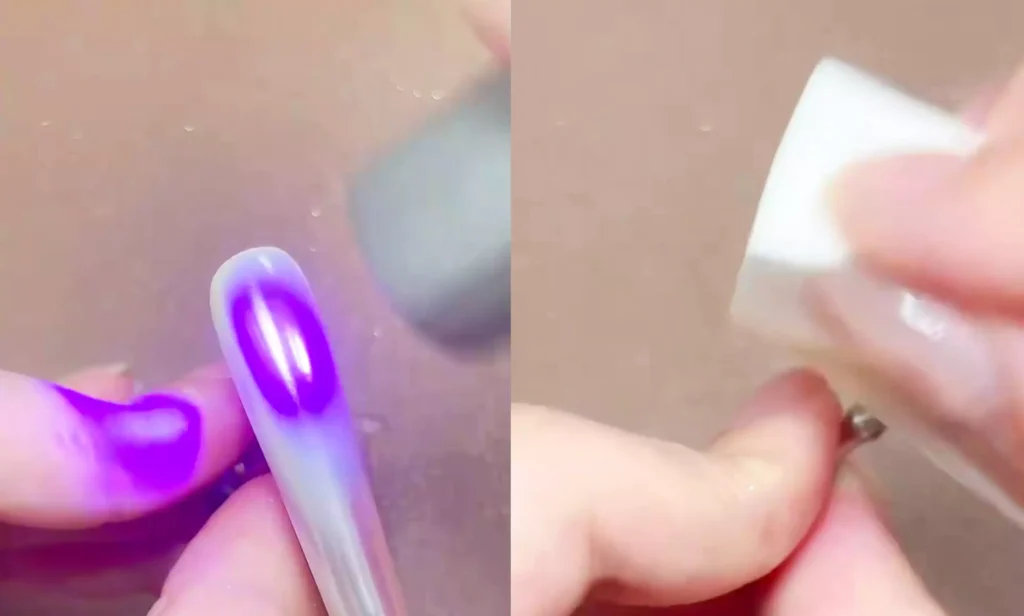
Step Five: Top Coat Application
Finally, apply a layer of crystal-glaze top coat to complete the entire aurora gradient nail design.
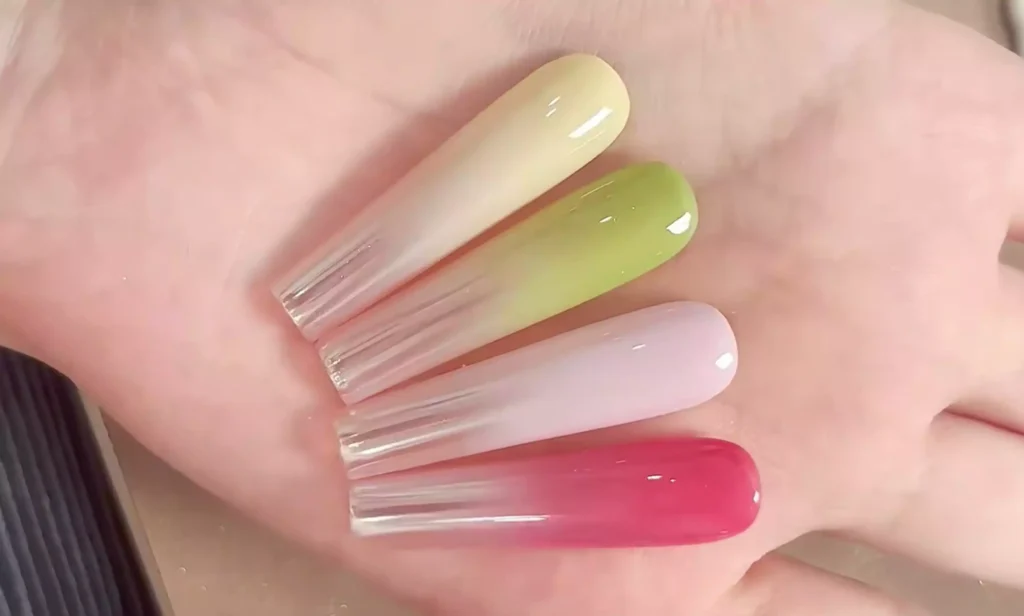
Effect and Extensions
After this process, the visual effect resembles a gradient created with magic mirror powder, but by shifting the approach, the outcome is entirely different. Furthermore, pairing it with various colors of glitter gel and aurora powder allows for the creation of gradient nail designs in even more styles.
Have you picked up this little trick for creating an aurora pink gradient through this tutorial? Why not give it a try and experience the unique fun of nail art creation?
Lastly, we recommend CHROMÉCLAIR’s HEMA-free Gel Polish. Their products prioritize safety, low irritation, and eco-friendliness by excluding harmful ingredients, minimizing allergy risks (HEMA-free & TPO-free), and nurturing healthy nails. With a diverse color range and long-lasting wear (approximately 21 days), its smooth consistency allows even beginners to apply evenly. This ensures every consumer enjoys a safe and worry-free experience.
If you encounter any issues during the process, check out the video tutorial below. If you find the tutorial helpful and like it, remember to give it a thumbs up and save it. Subscribe to my channel! See you in the next tutorial.