This time, I’m going to teach you how to create a stunning aurora mermaid manicure! It might look complicated, but even a beginner can create it at home by following the steps! Without further ado, let’s get straight to the point.
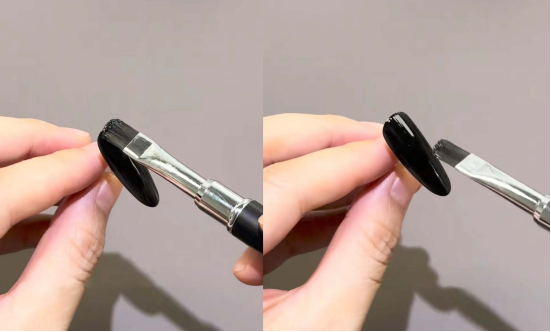
Step 1: Prime with all-purpose black
First, prime your nails with all-purpose black gel polish (in this tutorial, I used CHROMÉCLAIR Hema Free Gel Polish No. 3. The color is luxurious and textured, flows well, and evenly applies evenly, making it non-toxic and healthy for beginners). When applying, be careful to only apply a thin coat. This will ensure a clearer, more natural look, avoiding a heavy, or dull appearance.
Step 2: Aurora Cat’s Eye: Create a Dreamy Gradient Light Effect
Next comes the highlight—using “Aurora Cat’s Eye” gel to create the aurora effect! First, apply a layer of CHROMÉCLAIR shade 411:
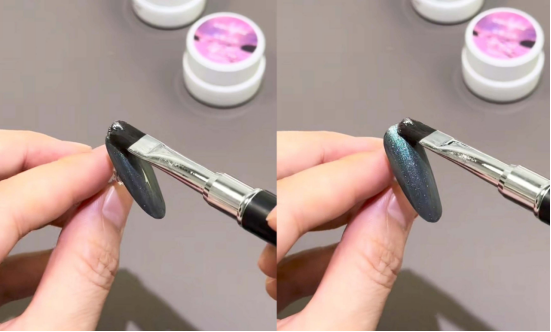
After applying, use a magnet to “scratch” the right side of the nail, then “scratch” the left side, and then draw a C arc up and down to concentrate the cat’s eye light in the middle of the nail. This way, the gradient light feeling will have that flavor.
Change to a bar magnet and gently push it upwards diagonally along both sides of the nail, and a very natural French edge with spread edges will appear!
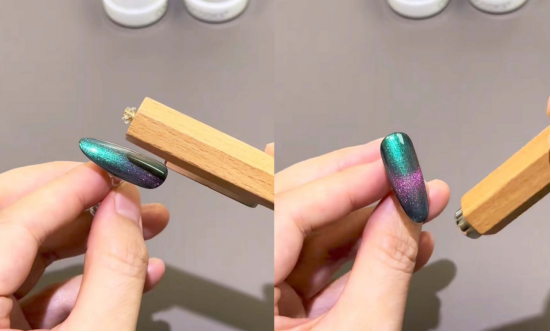
At this time, quickly take a phototherapy lamp to fix this effect.
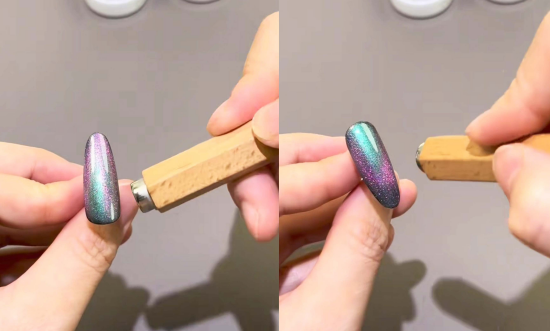
Step 3: Layering and applying for depth
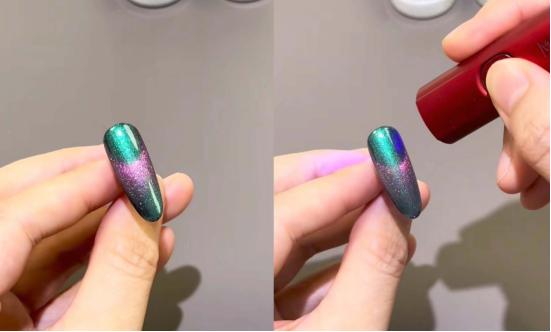
Apply another coat of No. 411 Aurora Cat Eye Gel. The technique is similar to before, but this time, use a magnet to push it forward a little more. This will create a layered effect on the nails, avoiding a monotonous look. Finally, cure under a light.
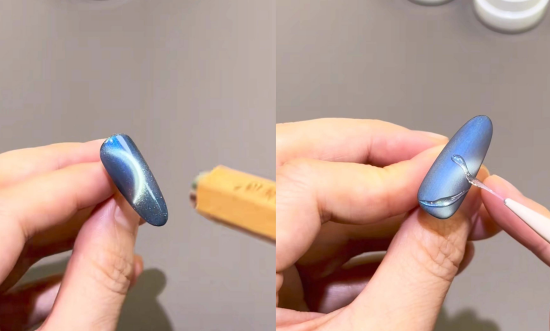
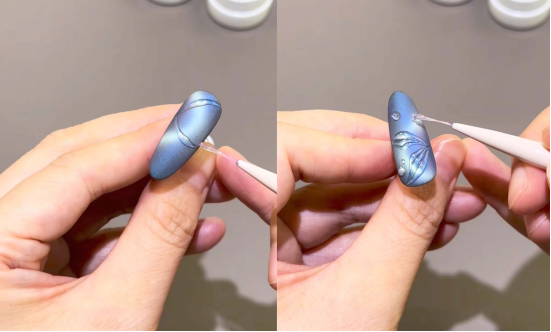
Step 4: Shell Texture + 3D Water Droplets
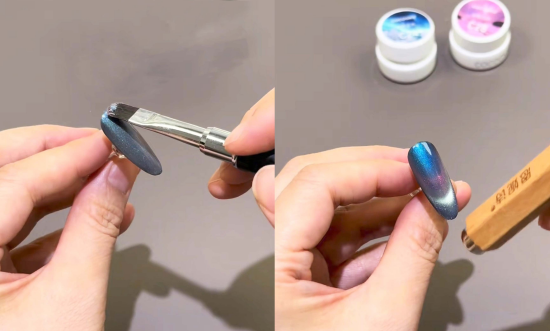
After applying the light, apply a matte topcoat for an instantly different texture. Next, create the shell texture. The secret is to use a hard topcoat:
Apply a generous amount of hard topcoat and rub it in circular motions on your nails. Then, draw lines. This will create a more three-dimensional water droplet. Apply the light once for each line you draw.
The next line is drawn shorter and the water droplets are made smaller, which will make the nails look thinner and more delicate.
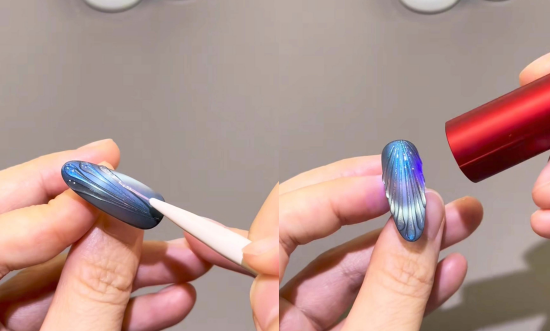
Step 5: Fishtail + Soul Touch
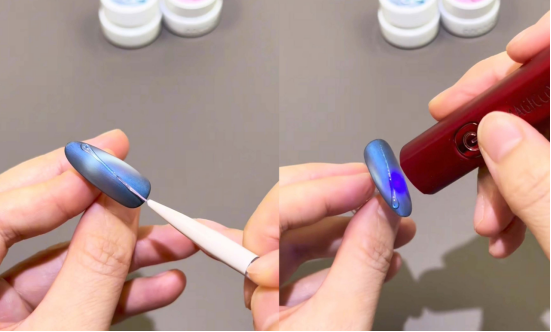
Drawing a fishtail is even easier! Using the same cat-eye technique, draw light to the sides of the nail, creating the shimmering effect of a mermaid’s tail. After a matte finish, start at the center of the nail and draw thin lines on both sides while lifting the brush.
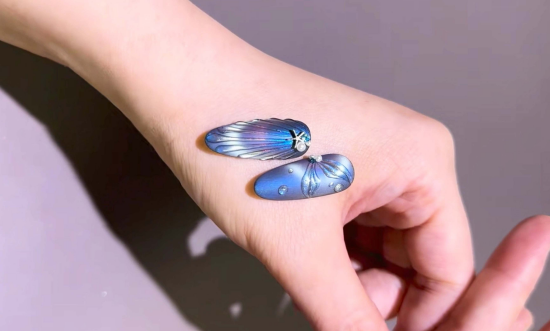
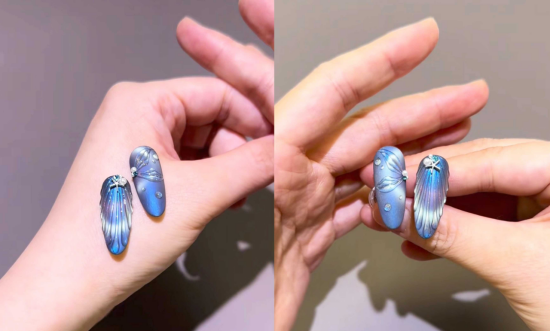
Finally, add the “soul drops” and stick on your favorite accessories. This step will bring the exquisiteness to the maximum!
Finally, take a look at the finished product—it glows from every angle! Follow the steps and you too can achieve a breathtakingly beautiful aurora mermaid manicure. This manicure is a great summer getaway to the beach!
In the tutorial, I used CHROMÉCLAIR gel polish. Their products focus on safety, low irritation, environmental protection, and do not contain harmful ingredients, reducing the risk of allergies (HEMA-free Gel Polish). They protect healthy nails and have a variety of colors to cater to mainstream aesthetics, ensuring that every consumer has a safe and secure user experience.
If you encounter any problems during the process, you can watch the video tutorial below. If you think the tutorial is useful, please like and subscribe to me. See you next time.