Today, I’ll teach you how to create a super cute Jenga transfer manicure. The steps are clear and easy to follow, so even beginners can easily learn. You can also customize it to your liking!
Preparation Stage:
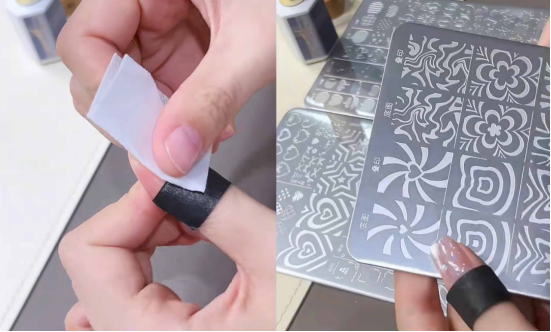
First, gather your nail art tools: base coat, cat’s eye glue, transfer glue, reinforcing glue, top coat, nail art template (with base/overprint/frame/embellishment), pink nail polish, star sequins, magnets, and tweezers.
✨ Steps
1. Base Primer + Cat’s Eye Effect
First, apply a small sticker to the nail surface to cover any loose lines (to prevent glue from overflowing later and create cleaner edges);
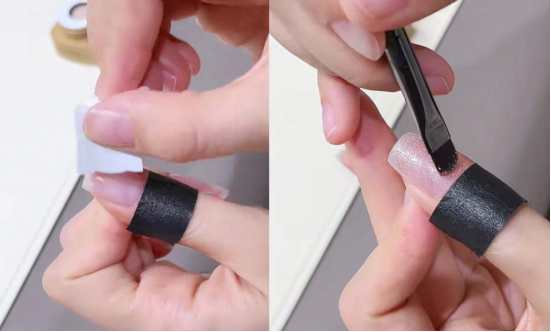
Apply a matte cat’s eye glue over the nail surface, applying it evenly.
Then take out the magnet and use it to suck out the glass beads effect on the nail surface. After this step, the nails will immediately have a transparent feeling, as if there is a small galaxy hidden in it!
2. Laser Star Transfer
Apply transfer adhesive to the nail surface. After curing under a lamp, apply the laser star sticker, press firmly, and gently peel it off. The star pattern is now firmly “welded” to the nail. The laser light is super bright! Apply a layer of reinforcing adhesive to protect the existing pattern.
3. Stencil Overprinting Magic
After wiping off the excess glue, take out the nail art stencil (this stencil is thoughtfully divided into sections, covering base, overprint, border, and embellishment elements, making it extremely user-friendly).
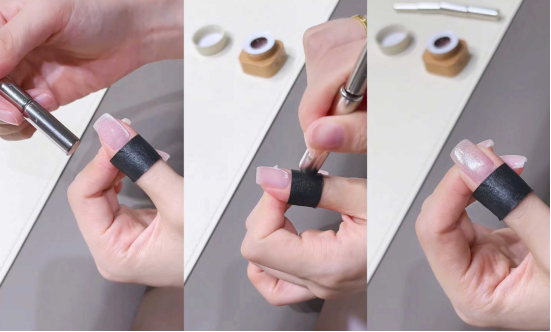
Base image transfer:
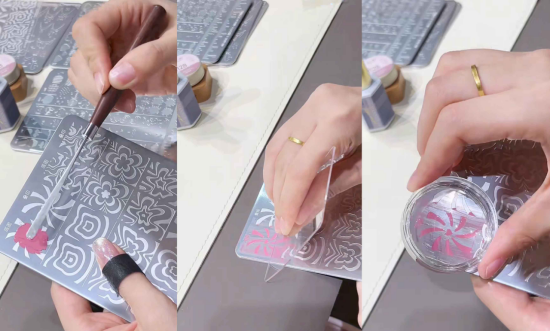
Choose pink nail polish and apply it on the base image area of the steel plate. Use a scraper to scrape off the excess nail polish, then use a stamp to transfer the pattern to the nail. Finally, wipe off the excess glue on the nail surface, and the base image will be firmly in place.
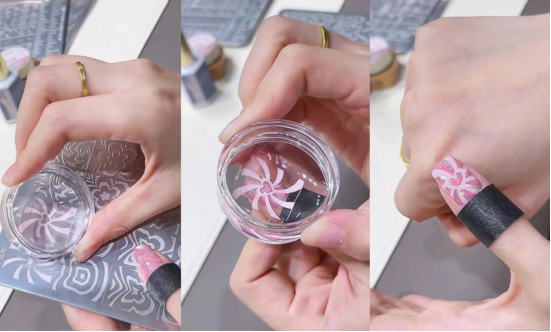
Advanced stacking:
Change to pink nail polish and repeat the above steps to transfer the pattern next to it. When transferring, align the angle of the pattern on the previous layer. This way, the layered effect of stacking will appear immediately! Once the colors are matched correctly, you can DIY your favorite look.
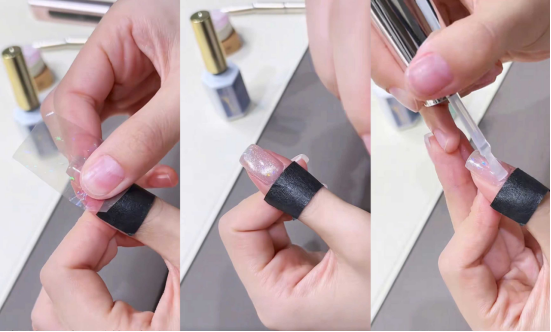
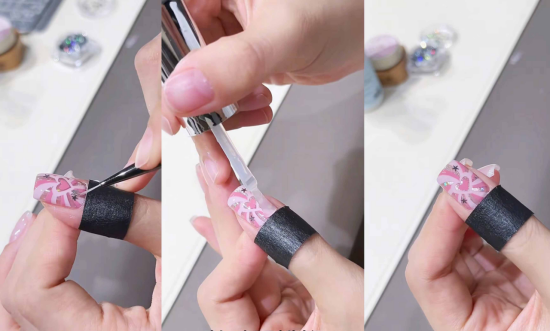
4. Finishing Touch + Topcoat
Use tweezers to place the star-shaped sequins on a blank area of your nails as a small embellishment.
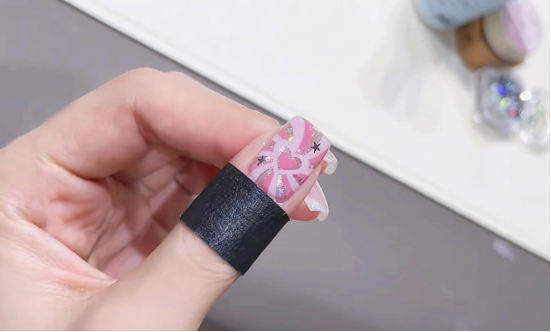
Finally, apply a reinforcing topcoat and cure under a lamp. Your sweet and sparkly Jenga transfer manicure is complete!
(PS: The tools used in the video can be swapped out to suit your preferences. Feel free to play around with the colors; different color combinations unlock countless styles!)
In this tutorial, I used CHROMÉCLAIR gel polish. Their products are safe, hypoallergenic, and eco-friendly, containing no harmful ingredients, reducing the risk of allergies (Hema-Free Gel Polish). They protect healthy nails and offer a wide variety of shades to suit mainstream aesthetics, ensuring a safe and secure experience for every consumer.
If you encounter any problems during the process, you can watch the video tutorial below. If you find the tutorial useful, remember to like, collect it, and subscribe to me. I will arrange more amazing styles for you in the next issue!