This time I will show you the process of making the magic mirror crushing flower nail art. The steps are clear and even beginners can learn it.

Step 1: Base Color and Cat-Eye Creation
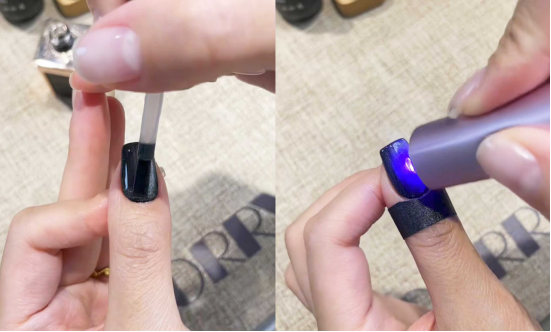
Start by applying a black base coat to your nails. Black is a classic base color in nail art and will enhance the subsequent effects. (This tutorial uses CHROMÉCLAIR Hema Free Gel Polish No. 3)
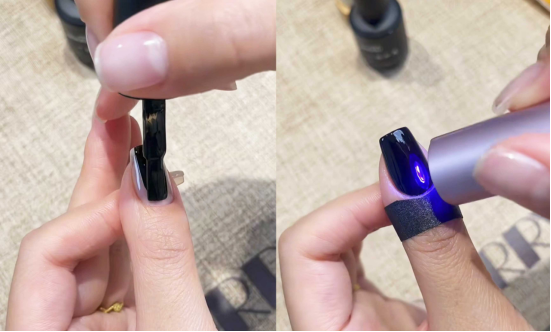
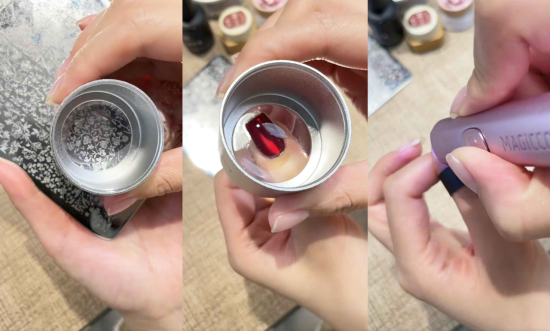
After the black base coat has dried, apply cat-eye gel polish (the tutorial uses CHROMÉCLAIR’s Hema Free Gel Polish No. 441, which has a high-end, textured color and good fluidity. Even beginners can apply it evenly, and it’s non-toxic and healthy).
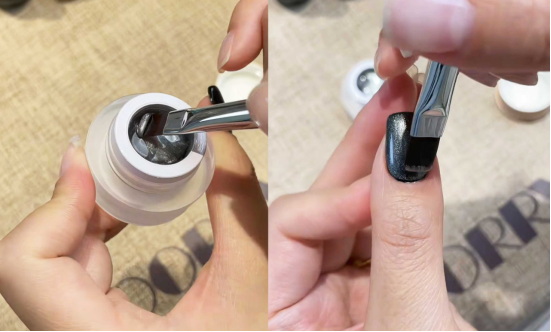
Hold the magnet over the nail, first suck out the wide light band in the middle of the nail, then adjust the position of the magnet.
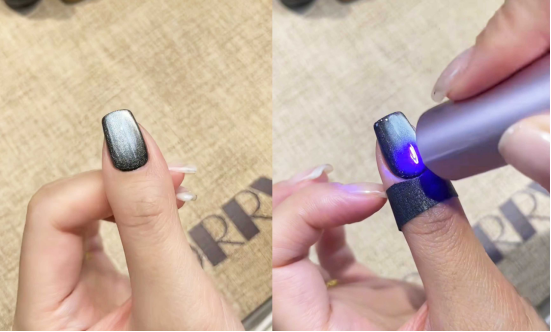
Apply light to the ends of the nails to make them rounder and give them a more natural cat-eye effect. Once completed, dry and cure with a lamp.
Step 2: Create the Magic Mirror Powder Effect
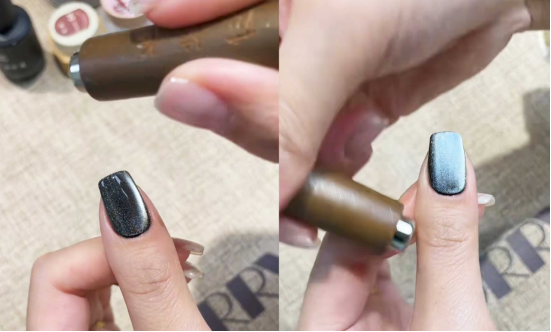
Apply a top coat of Magic Mirror Powder and let it dry.
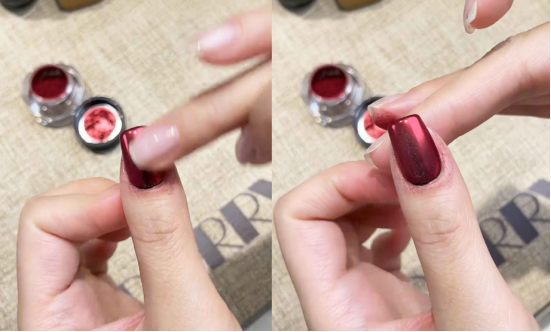
Apply red magic mirror powder to the entire nail. When applying powder, make sure it covers the nail surface evenly.
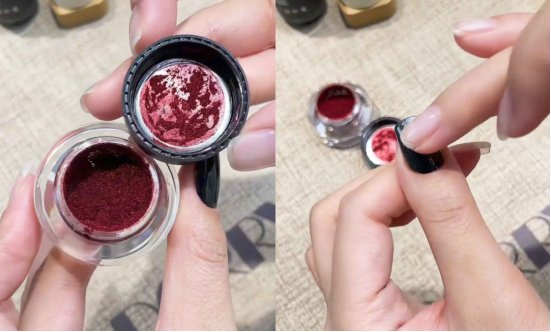
Gives the nails a delicate red metallic luster, enhancing the overall sophistication.
Step 3: Floral Transfers for Details
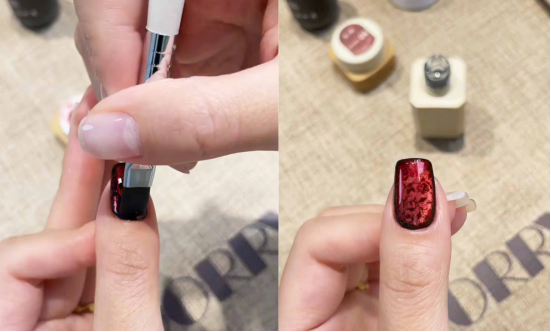
Choose a thicker modeling adhesive and apply it to the floral patterned steel plate with a brush. Then, use a scraper to remove any excess adhesive, leaving only the adhesive within the grain.
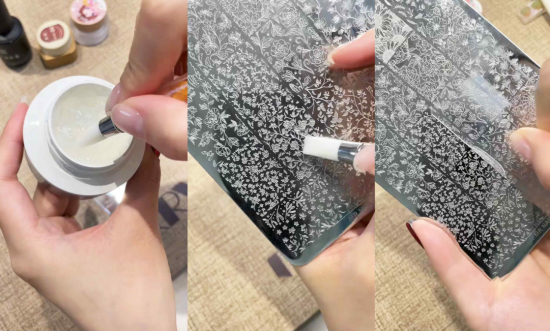
Then transfer the pattern to the stamp and then print it accurately on the nail.
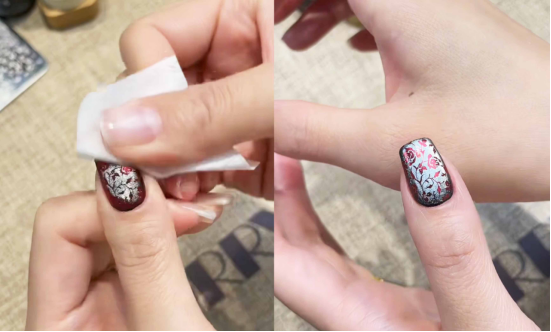
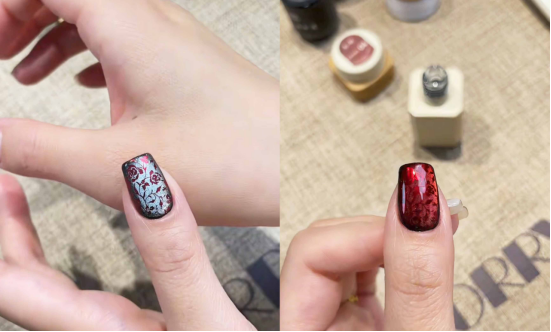
Then use a cotton pad to wipe off the excess magic mirror powder on the edge of the nails. At this time, the floral pattern remains clearly on the nails, and the sense of detail is full.
At this point, the manicure is basically complete. If you want to make the manicure more distinctive, you can also perform a layered coating operation – apply a thin layer of transparent red to retain the pearlescent texture, and then apply a top coat. The nails will become more transparent, as if hiding tiny starlight.
In addition, I also tried amber-colored transparent manicure. The warm amber color is matched with small flowers, which has a unique style. If you like different styles, you can refer to this color matching idea.
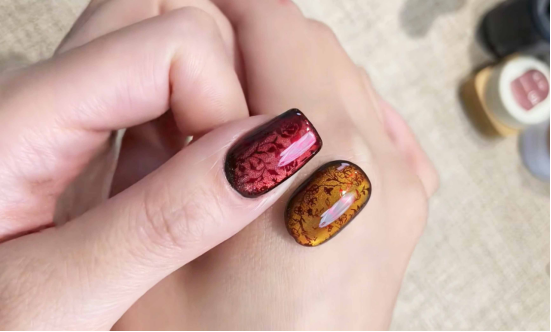
Follow these steps to create a manicure that combines metallic luster with delicate floral patterns. Which one do you like? Let me know in the comments! It’s perfect for everyday wear with all kinds of clothing, so give it a try!
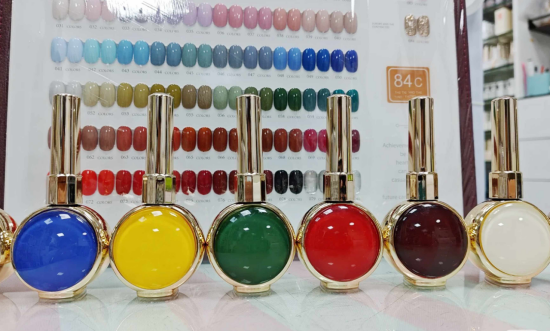
In the tutorial, I used CHROMÉCLAIR nail polish. Their products focus on safety, low irritation, environmental protection, and do not contain harmful ingredients, reducing the risk of allergies (HEMA-free Gel Polish). They protect healthy nails and have a variety of colors to cater to mainstream aesthetics, ensuring that every consumer has a safe and secure user experience.
If you encounter any problems during the process, you can watch the video tutorial below. If you think the tutorial is useful, please like and subscribe to me. See you next time.