Hello everyone! I’m a star employee at CHROMÉCLAIR, a brand of hema free gel polish brands.
As a professional nail technician, do you know how to clean and maintain your nail art brushes to make them last longer?
Today, I’ll share some cleaning and maintenance methods with you, hoping they will be helpful.
Regarding cleaning:
First, the specific cleaning method depends on what kind of product was used on the pen tip—whether it was a gel, acrylic nail material, or paint.
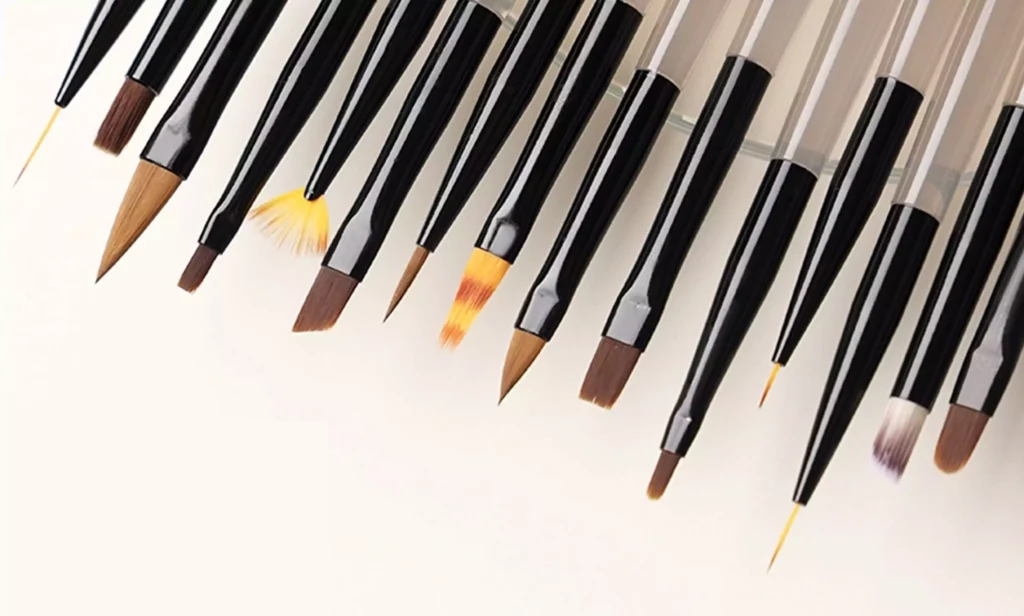
Image source: Professional Nail ArtBrushes Set 15 PCS
01 Gel products (including gel polish, UV gel, nail art gel, etc.)
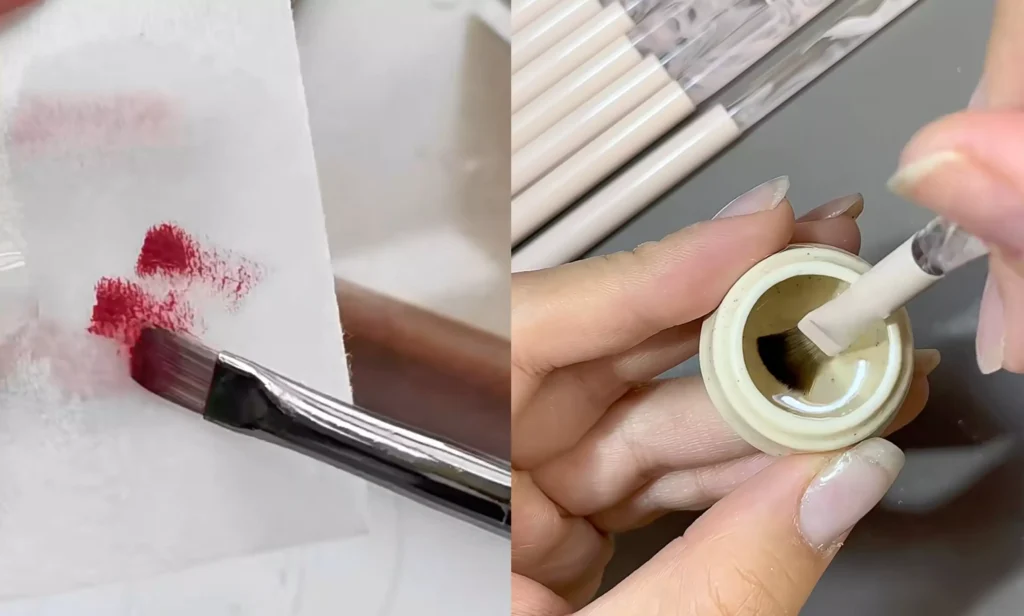
• Common Cleaning Method – Using Brush Cleaning Solution
Prepare a brush cleaning bucket or other suitable container, pour in brush cleaning solution, and immerse the brush nib in the solution for a while. Then, gently scrape the brush nib against the toothed bristles inside the bucket, and then dry the brush bristles with a 95% alcohol wipe. Repeat the above steps about three times, and the brush should be basically clean.
• If you don’t have brush cleaner, you can use a top coat to clean it.
This is a somewhat luxurious method of cleaning brushes, but it is very practical.

Take an appropriate amount of top coat and place it on the palette. Place the bristles of the brush that needs to be cleaned on the top coat and rub it repeatedly in circles while wiping it with a cleaning pad until no residual color is brought out on the pad.
Remember this: Never expose a brush that has been cleaned with a top coat to a UV/LED lamp! Otherwise, it will harden.
02. Paint Brushes
Paint brushes used for drawing can be washed directly with water. If there is still paint residue, you can use brush cleaner, using the same method as cleaning glue brushes. After washing, dry the brush bristles with a paper towel, then put the cap back on for storage.
03. Acrylic Nails
While acrylic nails are strongly discouraged, let’s briefly explain them.
The biggest difference between acrylic nails and gel nails is that acrylic nails are formed through a polymerization and curing reaction using initiators and hardeners such as acrylic powder and liquid. This process produces a slightly pungent odor and is often used for sculpted nails, creating a beautiful three-dimensional effect.
Cleaning Method:
– When cleaning a used acrylic nail brush, first use acrylic liquid to clean the mixture remaining on the bristles (Note: the mixture will harden quickly if not thoroughly cleaned off promptly, as it is a drying substance). If the mixture on the bristles has already hardened, you will need to use a nail brush cleaner to remove the hardened mixture.
– After cleaning, to maintain the bristles’ oiliness, you can moisten the brush with acrylic liquid, then blot away excess acrylic liquid with a tissue, and finally put the cap back on (because the oily components in the acrylic liquid can moisturize and protect the bristles).
Regardless of the type of glue you use, please pay attention to the following when cleaning your brushes (these are also tips for brush maintenance):
• After washing and drying, be sure to cover the pen cap and store it away from direct sunlight.

• Never use gel polish remover to clean your nail brushes, as this will damage the bristles.
• When storing your nail brushes on a brush holder, place them with the bristles facing upwards.
• Clean gently, never against the direction of the bristles, as this can cause them to fray.
• If you don’t use certain brushes frequently, it’s recommended to moisturize them with a suitable amount of gel polish solution every three days.
• If you find one or two split bristles, simply trim them. If there are too many split bristles, congratulations, it’s time to replace this brush.
• If the bristles are split or not smooth, after cleaning the brush, soak the tip in warm water for 3 to 5 minutes. During this process, be sure to hold the brush firmly to prevent the tip from touching the bottom of the water container; and never throw the entire brush directly into the water, as this will damage the tip.
Also, don’t throw away your worn-out gel polish brushes! Don’t throw them away! They can also be used as “recyclable resources” to apply sugar glue or other special glues that are more damaging to pens.
Brush Cleaning and Maintenance
• Cleaning during use:
When creating designs or changing colors with blending or coloring brushes, excessive cleaning is unnecessary. Simply use a dry cotton pad or a cotton pad dampened with a little cleaning solution to remove the paint from the bristles before picking up another color.
When working on intricate designs, especially when applying a base coat or top coat, the brush must be thoroughly cleaned before proceeding.
• Thorough cleaning after use:
Many brushes have thick bristles, which may leave excessive adhesive residue after use. Cleaning solutions and alcohol have relatively low concentrations and are insoluble in adhesives, making it difficult to remove the residue. What can be done in this situation?
We can choose to use a base coat or top coat for cleaning, as the adhesives are miscible.
To clean, place a small amount of base coat or top coat on the palette and repeatedly dab the brush into it, alternating between the front and back sides. After cleaning, wipe the brush clean with a dry cotton pad and then put the cap back on.
☆ Important: After cleaning with glue, do not use alcohol to clean the brush, as this will damage it.
• For brushes that have only been used once and are not intended for long-term use:
First, clean with a base coat or top coat, then wipe clean with a cotton pad. Afterward, clean again with a low-concentration alcohol or cleaning solution, wipe dry with a cotton pad, and finally cap the brush and store it.
Important Notes Summary
1) Do not use gel polish remover or gel polish eraser to clean your brushes, as they will damage the protein gel on the bristles, affecting the brush’s performance and lifespan.
2) Always moisten your brushes before use. Very dry brushes are difficult to pick up gel and blend; never use very dry brushes directly to create designs or apply colors.
3)During use, do not hold the brush perpendicular to the nail surface, as this will cause the bristles to bend and make it difficult to use.
4)If the bristles become split or uneven, after cleaning with base coat, top coat, and gel polish remover, soak the brush tip in slightly warm water for about 20 seconds to help straighten the bristles.
5)Clean gently using a back-and-forth patting motion; do not wash against the direction of the bristles.
6)Do not clean your brushes too frequently; a thorough cleaning once a day is sufficient. Otherwise, the bristles will become brittle and prone to breakage, shortening the brush’s lifespan. 7)When changing colors, simply wipe off the color with a cotton pad dampened with a small amount of cleaning solution.
8)When storing brushes in the brush holder after use, ensure the bristles are naturally straight and not clumped together or split.
9)When placing brushes on a brush holder, the bristles should face upwards to prevent the tips from bending due to pressure.
Store brushes away from light. Both ordinary light sources and LED curing lamps will dry the brushes.
Uses for Discarded Nail Art Brushes
No matter how hard we try to maintain and extend their lifespan, nail art brushes will eventually become unusable. Don’t throw away your discarded brushes next time you have them; they can come in many uses!
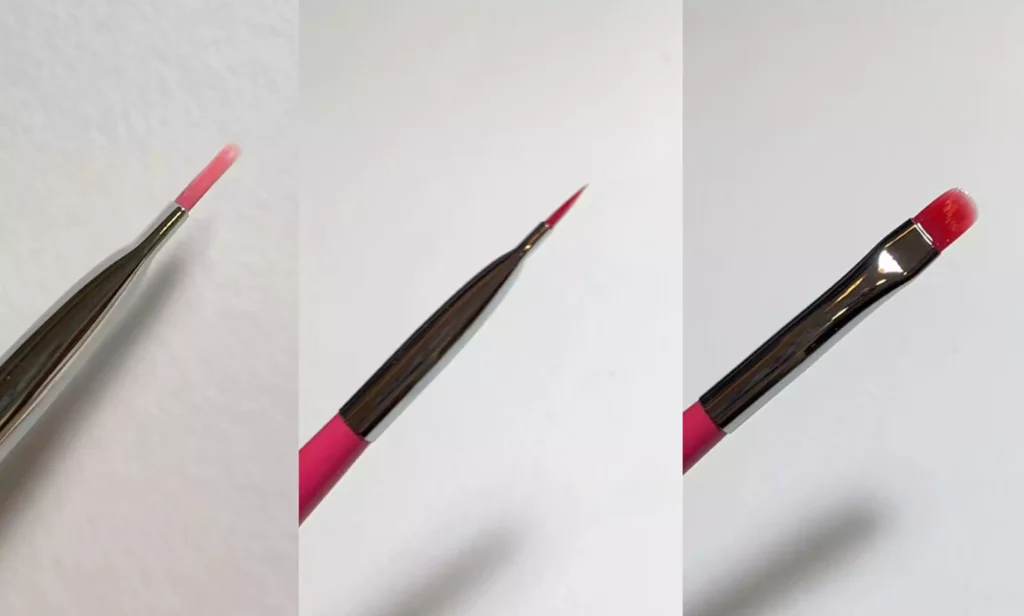
• Flat-tipped brushes can be used to apply harder gels.
• Brushes with frizzy, uneven bristles can be used to create irregular textures on the nail surface.
• Some brushes can be dipped in clear tape or embellishment glue to set embellishments.
Additionally, if you feel the brush strokes are heavy and the brush bristles feel stiff during the blending and color application process, it’s usually because there’s a lot of dried gel residue inside the brush. Before use, you can soak the brush briefly in gel polish remover, using the tip of tweezers to remove the excess dried gel. Then, clean it with a base coat or top coat, and trim off any remaining frizzy bristles. The brush may then be usable again.
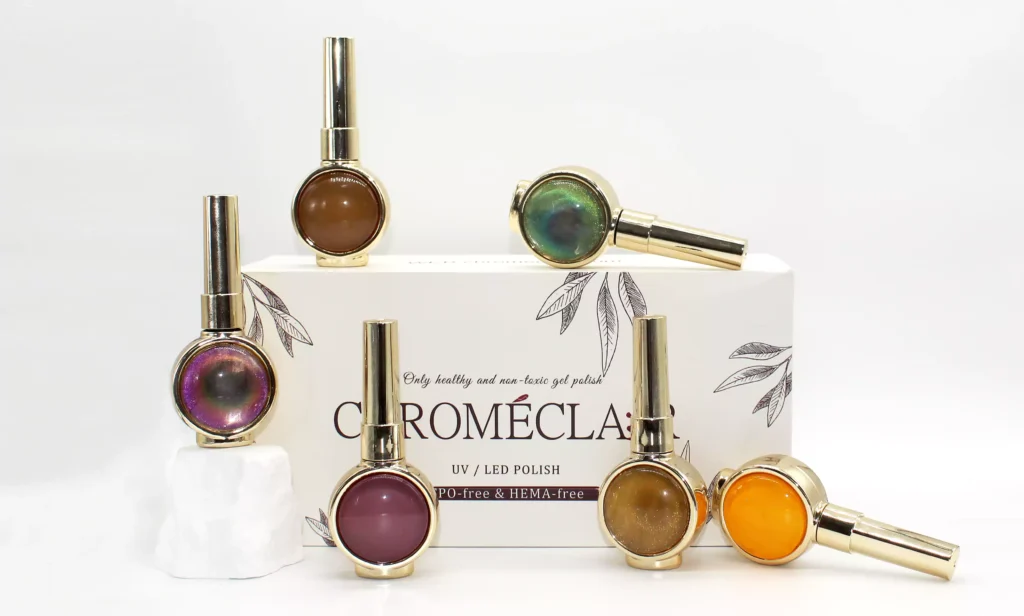
CHROMÉCLAIR offers Base coats, Top coats, solid color gel polish without HEMA, and hema free cat eye gel polish.
Their website also features nail art tutorials, such as:
That’s all for today’s sharing! I hope this article has helped you understand and master the knowledge of cleaning and maintaining nail brushes more easily! If you like it, please follow me. See you in the next article!