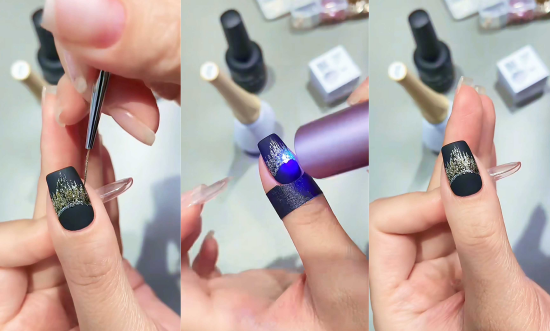
Step 1: Black matte base
Want a high-end manicure but afraid of looking old-fashioned? This time, I’m sharing the “Black Gauze Crown Manicure”—a matte texture collaged with metallic shimmer, so even short nails can look queenly. The steps are so clear that even beginners can succeed in one go!

For a black base: Choose a highly saturated, pure black gel polish (here I used CHROMÉCLAIR Hema Free Gel Polish #03; the color is luxurious and textured, and it flows well, allowing even beginners to apply it evenly). Apply two thin coats (first coat under the light for 30 seconds, second coat under the light for 60 seconds), ensuring an even base color with no sheen.
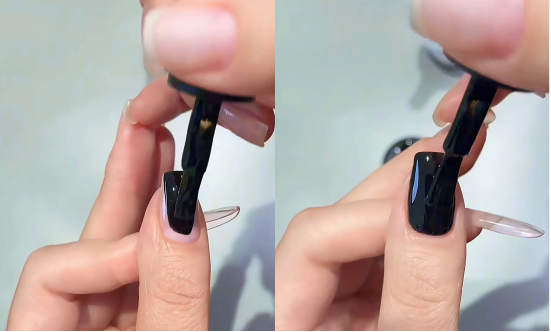
Matte seal: Apply a matte seal and after curing under the lamp, the nail surface will appear “velvety matte”, paving the way for the subsequent metal lines to create a contrasting texture.

Step 2: Draw the crown lines
Tool Selection: Choose a long, fine-tipped pen (tip diameter ≤ 0.5mm) for precise control of line thickness.
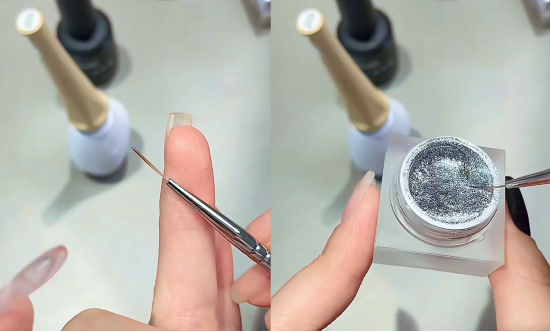
Silver arc primer: Dip the nail into silver platinum glue and draw a smooth arc on the lower half of the nail surface (the arc refers to the “smile line”, but it is narrower and more delicate), and cure it under the light for 1 minute;
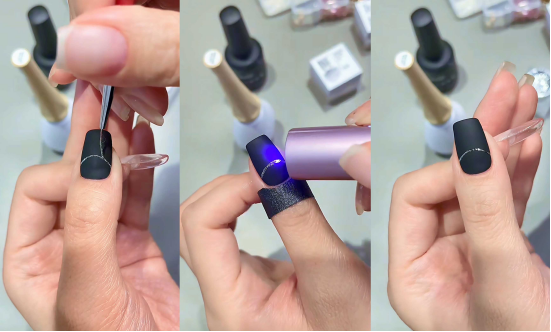
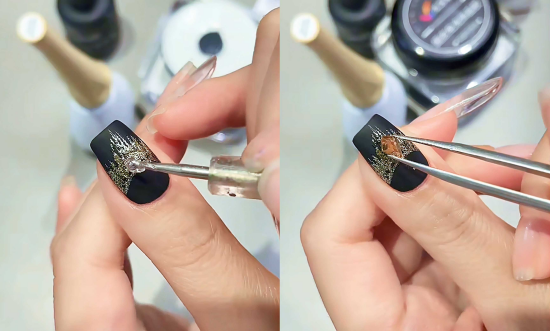
Champagne gold line superposition: Dip in champagne gold glue and apply it on the silver arc.
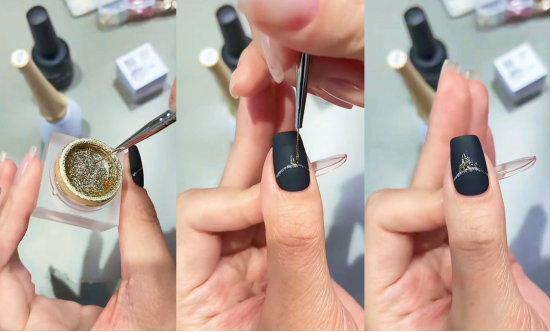
Draw out radial thin lines that are “long in the middle and short on both sides” (imagine the pointed structure of a crown), with each line 1-2mm apart, and cure under the light for 1 minute;
Step 3: Diamond Embellishment (Giving the Crown a Three-Dimensional Sparkle)
Diamond Glue Positioning: Apply a small amount of glue to the center of the silver arc and at the ends of the lines on both sides (make sure the glue just covers the bottom of the diamond to avoid overflow).
Main Diamond + Side Diamond Combination:
Attach a special-shaped diamond (such as a diamond or teardrop shape, with a champagne gold finish) in the center.
Glue a small square diamond on each side (size ≤ 2mm to ensure that short nails are not crowded);
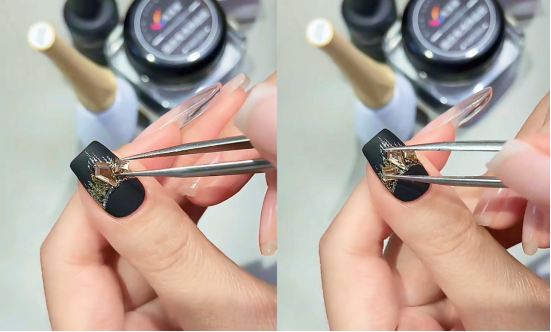
Use tweezers to pick up small steel balls (0.8-1mm in diameter) to fill the gaps to add a sense of layering;

Curing + sealing layer reinforcement: After sticking the diamond, shine the light for 2 minutes to cure it, then apply a thin layer of hard sealing layer along the edge of the diamond decoration, wrap the gap to prevent the diamond decoration from falling off, and shine the light for 2 minutes to complete.
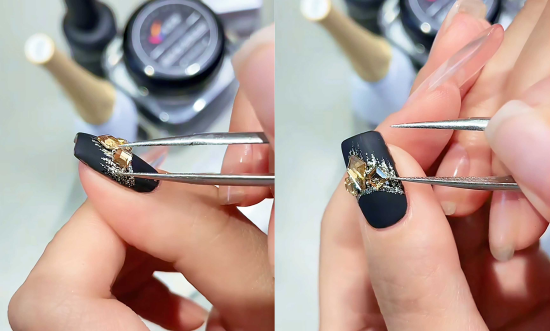
After completing the entire process, the “golden gauze crown” on a matte black base has both a luxurious matte finish and the opulence of shimmering diamonds. It’s also perfectly comfortable on short nails. This step-by-step guide is a no-brainer, and your fingertips will be the center of attention. ✨
(If you want to adjust the style, such as switching from black to dark brown or dark green, or from gold to silver shimmer, you can still recreate the same luxurious look. Feel free to switch things up to suit your preferences.)
In the tutorial, I used CHROMÉCLAIR gel polish. Their products focus on safety, low irritation, environmental protection, and do not contain harmful ingredients, reducing the risk of allergies (HEMA-free Gel Polish). They protect healthy nails and have a variety of colors to cater to mainstream aesthetics, ensuring that every consumer has a safe and secure user experience.
If you encounter any problems during the process, you can watch the video tutorial below. If you think the tutorial is useful, please like and subscribe to me. See you next time.