If you’re frustrated that your nail polish doesn’t have enough color when you tap it, then follow along with this simple tap-mixing color-adjusting tutorial.

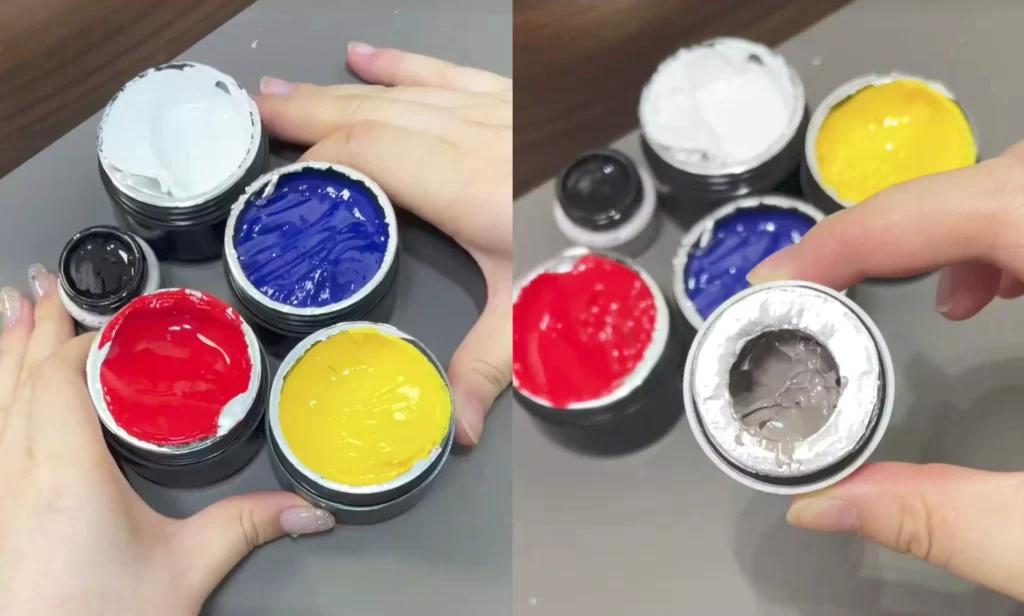
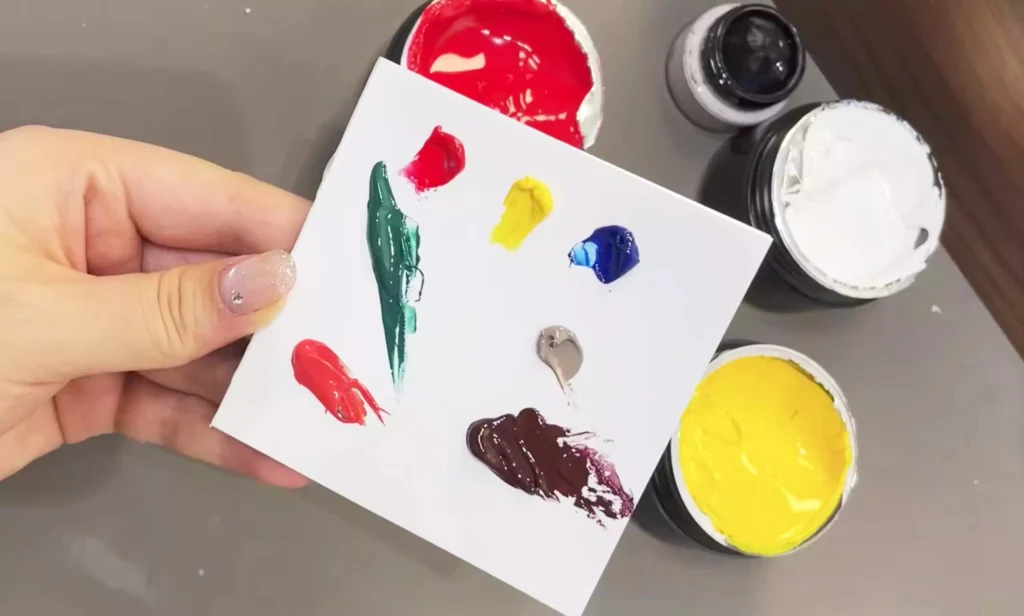
First, prepare five colors of glue: red, yellow, blue, black, and white, plus one gray glue. With these basic colors, you can mix countless different shades.
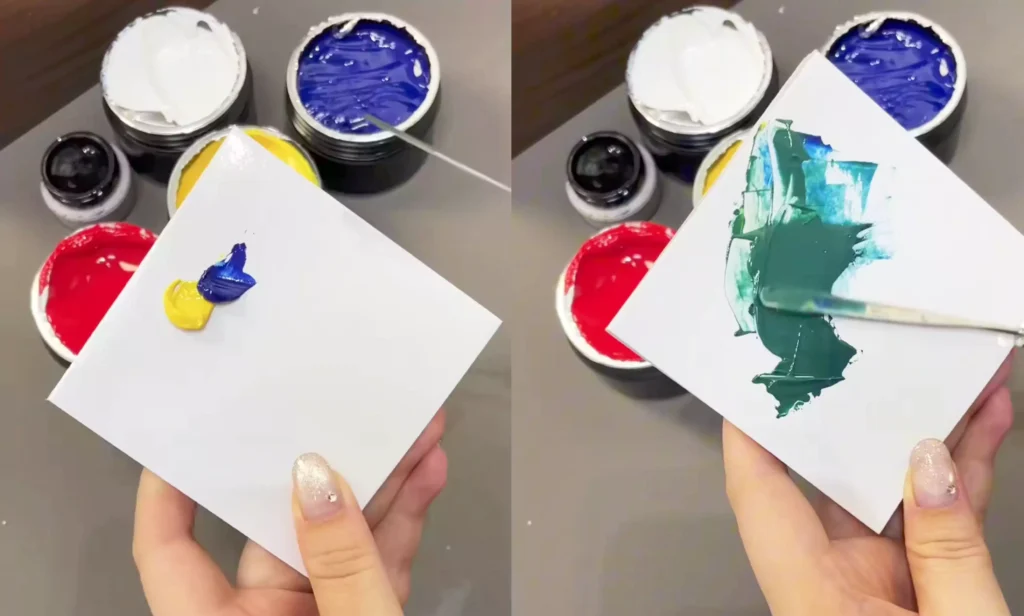
The fundamental color mixing formula is crucial:
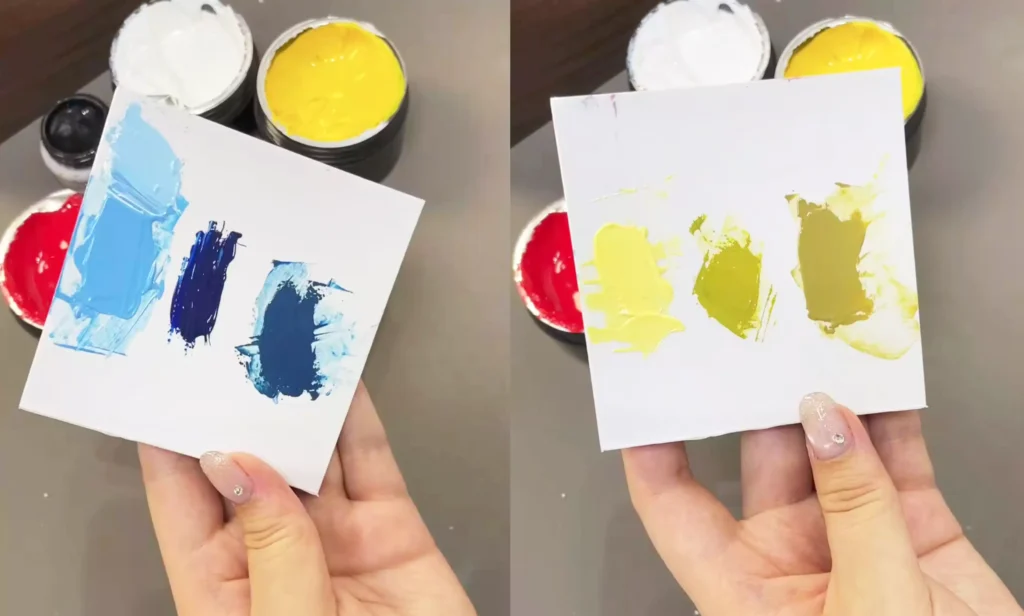
Mix yellow and blue to get green;
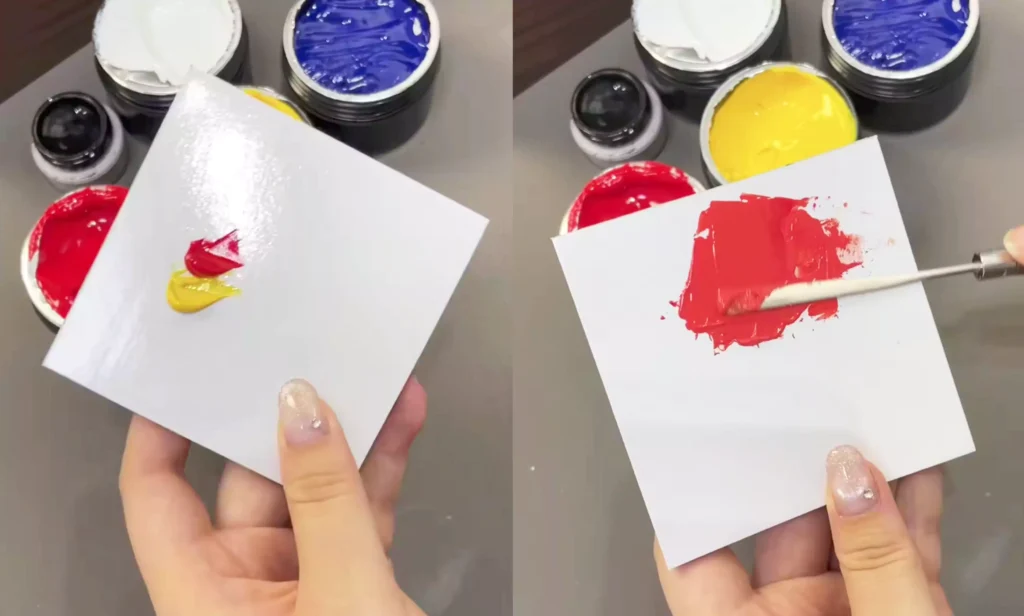
Combining red and yellow produces orange.
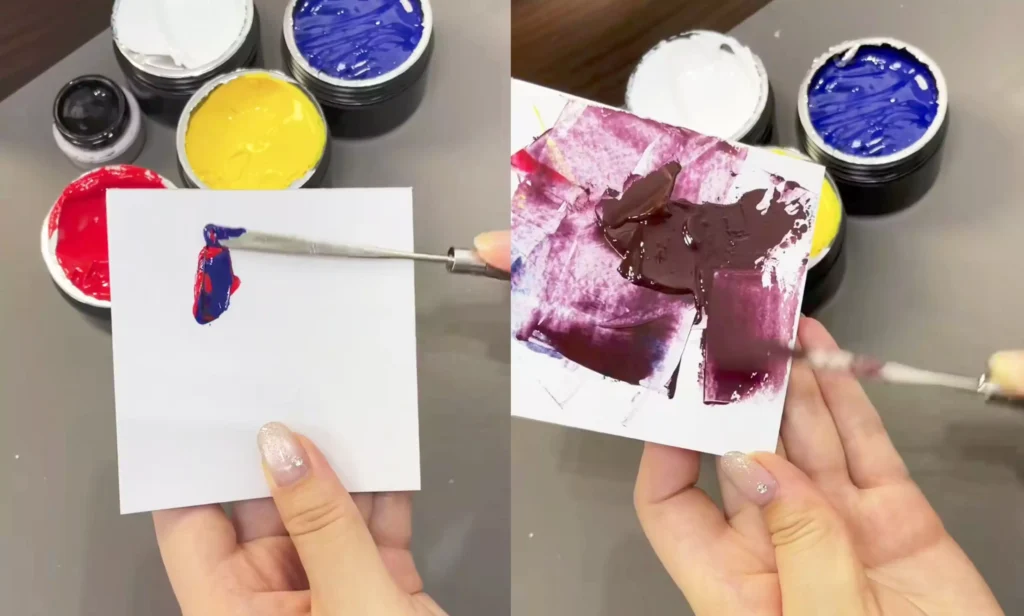
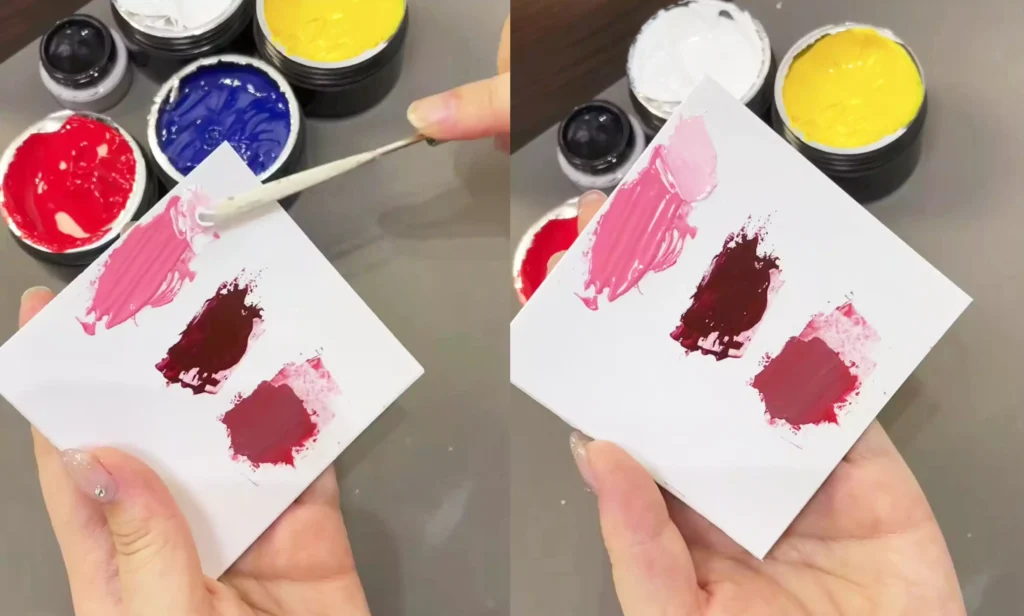
When red and blue blend together, they form purple.
With these base colors established,you can further alter their saturation and brightness by adding other colors.
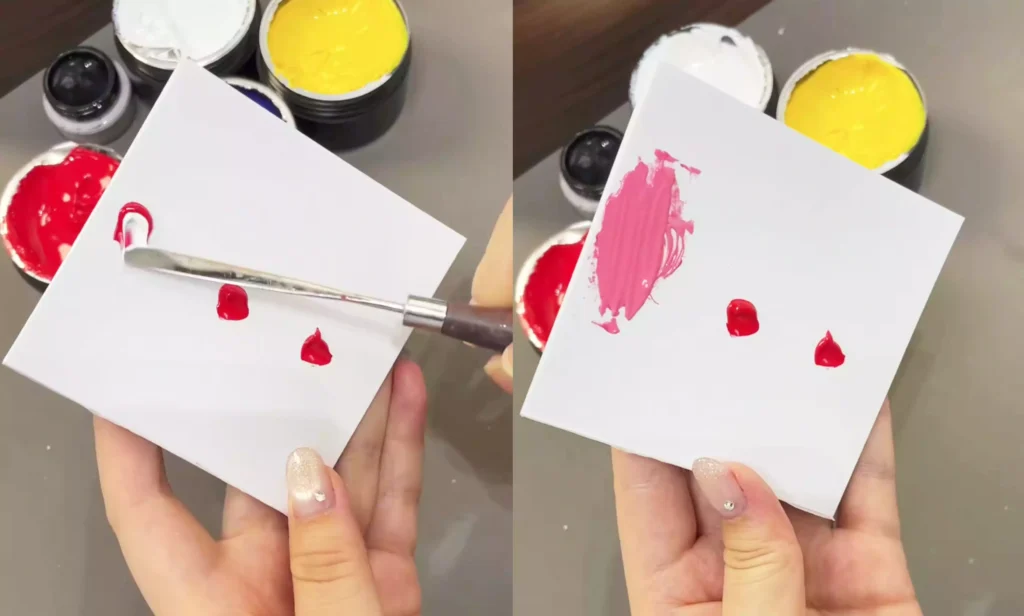
Adding white reduces the color’s saturation while increasing its brightness, making the color lighter and brighter.
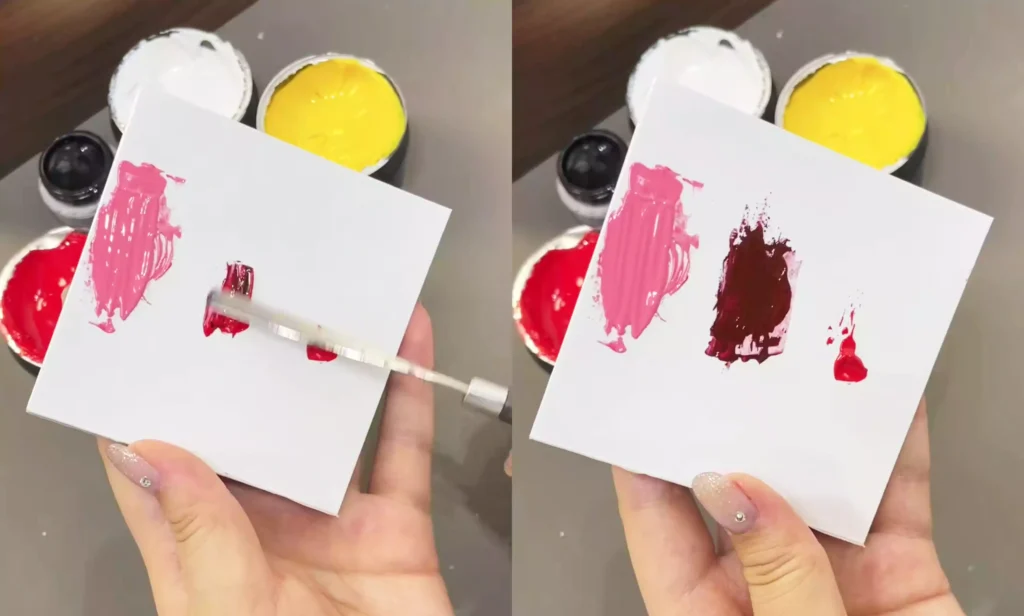
Adding black reduces both the saturation and brightness, making the color darker.
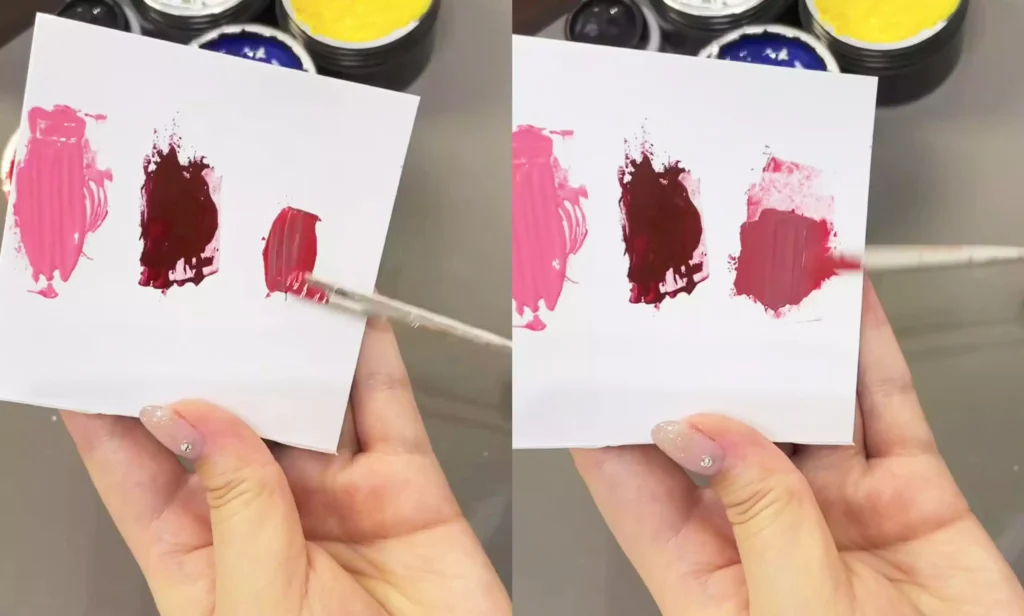
Adding gray reduces the color’s purity, making it appear darker, but it won’t turn as black and dark as adding black does.
Adding a large amount of white will yield macaron colors; other colors can be adjusted to macaron shades using the same method.
Once you master this technique, you’ll never have to worry about finding the right color of photo-developing gel again—plus, you’ll save a lot of money on buying new gel. Go give it a try!
Lastly, I highly recommend CHROMÉCLAIR’s hema free cat eye gel polish. The brand places a strong emphasis on safety, featuring low irritation and eco-friendly formulations (HEMA-free & TPO-free) that significantly reduce the risk of allergies while gently nurturing nail health. With an extensive color selection and long-lasting wear (approximately 21 days), every user can enjoy a product that delivers both safety and peace of mind.

If you encounter any issues during the process, check out the video tutorial below. If you find the tutorial helpful or like it, remember to give it a thumbs up and save it. Subscribe to my channel! See you in the next tutorial.