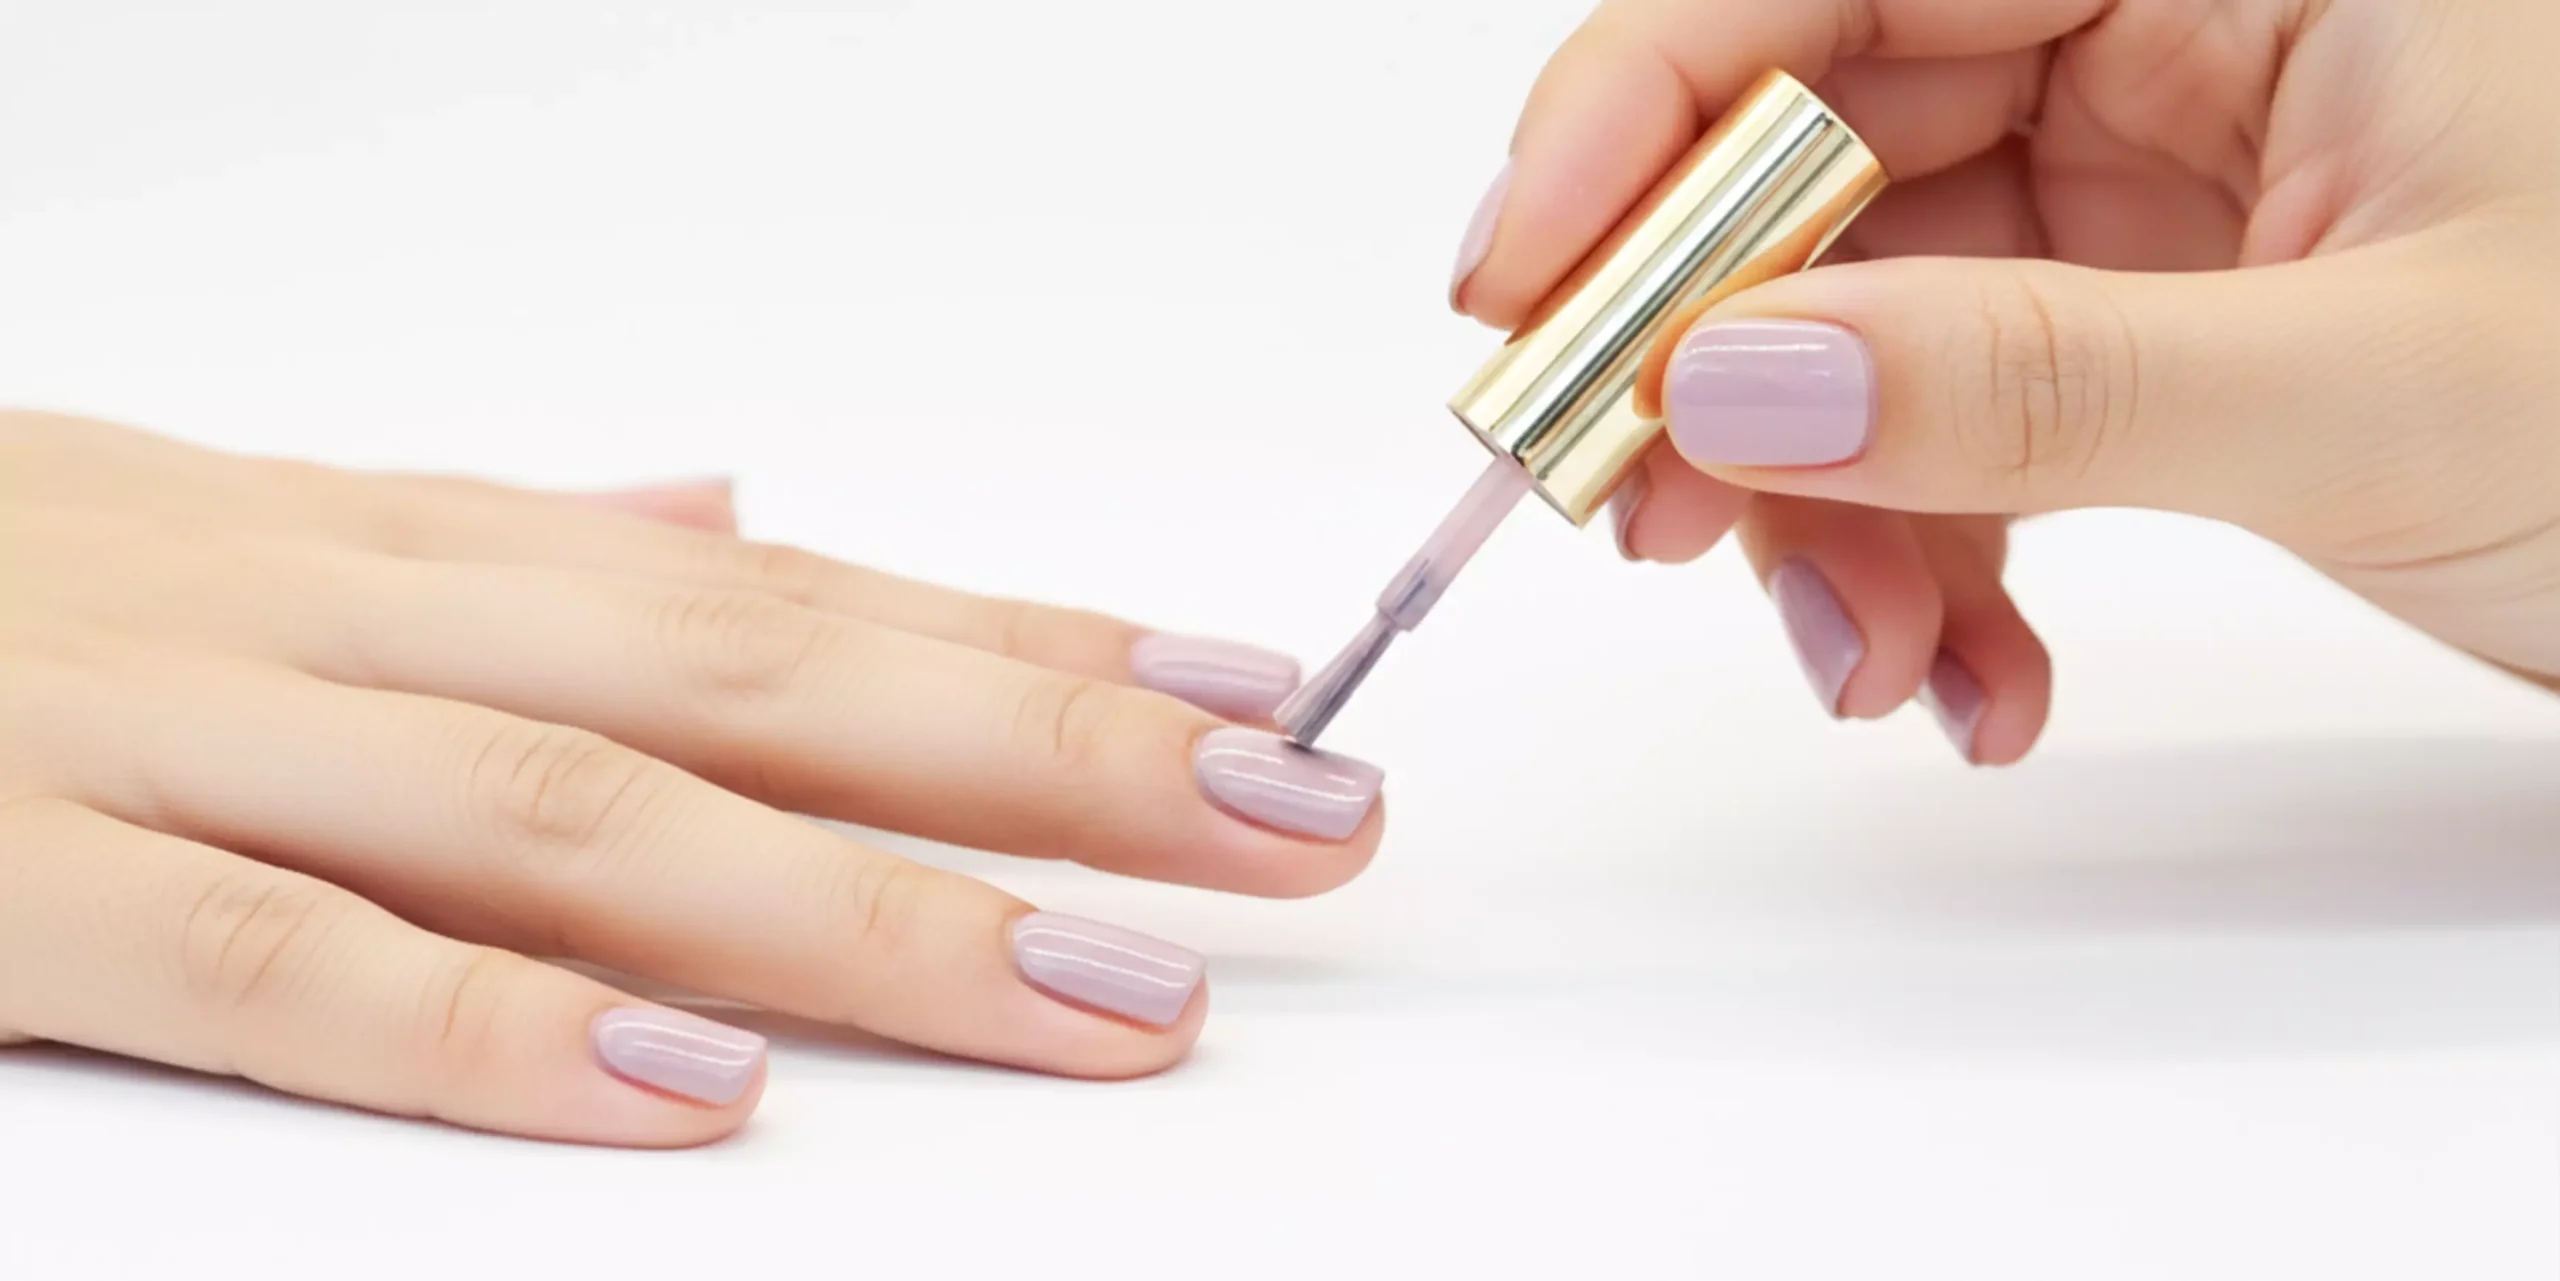
You cure your nails, pull your hand out from under the lamp, and instead of that glossy, salon-perfect finish… they’re still tacky. Or wrinkled. Or already peeling at the edges. Sound familiar?
The thing is, there are very few problems with nail gels that don’t have a very obvious reason and solution. Once you know what you’re looking for, you’ll spend less time fixing problems and more time enjoying your manicure. Let’s break it all down.
1. Why Won’t My Nail Gel Cure?
Nothing is more frustrating than going through the whole process only to end up with soft, sticky nails. Here are the four most common culprits.
- You’re using too much base coat. It seems counterintuitive, but more isn’t better when it comes to your gel base. You only need a thin, even layer — for a full set of ten nails, you’re really talking about 0.1ml total. Applying too much causes uneven adhesion and prevents proper curing before you’ve even started.
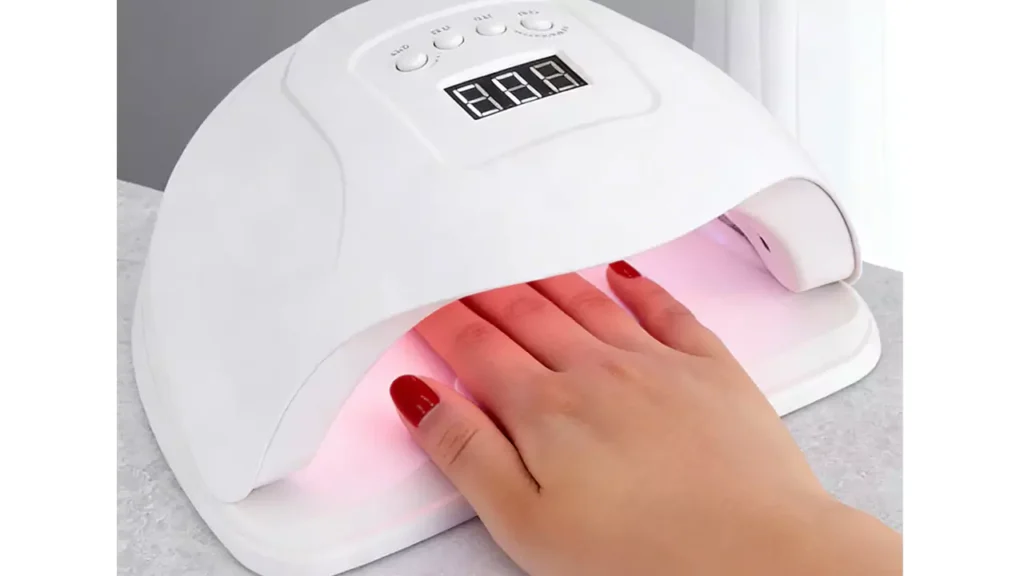
- Your lamp is not functioning properly. Also, gel polish doesn’t dry; it cures. The process of curing is called polymerization. Polymerization is the process where the lamp emits special light that reacts with the gel polish’s molecules, causing them to bond together. However, the lamp should be of the right power and type, with the right bulb not being old. It is recommended that you use a lamp with a power of at least 36W or even more for dark shades. The UV lamp should be changed every three or four months. The LED lamp should be checked once a year. It is also important to make sure that the gel polish is compatible with the lamp type. Some gel polishes work best with LED lamp types, while others work best with UV lamp types.
- You’re cutting the curing time short. Set a timer. Seriously. Each layer of nail gel needs a full 60–120 seconds under the lamp, and those last few seconds matter more than you think. Pulling your hand out early — even by fifteen seconds — can leave the inner layers soft.
- Your hands are not in the correct position. The correct position is with the hands flat on the lamp, with the nails parallel to the lamp’s source of light. The thumbs should also be cured individually so that they are flat on the lamp. If the thumbs are not flat on the lamp, the light will not reach the nails properly, resulting in patchy nails.
2. Why Is My Gel Polish Wrinkling After Curing?
The wrinkles or ripples occur when the surface of the gel dries hard while the rest of the layers are still liquid. It resembles a failed attempt at using shrink wrap. It is almost always the result of two things:
- The gel polish was too thick when it was put on. This is particularly true with deep colors like black, navy, or burgundy. The deep color is so thick with pigment that it prevents the UV or LED light from passing through completely. The general rule is two thin coats for solid colors, and three thin coats for sheers or translucents. The first coat should be almost uncomfortably thin, with the second coat slightly thicker. One thick coat will not work as well as two thin ones, even though it is so tempting.
- The curing process was interrupted. If you pull your hand out before the alarm sounds, your skin’s surface might be set, but the gel underneath might still be wet and moving, causing wrinkles. Be sure to commit to the cure time every time.
- Got wrinkles already?
You’ll need to buff the area back to a smooth surface, wipe it down with a gel cleanser, and apply a thin layer again.
3. Why Does My Nail Gel Look Bumpy or Gritty?
That sandpaper-like texture on an otherwise finished nail is one of those problems that feels deeply unfair. Here’s what’s usually behind it.
- Nail dust wasn’t fully removed after filing. After buffing or e-filing the nail, always brush the surface clean before applying any product. Those tiny particles are nearly invisible in the moment, but they show up very clearly once sealed under gel.
- You’re using alcohol to wipe. Alcohol-based solvents tend to have a lot of water content. Water is definitely not a friend to the gel polish. Water will interfere with the adhesion of the gel. In fact, water will leave a texture on the nail once the gel dries. Instead, you should be using a true gel cleaner. Also, make sure you only use the cleaner once on the nail.
- The speed or pressure of the brush is too fast. Gel polish requires a light touch. The brush should move across the nail at a 45-degree angle. If the brush is too flat, meaning almost parallel to the nail, the brush will press the gel polish onto the nail instead of laying it flat. If the brush is moving too quickly across the nail, air bubbles will form. The air bubbles will resemble grit on the nail.
- The bottle cap has a buildup. Gel polish will tend to build up on the bottle cap. Every time you run the brush through the bottle, a small amount of the dried gel will be picked up. A quick wipe on the bottle cap will solve this problem.
- Your open gel bottle is catching lamp light. This one surprises people — but if your uncapped gel polish is sitting within range of your UV or LED lamp while you work, the gel near the opening can begin to partially cure, creating solid specks that contaminate the rest of the product. Keep open bottles turned away from the lamp at all times.
4. Tiny Bubbles While You’re Still Applying? Easy Fix.
If you notice small air bubbles halfway through your application, don’t worry, and please don’t start again! Just grab a clean brush and run it across your nail in a downward stroke towards the free edge. This will level out your gel and push out those bubbles. Easy!
5. Why Is My Gel Lifting at the Edges?
You did everything right, and a few days later — there it is. A corner lifting. An edge peeling. It’s one of the most disheartening gel polish problems, but it’s almost always preventable.
- You got too close to the skin. Leave about 0.8mm between your gel polish and the skin at the cuticle and sidewalls. The moment gel touches living skin, it’s going to lift — skin moves and flexes, and gel can’t keep up.
- Prep wasn’t thorough enough. The nail surface needs to be lightly buffed before any nail gel goes on, and that includes the sidewalls — easy to miss, but important. Dead skin and cuticle tissue need to be tidied up too. A well-prepped nail is the difference between a manicure that lasts two weeks and one that starts lifting by day four.
- Too much product near the base. A heavy bead of gel at the cuticle will creep into the skin as you spread it, causing almost immediate lifting once cured. Keep it light near the base.
- You skipped capping the free edge. After applying each coat of gel polish, run the brush lightly along the very tip of the nail to seal it. This single habit dramatically cuts down on chipping and edge separation — especially if you use your hands a lot throughout the day.
6. Why Do My Nails Look Dull After Top Coat?
You’ve done the whole thing — base, color, top coat — and the finish is flat. Here’s what went wrong.
- The wipe was not done properly. When using gel polish top coat, there is usually an inhibition layer that has to be removed with a gel cleanser. The trick to doing this properly is to make a clean wipe across your nail, as opposed to wiping back and forth. It also helps to have a clean piece of cotton for each nail. If you use the same piece of cotton for all your nails, you are just moving it around.
- You wiped your nails while they were still warm. Give your nails a few seconds to cool off before wiping. Warm gel polish does not work well. It smears easily, which kills the finish before it even has a chance to cure.
- The top coat was either too thick or not cured enough. Use two thin layers for your top coat, not one thick one. Curing one coat for two minutes and another for four to six minutes will do the trick. A top coat that does not cure properly simply will not have the shiny, hard finish you’re looking for.
7. Why Is My Gel Top Coat Cracking?
Cracking — sometimes called crazing — in the top coat is usually one of two issues.
- You only applied one thin layer. A single coat of top coat doesn’t have enough structural strength for daily wear. Two layers is the standard, full stop.
- De toplaag isn’t flexible enough for your gel polish. This is a common issue with basic no-wipe formulas, which often cure with a rigid, brittle finish. Since gel polish has a lot of natural flex, a stiff top coat will eventually crack under the pressure of the nail bending. Look for a no-wipe formula specifically designed with flex in mind — or switch to a wipe-off top coat, which generally offers better durability.
- Your natural nails are thin or soft. If the nail plate itself bends easily, the gel layers above it are under constant stress. After your base coat, add a thin layer of clear builder gel or nail strengthener to add rigidity before your color. It makes a bigger difference than you’d expect.
8. Why Does It Hurt When My Hand Is Under the Lamp?
Heat spikes during curing are real, and they range from a mild warmth to a sharp, stinging sensation. Here’s why it happens.
- The most common reason is thick layers of gel. Thicker gel absorbs more light energy, which converts to heat, and that heat has nowhere to go but into your nail. Thin layers cure with minimal heat — one more reason the “thin coats” rule isn’t just about aesthetics.
- Gel that has touched the surrounding skin also generates heat during curing. Before placing your hand under the lamp, clean up any product that’s spread onto the skin.
- If you naturally have thin nail plates, you’ll feel heat more intensely. Go lighter with your buffing during prep, and consider adding a layer of builder gel over your base coat as a buffer.
- If a heat spike happens mid-cure, it’s fine to briefly pull your hand out for a few seconds before going back in. It extends the process slightly but doesn’t ruin anything.
9. Why Won’t My Gel Soak Off?
Stubborn gel removal is almost always one of three things.
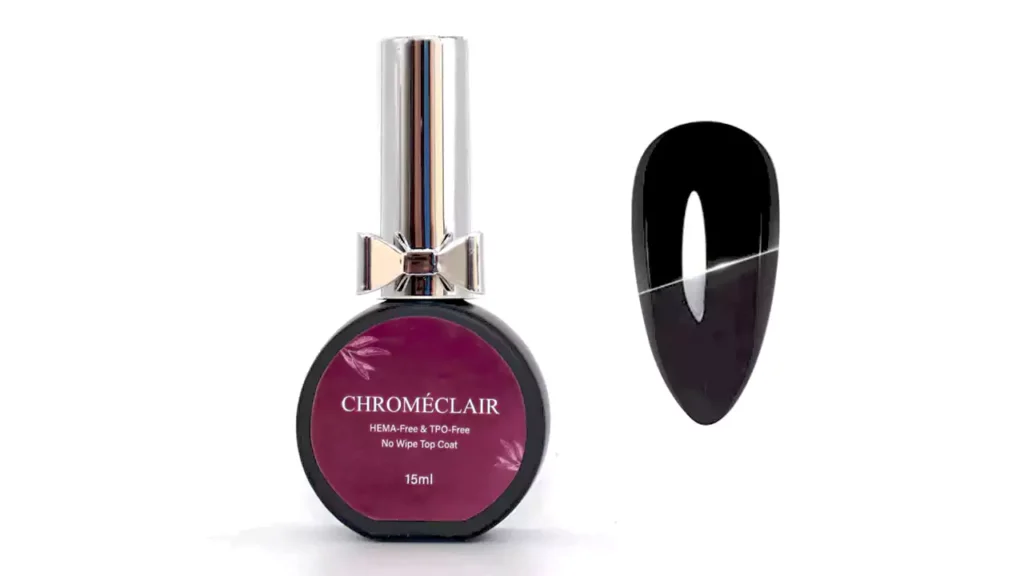
- You applied a top coat that cannot be removed. Many no-wipe top coats are designed for hard gels and cannot be dissolved by acetone. This means the soak-off solution cannot penetrate through to the colors. If your gel polish is not coming off, buff through the top coat with a coarse nail file before wrapping with acetone.(Chroméclair’s no-wipe top coat offers excellent longevity, and all of its gel polish formulas are TPO-free & HAMA-free, making them a healthier choice.)
- The foil wrap had gaps. If air can get in, acetone evaporates before it does its job. Cut your foil large enough to fully wrap the fingertip and press it closed with no gaps. It should feel snug.
- You didn’t wait long enough. Gel polish needs at least five to ten minutes of contact with acetone before it breaks down enough to slide off cleanly. Forcing it off before then doesn’t just leave residue behind — it takes layers of your natural nail with it.
The Bottom Line
It seems like every issue with nail gel comes back to the same two rules: layer thickness and curing time. Master those two, and you’ll solve the majority of problems before they ever begin.
Take your time when prepping, be gentle with the polish, and let the lamp do its job. It’s worth it.