You cure your nails, pull your hand out from under the lamp, and instead of that glossy, salon-perfect finish… they’re still tacky. Or wrinkled. Or already peeling at the edges. Sound familiar?
The thing is, there are very few problems with nail gels that don’t have a very obvious reason and solution. Once you know what you’re looking for, you’ll spend less time fixing problems and more time enjoying your manicure. Let’s break it all down.
1. Why Won’t My Nail Gel Cure?
No hay nada más frustrante que pasar por todo el proceso para acabar con las uñas blandas y pegajosas. Estos son los cuatro culpables más comunes.
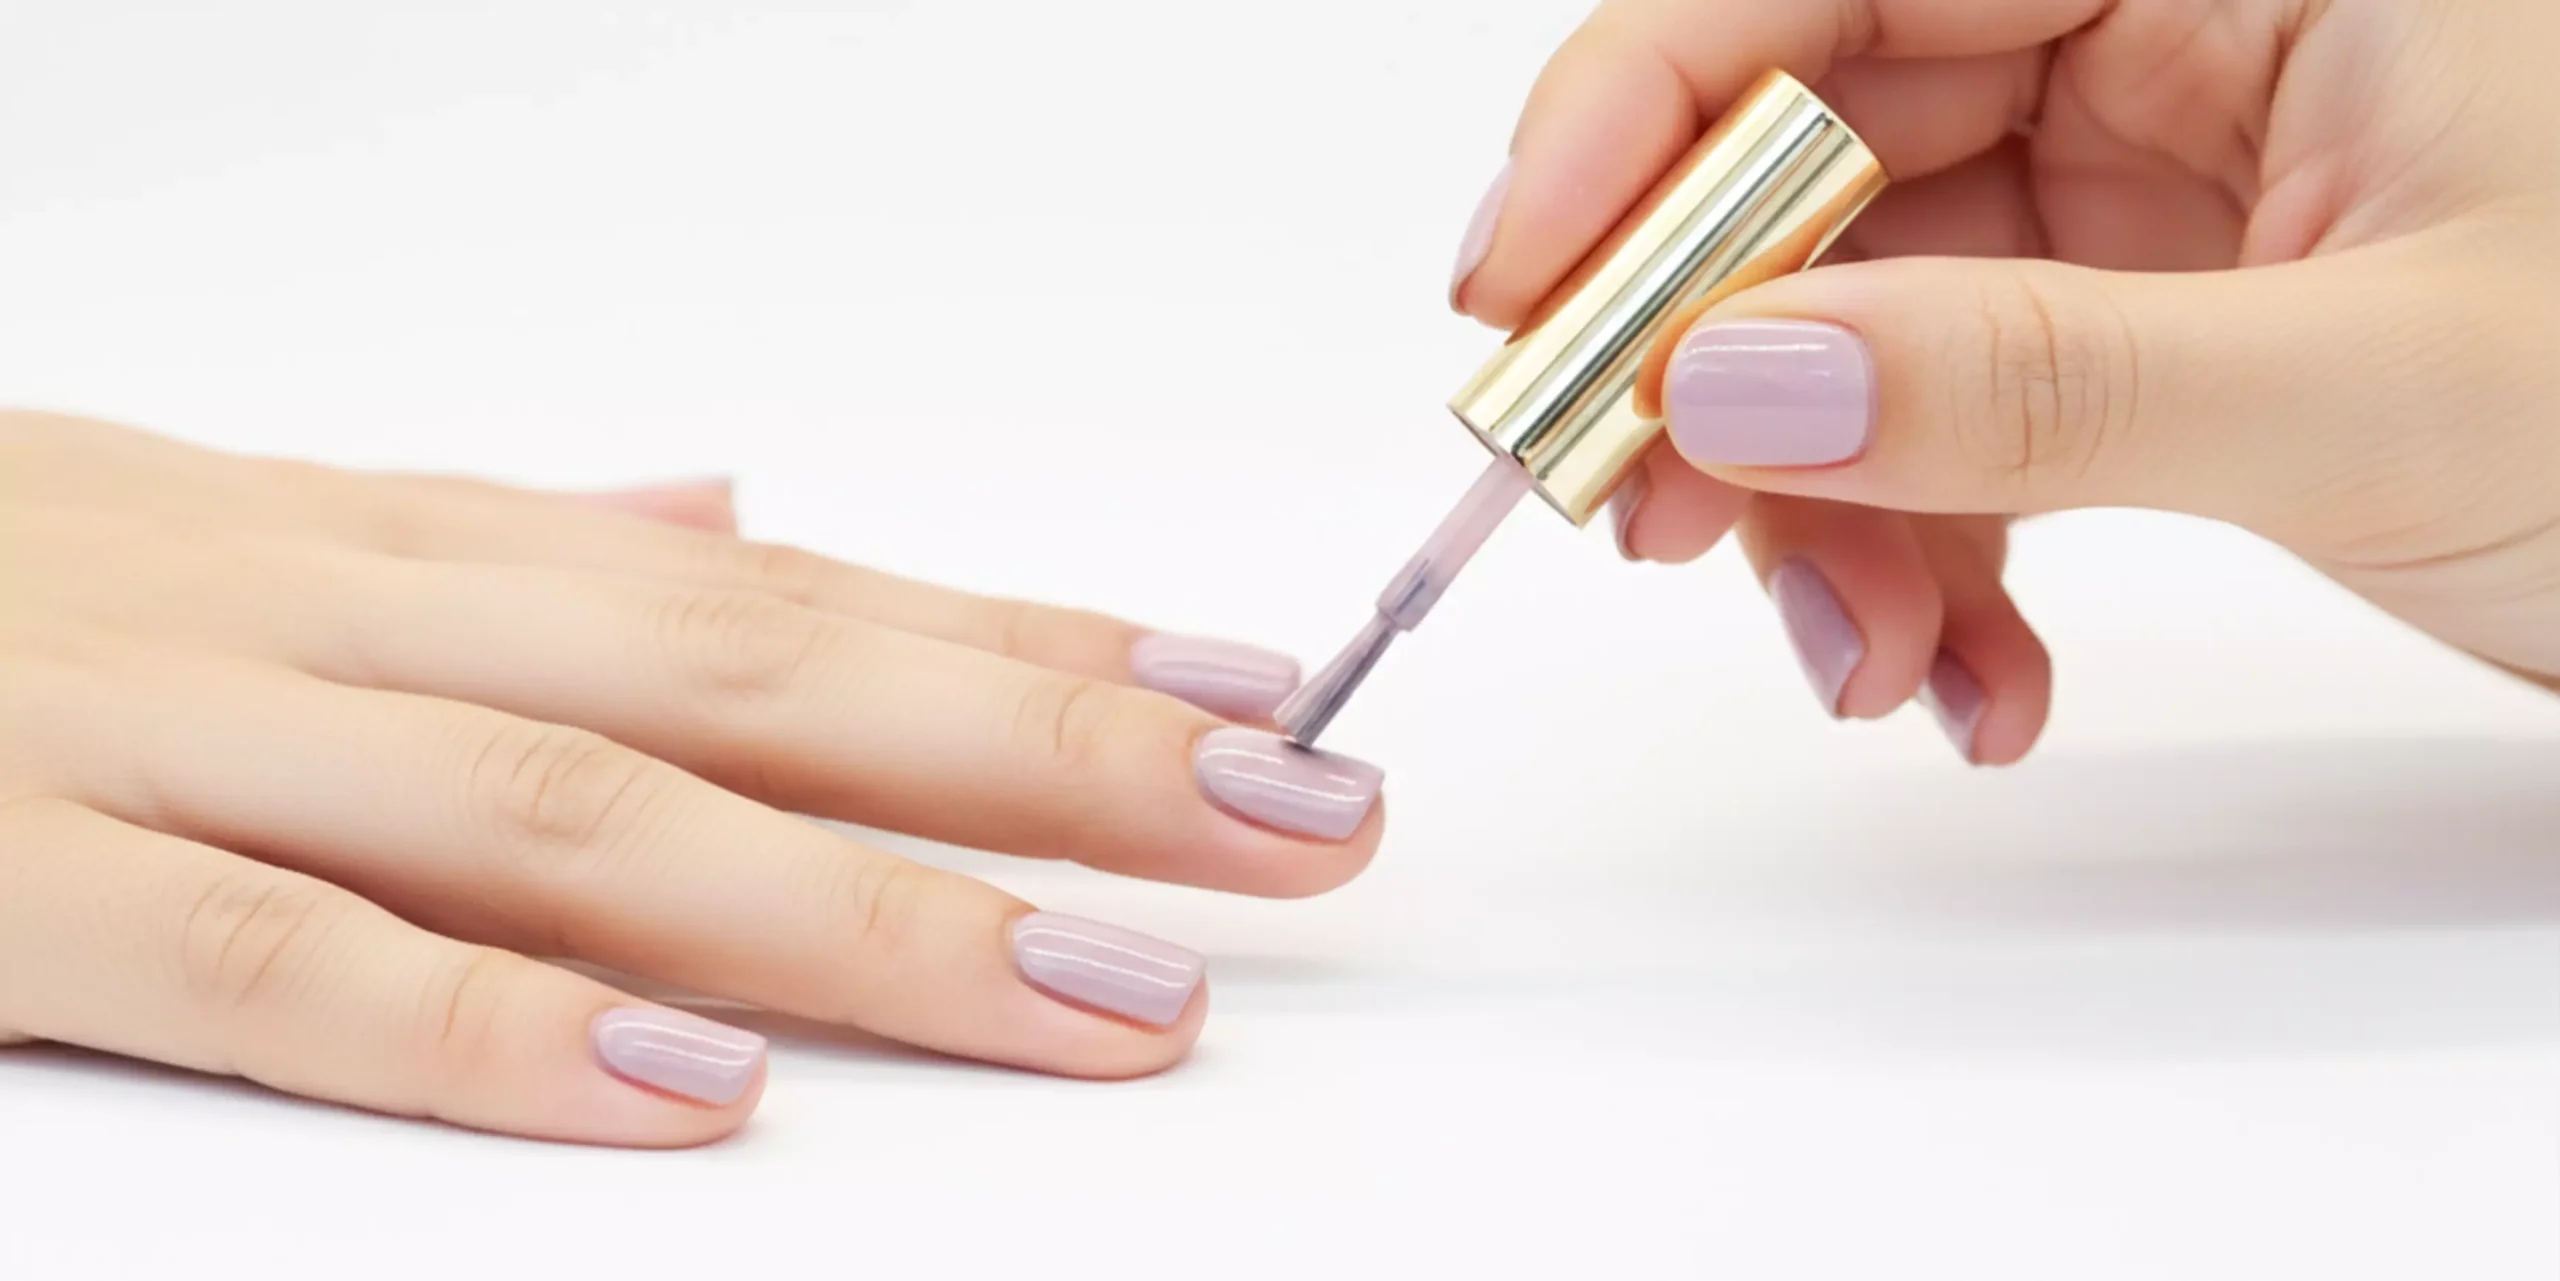
- You’re using too much capa base. It seems counterintuitive, but more isn’t better when it comes to your gel base. You only need a thin, even layer — for a full set of ten nails, you’re really talking about 0.1ml total. Applying too much causes uneven adhesion and prevents proper curing before you’ve even started.
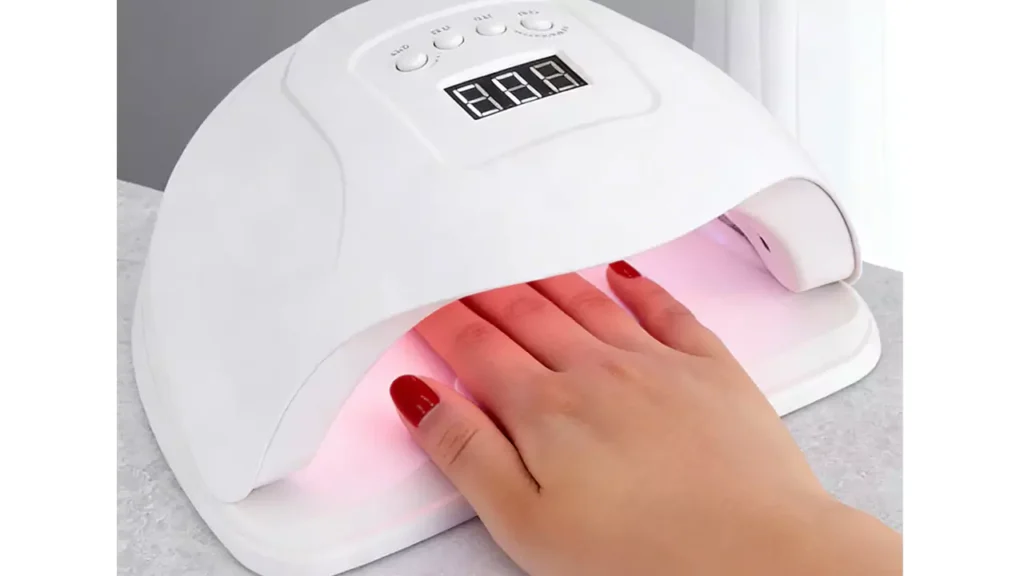
- Su lámpara no funciona correctamente. Also, gel polish doesn’t dry; it cures. The process of curing is called polymerization. Polymerization is the process where the lamp emits special light that reacts with the gel polish’s molecules, causing them to bond together. However, the lamp should be of the right power and type, with the right bulb not being old. It is recommended that you use a lamp with a power of at least 36W or even more for dark shades. The UV lamp should be changed every three or four months. The Lámpara LED debe revisarse una vez al año. También es importante asegurarse de que el esmalte de gel es compatible con el tipo de lámpara. Algunos esmaltes de gel funcionan mejor con lámparas LED y otros con lámparas UV.
- You’re cutting the curing time short. Pon un temporizador. En serio. Cada capa de gel de uñas necesita entre 60 y 120 segundos completos bajo la lámpara, y esos últimos segundos importan más de lo que crees. Sacar la mano antes de tiempo -incluso quince segundos- puede dejar blandas las capas interiores.
- Tus manos no están en la posición correcta. The correct position is with the hands flat on the lamp, with the nails parallel to the lamp’s source of light. The thumbs should also be cured individually so that they are flat on the lamp. If the thumbs are not flat on the lamp, the light will not reach the nails properly, resulting in patchy nails.
2. ¿Por qué se me arruga el esmalte de gel después de curarlo?
Las arrugas u ondulaciones se producen cuando la superficie del gel se seca con fuerza mientras el resto de las capas siguen líquidas. Se asemeja a un intento fallido de retractilado. Casi siempre es el resultado de dos cosas:
- El esmalte de gel era demasiado espeso al ponerlo. This is particularly true with deep colors like black, navy, or burgundy. The deep color is so thick with pigment that it prevents the UV or LED light from passing through completely. The general rule is two thin coats for colores sólidos, and three thin coats for sheers or translucents. The first coat should be almost uncomfortably thin, with the second coat slightly thicker. One thick coat will not work as well as two thin ones, even though it is so tempting.
- El proceso de curado se interrumpió. Si retiras la mano antes de que suene la alarma, es posible que la superficie de la piel esté fijada, pero que el gel que hay debajo siga húmedo y en movimiento, provocando arrugas. Asegúrate de respetar siempre el tiempo de curación.
- ¿Ya tienes arrugas?
You’ll need to buff the area back to a smooth surface, wipe it down with a gel cleanser, and apply a thin layer again.
3. ¿Por qué mi gel de uñas tiene un aspecto desigual o arenoso?
That sandpaper-like texture on an otherwise finished nail is one of those problems that feels deeply unfair. Here’s what’s usually behind it.
- Nail dust wasn’t fully removed after filing. Después de pulir o limar la uña, cepille siempre la superficie para limpiarla antes de aplicar cualquier producto. Esas diminutas partículas son casi invisibles en el momento, pero aparecen muy claramente una vez selladas bajo el gel.
- You’re using alcohol to wipe. Alcohol-based solvents tend to have a lot of water content. Water is definitely not a friend to the gel polish. Water will interfere with the adhesion of the gel. In fact, water will leave a texture on the nail once the gel dries. Instead, you should be using a true gel cleaner. Also, make sure you only use the cleaner once on the nail.
- La velocidad o la presión del cepillo son demasiado rápidas. El esmalte de gel requiere un toque ligero. El pincel debe moverse por la uña en un ángulo de 45 grados. Si el pincel está demasiado plano, es decir, casi paralelo a la uña, presionará el esmalte en gel sobre la uña en lugar de dejarlo plano. Si el pincel se mueve demasiado rápido por la uña, se formarán burbujas de aire. Las burbujas de aire parecerán arenilla sobre la uña.
- La tapa de la botella tiene una acumulación. El esmalte en gel tiende a acumularse en el tapón del frasco. Cada vez que pases el pincel por el frasco, se acumulará una pequeña cantidad de gel seco. Una limpieza rápida del tapón solucionará este problema.
- Tu bote de gel abierto atrapa la luz de la lámpara. Esto sorprende a la gente, pero si tu esmalte en gel sin tapar está al alcance de tu lámpara UV o LED mientras trabajas, el gel que está cerca de la abertura puede empezar a curarse parcialmente, creando motas sólidas que contaminen el resto del producto. Mantén los frascos abiertos alejados de la lámpara en todo momento.
4. Tiny Bubbles While You’re Still Applying? Easy Fix.
If you notice small air bubbles halfway through your application, don’t worry, and please don’t start again! Just grab a clean brush and run it across your nail in a downward stroke towards the free edge. This will level out your gel and push out those bubbles. Easy!
5. ¿Por qué se me levanta el gel en los bordes?
You did everything right, and a few days later — there it is. A corner lifting. An edge peeling. It’s one of the most disheartening gel polish problems, but it’s almost always preventable.
- Te acercaste demasiado a la piel. Leave about 0.8mm between your gel polish and the skin at the cuticle and sidewalls. The moment gel touches living skin, it’s going to lift — skin moves and flexes, and gel can’t keep up.
- Prep wasn’t thorough enough. La superficie de la uña debe pulirse ligeramente antes de aplicar el gel, incluidas las paredes laterales. También hay que limpiar la piel muerta y el tejido de la cutícula. Una uña bien preparada es la diferencia entre una manicura que dura dos semanas y otra que empieza a levantarse al cuarto día.
- Demasiado producto cerca de la base. Una gruesa capa de gel en la cutícula se irá introduciendo en la piel a medida que lo extiendas, provocando un levantamiento casi inmediato una vez curado. Manténgalo ligero cerca de la base.
- Te has saltado tapar el borde libre. Después de aplicar cada capa de esmalte permanente, pasa ligeramente el pincel por la punta de la uña para sellarla. Este sencillo hábito reduce drásticamente los desconchones y la separación de los bordes, sobre todo si usas mucho las manos a lo largo del día.
6. ¿Por qué mis uñas se ven opacas después del top coat?
You’ve done the whole thing — base, color, top coat — and the finish is flat. Here’s what went wrong.
- La limpieza no se hizo correctamente. Cuando se utiliza una capa superior de esmalte de gel, suele haber una capa inhibidora que hay que eliminar con un limpiador de gel. El truco para hacerlo correctamente es pasar una toallita limpia por la uña, en lugar de pasarla de un lado a otro. También ayuda tener un trozo de algodón limpio para cada uña. Si utilizas el mismo trozo de algodón para todas las uñas, no harás más que moverlo de un lado a otro.
- Te limpiaste las uñas cuando aún estaban calientes. Deja que las uñas se enfríen unos segundos antes de limpiarlas. El esmalte en gel caliente no funciona bien. Se corre con facilidad, lo que acaba con el acabado antes incluso de que se cure.
- La capa final era demasiado gruesa o no estaba suficientemente curada.. Use two thin layers for your top coat, not one thick one. Curing one coat for two minutes and another for four to six minutes will do the trick. A top coat that does not cure properly simply will not have the shiny, hard finish you’re looking for.
7. ¿Por qué se agrieta mi Gel Top Coat?
La aparición de grietas en la capa de acabado suele deberse a dos causas.
- Sólo has aplicado una fina capa. A single coat of top coat doesn’t have enough structural strength for daily wear. Two layers is the standard, full stop.
- En capa final isn’t flexible enough for your gel polish. Este es un problema común con las fórmulas básicas que no se borran, que a menudo se curan con un acabado rígido y quebradizo. Como el esmalte de gel tiene mucha flexibilidad natural, un top coat rígido acabará agrietándose bajo la presión de la uña al doblarse. Busca una fórmula no-wipe diseñada específicamente teniendo en cuenta la flexibilidad, o cambia a un top coat wipe-off, que suele ofrecer una mayor durabilidad.
- Tus uñas naturales son finas o blandas. If the nail plate itself bends easily, the gel layers above it are under constant stress. After your base coat, add a thin layer of clear builder gel or nail strengthener to add rigidity before your color. It makes a bigger difference than you’d expect.
8. ¿Por qué me duele la mano cuando la tengo debajo de la lámpara?
Heat spikes during curing are real, and they range from a mild warmth to a sharp, stinging sensation. Here’s why it happens.
- La razón más común son las capas gruesas de gel. Thicker gel absorbs more light energy, which converts to heat, and that heat has nowhere to go but into your nail. Thin layers cure with minimal heat — one more reason the “thin coats” rule isn’t just about aesthetics.
- Gel that has touched the surrounding skin also generates heat during curing. Before placing your hand under the lamp, clean up any product that’s spread onto the skin.
- If you naturally have thin nail plates, you’ll feel heat more intensely. Aplique un pulido más suave durante la preparación y considere la posibilidad de añadir una capa de gel constructor sobre la capa base a modo de tampón.
- Si se produce un pico de calor a mitad del curado, it’s fine to briefly pull your hand out for a few seconds before going back in. It extends the process slightly but doesn’t ruin anything.
9. Why Won’t My Gel Soak Off?
La eliminación obstinada de gel es casi siempre una de estas tres cosas.
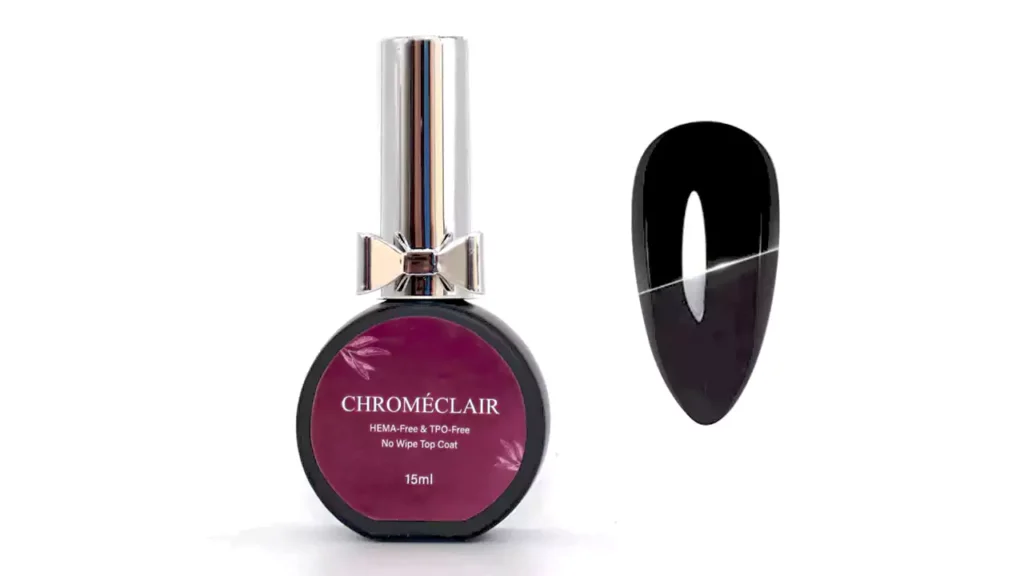
- Ha aplicado una capa superior que no se puede quitar. Muchos top coats no-wipe están diseñados para geles duros y no pueden disolverse con acetona. Esto significa que la solución de remojo no puede penetrar hasta los colores. Si tu esmalte de gel no se quita, pule el top coat con una lima de uñas gruesa antes de envolverlo con acetona.(Chroméclair's capa de acabado offers excellent longevity, and all of its gel polish formulas are TPO-free & HAMA-free, making them a healthier choice.)
- El papel de aluminio tenía huecos. Si entra aire, la acetona se evapora antes de hacer su trabajo. Corta el papel de aluminio lo suficientemente grande como para envolver completamente la yema del dedo y ciérralo a presión sin que quede ningún hueco. Debe quedar bien ajustado.
- You didn’t wait long enough. Gel polish needs at least five to ten minutes of contact with acetone before it breaks down enough to slide off cleanly. Forcing it off before then doesn’t just leave residue behind — it takes layers of your natural nail with it.
Lo esencial
It seems like every issue with nail gel comes back to the same two rules: layer thickness and curing time. Master those two, and you’ll solve the majority of problems before they ever begin.
Take your time when prepping, be gentle with the polish, and let the lamp do its job. It’s worth it.