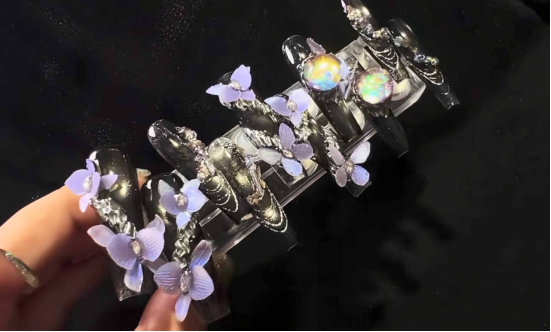
Want to have a beautiful orchid nail art design that is ethereal and full of details? Today, we will take you step by step through this stunning design, from transferring lace to three-dimensional butterfly decorations. Each step is explained in great detail, so even beginners can easily follow along.
Step 1: Lace transfer to create a hazy base
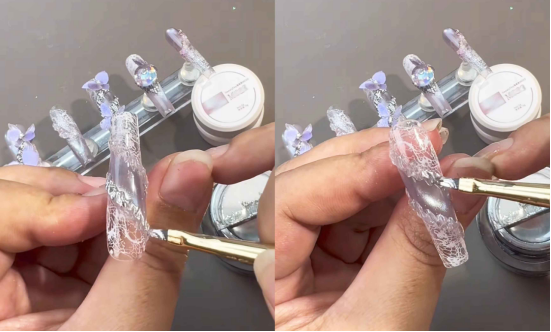
First, take out the lace steel plate and use transfer glue to transfer the lace pattern onto the steel plate.
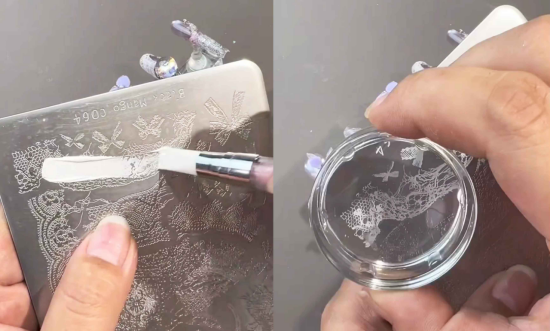
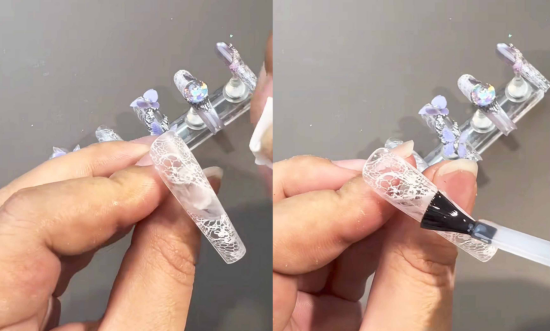
Use a transparent stamp to transfer delicate lace onto the nail surface.
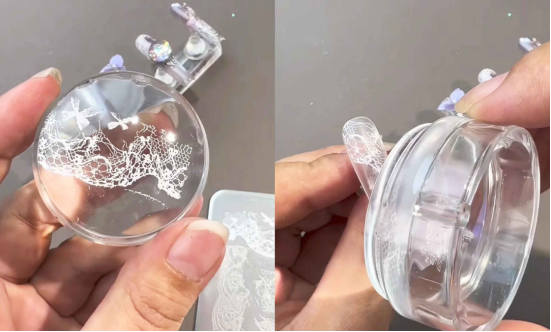
After transferring the design, use a clean cotton pad to wipe out the blank area in the middle of the nail surface (this will create more layers when blending later).
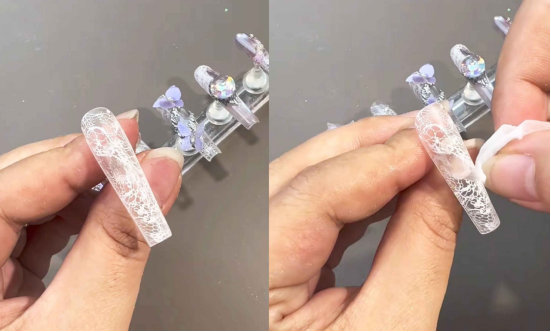
Since you used no-wash transfer glue, remember to apply a layer of base glue to “wrap” the lace, cure it under a lamp, and make the lace stick to the nail surface better.
Step 2: Gradient blending to create a dreamy atmosphere
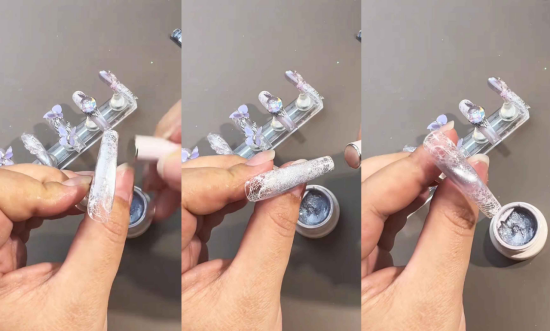
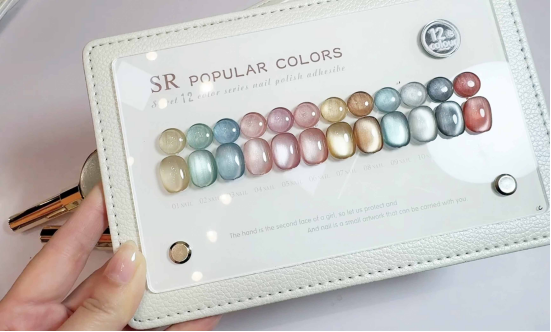
Select a transparent cat’s eye gel polish with fine glitter (I used CHROMÉCLAIR’s Hema Free Gel Polish No. 437, which has good fluidity and no harmful ingredients). First, apply the color to the blank area, lightly sweeping the brush along the edges to allow the color to blend naturally, creating a soft, smoky effect.

After brushing, use a magnet to remove the “Mao Jian” glitter, leaving only the delicate base color. Repeat the brushing and magnet removal steps a second time. This time, you can randomly remove some “glitter” (light and shadow effect) to create a gradient effect on the nail surface.
Step 3: Shape the soft gel to add dimensional layers
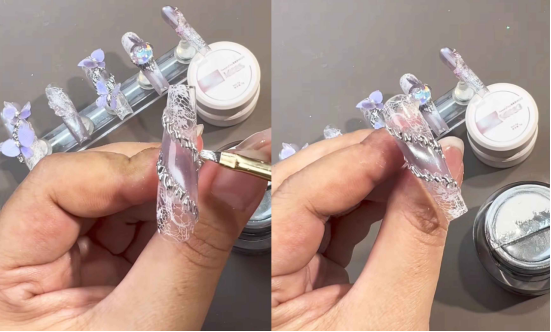
Take a lump of soft gel (with a bouncy texture that is easy to work with) and use a small brush to apply it to the edges of the nail surface.
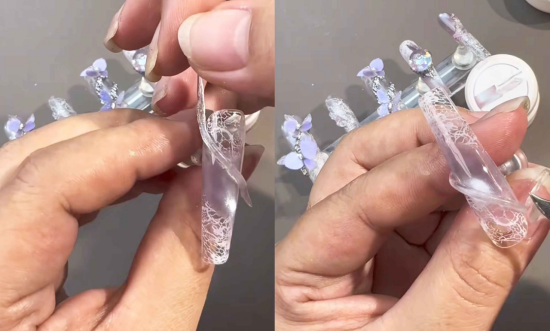
Next, gently flatten the soft candy glue with your fingers, then use a silicone pen to “poke” out irregular textures.
Finally, use a silicone pen to make the edges more three-dimensional.
Step 4: Apply metallic glue to highlight the intricate details
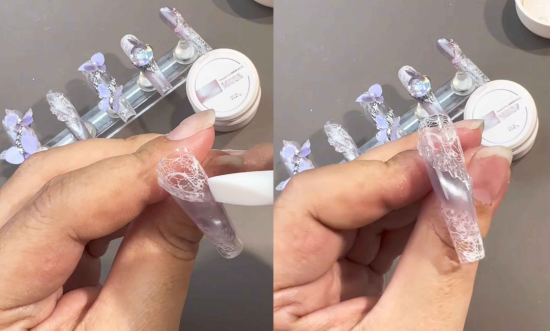
Choose a fine metallic glue (silver tones go well with the orchid theme) and apply it to the soft candy glue mold. Note: After applying the metallic glue, don’t rush to cure it under the lamp. Let it sit for a few seconds to ensure the color is more even and saturated, and the metallic sheen is more sophisticated.
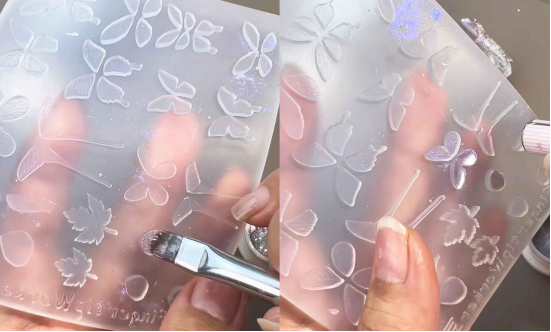
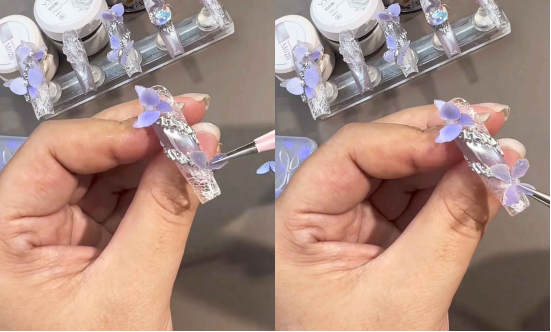
Step 5: Remove the mold, apply magnetic cat’s eye glue, and stick it on
Take out the purple moonlight powder and first apply it to the butterfly/petal mold (I tested it and found that the powder does not fall off! Even after wiping it with clean water, the color remains firmly attached). Remove the butterfly/petal from the mold, apply cat’s eye glue, and use a magnet to apply the cat’s eye effect to each piece separately to give the wings a lively look.
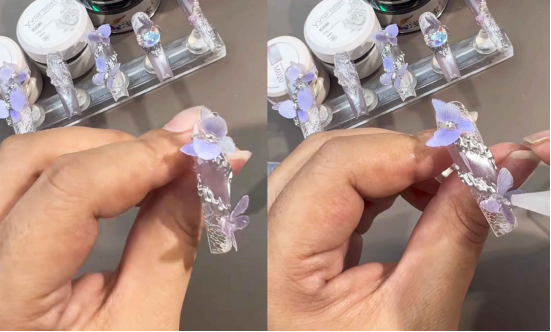
Take a small amount of soft candy glue and apply it to the nail surface. Then, “bury” the prepared petals and butterflies into the soft candy glue.
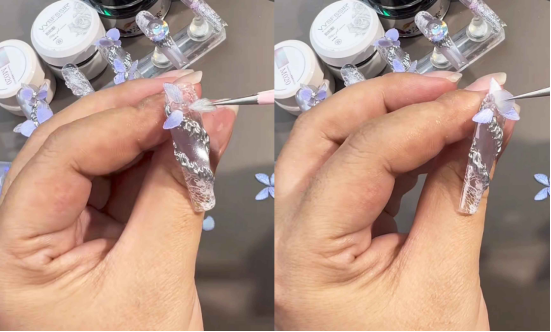
After adjusting to a natural, staggered position, cure the rear lights to ensure that the three-dimensional decorations are firmly attached.
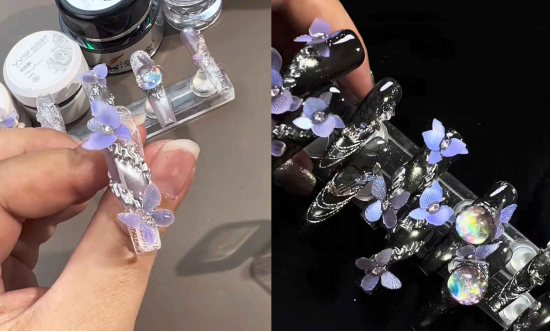
Step 6: Finish with a top coat to lock in all the beauty
Finally, reinforce the edges of key areas of the nail surface (such as around rhinestones and 3D decorations), apply a layer of ultra-glossy top coat to the entire nail, and cure under the lamp to completely set the manicure!
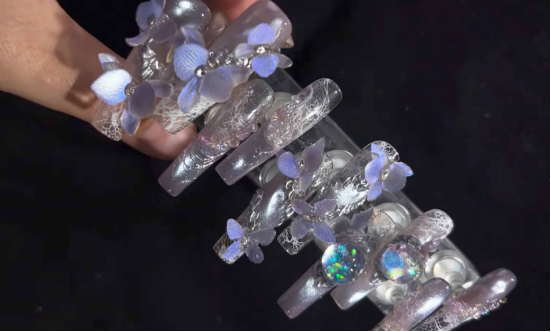
Transparent shading + three-dimensional butterflies + exquisite lace, transforming your fingertips into a romantic garden.
If you like it, you can just copy the steps. Follow the instructions, and you too can have this orchid nail art that’s all over social media. Give it a try!
In the tutorial, I used CHROMÉCLAIR’s HEMA-free Gel Polish. Their products are safe and hypoallergenic (HEMA-free & TPO-free), environmentally friendly, and free of irritating and harmful ingredients, protecting the health of your nails. There is a wide range of colors to choose from, keeping up with the latest trends, so you can use them with confidence and look good!
If you have any questions during the process, feel free to leave a comment, and I’ll be happy to help. If you find the tutorial useful, please remember to like and save it, and subscribe to me to unlock more nail art designs!