
Want your gel polish to last and look amazing? You need to prep nails the right way. When you skip this step, your polish chips, lifts, or peels way too soon. Salons get that flawless finish because they take nail prep seriously. Don’t worry if you’re new—anyone can master this with a little practice. You’ll see the difference in your next manicure!
Key Takeaways
- Proper nail prep is essential for long-lasting gel polish. Clean, buff, and dehydrate your nails to ensure a strong bond.
- Skipping nail prep leads to issues like lifting and peeling. Take your time with each step for a flawless finish.
- Use the right tools and techniques. Gentle filing and cuticle care prevent damage and promote healthy nails.
- Apply thin layers of gel polish and a high-quality top coat. This enhances durability and keeps your manicure looking fresh.
- Healthy nails are key to a great gel manicure. Moisturize and take breaks between applications to maintain nail strength.
Why Prep Nails Matters
Longevity and Durability
You want your gel polish to last as long as possible, right? That’s why you need to prep nails before you start. When you take time to clean, buff, and dehydrate your nails, you create the perfect surface for gel polish to stick. This step helps the polish bond tightly to your nail, which means fewer chips and less peeling.
- Cleaning and sanitizing your nails removes oils and moisture that can block adhesion.
- Buffing gives your nail plate a smooth surface, so the gel polish can grip better.
- Using a dehydrator or primer gets rid of any leftover oils and helps the gel last longer.
If you skip these steps, your gel polish might start lifting or peeling in just a few days. Poor prep can also make your manicure wear out faster, even if you use high-quality products. When you prep nails the right way, you set yourself up for a manicure that stays shiny and strong for weeks.
Flawless Finish
Everyone loves that smooth, glossy look you get at the salon. Prepping your nails is the secret behind that flawless finish. When you remove cuticles and buff away ridges, you create a flat, even canvas for your gel polish.
Tip: Always make sure your nails are completely clean and dry before you start painting. Natural oils can stop the gel from sticking and cause streaks or uneven color.
Here’s what can happen if you skip nail prep:
| Issue | Cause | Fix |
|---|---|---|
| Lifting and Peeling | Improper nail prep, leftover oils, or not cleaning the nail plate | Start with a clean, oil-free nail. Use a gentle dehydrator. |
| Streaky Coverage | Skipping the base layer or not prepping the surface | Apply a base coat and prep nails for a smooth finish. |
| Shrinking Gel | Not buffing or cleaning the nail properly | Buff gently and remove all debris before applying gel. |
When you prep nails, you give your gel polish the best chance to look beautiful and last longer. That’s why salons never skip this step—and you shouldn’t either!
How to Prep Nails for Gel Polish
Getting salon-quality gel polish at home starts with the right prep nails routine. Each step helps your gel polish last longer and look flawless. Let’s walk through the process together.
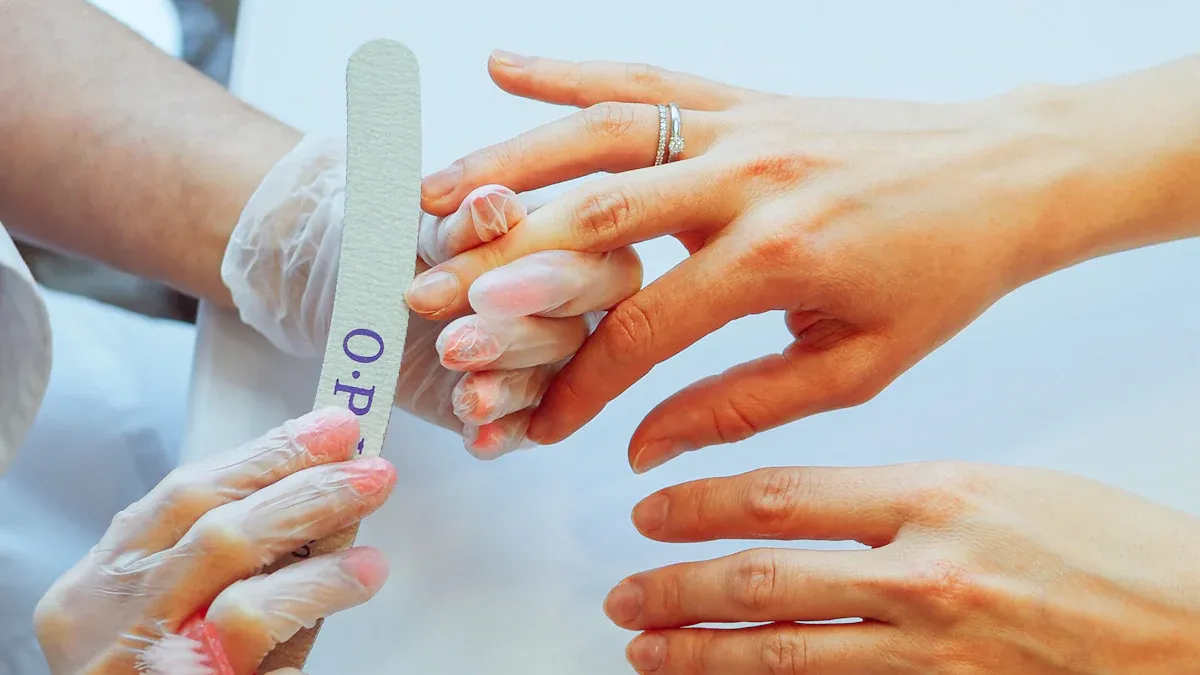
Shape and File
You want your nails to look neat and feel comfortable. Shaping and filing set the foundation for your manicure. Here’s how you do it:
- Grab a 180-grit nail file. Shape your nails to your favorite style—round, square, or almond.
- Use nail nippers to trim the corners diagonally if needed. Don’t cut too much.
- File the sides gently in one direction. This keeps your nails strong and prevents splitting.
- Finish with an emery board to clean up the edges. Filing in one direction helps avoid damage.
Tip: Filing gently keeps your nails healthy and ready for gel polish. Rushing this step can cause rough edges and weak spots.
Cuticle Care
Cuticle care is the secret to preventing lifting and infection. You want a clean nail plate so your gel sticks well.
- Push your cuticles back with a cuticle pusher. Scoop up any invisible dead skin stuck to the nail plate.
- Clean the cuticle area thoroughly. Use a lint-free wipe with alcohol to remove debris.
- If your cuticles are too long, trim them carefully. Never cut too deep.
Neglecting cuticle care can cause inflammation and infection. The cuticle protects your nail from germs. Leaving dead skin or oil on the nail can make your gel polish lift and chip.
| Why Cuticle Care Matters | What Can Go Wrong |
|---|---|
| Prevents lifting | Gel polish peels |
| Stops infection | Redness, pain |
| Creates a clean base | Uneven finish |
Buff the Surface
Buffing gives your nails a smooth, matte surface. Gel polish needs this texture to stick.
- Use a soft 240-grit buffer. Buff the entire nail surface gently.
- Move from edge to edge in one direction. Don’t over-buff.
- Stop when your nail looks matte, not shiny.
Buffing too much can make your nails thin and bendy. You might feel pain or see redness. Always use a gentle touch.
Note: Over-buffing damages your nails and makes gel polish wear out faster.
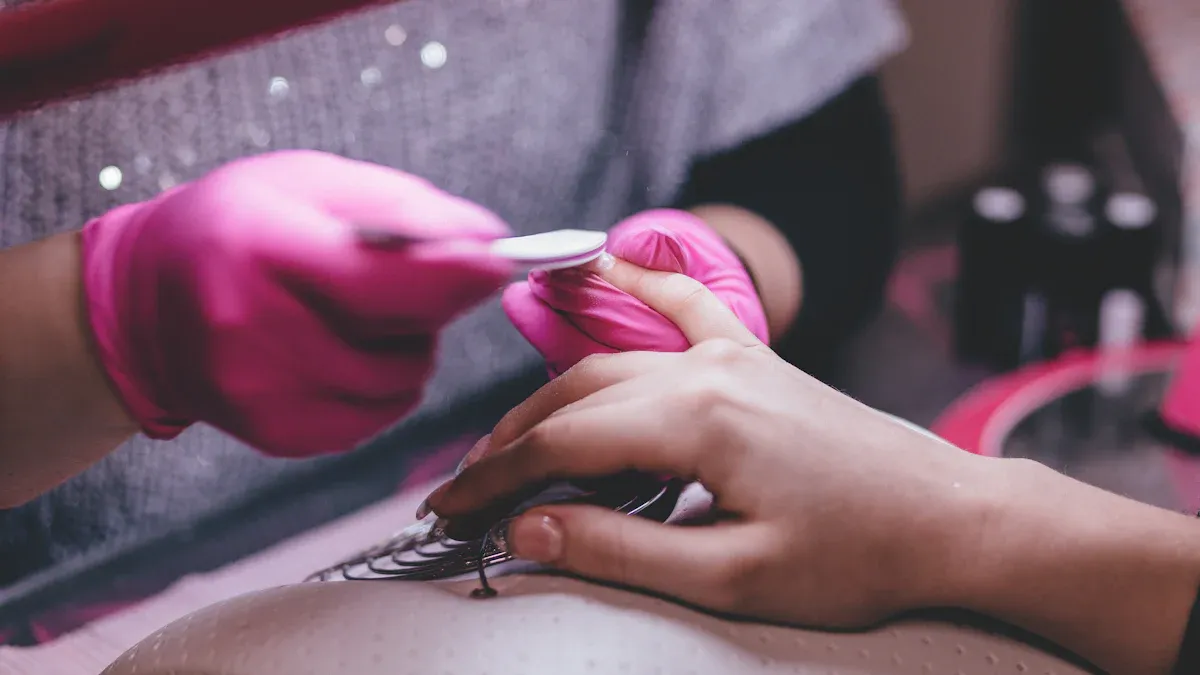
Clean with Alcohol
Cleaning your nails with alcohol removes oils and dirt. This step is key for gel polish adhesion.
- Wash your hands first.
- Use an alcohol wipe (preferably 99% isopropyl alcohol) to scrub the nail plate.
- Don’t touch your nails with your fingers after cleaning.
Isopropyl alcohol works well, but a professional nail cleaner can remove even more oils. This helps your gel polish stick better and last longer.
Use Nail Dehydrator
A nail dehydrator gets rid of leftover moisture and oils. You want a dry, clean base for gel polish.
- Apply nail dehydrator to each nail.
- Let it air dry for a few seconds.
Using a dehydrator prevents lifting and gives your gel polish a better grip. Studies show salon-grade dehydrators can make your manicure last up to 20% longer than alcohol alone.
Apply Base Coat
The base coat is your secret weapon for a smooth, strong manicure.
- Apply a thin layer of base coat to each nail.
- Cure under your lamp as directed.
A good base coat smooths out the nail surface, prevents staining, and adds strength. It helps your gel polish stick and keeps your color looking fresh. Strong adhesion means less lifting and chipping.
Tip: Always use a base coat designed for gel polish. It makes a big difference in how long your manicure lasts.
Important: Never soak your nails in water before you prep nails for gel polish. Water can cause your nails to swell and shrink, leading to peeling and lifting later.
By following these steps, you give your gel polish the best chance to look beautiful and stay put. Prep nails the right way, and you’ll see salon results at home.
Mistakes to Avoid When You Prep Nails

Getting gel polish to last starts with avoiding common mistakes during nail prep. If you skip steps or use the wrong tools, your manicure will not look or feel like a salon result. Let’s break down the biggest mistakes and why you should steer clear of them.
Skipping Steps
You might feel tempted to rush through nail prep. Skipping steps like removing old polish, pushing back cuticles, or cleaning the nail plate leads to poor adhesion. Gel polish needs a clean, oil-free surface to stick. If you skip nail prep, your gel will lift, peel, or chip in just a few days.
- Failing to remove remnants of old polish
- Not lightly buffing the nail plate
- Neglecting to push back the cuticles
Tip: Take your time with each step. Your patience pays off with a longer-lasting manicure.
Over-Buffing
Buffing helps gel polish grip your nail, but too much can cause problems. If you over-buff, you strip away layers of your natural nail. This makes nails thin, bendy, and weak. You might notice pain or redness.
| Problem | Why It Happens | What You See |
|---|---|---|
| Peeling | Over-filing | Nail surface flakes |
| Thinning | Aggressive buffing | Nails bend easily |
| Brittleness | Repeated harsh treatment | Nails break or split |
Buff gently and stop when your nail looks matte, not shiny.
Leaving Oils or Moisture
Gel polish will not stick to oily or wet nails. If you leave oils, dust, or moisture on your nail plate, your manicure will not last. Always clean with alcohol and use a nail dehydrator before you apply gel.
- Remove all oils and dust.
- Make sure nails are dry before painting.
- Use a lint-free wipe for best results.
Note: Water causes nails to swell and shrink. This leads to peeling and lifting later.
Using Wrong Tools
Using the wrong tools can damage your nails. Harsh files or metal implements strip away layers and make nails brittle. Weak nails break and split more easily.
- Peeling of the nail surface
- Thinning over time
- Brittleness and splitting
Choose gentle tools made for nails. Treat your nails with care, and you’ll see better results.
Pro Tips for Salon Results
Expert Prep Advice
You want your gel manicure to look like you just left the salon. You can get there with a few expert tricks. These tips show you why the right prep makes all the difference.
- Gather everything you need before you start. You need a file, buffer, clippers, cuticle pusher, gel polish, and a top coat. When you have your tools ready, you work faster and avoid mistakes.
- Push back your cuticles and buff the nail surface. This step gives your gel polish a smooth place to stick. You get fewer bumps and a cleaner look.
- Apply two thin coats of gel polish. Thin layers dry better and last longer. Thick coats can bubble or peel.
- Use a high-quality top coat. This top layer seals in your color and keeps your nails shiny. It also stops chips and scratches.
- Reapply your top coat after seven days. This keeps your manicure strong and glossy. You get more days out of your gel polish.
Tip: If you want your gel polish to last, never skip the prep. Each step helps your manicure stay perfect for longer.
Nail Health Under Gel
Healthy nails are the secret behind every great gel manicure. You need strong nails for gel polish to last. If your nails are weak or damaged, your polish will chip or lift.
Why does nail health matter? Gel polish sticks best to a smooth, healthy nail. If your nails are dry or peeling, the gel cannot bond well. You might see cracks or breaks.
You can keep your nails healthy under gel by following these steps:
| Do This | Why It Helps |
|---|---|
| Moisturize cuticles daily | Prevents dryness and splits |
| Take breaks between gel sets | Lets nails recover |
| File gently, not harshly | Stops thinning and damage |
| Use nourishing nail oil | Keeps nails flexible |
When you care for your nails, you get better results every time. Healthy nails mean your gel polish looks smooth, lasts longer, and feels comfortable. That’s why salons focus on nail health before every manicure.
You want your gel polish to last and look amazing. That’s why you need to prep nails with care. Here’s why this routine matters:
- It helps gel polish stick to your nails.
- It stops peeling, chipping, and lifting.
- It keeps your nails healthy and strong.
- It makes your manicure look smooth and shiny.
- Many people say that following every step, like cuticle care and buffing, keeps their gel polish looking fresh for weeks.
- Dry nails help the gel stay put and prevent problems.
Stick with these steps and you’ll see salon results at home. Practice makes perfect, so keep going. You can have beautiful, long-lasting gel nails every time!
FAQ
Why do you need to avoid water before gel polish?
Water makes your nails swell. When they shrink again, the gel can lift or peel. Dry nails help gel polish stick better and last longer.
Why does cuticle care matter for gel polish?
Cuticle care gives you a clean nail plate. Gel polish sticks best to a smooth, oil-free surface. Skipping this step can cause lifting and chipping.
Why should you use a nail dehydrator?
A nail dehydrator removes oils and moisture. This helps gel polish bond tightly to your nail. You get a longer-lasting manicure.
Why does over-buffing hurt your gel manicure?
Over-buffing makes your nails thin and weak. Thin nails bend and break easily. Gel polish will not last on damaged nails.