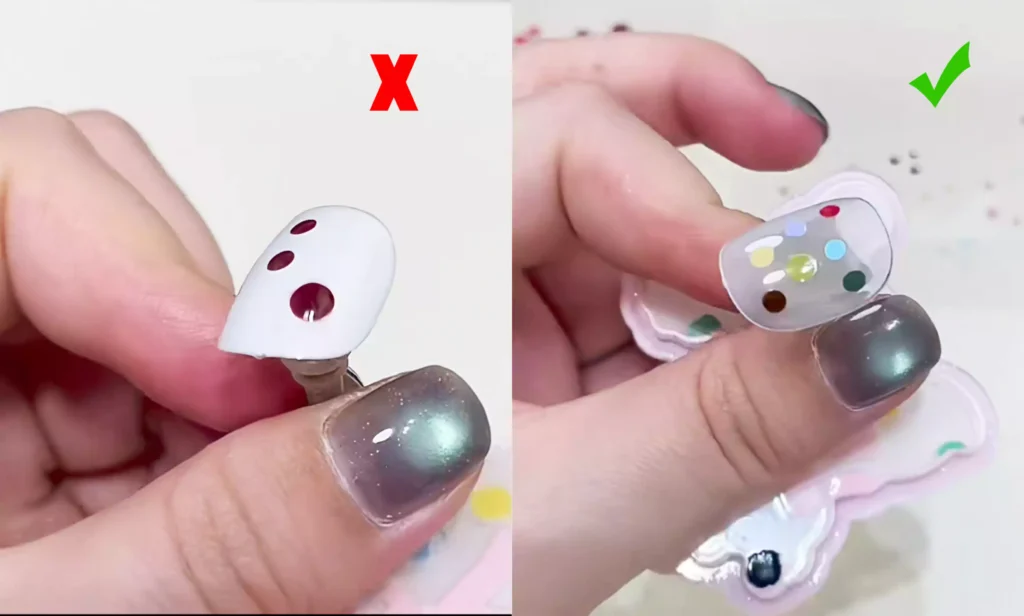
Are you still struggling with thick, misshapen dots when painting polka dot nails? Do large dots prove difficult to create and resist drying under the lamp? Today, we’re sharing two methods for achieving delicate, lightweight polka dot nails-simple steps for quick results.
Method One
Step One: Prepare a transparent sticker and select your preferred color gel.
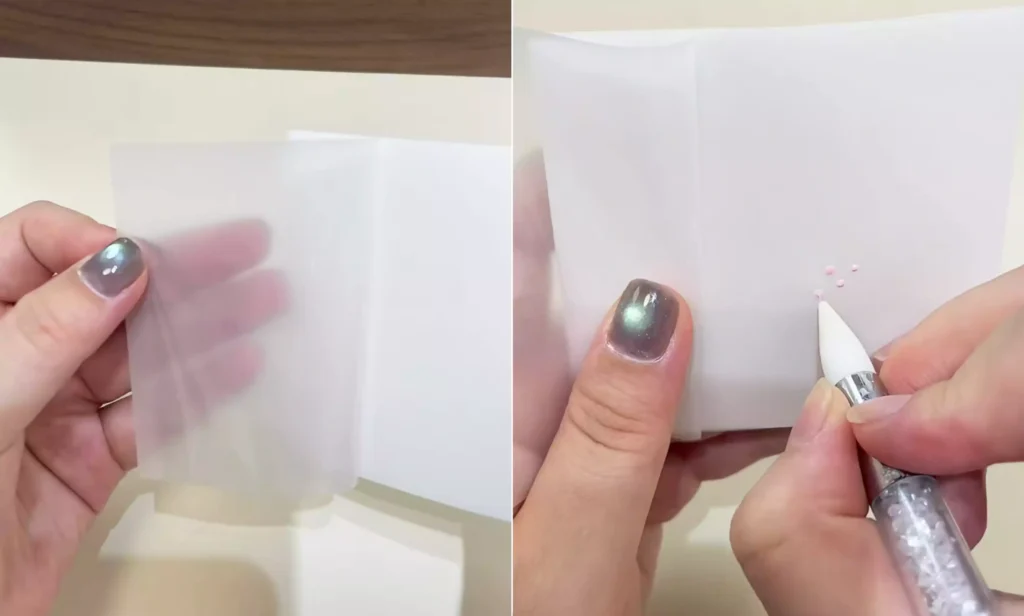
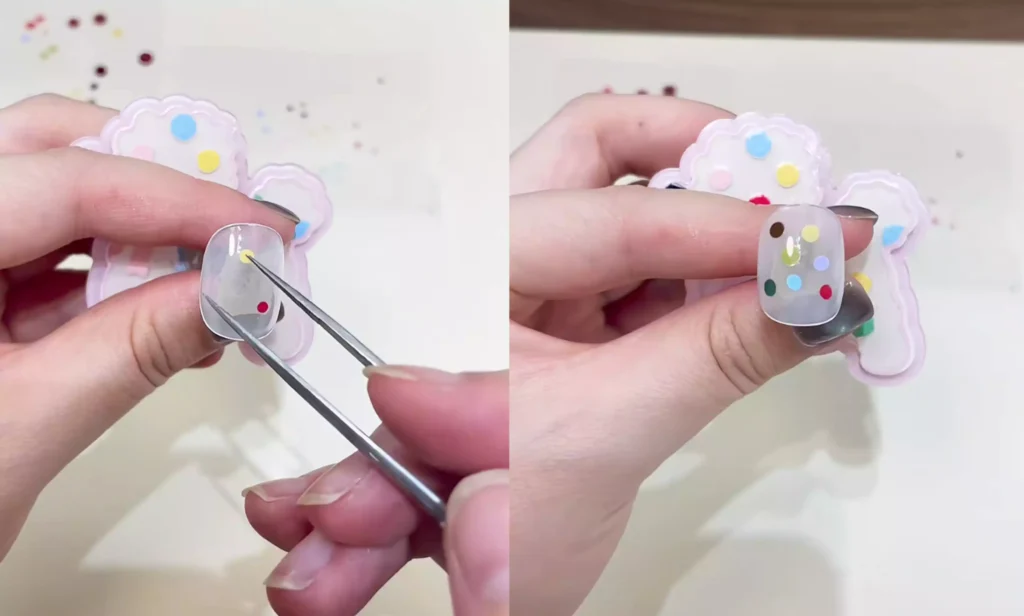
Dip the dot pen into the color gel and create polka dots of varying sizes on the transparent sticker.

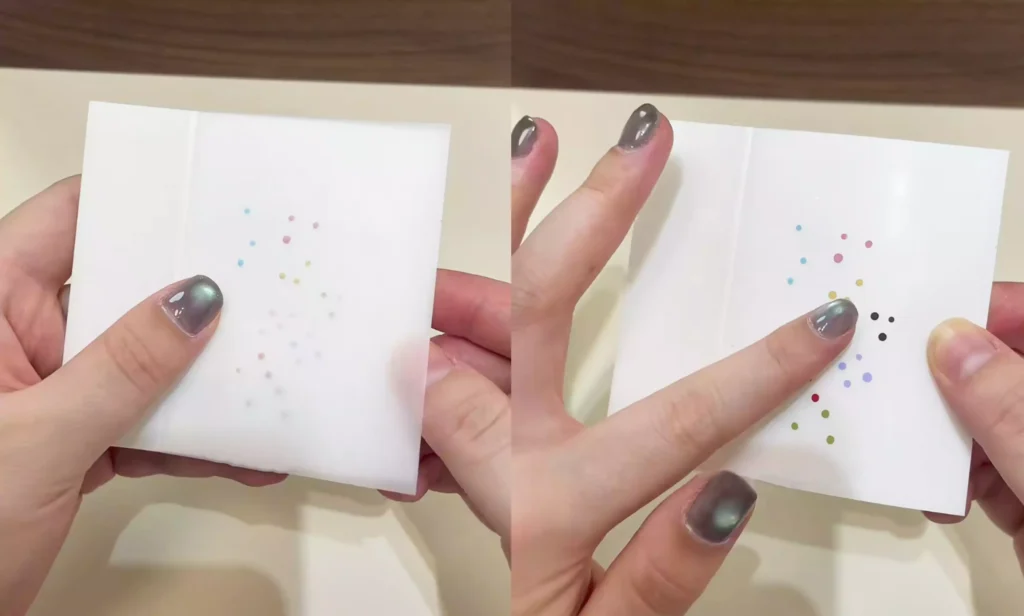
Step two: Lower the top layer of the sticker and gently press the polka dot area with your finger. Be mindful of the pressure applied—excessive force will thin the dots, making them difficult to remove from the sticker later.
Recommended next step
Build the Nail Art Look Kit
Tutorial looks need more than a color bottle. Choose the color, art detail, transfer or sticker step, and a top coat as one look kit.
- Choose the main color or set.
- Add the art detail: sticker, transfer gel, magnet, or brush.
- Seal the finished look with top coat.
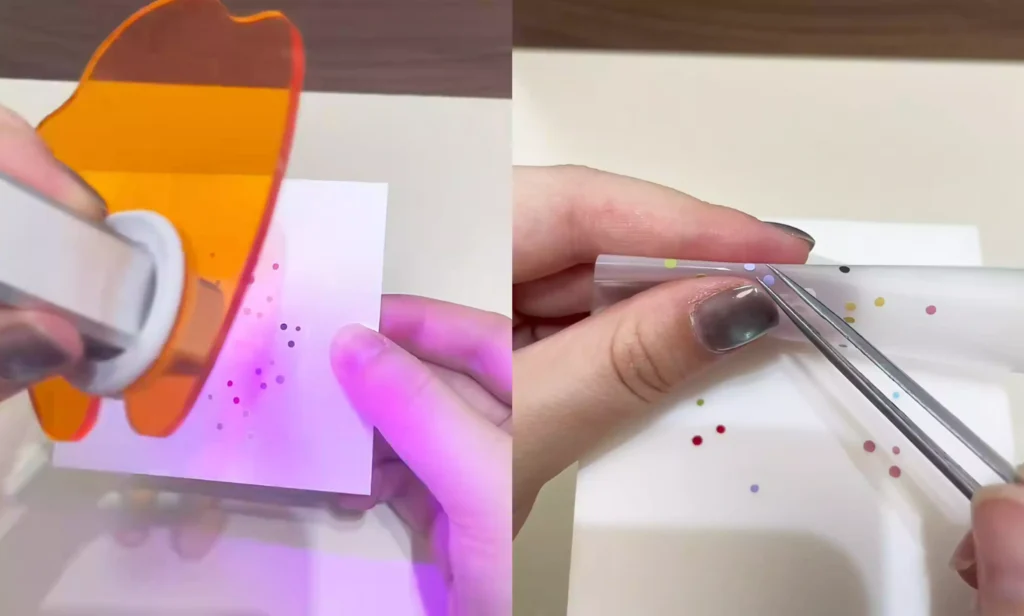
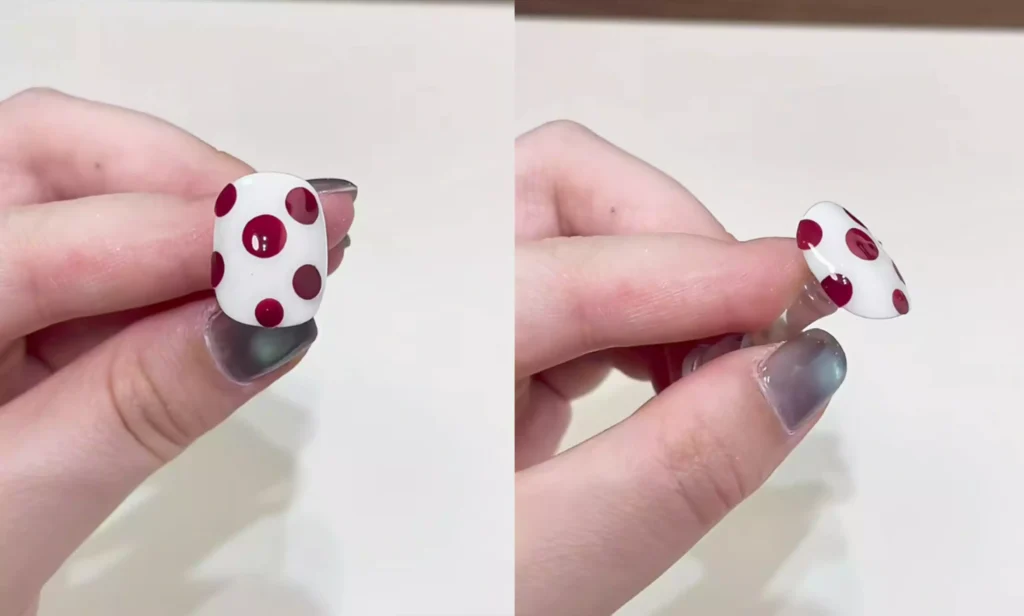
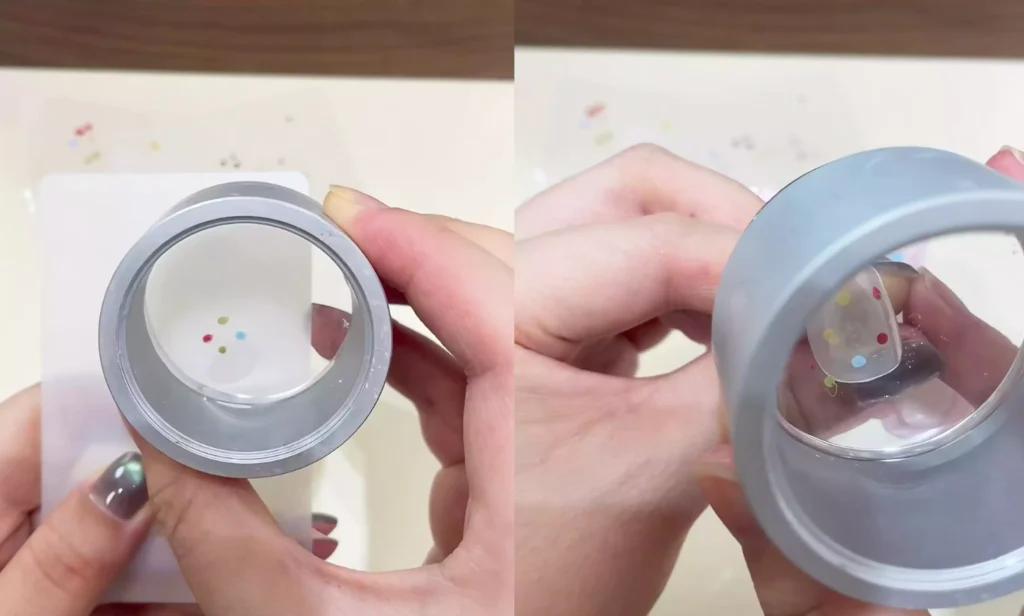
Step 3: Place the polka-dot sticker under the UV lamp to cure. Once cured, gently peel it off and use tweezers to easily remove the polka-dot sticker.
To create larger polka dots, apply more paint gel when dotting.

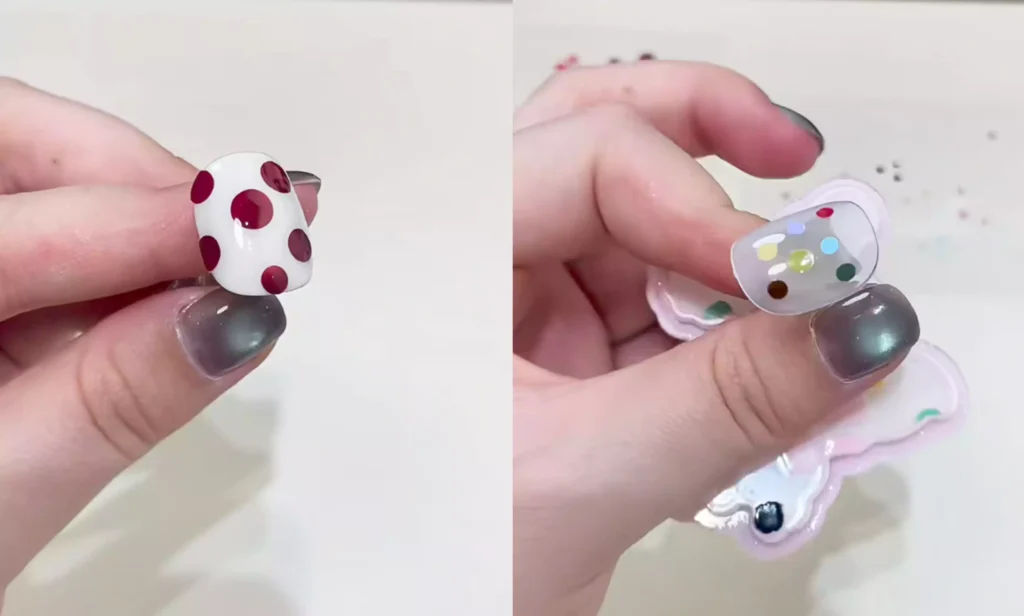
After completing the first type of pre-made polka dot, apply transfer adhesive to the nail surface to be decorated, then simply affix the prepared polka dot sticker onto the nail surface.
When viewed from the side, polka dot nails created this way appear exceptionally thin and delicate-even larger dots maintain a lightweight feel without any heaviness.
Method Two
First, take out the nail scraper and apply your chosen gel polish onto the scraper.

Then gently roll the nail stamp over the gel polish on the scraper to evenly coat the stamp with color. Finally, press the polka dots from the stamp onto the nail surface, and voilà—the dots appear perfectly on your nails.
This pre-made polka dot technique is simple and quick, allowing you to effortlessly create elegant polka dot nails. Give it a try today!
Lastly, we recommend CHROMÉCLAIR’s HEMA-free Gel Polish. The brand places special emphasis on safety, featuring low irritation and eco-friendly formulations (HEMA-free & TPO-free) that significantly reduce allergy risks while gently nurturing nail health. With a wide range of shades and long-lasting wear (up to 21 days), every user can enjoy a product that delivers both safety and peace of mind.

If you encounter any questions during the process, the video tutorial below provides detailed answers. If you find it helpful, don’t forget to like and save it, then hit subscribe! See you in the next tutorial!