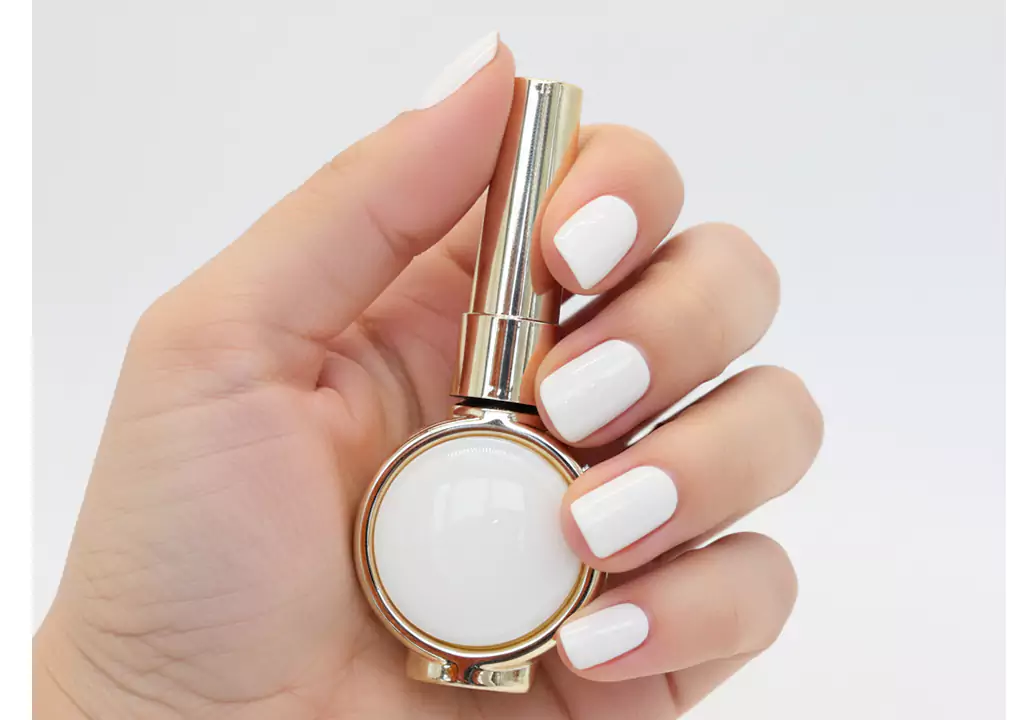
Todo el mundo conoce esta sensación. Tu manicura hecha con gel sigue siendo impecable; sin embargo, estás totalmente harta de su color. No quieres pasar tiempo quitándote las uñas y, francamente, no deberías tener que hacerlo.
Entonces, ¿es posible pintarse la manicura con un tono nuevo? Por supuesto que sí. Sin embargo, hay un método correcto y otro incorrecto de hacerlo. Cubriremos toda la información necesaria, desde las razones para hacerlo, el proceso en sí, los posibles errores y los resultados finales.
¿Por qué son diferentes las uñas de gel?
Before we jump into the “how-to” part, let’s see what exactly you are dealing with here.
Las uñas de gel se polimerizan bajo una fuente de luz UV/LED. Esto significa que la formación de la red polimerizada explica por qué el producto es tan resistente al desconchado y brillante. En cambio, el esmalte de uñas sólo se seca por evaporación. No hay ni fuente de luz ni ningún tipo de reacción.
It’s precisely for this reason that gel polish can stay in shape for two to four weeks, whereas nail polish starts chipping after just a few days. This also explains the fact that the former doesn’t stick well to the latter. We’ll discuss it further.
Recommended next step
HEMA/TPO-Free Starter Routine
First time trying CHROMÉCLAIR? Start with a small, compatible routine instead of one random bottle.
- Choose a HEMA/TPO-free color or set.
- Pair it with a compatible base and top coat.
- Use the same system for a smoother first manicure.
Shop starter routine kitStart with UV1 7PCSCompare all routines
¿Por qué poner esmalte normal sobre el de gel?
En realidad, hacerlo tiene muchos aspectos positivos.
- Estás aburrida del color de tu esmalte actual y quieres un cambio de color rápido, pero tu base está perfectamente bien. Puedes pintarte las uñas fácilmente con cualquier otro esmalte en solo diez minutos.
- Quieres probar a crear algunos diseños de uñas. Hay tantos tonos y acabados en el esmalte de uñas normal en comparación con esmalte en gel. Holográficos, duocromos, gelatinosos, ultramates... si hay algo que se pueda encontrar en un esmalte normal, se puede utilizar encima de un esmalte de gel.
- Tu manicura de gel va desapareciendo poco a poco. Cuando te deshagas de ese color apagado en las uñas, puedes aplicar fácilmente otro sobre el color antiguo.
- You want to test your new gel polish shade. Try swatching a particular gel polish in regular nail polish first to be sure whether the chosen shade is what you really need – you won’t have to redo the manicure within three weeks after that.
- You are not able to cure polish with a UV light right now. Are you traveling, at your best friend’s place or simply far from your UV light? Not a problem at all!
El factor decisivo de esta técnica
This is what no one really knows: the final step in curing the gel capa final polish should leave you with a surface that is shiny, flawless, and resistant to stains. It is also the main reason why ordinary polish will not adhere to the surface.
Piénselo como si aplicara pintura sobre el cristal de una ventana mojada: sencillamente, no hay nada que ayude a que la pintura se adhiera a una superficie tan perfectamente lisa.
Por eso muchas personas abandonan sus intentos y echan la culpa a toda la idea. Sin embargo, se han saltado un paso crucial.
Paso a paso: cómo hacerlo bien
Paso 1: Unas uñas limpias no son negociables
Wash your hands and make sure there’s no oil, lotion, or product residue anywhere near your nails. Even a small amount of oil will stop the polish from adhering — so don’t skip this, even if your hands feel clean.
Paso 2: Pulir ligeramente la superficie del gel
Before proceeding, thoroughly wash your hands, ensuring there is absolutely zero oil, moisturizer, or any other product on or around them. Just a tiny bit of the substance will affect the polish adhesion, so do not neglect this step no matter how good your hands’ condition seems to be.
Paso 3: Limpiar todo
Una vez terminado el pulido, utiliza un estropajo sin pelusa empapado en alcohol isopropílico (limpiador de uñas) para limpiar cada una de las uñas.
Paso 4: Capa base - Opcional, pero merece la pena
The gel polish under your fingernails provides a capa base for regular polish. However, adding an additional thin base coat layer will enhance adhesion and simplify removal. For those looking to apply the color temporarily, using a peelable base coat will be very convenient because removing the color will not affect the esmalte en gel.
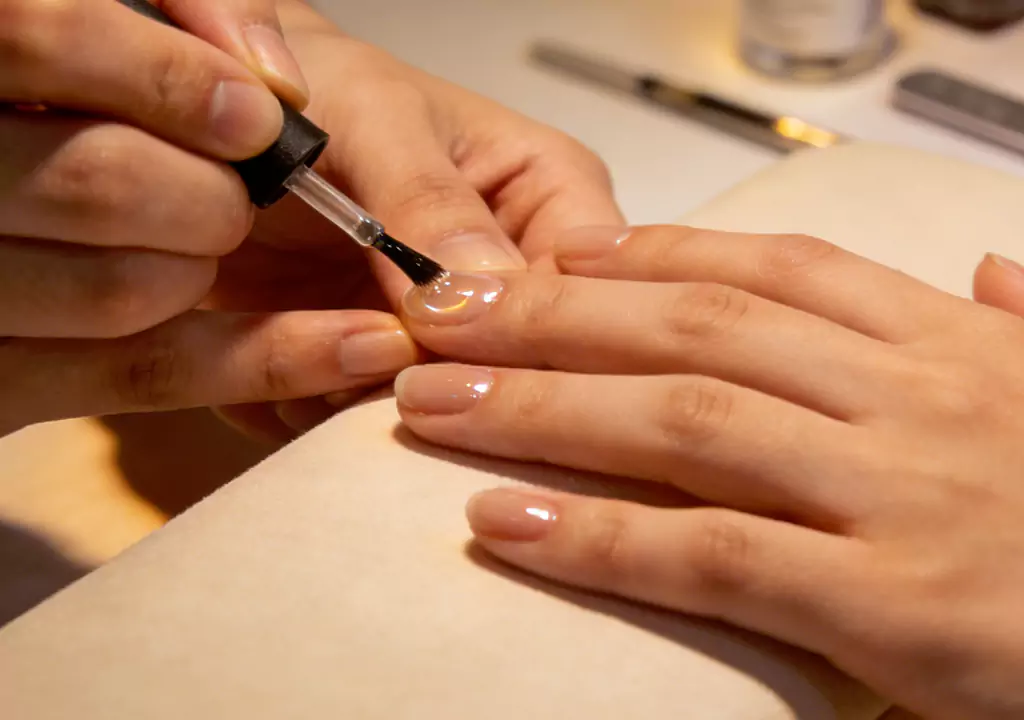
Paso 5: Aplicar el esmalte en capas finas
Este es el escollo al que se enfrentan la mayoría de los principiantes. Aplicar demasiadas capas de esmalte normal sobre el esmalte de gel hará que la capa no se seque y se deslice con facilidad. Asegúrate de aplicar una sola capa cada vez y deja que se seque por completo. Puedes aplicar una segunda capa para conseguir un color más intenso.
Paso 6: Acabar con un regular Capa superior
Completa tu manicura aplicando un top coat normal. Evita utilizar un esmalte de gel porque los esmaltes de gel requieren exposición a los rayos UV para endurecerse y, si se aplican sobre un esmalte normal, pueden descamarse y producir otros efectos desagradables. Basta con un top coat normal.
Paso 7: Espere a que se seque por completo
This may sound quite stupid, but it really is crucial. Give enough time to the layers to become completely dry. Otherwise, you’ll get yourself in trouble and your manicure may turn out to be completely ruined.
¿Cuánto durará?
Pero seamos realistas sobre lo que esperamos. Poner esmalte normal sobre esmalte de gel no permanecerá en tus uñas tanto tiempo como lo hace un tratamiento de color de gel. Considera la siguiente situación:
- 2-4 días en condiciones normales
- Tiende a despegarse en las puntas más a menudo
- Cura igual que el esmalte normal; no necesita luz
Sin embargo, eso es perfectamente aceptable, porque ni siquiera es el objetivo. No se trata de sustituir el esmalte de gel, sino de una solución práctica cuando no se desea un tratamiento completo de esmalte de gel.
La retirada es lo mejor
Olvídese del remojo. Olvídate de envoltorios. Olvídate de limar nada.
Just use nail polish remover – non-acetone would be preferable here since acetone might impact the base of your gel manicure – and simply wipe it off. And that’s pretty much all there is to it. The entire gel manicure will remain intact until you decide to put a new coat over the previous one whenever you wish to.
And this is actually very beneficial for the condition of your nails. With each and every full removal of a gel polish, you’ll have your nails soaked in acetone – and sometimes buffed – which is not the best for their state.
Mistakes That’ll Make This Go Wrong
No pulir primero. This is the number one reason the technique fails. No texture = no grip = peeling polish. Don’t skip it.
Entrando con capas gruesas. Las capas gruesas atrapan la humedad debajo y nunca se secan bien. Siempre finas.
Usando removedor de acetona. La acetona puede ablandar o dañar el esmalte en gel capa inferior. Sin acetona es la movida.
Esperando que dure como el gel. It won’t, and that’s okay. Adjust your expectations accordingly.
Olvidarse de limpiar después de pulir. El polvo de pulido en la superficie de la uña acaba con la adherencia con la misma eficacia que el aceite. Límpialo siempre.
¿Es bueno para las uñas?
Sí, si se hace correctamente, esta técnica no daña las uñas.
En esmalte en gel underneath continues to protect your natural nail the whole time. You’re not exposing it to anything harsh, and as long as you use a gentle, acetone-free remover to take the color off, nothing’s being stripped or damaged.
Muchos profesionales de la manicura recomiendan este método en lugar de los frecuentes ciclos de eliminación del gel. El remojo repetido en acetona es una de las principales causas de que las uñas se vuelvan delgadas y quebradizas con el tiempo. Mantener la esmalte en gel y aplicar capas de color encima es una forma realmente inteligente de mantener la manicura a largo plazo.
Respuestas rápidas a las preguntas más frecuentes
- ¿Arruinará el esmalte normal mi manicura de gel?
No si sigues los pasos. Prepare la superficie, aplique capas finas y elimínelas con un producto sin acetona. esmalte en gel estará bien.
- ¿Necesito curar el esmalte normal bajo una lámpara?
Definitivamente no, ya que el esmalte de uñas normal es un producto que se seca al aire y no es necesario secarlo con una lámpara UV o LED.
- ¿Puedo hacer nail art encima de las uñas de gel?
Por supuesto. Una vez que su esmalte en gel surface is buffed and cleaned, it’s a perfectly good canvas for stamping, hand-painted designs, glitter, you name it.
- ¿Cuántas veces puedo repetirlo?
As often as you want. Just be gentle with removal each time and don’t go overboard with the buffing — you want to maintain the esmalte en gel capa, no desgastarla.
Conclusión
Poner esmalte normal sobre uñas de gel es realmente fácil una vez que se conoce la única regla: preparar la superficie. Buff lightly to break the gloss, cleanse thoroughly, apply thin coats, and seal with a regular top coat. That’s the whole formula. Done right, you get a fresh, polished look in under 20 minutes — no appointment, no lamp, no drama.
It’s a great way to get more out of your esmalte en gel manicure, try new colors freely, and keep your nails in better shape over time. Once you get the hang of it, you’ll wonder why you ever did it any other way.