
Hi everyone, I’m Starry. Okay, let’s get to the point. Can we skip the base coat for nail art? Which top coat do we use—wipe-on or no-wipe? And what if our capa base does not dry at all—have we fallen victim to a fake product?
Today, we’re going to cover all the essential information we need to know about our base coat and top coat. We’ll learn the importance of needing these two, how to use them correctly without messing up, and even the fine details of using gel polish. By the end of this article, we’ll no longer have any questions or doubts about these steps. We’ll also learn to avoid further damage to our nails.
I. First, the Conclusion: You Can Skip Base Coat, But Trust Me—Don’t
A lot of people skip it to save time, thinking, “Hey, it’s just one step, it’s not a big deal.” But let me tell you, I have seen far too many people’s nails become thin, brittle, and completely battered because of it.
I recall a new nail technician coming to me three years ago, asking for my advice because her clients were complaining of nail pain and polish peeling off too quickly after a manicure, and a lot of them even ended up with yellow nails after a manicure. I asked her to send me a video of her process, and right off the bat, I knew what was going on – she was skipping base coat altogether to save time, applying the color gel polish right away.
So I had her do a little experiment for me. On the same hand, she put on a base coat and a gel polish on two of the fingers, and just a gel polish on the other two. The same curing process and the same aftercare process, and here’s the result after 7 days:
- Nails without a base coat: Large chunks of the gel polish had peeled at the edges. When the gel polish was removed from the nail, the nail looked dull and yellow and felt how thin the nail had become when scraped;
- Nails with a base coat: The gel polish was still hard and solid. When the gel polish was removed from the nail, the nail was evenly colored with no damage—night and day difference.
Here’s a little statistic for the beauty industry: According to a nail material industry survey, nail art without a base coat peels 60% more than with a base coat, and the damage rate exceeds 80%.
The main purpose of base coat is isolation and adhesion. What this means is that base coat prevents all the colors and chemicals from leaking out of your gel polish and seeping into your nail layers—the same stuff that causes yellowness and brittleness. On another note, base coat helps gel polish bond better to your nail surface, which helps your manicure last a little longer. And, let’s be honest, when you’re ready to take off your gel polish, base coat helps a lot, so you don’t have to tear off your nail surface (ouch, just thinking about it right now).
So unless you’re just painting a simple clear coat and removing it within a day or two, don’t even think about skipping base coat. And if you’re an avid manicure fan, trust me when I say base coat is your nail’s best friend.
II. Base Coat Practical Guide: Only 1 Layer, 3 Details That Make or Break It
A lot of people put too much on the nail (which can’t be cured right) or too little (which does nothing at all). Some people also forget to seal the edges, and that’s why their polish peels off in a matter of days. From my own hands-on experience, the key to a good capa base is just three things: the number of layers, the edges, and curing it right.
1. How Many Layers of Base Coat? Answer: Just 1, and Keep It Thin
A lot of newbies think that two layers are better than one and will be sturdier, but let’s be real, that’s just a total myth. If you put on too much base coat, the surface will cure under the lamp, but the inside won’t. This is why your next gel polish layer wrinkles and peels off your nail. It can even cause your nails to be stuffy and itchy, and that’s just not fun.
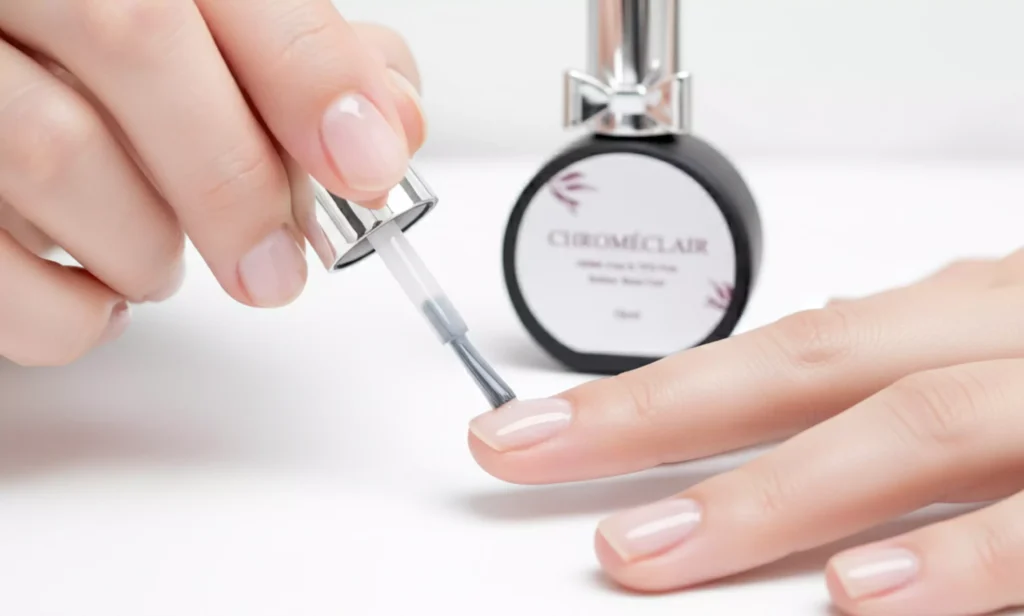
Here’s the way to do it right. You’re going to take a small amount of your base coat, and then scrape off the excess on your palette. You’re then going to apply it evenly from your cuticle to your tip. The thickness needs to be enough for you to be able to see the original texture of your nail.
2. Must-Do Step: Edge Sealing (More Important Than You Think)
I have seen many nail artists apply their base coat as evenly as possible, yet they completely forget to apply edge sealing, and their manicure ends up peeling from the tips in less than 3 days. Edge sealing is literally just extending your base coat to the edge of your nail tip, creating a tiny protective layer that will prevent your gel from peeling due to friction.
I will give you a quick pro tip. After applying your capa base to your nail surface, just lightly brush your edge with your nail brush. You don’t need to pick up more product; just use what’s left on your brush to give your edge a tiny seal.
3. Curing Time & Tack-Free Layer: Stop Wiping It—It’s Supposed to Be Sticky
This is a question that comes up a lot: “The base coat feels sticky after curing—isn’t that a sign that I haven’t cured it enough?”
Let me set the record straight on this one for good. The tack free layer is normal; do not remove it! The stickiness is actually a sign that the base coat is doing its job so that the gel polish that you use on top of it stays in place for a longer period of time.
Also, the curing time is important. If you are using a 48W LED lamp, 1 to 2 minutes is sufficient. If you are using a 36W lamp, though, 2 to 3 minutes is recommended. If you don’t cure it for long enough, the base coat doesn’t cure completely, and that’s when peeling occurs. But don’t worry if you think that the base coat doesn’t cure at all; just keep it under the lamp a little longer.
III. Top Coat: Your Manicure’s Last Line of Defense—Choose Wisely
Where base coat is your nails’ protective shield, top coat is the tough jacket over it. It is the final stage of your manicure, and it is what makes or breaks the longevity and beauty of your manicure. There is nothing more frustrating than a manicure that looks nothing like it did a week ago, and I think nine times out of ten, this is because of a wrong or improper application of top coat.
I tried this out myself a while ago, and I applied three different top coats over the same base coat and gel polish, and subjected them to all and any daily activities, and after 7 days, I was surprised by the difference:
- No-wipe top coat: Best gloss, least wear, a few tiny scratches, but hands down the most durable;
- Wipe-on top coat: Medium gloss, a little wear on the edges, but you have to wipe off the tack-free topcoat with professional alcohol. A little more work, but totally worth it if you’re a fan of smooth finishes;
- Matte no-wipe top coat: No gloss, a little more wear, but if you’re a fan of matte, you’ll love this. Just be a little more gentle on this one.
First, Let’s Cover the Basics: Top Coat Has 3 Non-Negotiable Functions
A lot of people think that a top coat is just for shine, but trust me, it does so much more than that, and I’ll tell you why:
Anti-wear and anti-peeling: It protects against daily wear and tiny imperfections from directly affecting the gel polish, therefore extending the life of your manicure;
Color protection and anti-yellowing: It seals off air, moisture, and dust from reaching the gel polish, therefore stopping it from yellowing;
Texture boost: Whether glossy or matte, it evens out the texture of your nail, giving your manicure a smoother finish.
Hey, quick side note! If you don’t use a top coat, your gel polish is basically exposed to air, and it’ll chip off or change color in less than 3 days! It’ll also get all dusty and oily, and trust me, you don’t want to deal with cleaning that up! You’ll basically be wasting all the time you spent on your manicure!
How to Choose Between the 3 Top Coat Types? Just Go With What Works for You
There are three different types of top coats that are currently on the market, and I assure you that it’s not as complicated as it sounds. So, just pick the one that suits your style best and go with it:
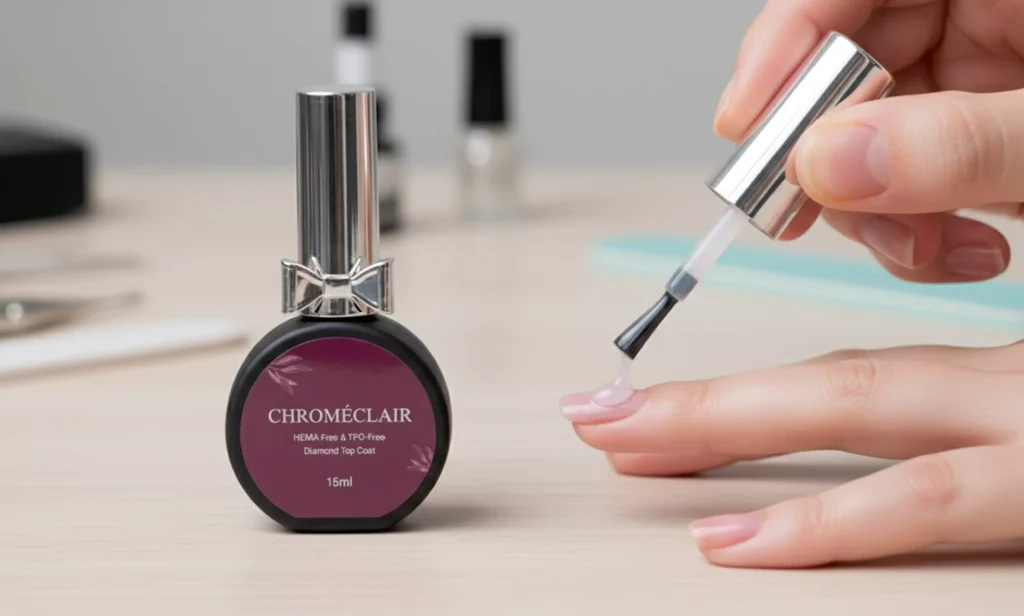
No wipe top coat: This is my first and only suggestion for a top coat. It is extremely easy to use and dries immediately after curing. There is no need to wipe the tack-free layer from the nail;
Wipe-on top coat: This product has a tack-free layer that forms after curing and requires a wipe with a professional alcohol to remove it. Once that’s done, the level of shine is toned down a bit, and that’s great for those who love the mirror look;
Matte no wipe top coat: This product dries with a matte finish and is great for those who love a minimalist look. The only problem with it is that it’s not as durable as a glossy finish, so just avoid friction and you’re good to go!
IV. 5 Pitfall-Avoiding Tips for Gel Polish—Even Beginners Can Nail This
While you might select an ideal base and top coat, improper application of a gel polish is likely to ruin your entire manicure. We have all been there—gel polish build up, wrinkling, lifting, and improper curing, among other issues. However, if you keep in mind these 5 tips, you will avoid all of this hassle.
These are the tips I impart to all nail technicians I train. To all nail technicians, especially newbies, please take note—you can follow these steps and you will never go wrong:
- Application direction: Make sure to apply it evenly from cuticle to tip, without going back and forth on the same spot, as not only will it not be even, but it’ll also lead to buildup, which in turn means it’ll not cure properly;
- Thin coats, multiple times: This is probably the most important tip—seriously. Don’t even think about trying to achieve color in a single coat. Do 2-3 thin coats, each time for a minute under the lamp;
- Control gel amount: Don’t apply too much gel at once, and don’t take too much gel at a time, as not only will it overflow on your cuticle (which is a total pain to clean), but thick gel will not cure properly under the lamp;
- Application angle: Keep your brush relatively parallel to your nail, apply it gently, and let it flow naturally onto your nail. Don’t press the brush onto your nail, as it’ll not be even;
- Edge Sealing at Every Step: This is a non-negotiable point. It’s not just about base coat; you need to seal the edges with gel polish as well as top coat too! This is the magic that gives a long-lasting manicure and prevents peeling on the edges.
V. A Little Food for Thought: Will Future Base/Top Coats Be More Nail-Nourishing?
And after 8 years in this nail material business, I can say that there’s definitely a trend shift here. People don’t just want pretty nail art that lasts; people want pretty nail art that doesn’t harm their nails. It’s all about nail health now.
There are a lot of people out there with nail breakage from too many manicures. So here’s my bold prediction: in the future, base coat and top coat formulas will be all about nail nourishment. I’m talking keratin and vitamin E here—stuff that not only locks in color but also locks in nail health so that even nail manicure junkies can still keep their nails nice and strong.
Right now, we’re working on a nail nourishing base coat. After a ton of experiments, we found that base coat with keratin not only locks in colors but also makes nails tougher even after removal compared to normal base coat. I bet you’ll be seeing these everywhere in no time.
Finally: Let’s Chat—Share Your Manicure Fails
Everything I just discussed above represents all the practical, real-world knowledge I have accumulated over 8 years in the industry. Base coat, top coat, gel polish application—this is all the good stuff, i.e., all the things that actually matter when you’re a nail technician. I hope I was able to provide some helpful information, whether you’re a seasoned nail tech or just starting out in the industry.
The truth of the matter is, nail art isn’t rocket science. As long as you use the right technique and right materials, you can achieve beautiful nail art without damaging your nails. Believe me, I have made all the mistakes so you don’t have to.
Now, I want to hear from you. Have you ever ruined a manicure by not using a base coat or a bad top coat? Do you have any burning questions about base coat or top coat application? Leave a comment below, and I’ll answer all of them, no matter how small!