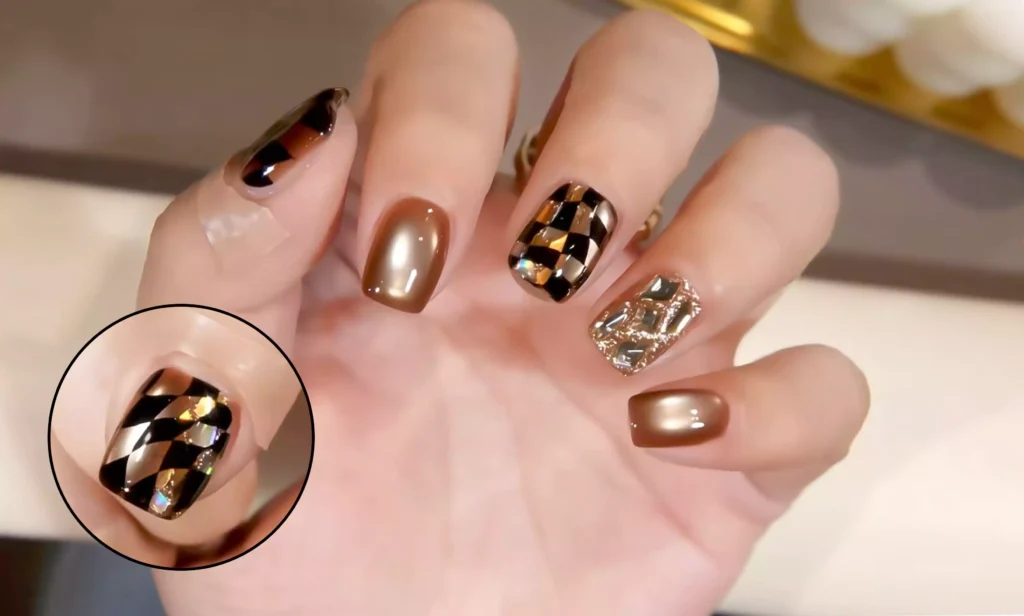
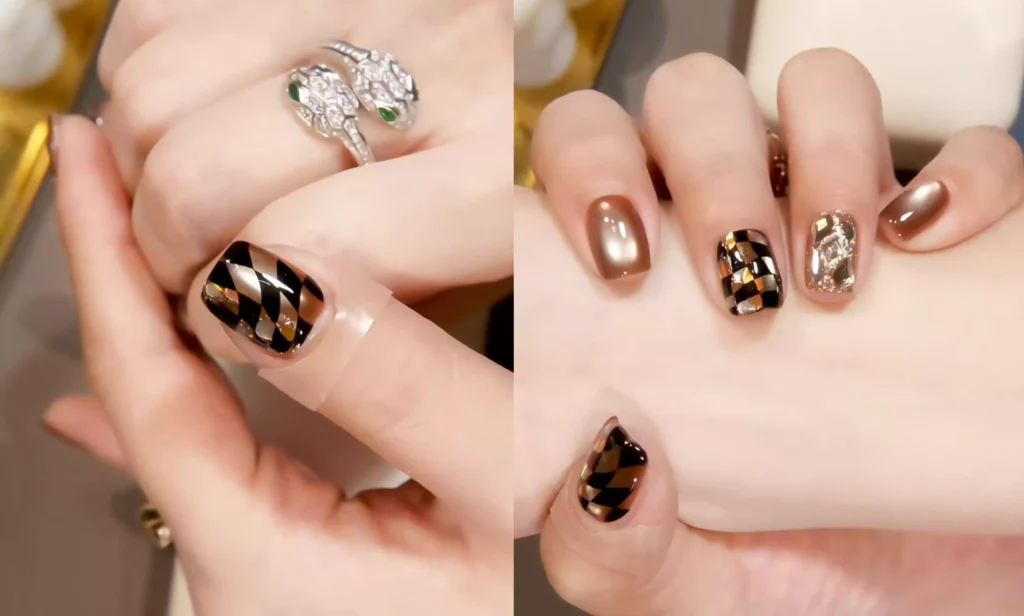
El encanto del nail art reside en la fusión de detalle y creatividad. Este deslumbrante diseño de uñas con estampado de diamantes combina efectos de degradado, acentos de ojo de gato y técnicas de transferencia de placas de acero para crear un impacto visual sorprendentemente texturizado.
Estos son los pasos específicos para la solicitud:
Paso 1: Color base degradado y aplicación de purpurina
Primero, aplica gel platino sólo en la mitad central de la uña. A continuación, barre el gel horizontalmente para crear un efecto degradado.
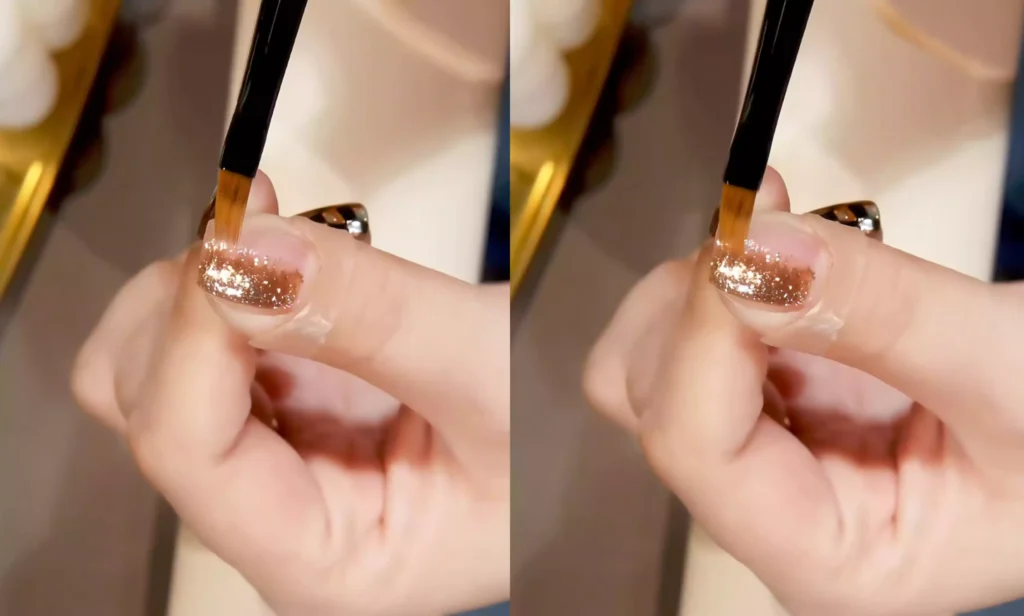
A continuación, aplica la purpurina sobre las uñas, teniendo cuidado de no ponerla demasiado densa. Deja un poco del gel platino subyacente al descubierto para crear un efecto de diamante brillante.
Una vez finalizada la aplicación de lentejuelas, proceda a la fotopolimerización.
Aplique una capa de gel de uñas fortalecedor de alta transparencia para encapsular las decoraciones de purpurina. Después de endurecerlo bajo la lámpara una vez más, pula la superficie de la uña para conseguir un acabado más suave. Este paso realza la profundidad del efecto de color base cat-eye.

Paso 2: Crear el efecto ojo de gato
Aplica la primera capa de esmalte en gel para ojos de gato (yo utilicé el esmalte en gel de CHROMÉCLAIR Esmalte en gel sin hema CE-07-el color se adapta perfectamente a este estilo, tiene una gran fluidez y es fácil de aplicar uniformemente para los principiantes).
Utiliza un imán para retirar el polvo magnético y aplica otra capa después de iluminar. (Limpie el bolígrafo antes de aplicar la segunda capa).
A continuación, barre suavemente el centro de la uña para crear una transición degradada. Utilice el imán para dibujar el efecto ojo de gato, que intensificará el color base. Una vez dibujado el efecto ojo de gato, cura inmediatamente bajo la lámpara.
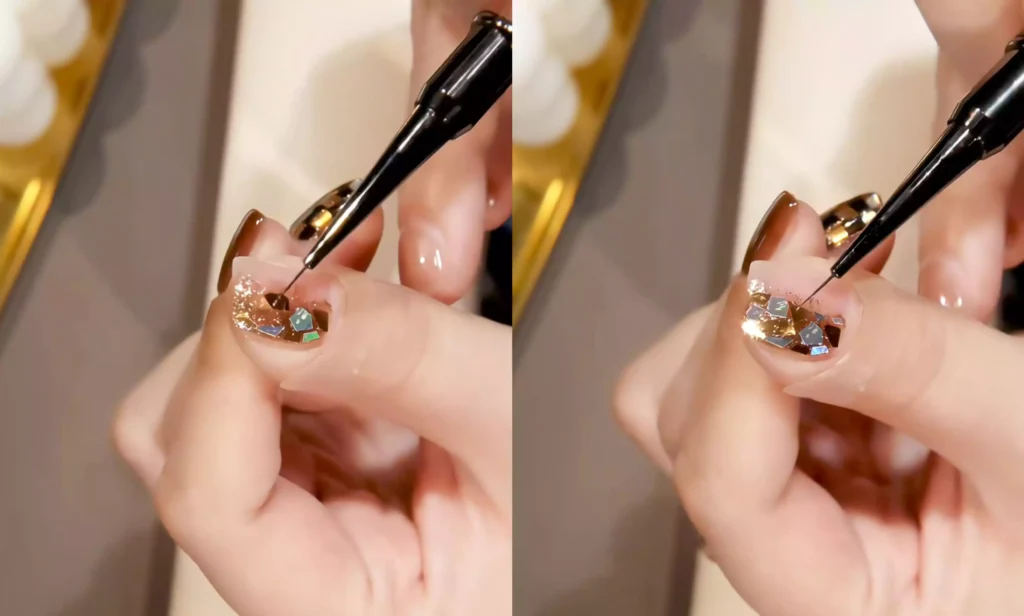
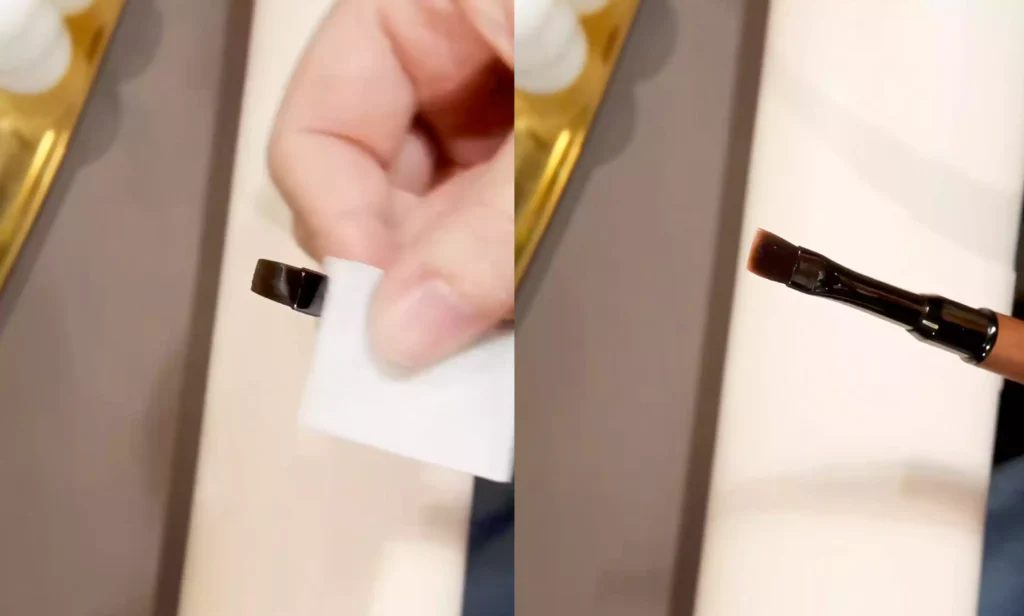
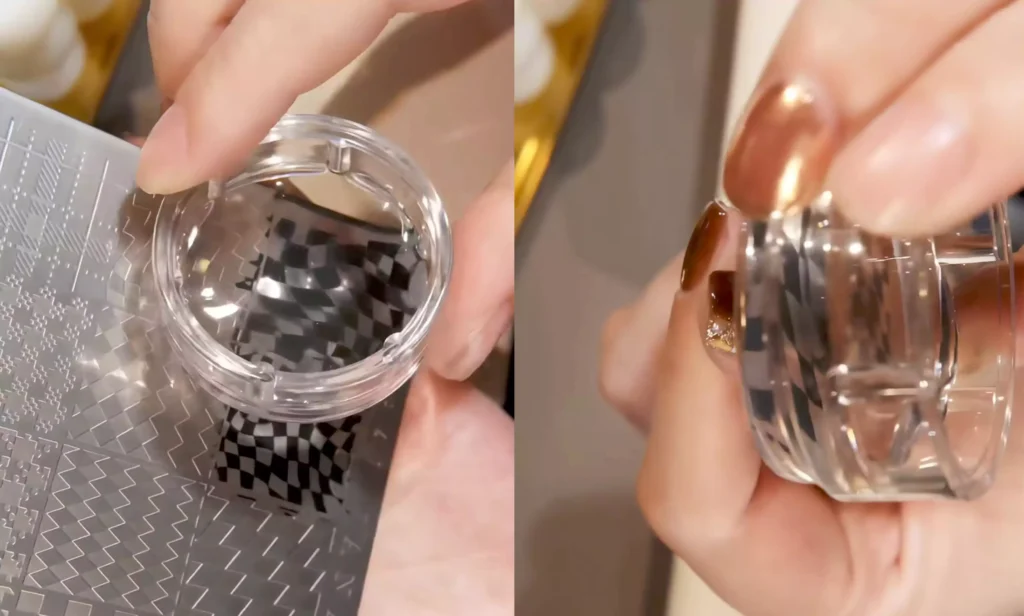
Paso 3: Transferencia del patrón de chapa de acero
Para el dedo corazón, seleccione un motivo abstracto más pequeño para la transferencia; para el pulgar, elija un motivo abstracto más grande.
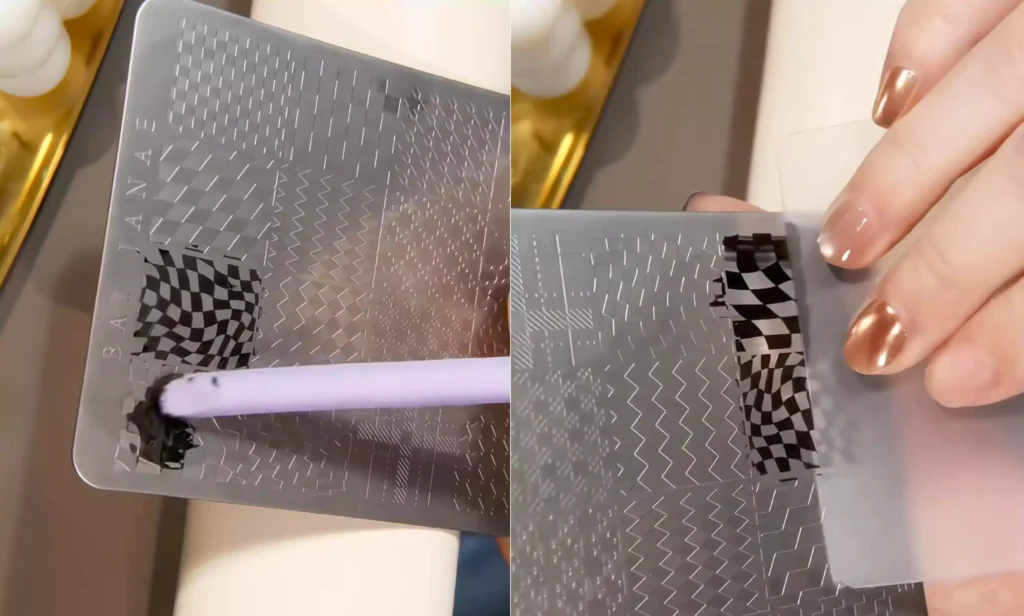
Cuando transfiera diseños, utilice un gel de estampación pastoso. La textura arenosa del gel en pasta ayuda al sello a captar el diseño con mayor eficacia. Para aplicarlo, presiona suavemente el sello sobre el gel y, a continuación, levántalo lentamente para transferir claramente el diseño. A continuación, alinea el diseño con el lugar deseado de la uña y presiónalo con firmeza. Esta sencilla técnica crea un diseño cuadriculado abstracto.
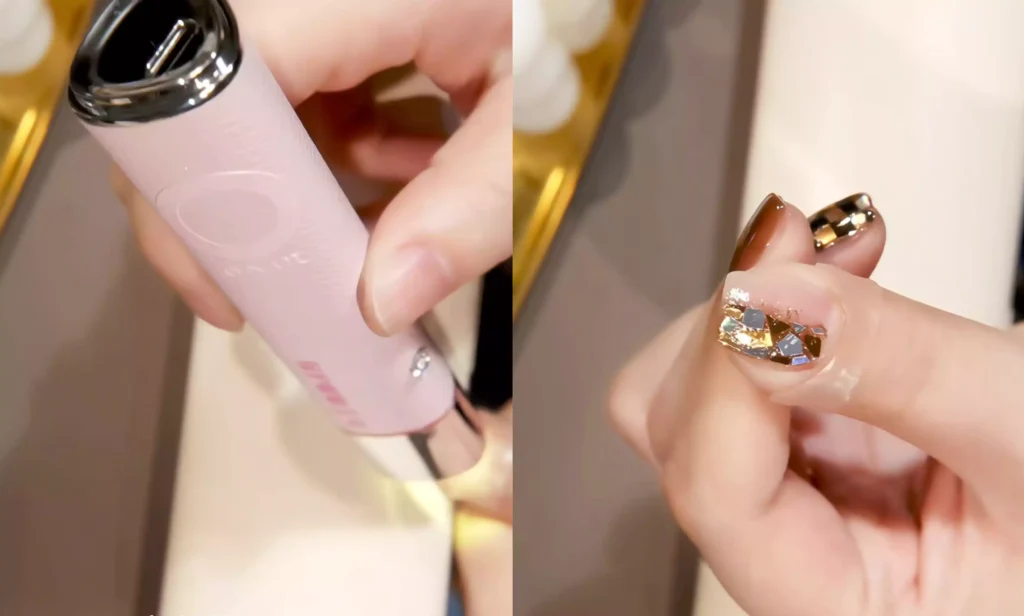
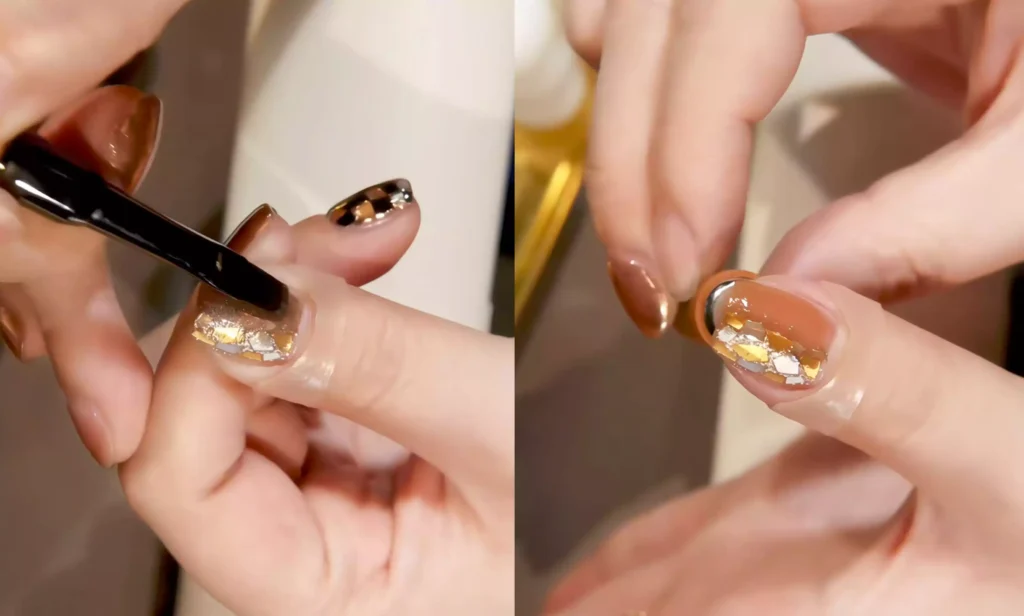
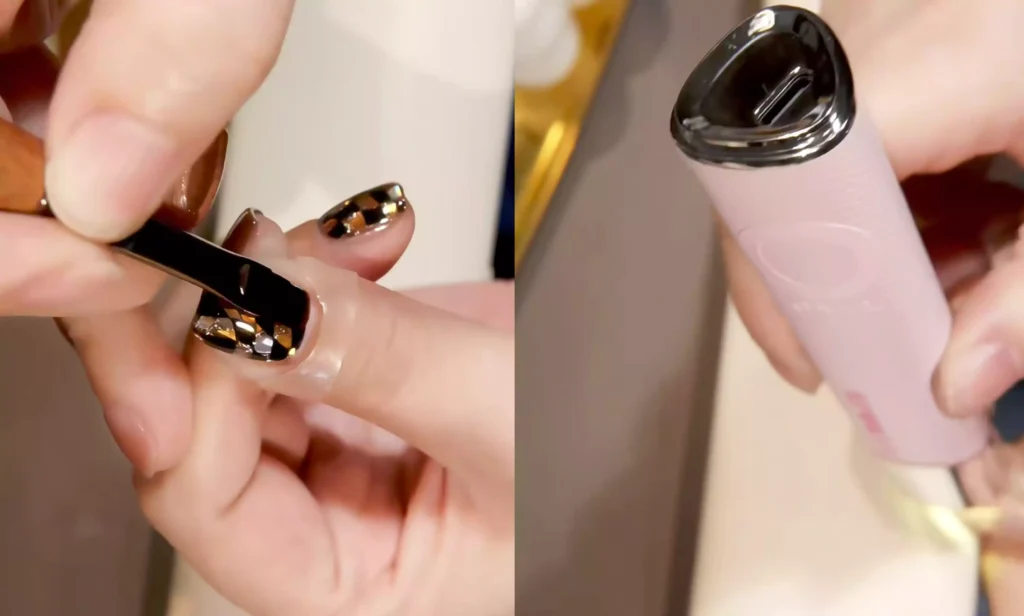
Paso 4: Top Coat y efecto final
Aplique una capa final de amatista de alta transparencia que no amarillea para obtener un acabado cristalino. Cúrelo bajo una lámpara UV/LED para completar el look.
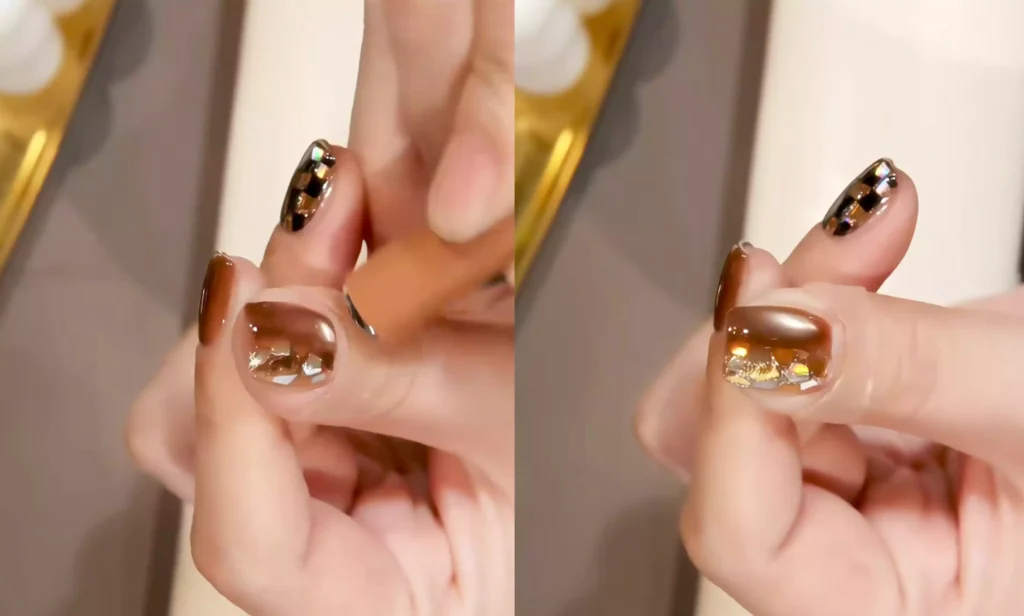
Una vez terminados, podemos examinar primero los intrincados detalles del dibujo de diamantes y luego ver la mano completa con las uñas perfectamente coordinadas. También puede girar la mano para admirar el deslumbrante atractivo de estos llamativos diseños de nail art en forma de diamante desde todos los ángulos.
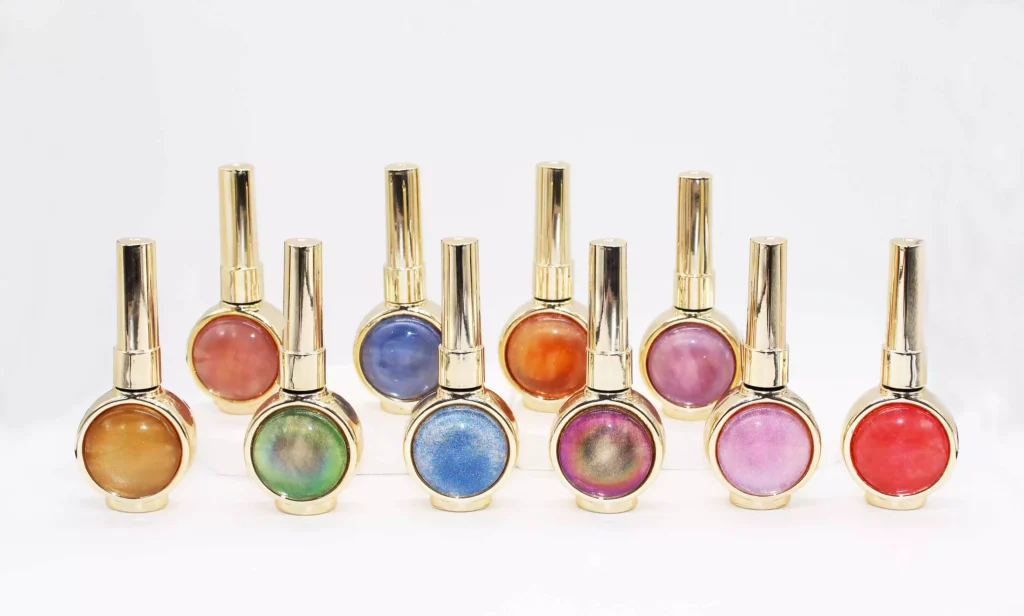
En este tutorial, voy a utilizar el programa CHROMÉCLAIR Esmalte en gel sin HEMA. No sólo es poco irritante y respetuoso con el medio ambiente, sino que también está libre de ingredientes nocivos (sin HEMA ni TPO), protegiendo así la salud de tus uñas. Con una gama de tonos increíblemente amplia, una larga duración (unos 21 días) y unos diseños que no pasan de moda, puedes estar tranquila y disfrutar de unos resultados espectaculares.
¿Tienes problemas con los pasos? No te pierdas el tutorial en vídeo que encontrarás a continuación. Si te ha resultado útil, no dudes en darle un pulgar arriba y guardarlo ⭐. ¡Suscríbete a mi canal, y nos vemos en el próximo tutorial!