Worried about messing up the details when coloring stencils? Here’s a foolproof stencil coloring technique, breaking down everything from tool selection to step-by-step instructions- guaranteed to fill in even intricate patterns with precision.
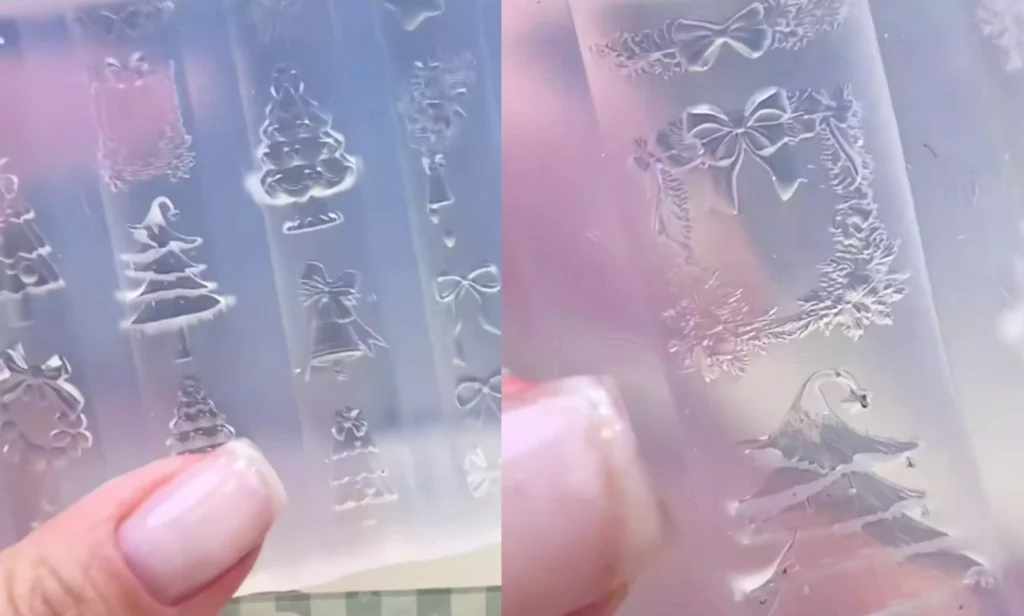
Etapa 1: Aplicar el color con cola de palmaditas, penetrando en los detalles.
En primer lugar, pruebe a colorear el molde con cola para palmaditas: este tipo de cola ofrece una excelente flexibilidad y adaptabilidad al relleno de color.
Incluso con motivos intrincados en el molde (como calados de varias capas o diseños curvos), puede utilizar una esponja para mezclar los colores: estire suavemente el molde para abrirlo, sumerja la esponja en la pasta para dar golpecitos y presione ligeramente el color en todos los recovecos del motivo.
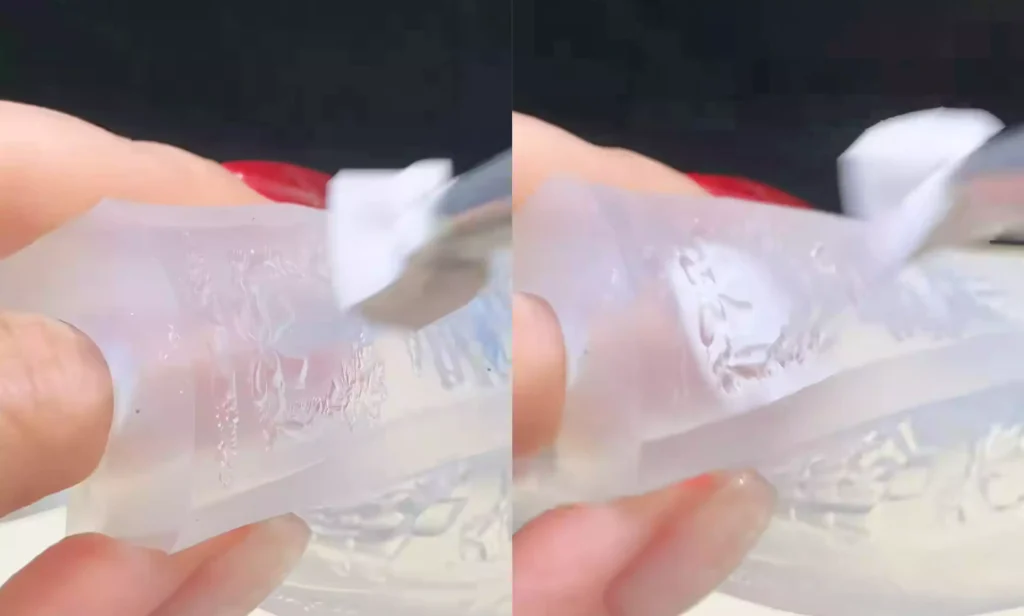
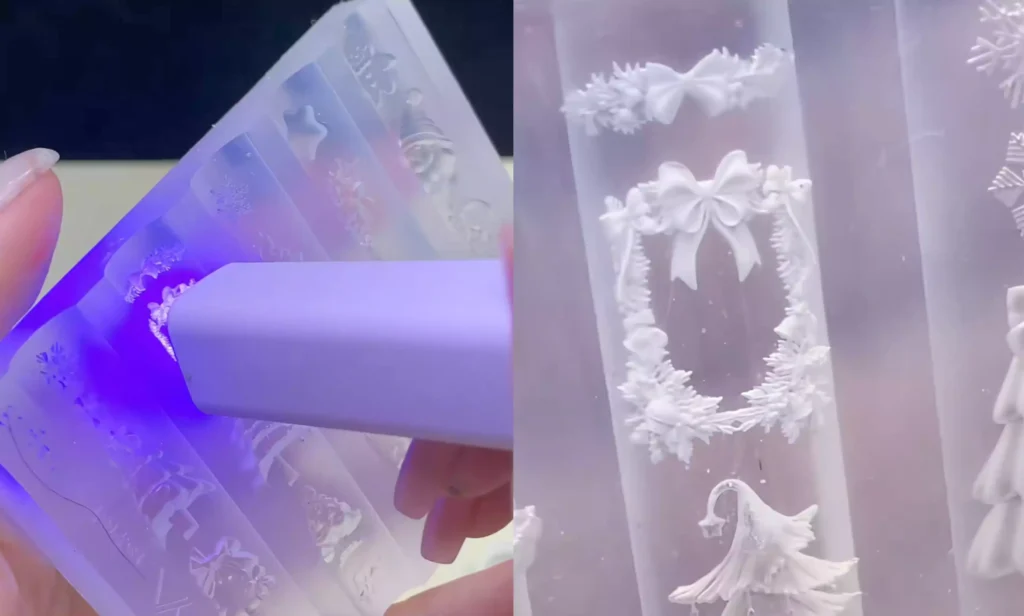
After operation, flip the mold for inspection: Not only should there be no color loss, but even if there is excess surface color, don’t panic. Gently wipe the mold surface with an alcohol-soaked cotton pad—the excess color will be quickly removed, leaving only rich, saturated color within the patterns. For intricate designs, this step ensures a “uniform, flawless” fill effect.
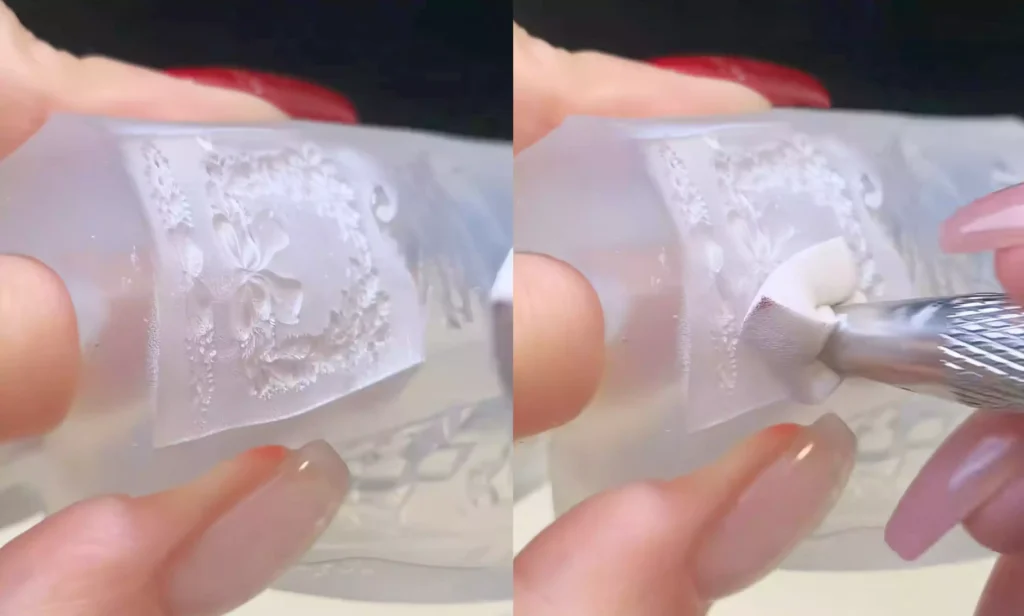
Paso 2: Curar el pegamento para palmaditas, aplicar pegamento para moldes
Once the patting glue fully covers the pattern, cure it under a UV/LED lamp (ensure the light wavelength matches the gel’s specifications for complete curing).
A continuación, el adhesivo especializado para moldes: Este adhesivo tiene propiedades de flujo optimizadas y capacidad antiespumante, lo que garantiza un tacto suave y una dispensación uniforme durante la extrusión. Incluso si se introducen burbujas de aire durante la extrusión, se disiparán rápida y automáticamente sin necesidad de perforación manual.
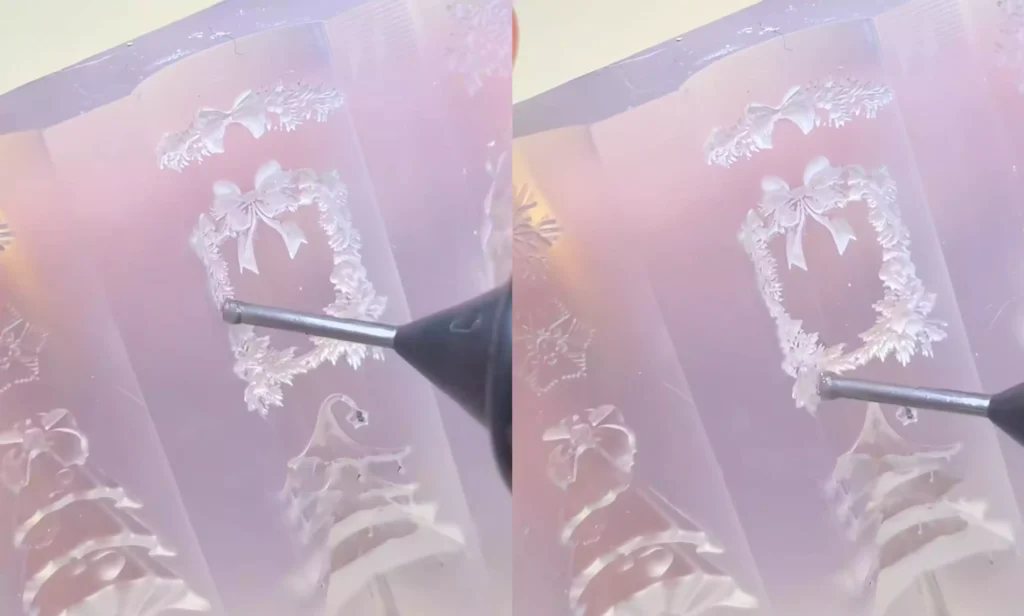
Apply the mold adhesive to the frame area of the mold. There’s no need to obsess over achieving a “completely filled and gap-free” result. After roughly covering the area, cure it again with a UV/LED lamp.
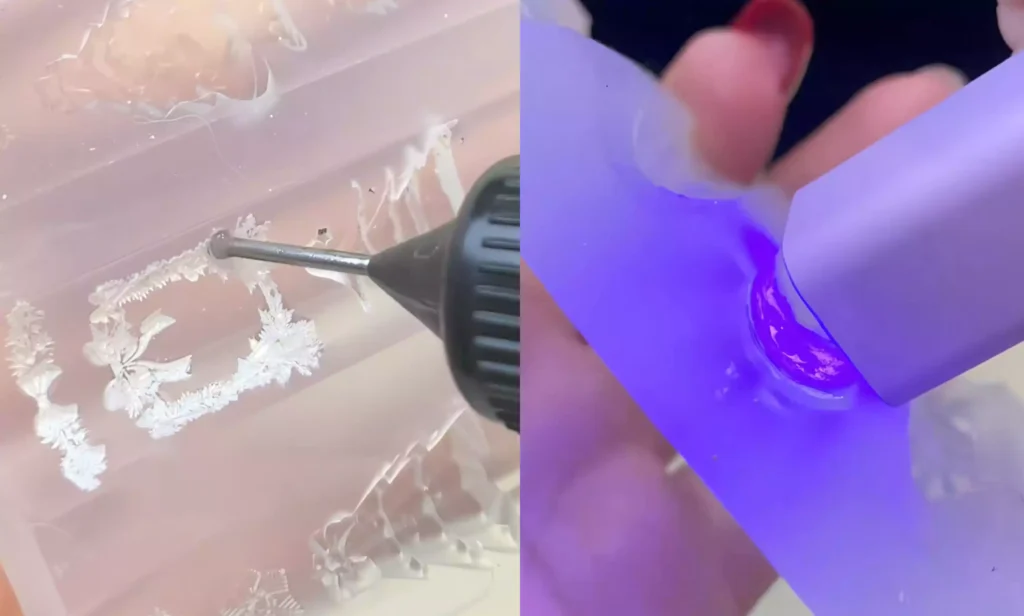
The mold’s inherent curvature will be preserved, allowing it to naturally conform to the nail’s surface curve when applied later, eliminating the need for additional curvature adjustments.
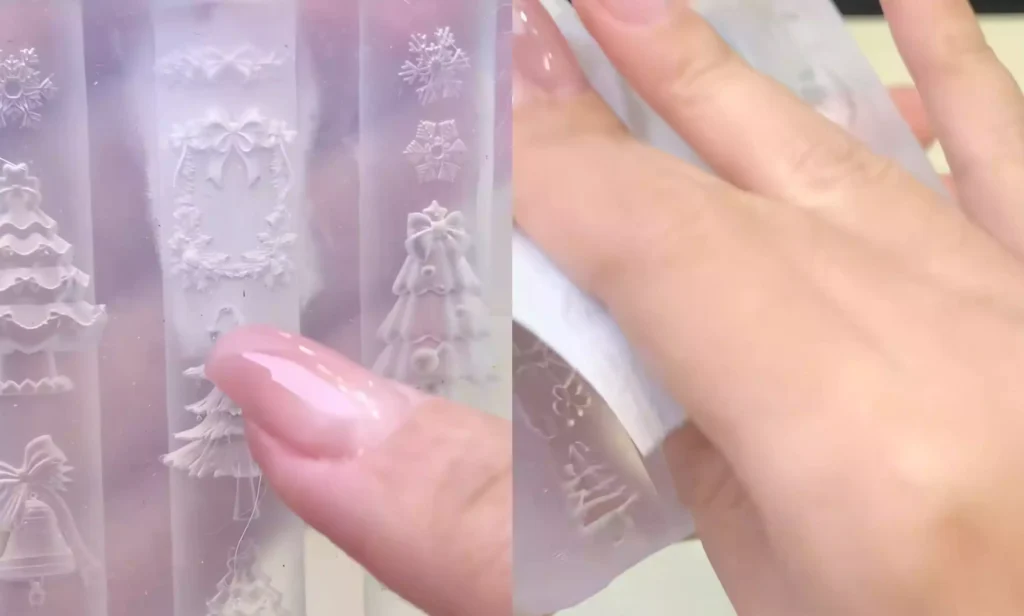
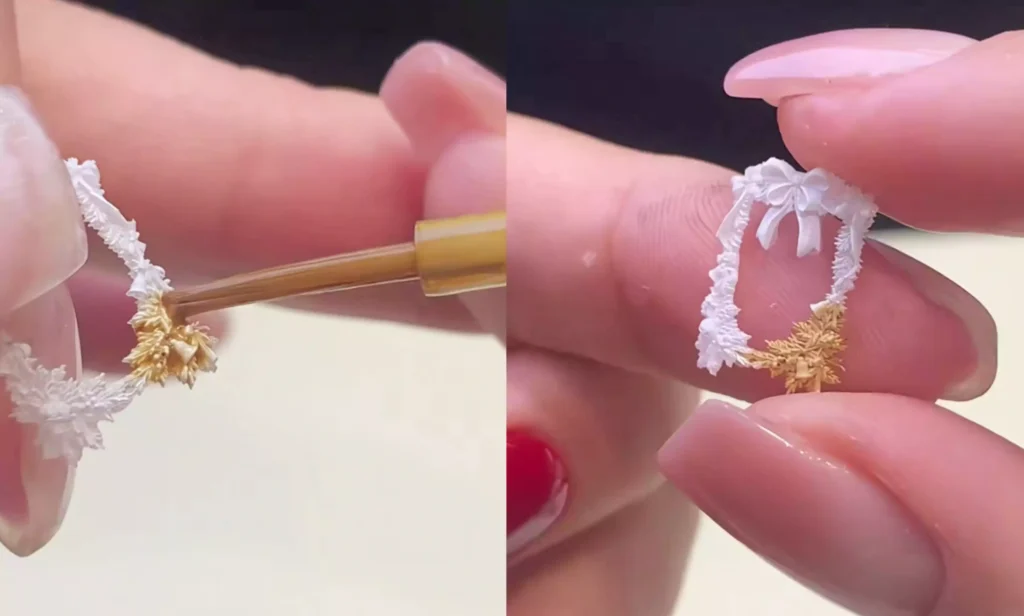
Paso 3: Desmoldeo y reutilización, personalización flexible del color
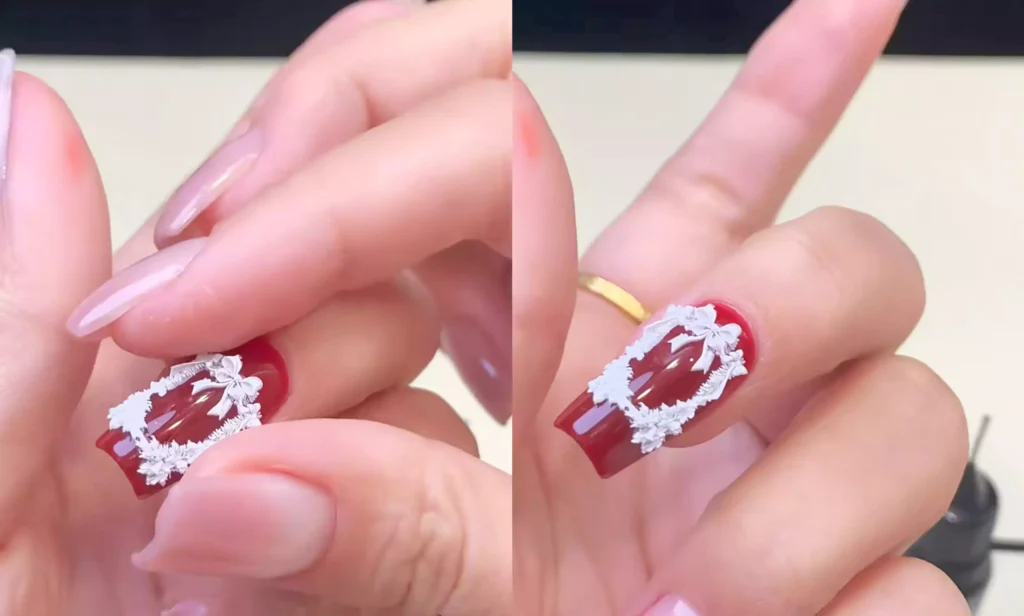
Una vez que la resina moldeada se ha curado por completo, basta con "desmoldarla" directamente del molde para obtener una pieza decorativa tridimensional con detalles completos y un color limpio.
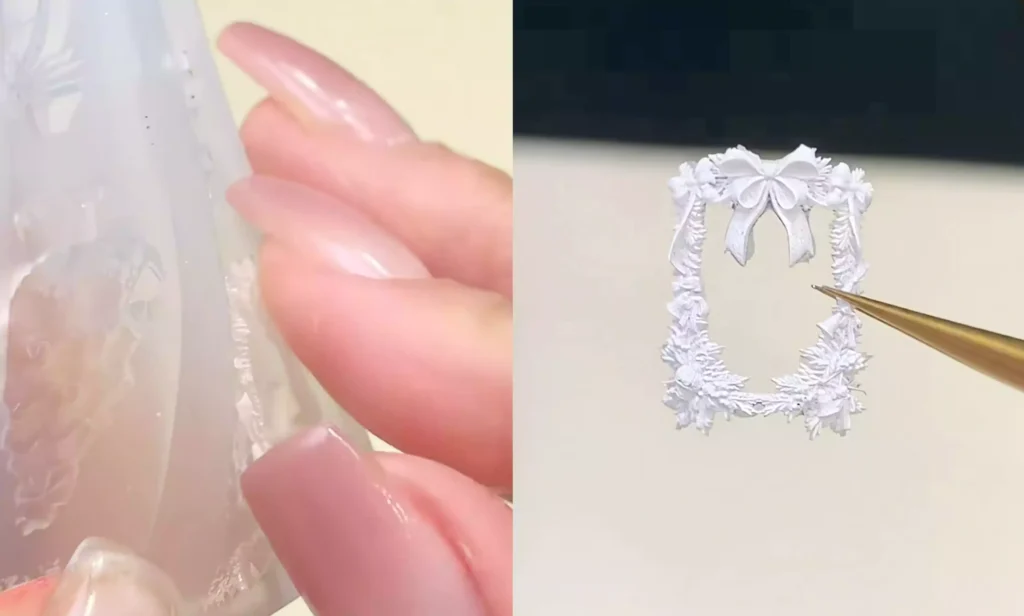
Incluso cuando el compuesto del molde se ajusta al blanco puro, puede producir un acabado impecable y exquisito.
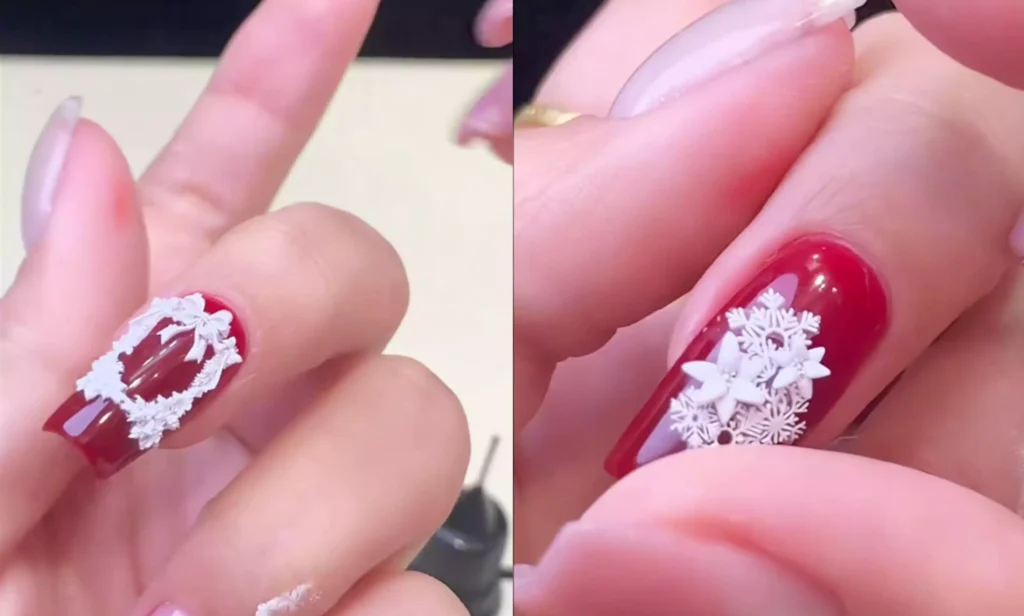
Si desea cambiar el color después de la aplicación, puede utilizar una solución de difuminado para un segundo cambio de color: Sumerja un pincel fino en la solución de mezcla y aplíquela con precisión en la zona que necesite ajustar. Una vez seco, el color se mezclará uniformemente con el material sin revelar el color base, ofreciendo la máxima flexibilidad.
Conclusión
Este método es muy fácil de utilizar para los principiantes y tiene una tasa de fracaso extremadamente baja. ¿Por qué no probarlo paso a paso? Hay incluso más formas creativas de explorar: desde rellenar los colores hasta cambiarlos, puedes mantener las cosas frescas y emocionantes.
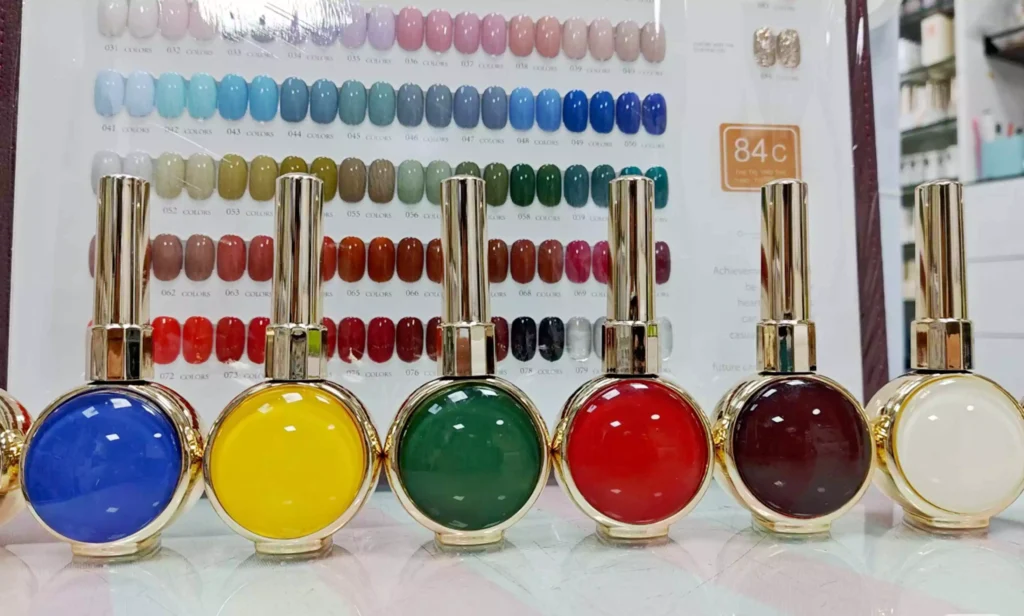
In this tutorial, I’m using CHROMÉCLAIR’s Esmalte en gel sin HEMA. Their products prioritize safety and low irritation (HEMA-free & TPO-free), are eco-friendly, and free from harsh or harmful ingredients to protect nail health. With an extensive color selection and long-lasting wear (around 21 days), they stay on-trend with modern aesthetics—giving you both peace of mind and beautiful results!
¿Tienes problemas con los pasos? No te pierdas el tutorial en vídeo que encontrarás a continuación. Si te ha resultado útil, no dudes en darle un pulgar hacia arriba y guardarlo ⭐. ¡Suscríbete a mi canal, y nos vemos en el próximo tutorial!