You probably wonder how long to let gel polish dry between coats to keep your manicure perfect. The answer depends on the drying time for your nail polish and the lamp you use. Check out this quick table:
| Lamp Type | Drying Time per Coat |
|---|---|
| Traditional UV | 1-2 minutes |
| LED | 15-30 seconds |
It is vital to ensure that each layer of gel polish is dried for an adequate amount of time. In case the process of drying gel polish is done quickly, there is a possibility that gel polish will dry poorly. Drying gel polish for an extended period results in dullness and stickiness of the gel polish. Different gel polish manufacturers give different durations to allow each layer of gel polish to dry. It is also important to consider that gel polish coats that are thicker take more time to dry than thinner ones. Lamp used and gel polish thickness have an effect on drying time. By observing the recommended drying duration, gel polish will dry smoothly and last longer.
Key Takeaways
- Always cure each gel polish coat for the recommended time. This ensures a smooth, long-lasting finish.
- Use thin, even layers of polish to speed up drying time and prevent issues like lifting or peeling.
- Check your lamp type and wattage. LED lamps cure faster than UV lamps, so adjust your timing accordingly.
Why Drying Time Matters for Gel Nail Polish
Preventing Smudges and Wrinkles
Your goal is for your gel nail polish to be smooth and glossy. You do this by ensuring that your gel nails get sufficient curing time per coat. Otherwise, your results may show smudges or wrinkles. This is because the process of curing involves a reaction that solidifies your polish. Failing to cure adequately makes your gel nail polish crack or peel off at a quicker rate. Having thick layers may affect the curing process too, causing wrinkles.
Tip: Always use the right lamp and follow the recommended drying times. For example, UV lamps need about 120 seconds, while LED lamps need 60 seconds for curing.
Ensuring Long-Lasting Results
Your manicure needs to be durable. Curing the layers properly will help your manicure look good and endure longer. Failure to cure for long enough may result in peeling, chipping, or a dull appearance. Curing your manicure too much could make it very fragile. The exact curing time should be followed for best results.
- Curing makes for a durable and beautiful manicure.
- Curing your manicure properly is necessary for maintaining healthy nails.
Avoiding Lifting and Peeling
No one likes when gel nail polish lifts or peels. This often happens when you use thick coats or do not give enough time for curing. Thin, even layers help the curing process work best. If you rush, the layers stay soft and peel off quickly. When you let each coat cure for the right time, your gel nail polish sticks better and lasts longer.
Remember: Take your time with each coat. Curing is not just about speed. It is about getting the best results for your nails.
How Long to Let Gel Polish Dry Between Coats
Exact Drying Times for Each Coat
You want your gel manicure to look perfect, so knowing the exact drying times for each coat is important. Every layer needs its own curing time under your lamp. Here’s a simple breakdown to help you cure gel polish the right way:
| Gel Polish Type | Curing Time (LED) | Curing Time (UV) |
|---|---|---|
| Base Gel Polish Coat | 45 seconds | 2-3 minutes |
| Color Gel Polish Coat | 30-45 seconds | 2-3 minutes |
| Top Gel Polish Coat | 30-90 seconds | 2-3 minutes |
Always take some time between coats before proceeding to the next coat. The waiting time for applying the base coat is approximately 2 minutes after the curing process. If you decide to apply more than one color coat, make sure to wait 4 minutes between each color coat. For the top coat, give yourself 10 minutes before touching anything else.
Pro Tip: Remember to follow the instructions provided by the manufacturer of your nail polish brand to ensure perfect results.
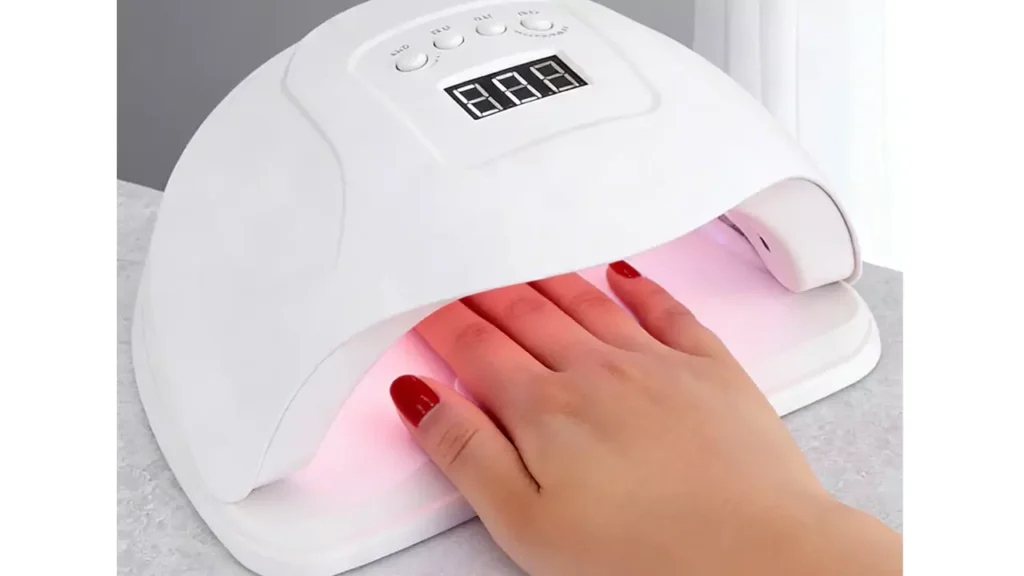
Wait Between Coats: UV vs. LED Lamps
The lamp you use makes a big difference in how long you need to wait between coats. LED lamps cure faster than UV lamps. If you use an LED lamp, you can cure each layer in 30 to 60 seconds. UV lamps take 2 to 3 minutes per layer. Here’s a quick table to show you the difference:
| Lamp Type | Curing Time per Layer |
|---|---|
| UV Lamps | 2 to 3 minutes |
| LED Lamps | 30 to 60 seconds |
The more powerful the lamp, the less time you’ll need for curing. The typical wattage for most nail salons is 36 watts. With such lamps, the polish dries up fast and evenly. Otherwise, your polish might remain sticky and not fully cured. Hence, it is imperative that you use a powerful lamp for this purpose.
Allowing time between coats ensures that the polish has dried out properly and has cooled down a bit. It prevents smudging of the manicure, which is important for its longevity.
Factors Affecting Drying Time
Many things can change how long it takes to cure gel polish. The lamp type, wattage, thickness of each coat, and even the color of your polish all matter. Here’s a table to help you see what affects drying time:
| Factor | Description |
|---|---|
| Lamp Type | LED lamps cure faster than UV lamps. |
| Lamp Wattage | Higher wattage (24 W, 36 W, 48 W) reduces curing time. |
| Coat Thickness | Thicker layers of polish require longer curing time. |
| Color Pigment | Darker colors may need extra curing time. |
| Lamp Age | Older lamps may not cure as well. |
The more power the light produces, the less time it will take you to cure the nail polish. The common wattage of lamps used in most nail parlors ranges from 36 watts. Using lamps of such wattages helps polish dry quickly and evenly. If not, the polish may stay sticky and will be under-cured. Therefore, it is essential that you make use of a powerful lamp for this process.
Giving time between coats makes sure that the polish is dry and that it has cooled a bit. This prevents smudges on the manicure and thus ensures longevity.
Temperature and humidity also come into play as far as the drying process is concerned. If humidity levels are high, it slows down the drying process. In this regard, if you live in areas with high humidity, you should give some additional minutes between coats.
Note: If you want your manicure to last, pay attention to every step. Cure each coat for the right time, wait between coats, and use the right lamp. This will help you get a flawless finish every time.
How to Dry Gel Polish for Best Results
Applying Thin, Even Coats
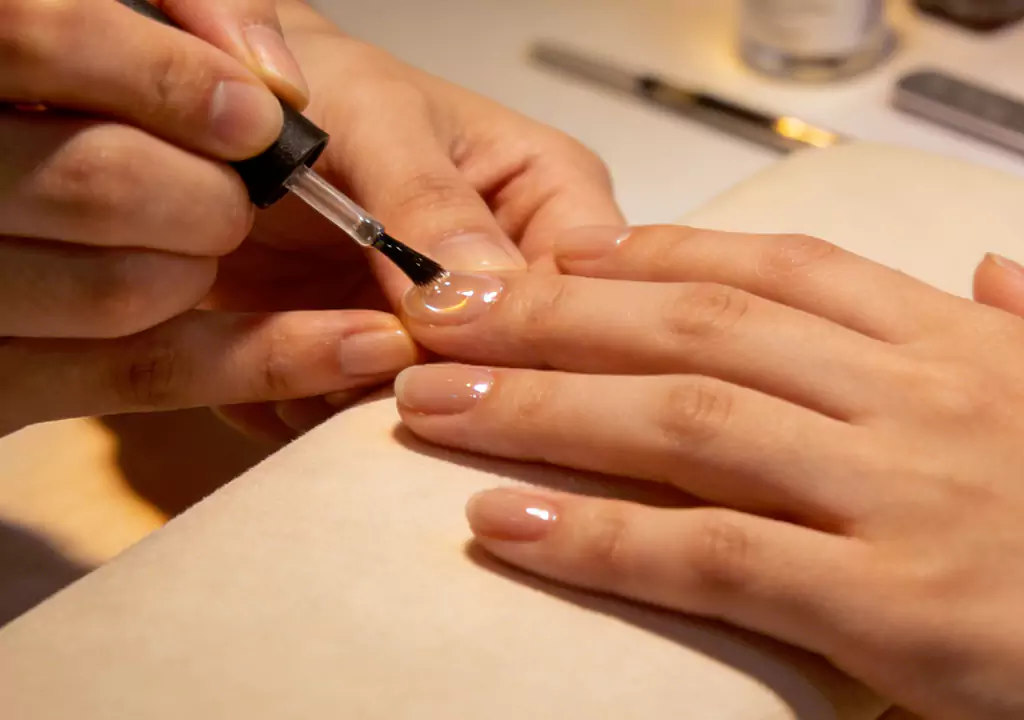
To achieve perfect gel manicures, you must learn the proper method of drying gel polish. First, shake your bottle of gel polish. This will make it easier to thin the gel polish so that it dries more evenly. Apply gel polish using a brushing technique from the middle and sides. The edges of your nails should always be sealed with the brush. Afterward, give the polish some time to smooth out before curing. Using thin coats of gel polish is vital to achieving proper drying of gel polish without leaving thick coats at the edges of your nail beds.
- Shake the bottle before use.
- Apply thin layers for quicker curing.
- Use short, gentle brush strokes.
- Cap the nail tip for a sealed finish.
Common Mistakes to Avoid
Many people make mistakes during a gel manicure that lead to uneven or incomplete curing. Here’s a quick table to help you spot and avoid them:
| Mistake | Why It’s a Problem |
|---|---|
| Applying layers too thick | Causes improper curing and lifting |
| Not shaking the polish | Leads to uneven color and finish |
| Using long brush strokes | Creates thick streaks and globs |
| Forgetting to cap the edge | Increases risk of lifting |
| Getting gel on the skin | Can cause lifting and an uneven look |
Troubleshooting Sticky or Uncured Polish
There might be instances when you encounter sticky or poorly cured gel polish. Here are some ways to cure it:
- Apply thin, even coats to help dry gel polish properly.
- Cure each layer for the recommended time under your lamp.
- Use fresh gel nail polish and make sure your base and top coats match.
- Wipe off any sticky layer with isopropyl alcohol or a gel cleanser.
- Avoid moisture and heat right after curing for best results.
If you do all these techniques, you’ll be guaranteed of having the perfect gel manicure. Now that you have learned how to accelerate the drying process and how not to have your gel polish improperly cured, you can finally take it easy and apply it like a professional, hence enjoying a professional gel manicure.
As mentioned above, a gel manicure needs to be durable. It is important to ensure you cure your every layer of polish with the correct light for a specified period of time. It is advisable to read through your polish’s instruction manual before doing anything else.
FAQ
How do you know if gel polish is fully cured?
You can tap your nail. If it feels hard and not sticky, it’s cured. If it feels tacky, cure it for a bit longer.
Can you air dry gel polish between coats?
No, gel polish will not dry in the air. You must use a UV or LED lamp to cure each coat for a strong, lasting finish.
What happens if you apply gel polish too thick?
Thick coats may not cure all the way. You might see bubbles, wrinkles, or peeling. Always use thin, even layers for best results.