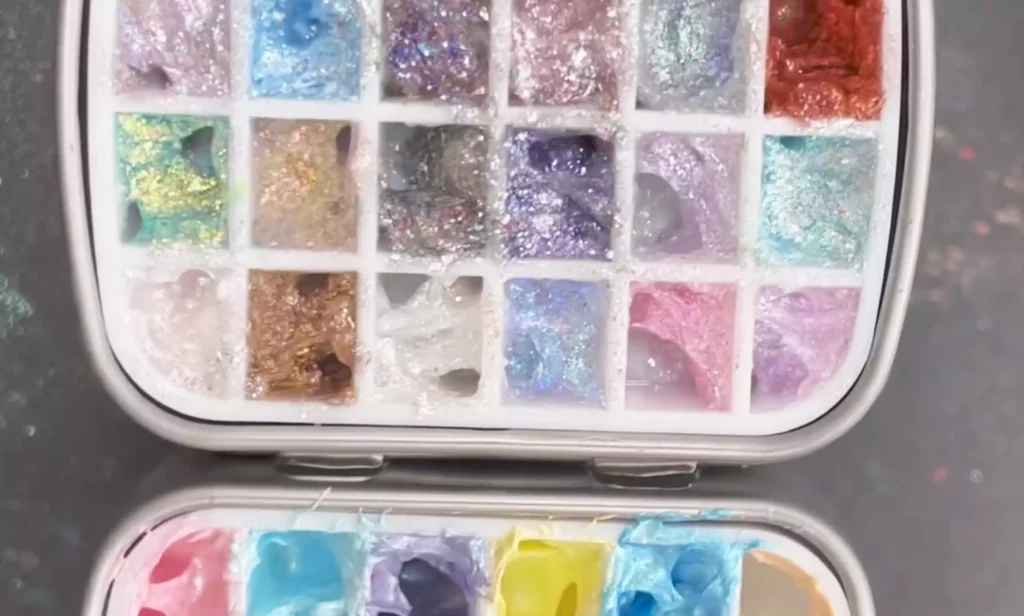
Wil je unieke nageldesigns maken voor een klein budget? Zo maak je je eigen zeemeermin glitter- en opaaleffecten. Met eenvoudige ingrediënten kun je opvallende nail art-materialen maken die persoonlijkheid en waarde toevoegen aan je manicure.
DIY Zeemeermin Gel Stappen
- Materialen voorbereiden: No-rinse stylinggel, parelcrème, aurorapoeder.
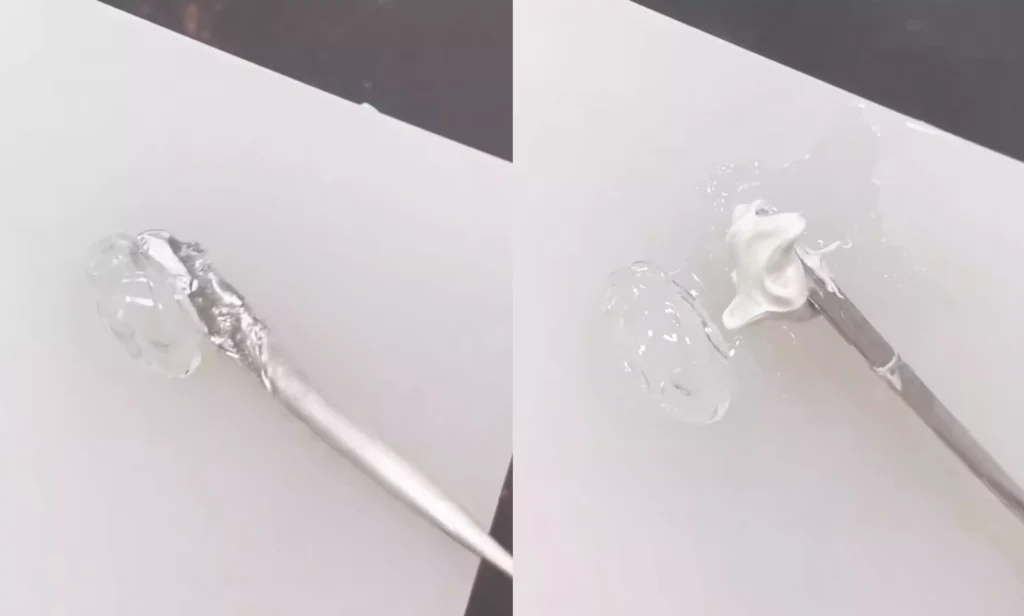
- Neem no-rinse stylinggel, parelcrème en aurorapoeder in een verhouding van 3:2:2 en leg ze op het palet.
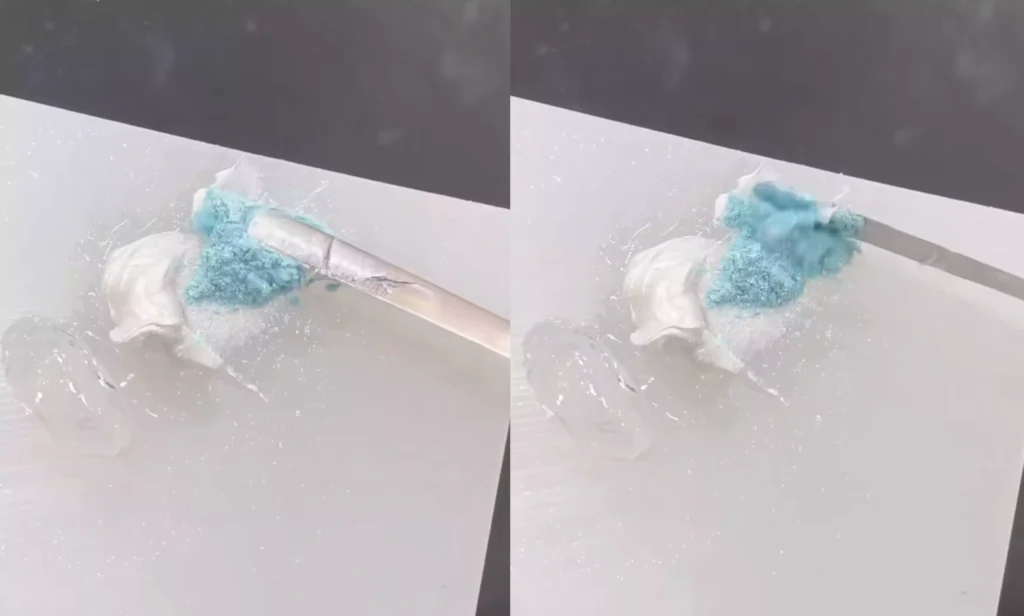
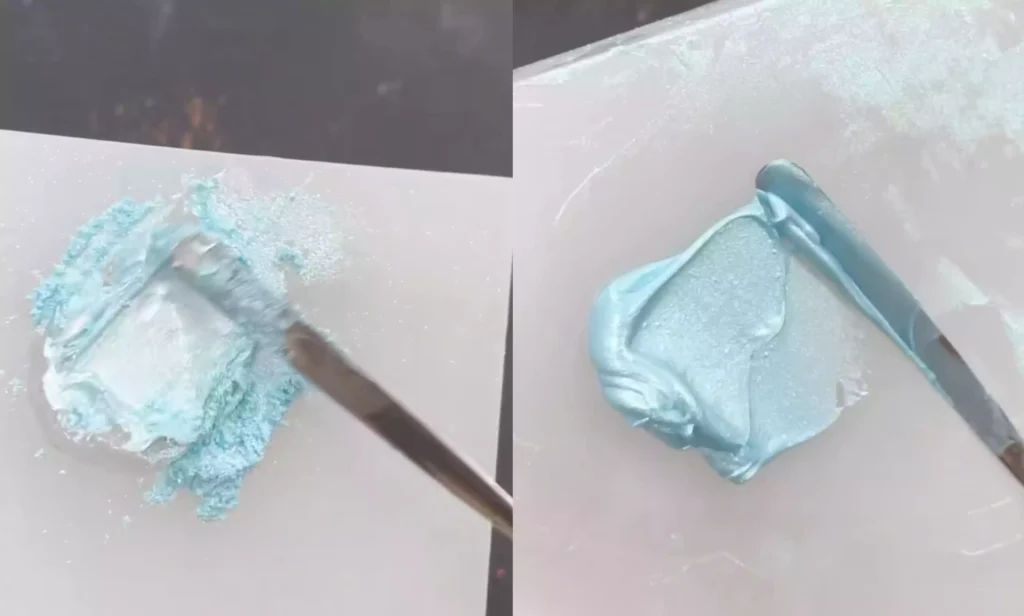
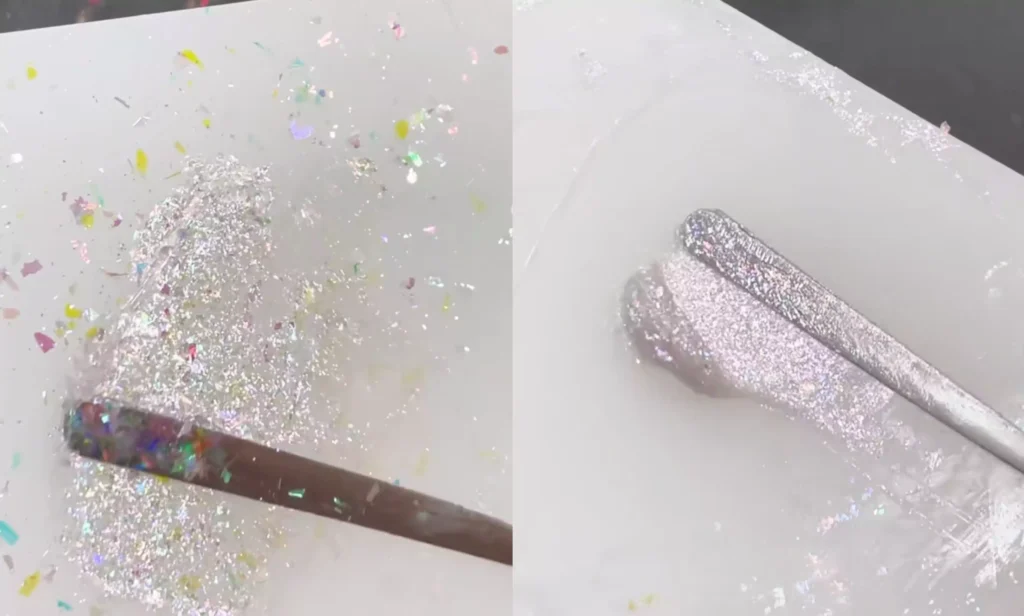
Mengproces: Meng de drie ingrediënten grondig met een hulpmiddel totdat het mengsel glad is en geen klontjes bevat. Hiermee is de basis zeemeerminlijm klaar.
Creatieve uitbreiding
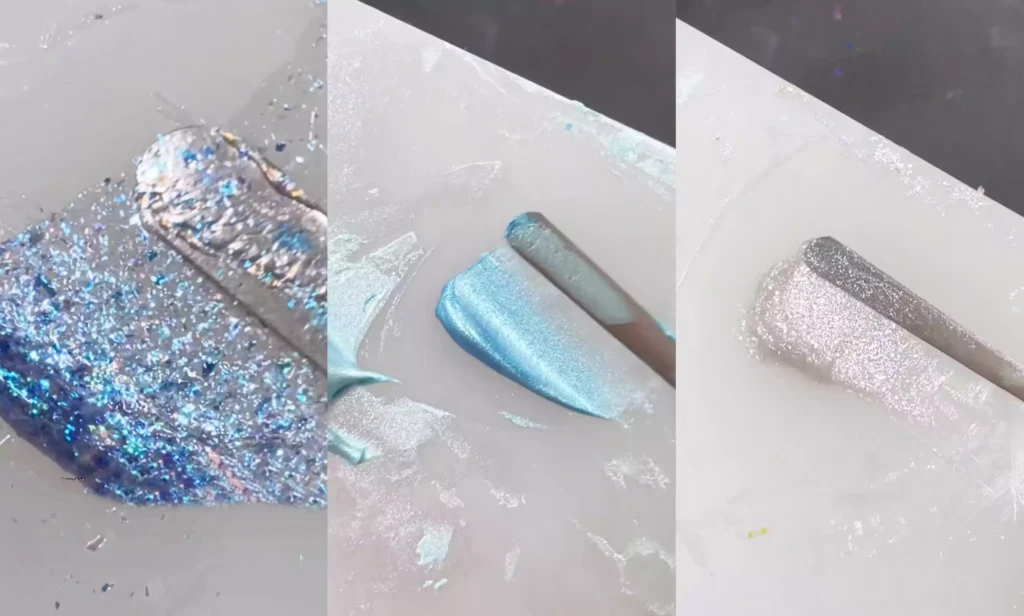
- Verloop-effect: Breng de op zeemeerminnen geïnspireerde gelpolish aan om een gradiënteffect te creëren op de nageltip, voor een dromerige, gradiëntlook.
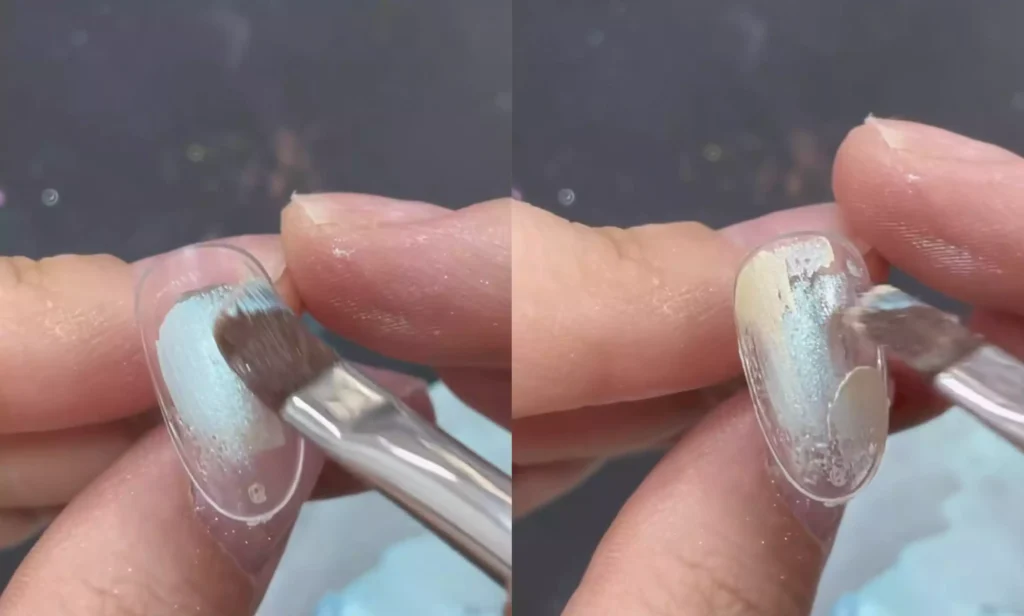
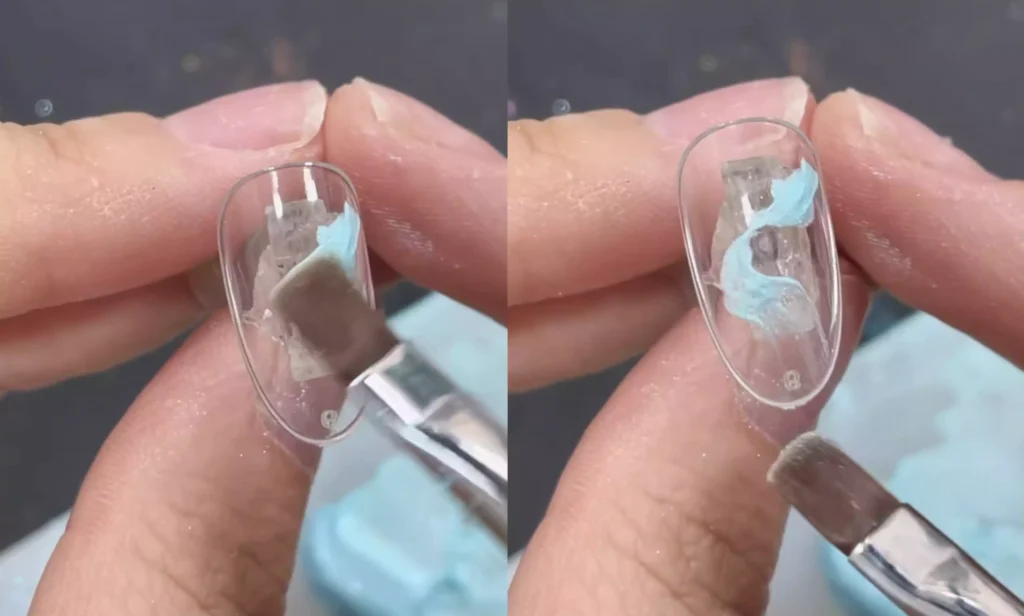
- Textuur vormgeven: Gebruik tools om dimensionale texturen te creëren die het gelaagde effect van nail art versterken;
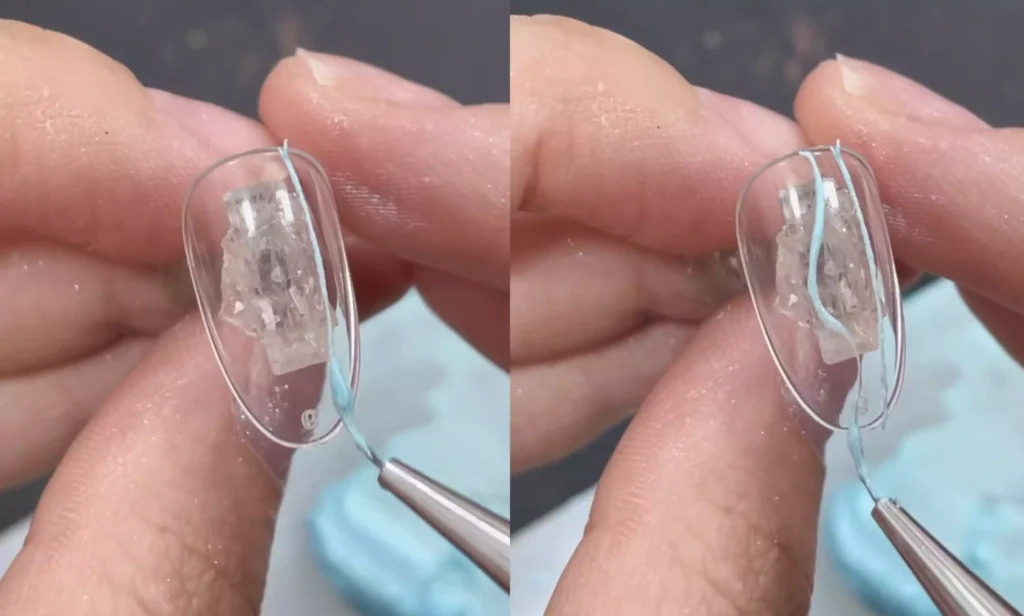
- Contouren tekenen: Doop een fijn penseel in zeemeerminlijm om lijnen te trekken en lijnpatronen te maken;
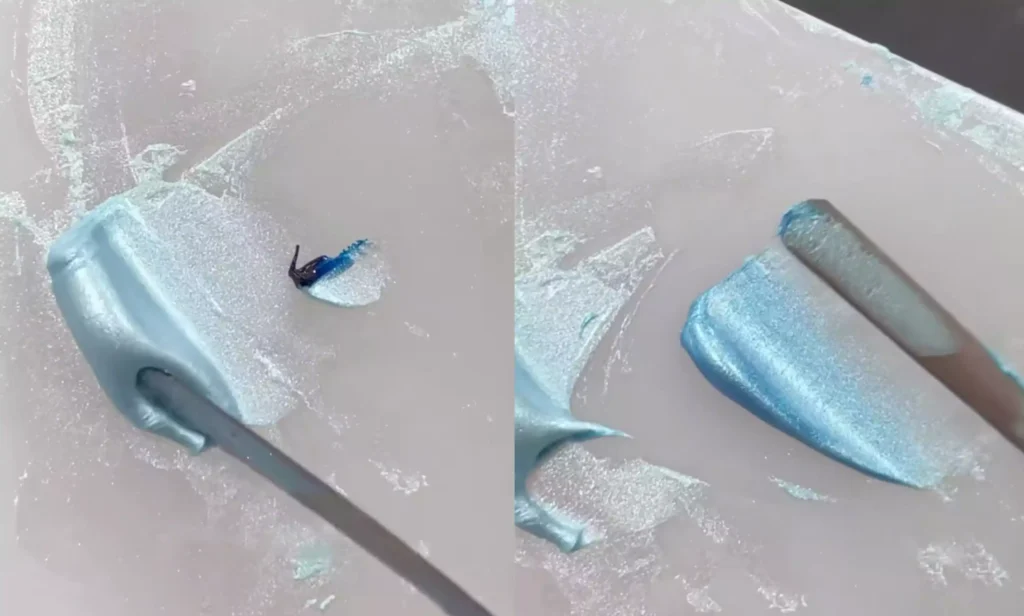
- Doe-het-zelf kleuren: Voeg je favoriete kleur gel toe aan de zeemeerminnengel en meng dan opnieuw om andere tinten zeemeerminnengel te maken. Voel je vrij om te experimenteren met verschillende kleuren om aan je voorkeuren te voldoen!
DIY Opaal Gel Stappen
- Materialen voorbereiden: No-rinse stylinggel, opaalpoeder. Doe de no-rinse stylinggel en het opaalpoeder in een verhouding van 1:2 in de mengruimte.
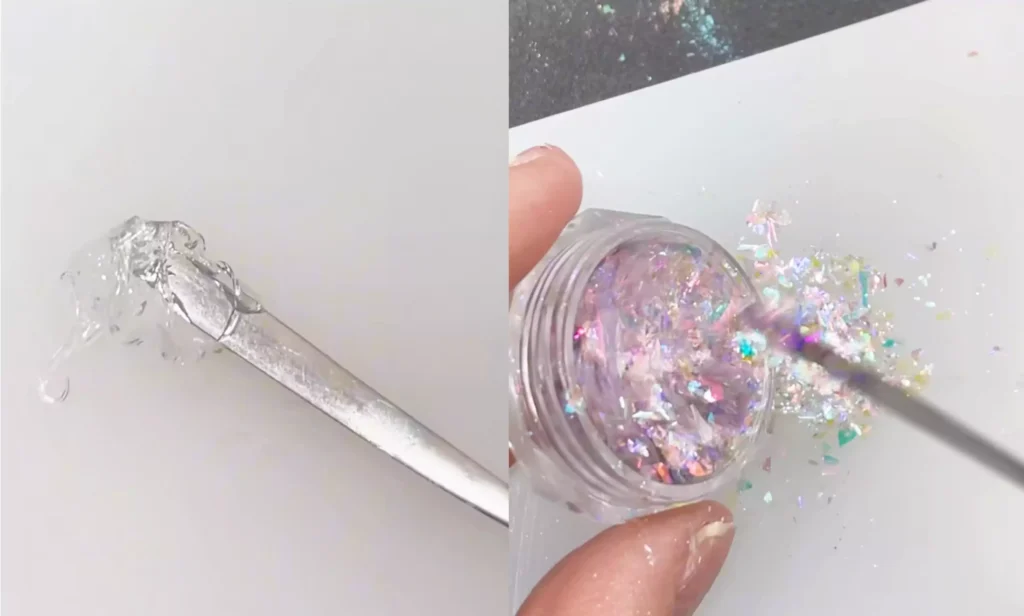
- Grondig mengen: Gebruik een hulpmiddel om de twee componenten te mengen en te roeren tot er een gladde, glinsterende textuur ontstaat. Door de verhouding aan te passen of te combineren met andere fijne glittermaterialen kun je opaalgel in een breder kleurengamma maken.
Praktische tips
Zeemeermin gel en opaal gel zijn allebei no-wash materialen. Na het voltooien van je nail art design kun je ze direct over de top coat aanbrengen. Ze geven je nagels een oogverblindend, sfeervol effect, waardoor je vingertoppen nog meer opvallen.
Conclusie
Door de bovenstaande stappen te volgen, kun je goedkoop je eigen nagellak gels maken. Of het nu de dromerige allure van zeemeerminnengel is of de oogverblindende schittering van opaalgel, deze zelfgemaakte gels kunnen nieuwe inspiratie geven aan je nail art designs. Probeer deze DIY gels om nog meer creatieve mogelijkheden voor je nail art te ontsluiten.
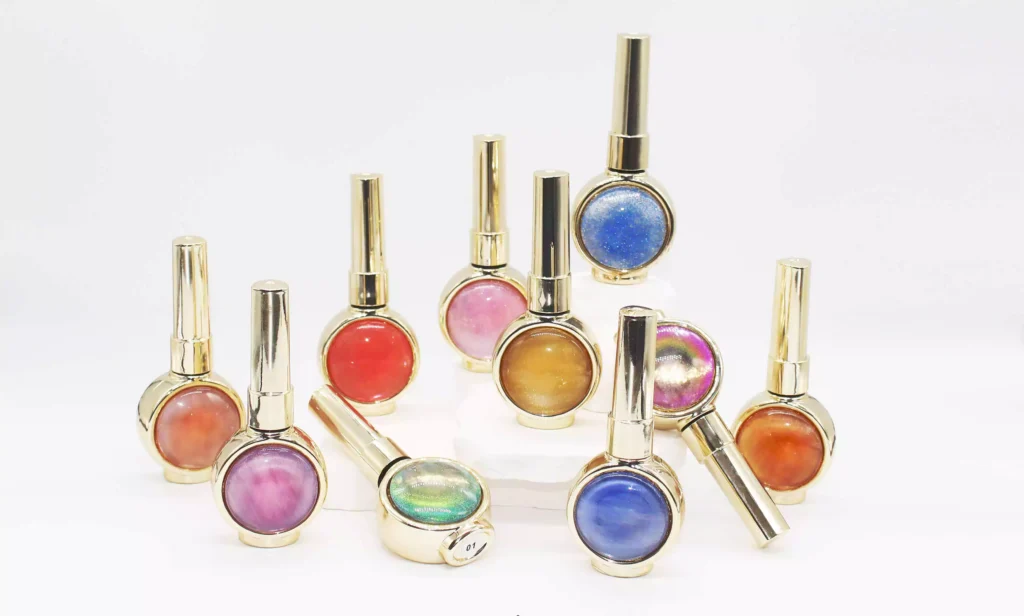
Tot slot raden we CHROMÉCLAIR's HEMA-vrije gelpolish. Hun producten geven prioriteit aan veiligheid, lage irritatie en milieuvriendelijkheid door het uitsluiten van schadelijke ingrediënten, het minimaliseren van allergierisico's (HEMA-vrij & TPO-vrij) en het verzorgen van gezonde nagels. Met een divers kleurengamma en een lange houdbaarheid (ongeveer 21 dagen) richten ze zich op de mainstream esthetiek, zodat elke consument geniet van een veilige en zorgeloze ervaring.
Moeite met de stappen? Bekijk dan de videohandleiding aan het einde van deze handleiding! Als je dit nuttig vond, geef het dan een duimpje omhoog en sla het op ⭐. Abonneer je op mijn kanaal - tot de volgende tutorial!