Want to create unique nail designs on a budget? Here’s how to make your own mermaid glitter and opal effects. Using simple ingredients, you can mix up distinctive nail art materials that add personality and value to your manicure.
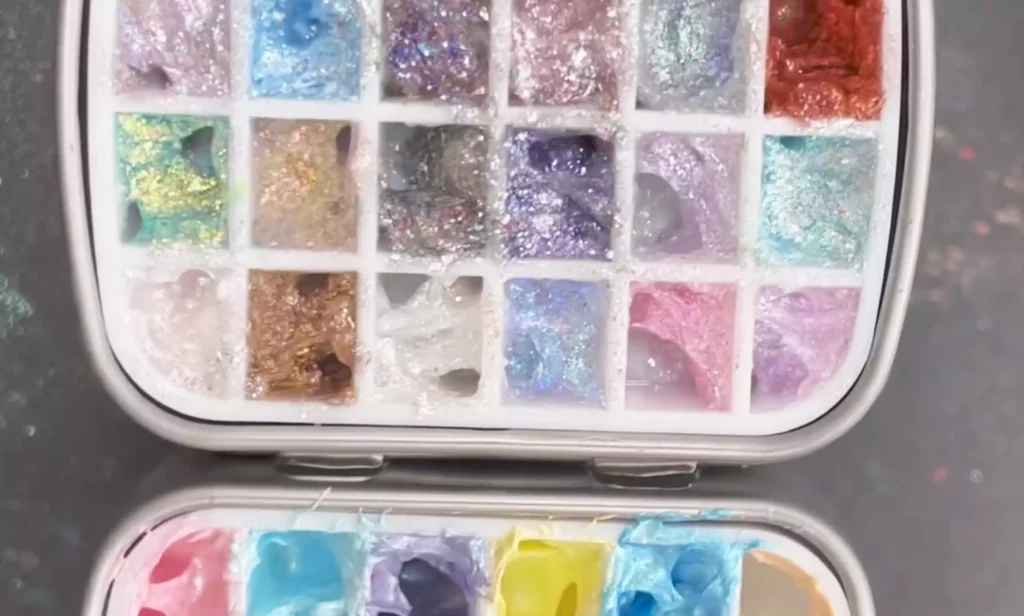
Pasos de gel de sirena DIY
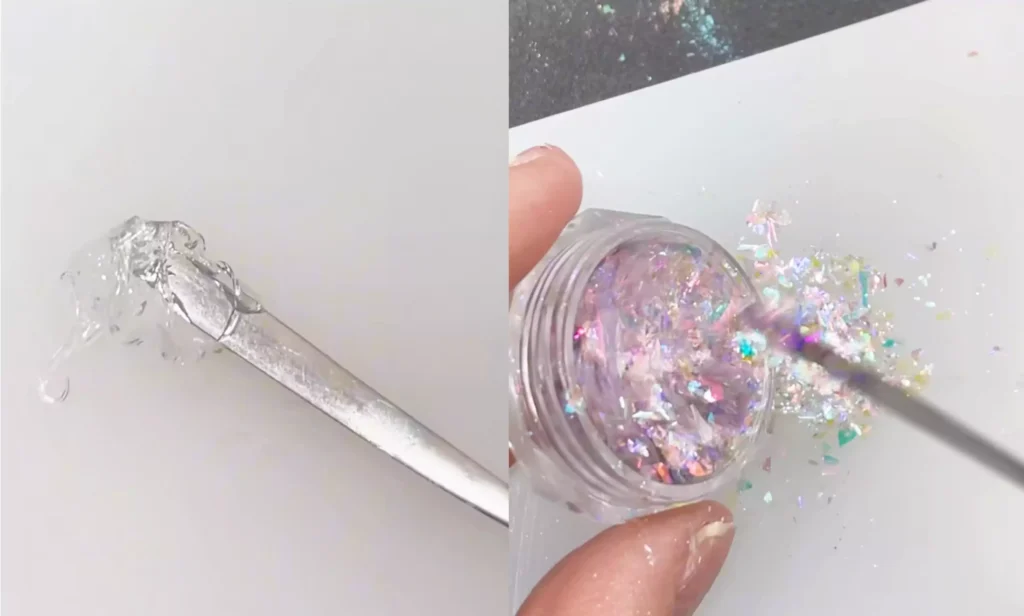
– Prepare materials: No-rinse styling gel, pearl cream, aurora powder.
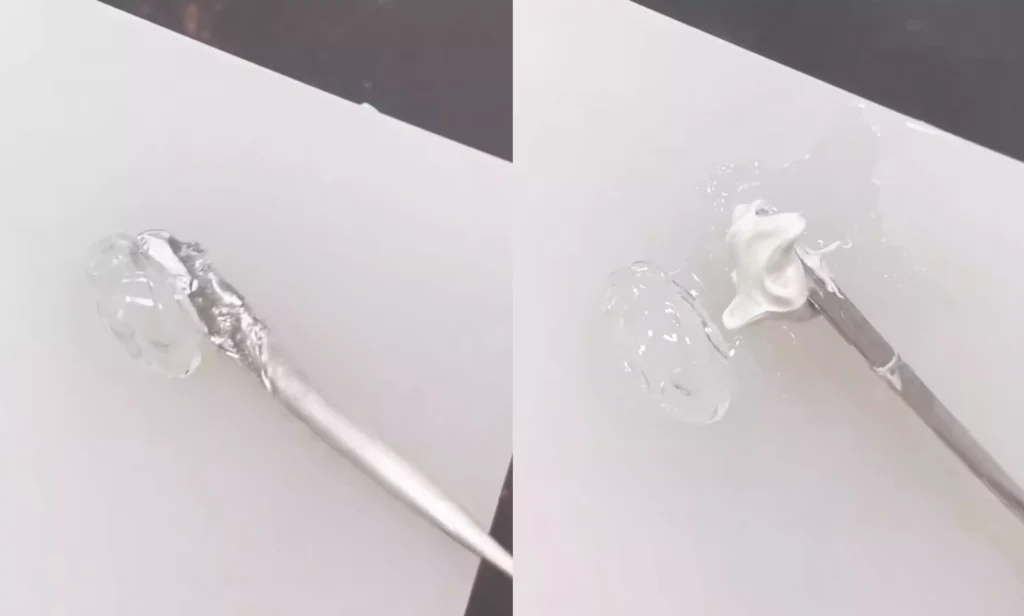
– Take no-rinse styling gel, pearl cream, and aurora powder in a 3:2:2 ratio and place them on the palette.
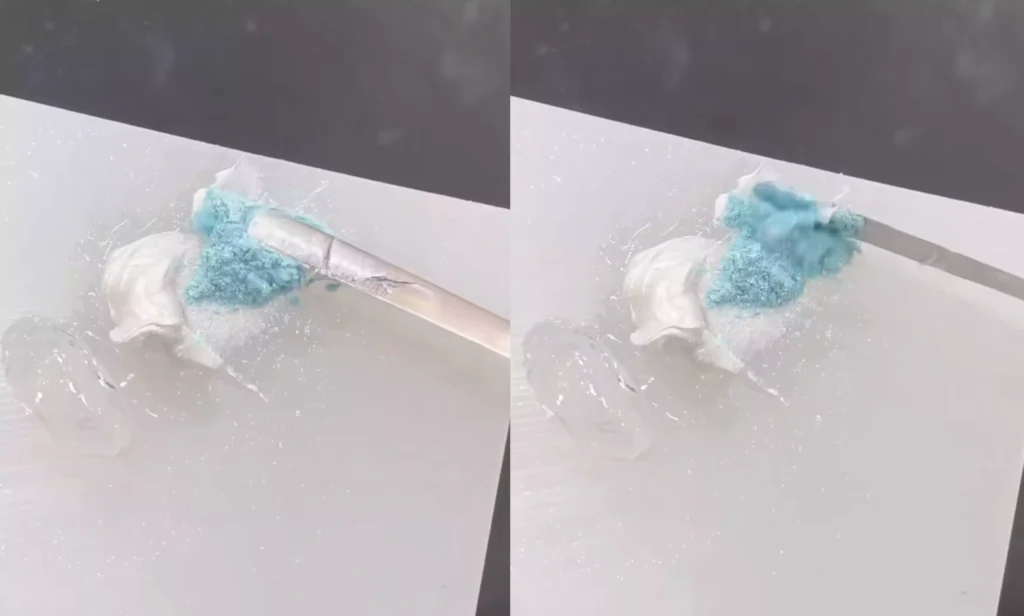
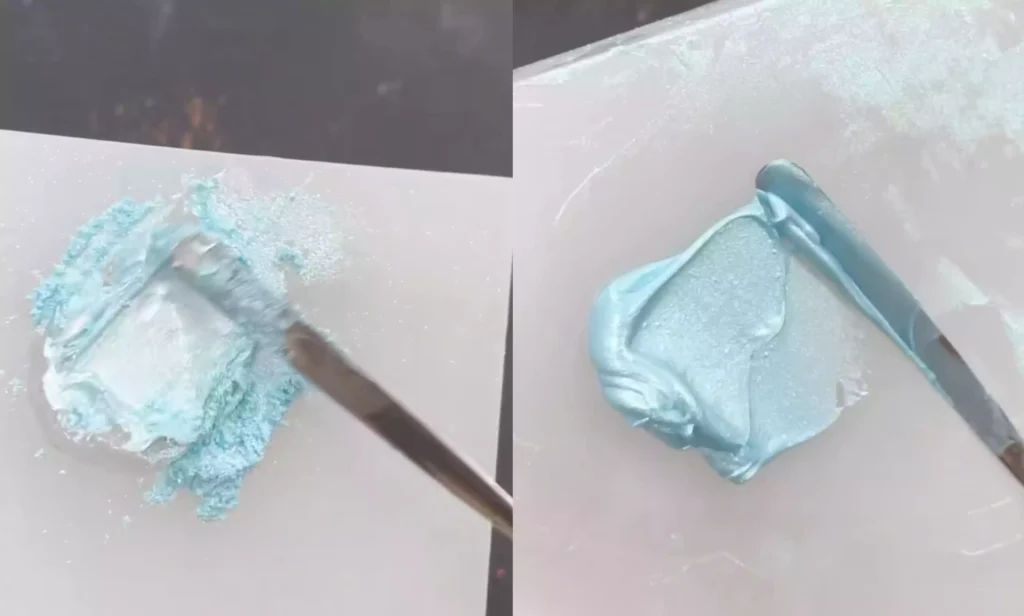
Proceso de mezcla: Mezclar bien los tres ingredientes utilizando una herramienta hasta que la mezcla esté suave y sin grumos. Esto completa el pegamento básico para sirenas.
Recommended next step
Build the Nail Art Look Kit
Tutorial looks need more than a color bottle. Choose the color, art detail, transfer or sticker step, and a top coat as one look kit.
- Choose the main color or set.
- Add the art detail: sticker, transfer gel, magnet, or brush.
- Seal the finished look with top coat.
Extensión creativa
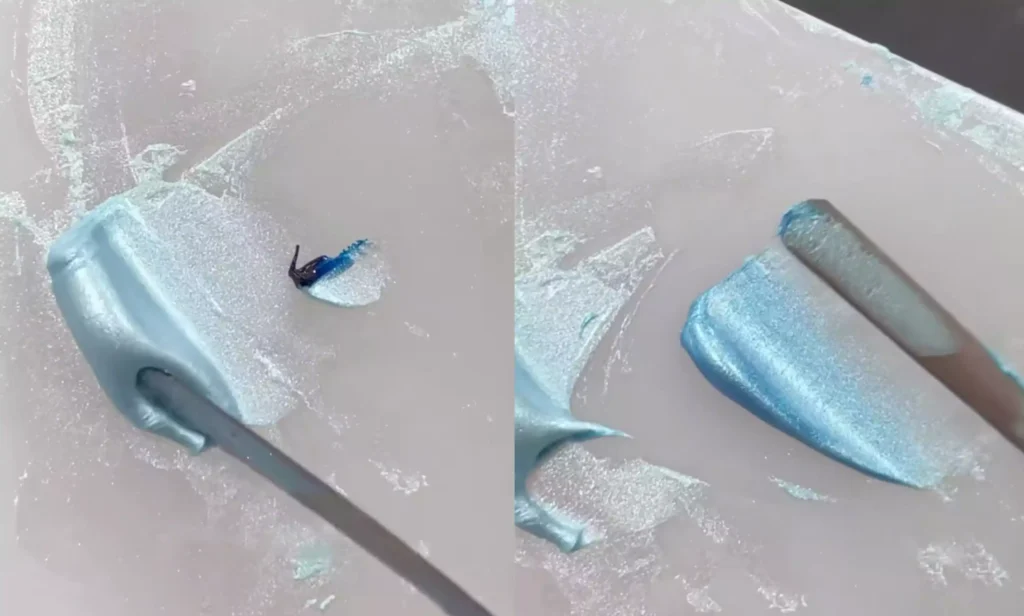
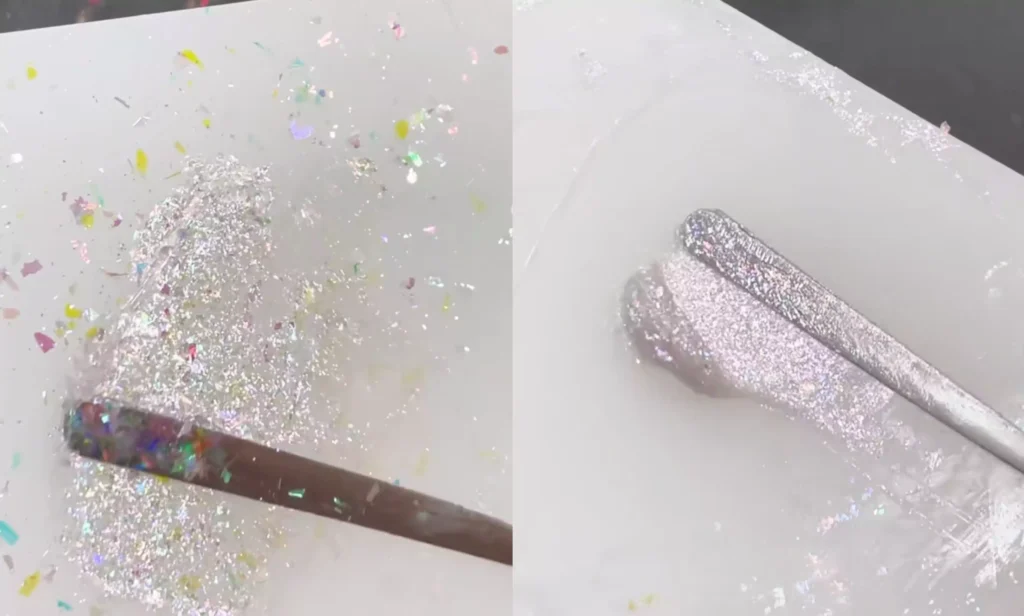
– Gradient Effect: Apply mermaid-inspired gel polish to create a gradient effect on the nail tip, achieving a dreamy, gradient look.
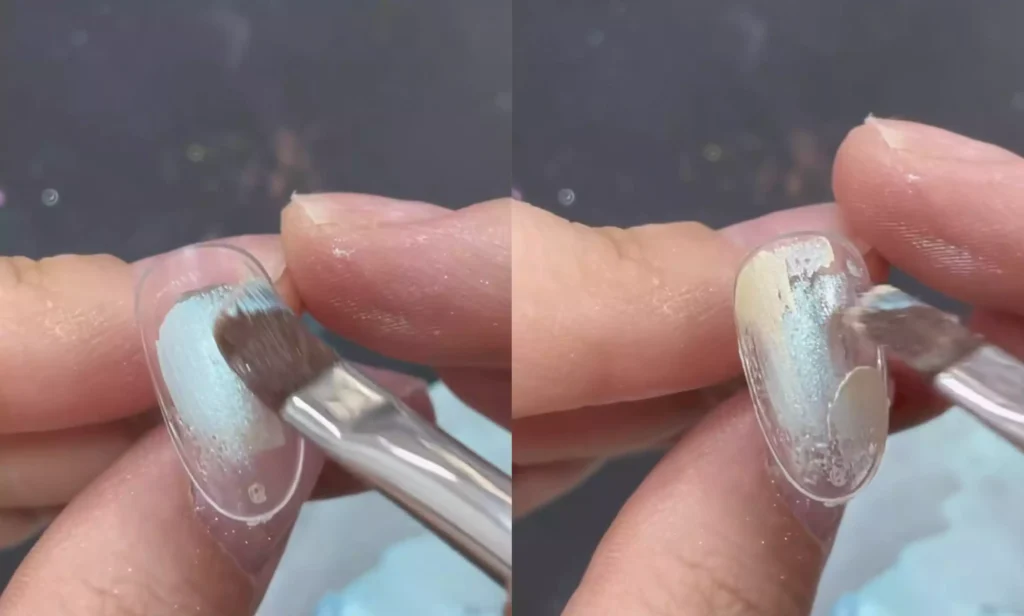
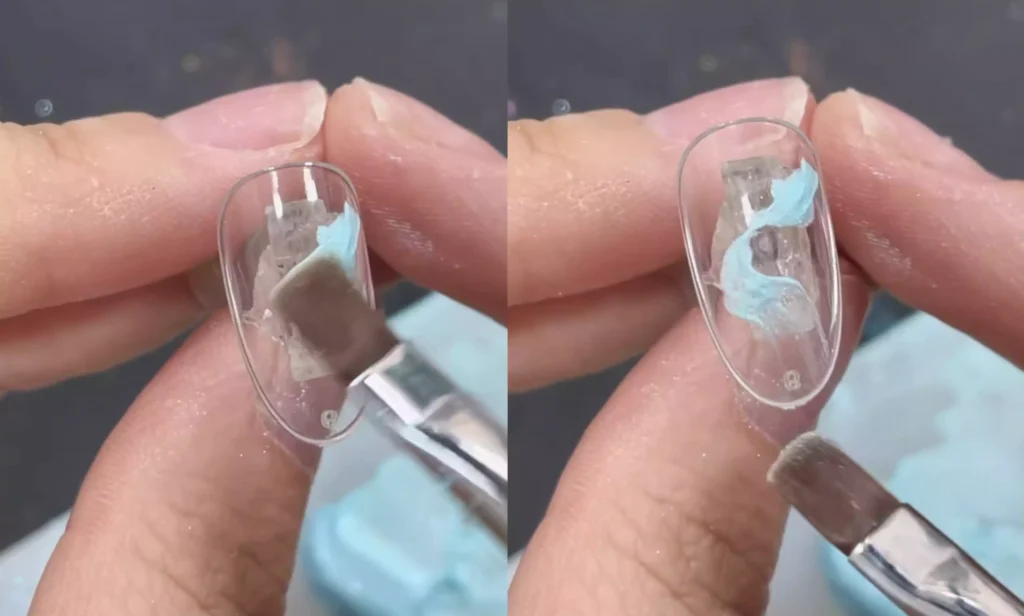
– Texture Shaping: Use tools to create dimensional textures, enhancing the layered effect of nail art;
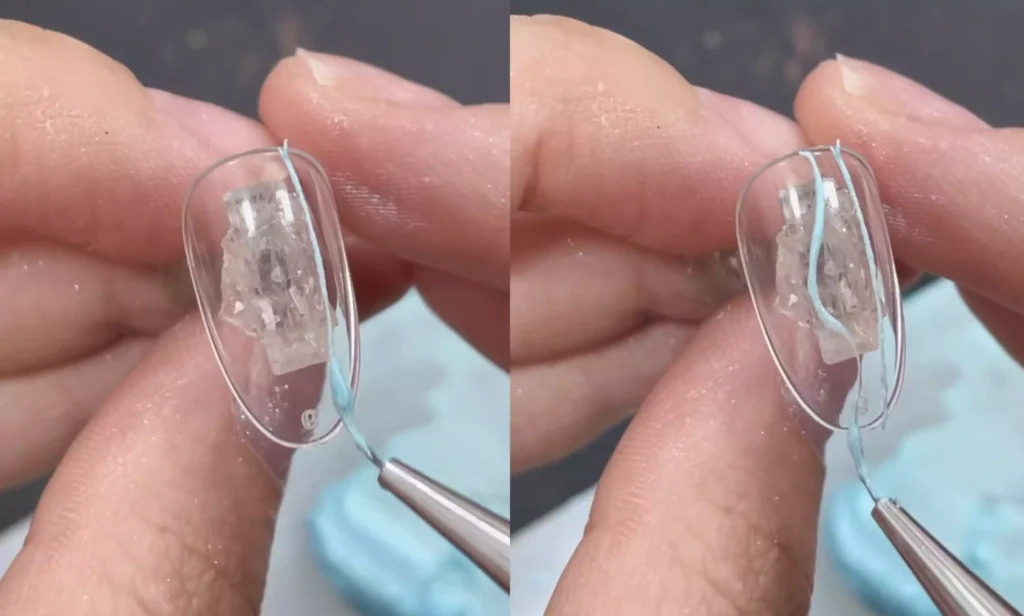
– Outline Drawing: Dip a fine brush into mermaid glue to trace lines and create line patterns;
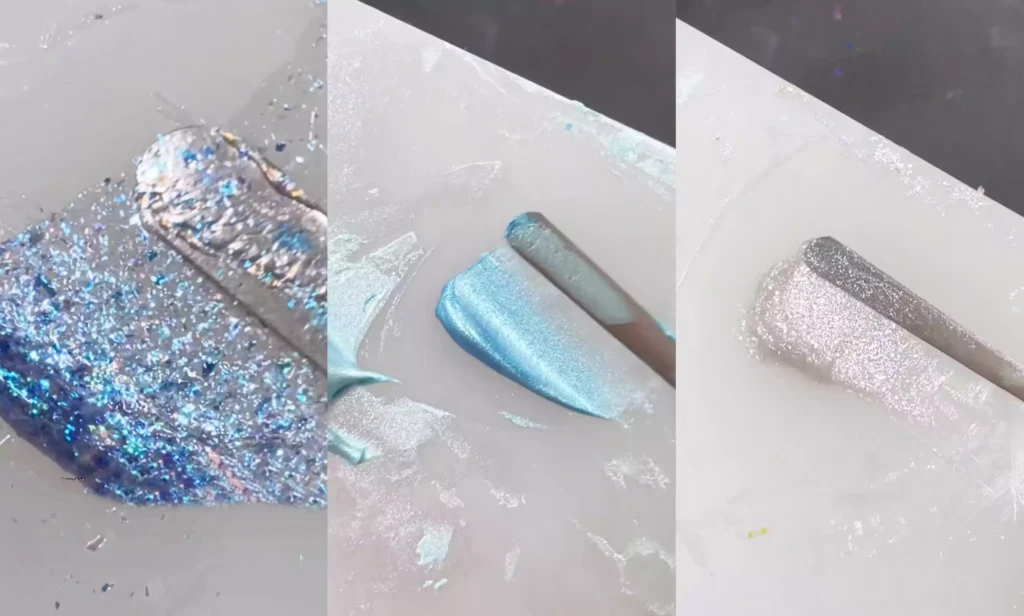
– DIY Colors: Add your favorite color gel to the mermaid gel, then mix again to create other shades of mermaid gel. Feel free to experiment with various colors to suit your preferences!
Pasos de gel ópalo DIY
– Prepare Materials: No-rinse styling gel, opal powder. Place the no-rinse styling gel and opal powder in a 1:2 ratio in the mixing area.
– Blend thoroughly: Use a tool to mix and stir the two components until a smooth, shimmering texture forms. Adjusting the ratio or combining with other fine glitter materials allows you to create opal gel in a wider range of colors.
Consejos prácticos
El gel sirena y el gel ópalo son materiales que no se lavan. Después de completar su diseño de arte de uñas, puede aplicarlos directamente sobre el capa final. Añaden un deslumbrante efecto atmosférico a tus uñas, haciendo que las puntas de tus dedos destaquen aún más.
Conclusión
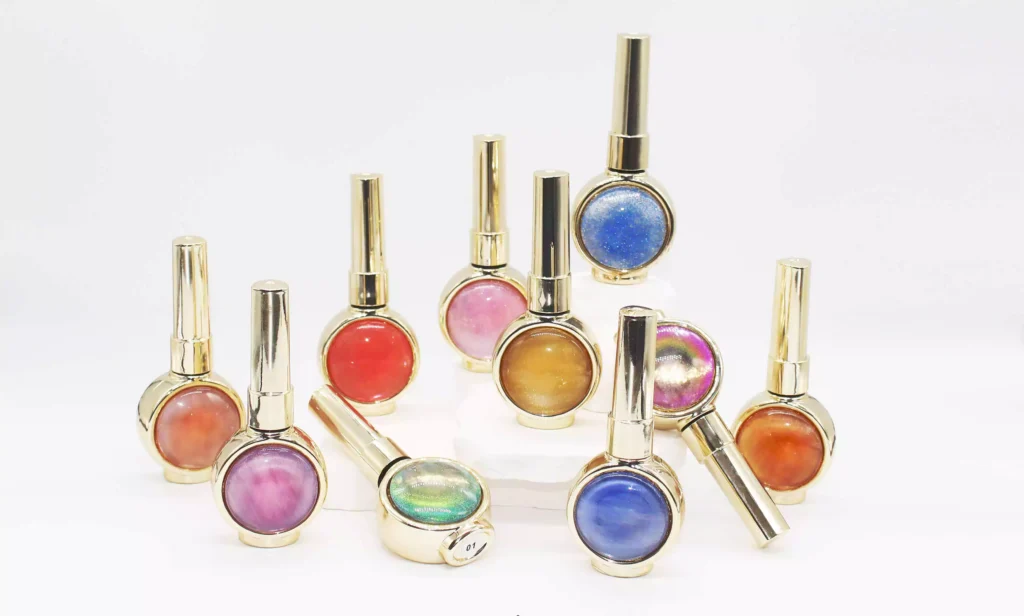
By following the steps above, you can create your own custom nail polish gels at a low cost. Whether it’s the dreamy allure of mermaid gel or the dazzling brilliance of opal gel, these homemade polishes can inject fresh inspiration into your nail art designs. Try using these DIY gels to unlock even more creative possibilities for your nail art.
Lastly, we recommend CHROMÉCLAIR’s Esmalte en gel sin HEMA. Their products prioritize safety, low irritation, and eco-friendliness by excluding harmful ingredients, minimizing allergy risks (HEMA-free & TPO-free), and nurturing healthy nails. With a diverse color range and long-lasting wear (approximately 21 days), they cater to mainstream aesthetics, ensuring every consumer enjoys a safe and worry-free experience.
¿Tienes problemas con los pasos? Echa un vistazo al tutorial en vídeo enlazado al final de esta guía. Si te ha resultado útil, no dudes en darle un pulgar hacia arriba y guardarlo ⭐. Suscríbete a mi canal, ¡nos vemos en el próximo tutorial!