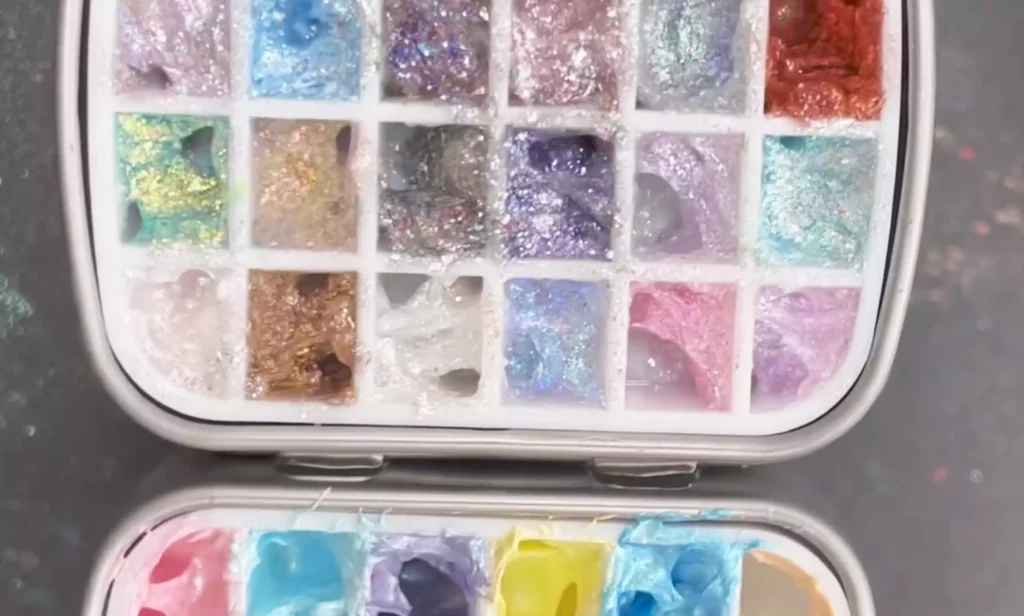
Want to create unique nail designs on a budget? Here’s how to make your own mermaid glitter and opal effects. Using simple ingredients, you can mix up distinctive nail art materials that add personality and value to your manicure.
Pas de gel pour sirène DIY
– Prepare materials: No-rinse styling gel, pearl cream, aurora powder.
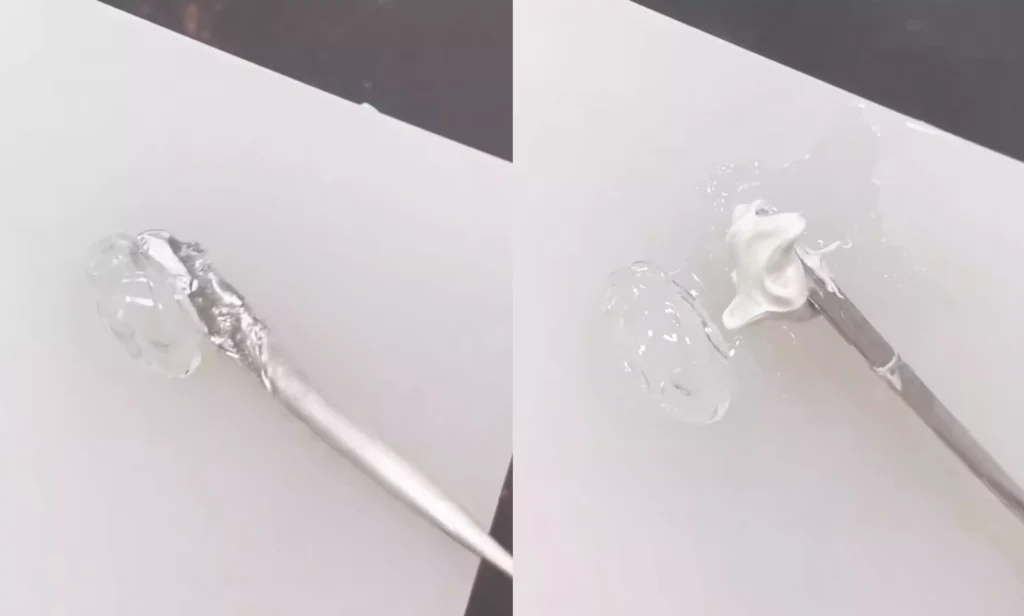
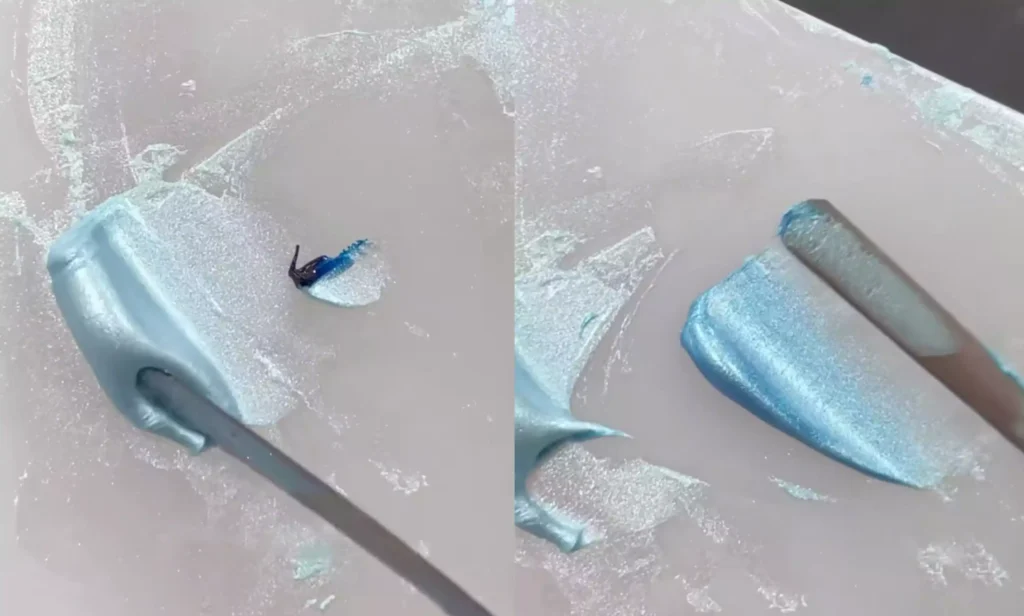
– Take no-rinse styling gel, pearl cream, and aurora powder in a 3:2:2 ratio and place them on the palette.
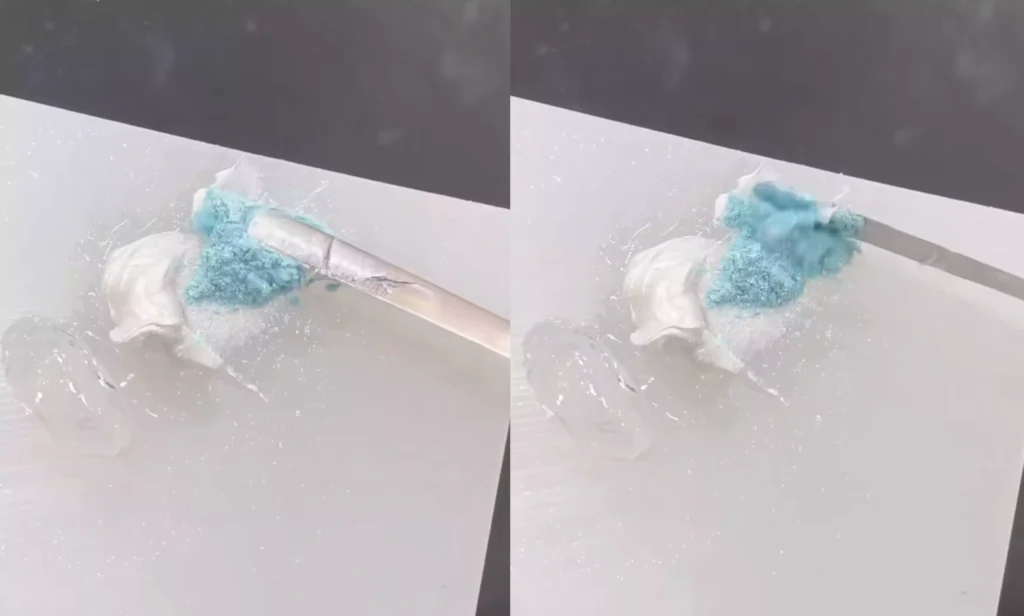
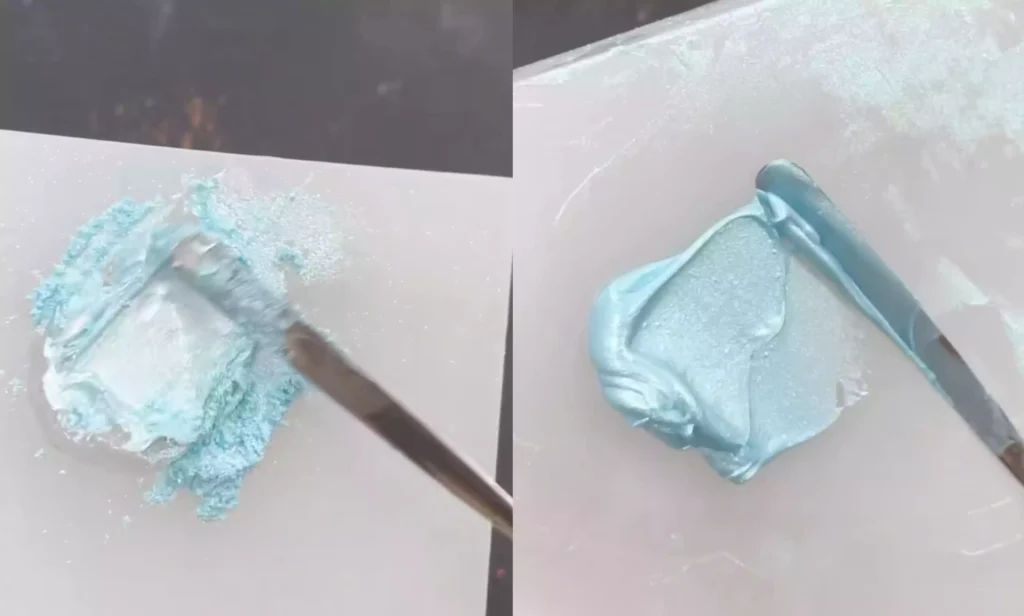
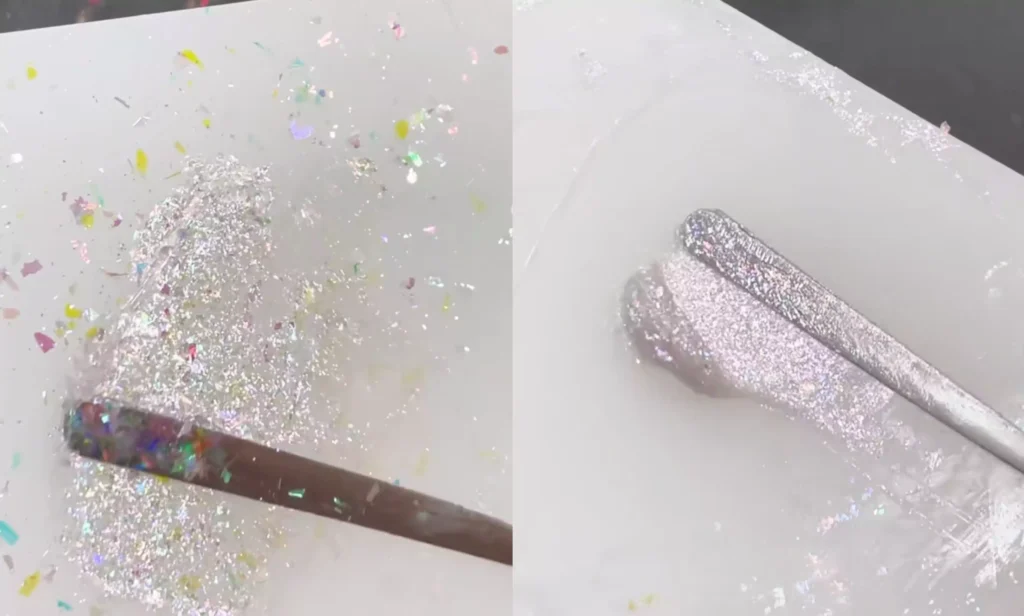
Processus de mélange : Mélangez soigneusement les trois ingrédients à l'aide d'un outil jusqu'à ce que le mélange soit lisse et sans grumeaux. La colle de base pour sirène est ainsi terminée.
Extension créative
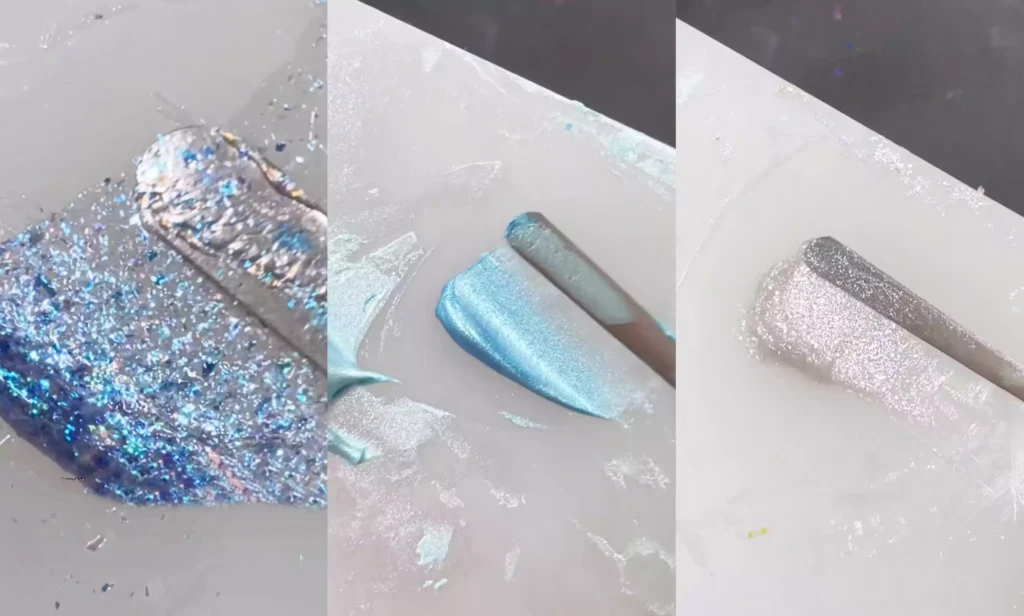
– Gradient Effect: Apply mermaid-inspired gel polish to create a gradient effect on the nail tip, achieving a dreamy, gradient look.
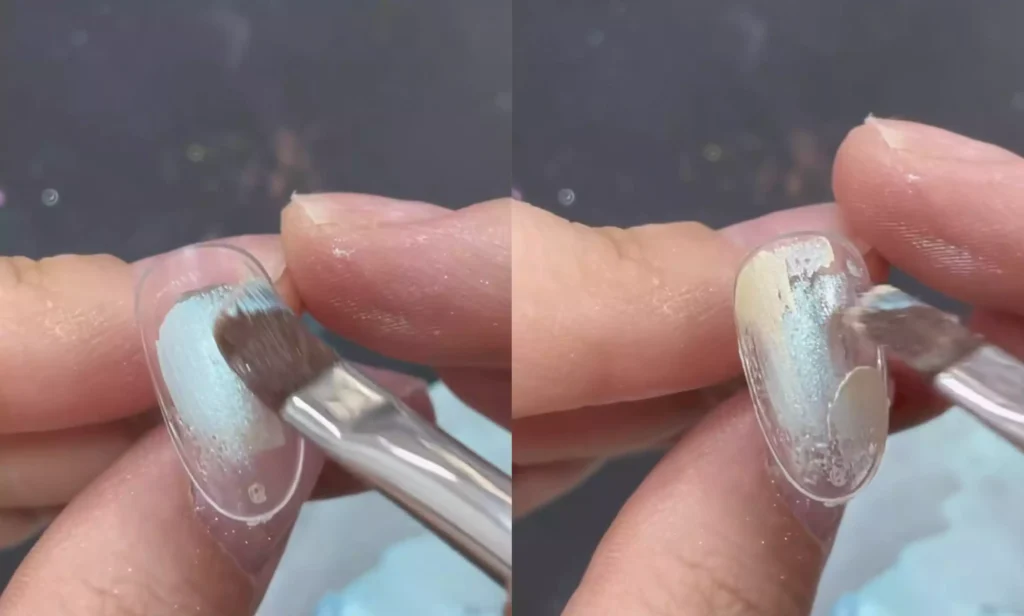
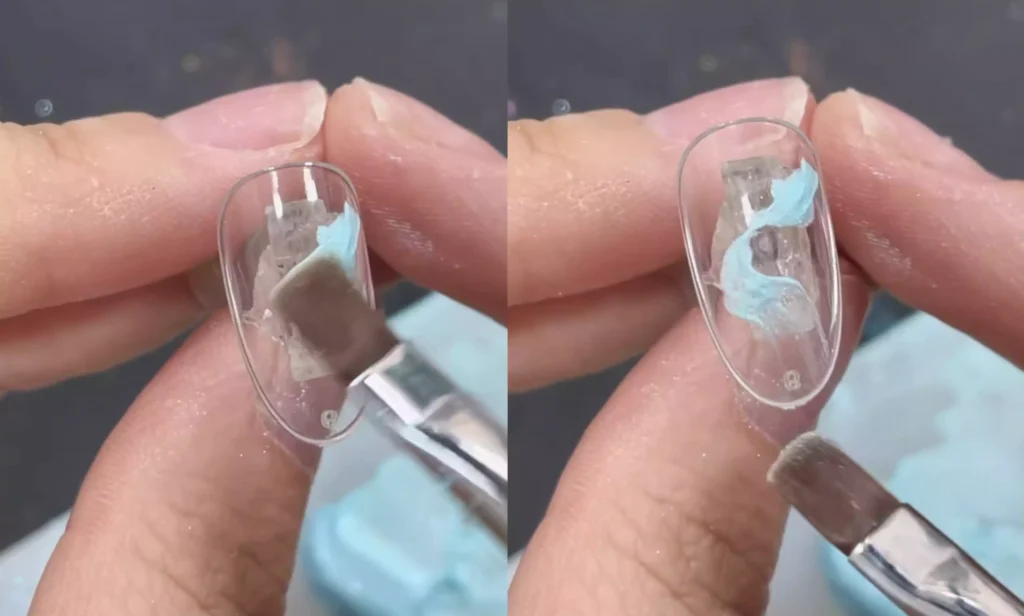
– Texture Shaping: Use tools to create dimensional textures, enhancing the layered effect of nail art;
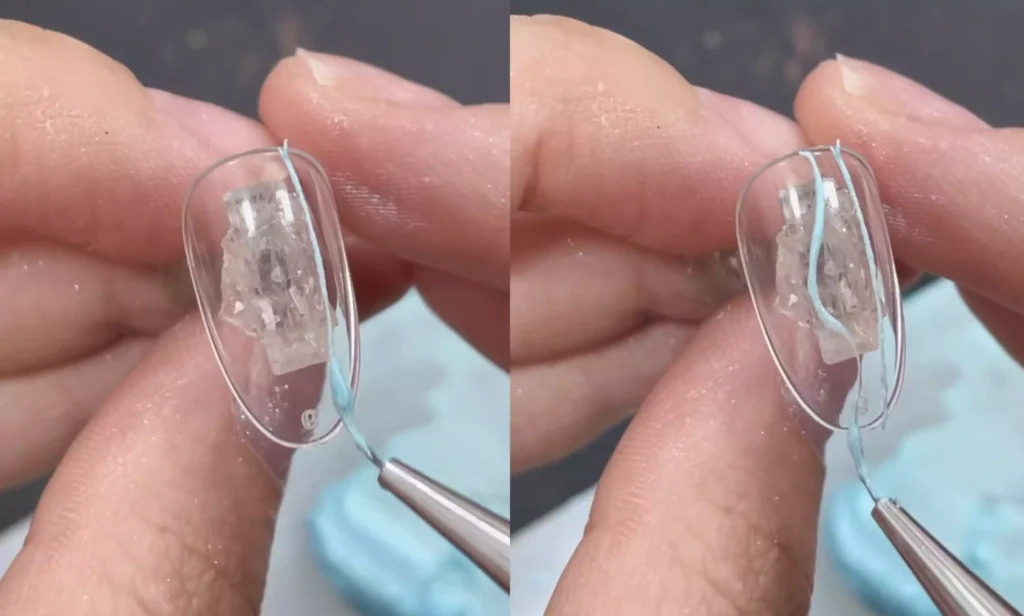
– Outline Drawing: Dip a fine brush into mermaid glue to trace lines and create line patterns;
– DIY Colors: Add your favorite color gel to the mermaid gel, then mix again to create other shades of mermaid gel. Feel free to experiment with various colors to suit your preferences!
Étapes du gel d'opale DIY
– Prepare Materials: No-rinse styling gel, opal powder. Place the no-rinse styling gel and opal powder in a 1:2 ratio in the mixing area.
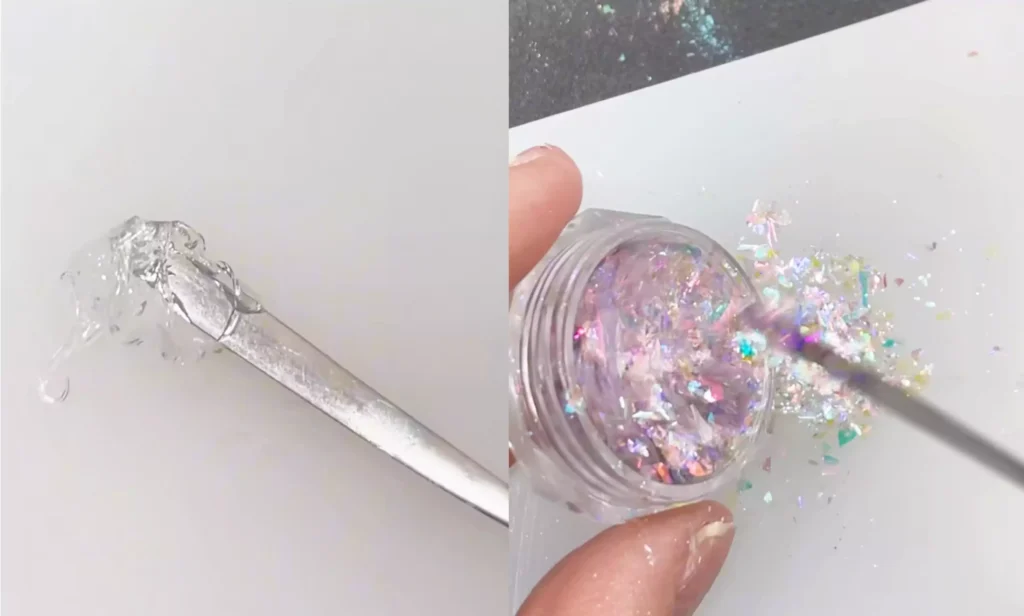
– Blend thoroughly: Use a tool to mix and stir the two components until a smooth, shimmering texture forms. Adjusting the ratio or combining with other fine glitter materials allows you to create opal gel in a wider range of colors.
Conseils pratiques
Le gel sirène et le gel opale sont tous deux des matériaux qui ne se lavent pas. Après avoir réalisé votre nail art, vous pouvez les appliquer directement sur l'ongle. couche de finition. Ils ajoutent un effet atmosphérique éblouissant à vos ongles, faisant ressortir encore plus le bout de vos doigts.
Conclusion
By following the steps above, you can create your own custom nail polish gels at a low cost. Whether it’s the dreamy allure of mermaid gel or the dazzling brilliance of opal gel, these homemade polishes can inject fresh inspiration into your nail art designs. Try using these DIY gels to unlock even more creative possibilities for your nail art.
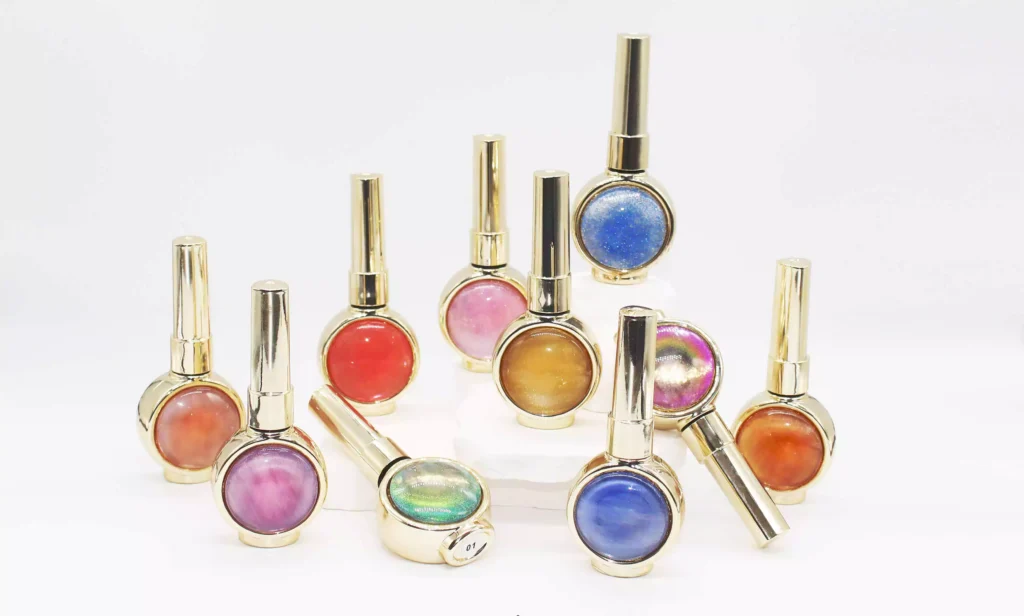
Lastly, we recommend CHROMÉCLAIR’s Gel Polish sans HEMA. Their products prioritize safety, low irritation, and eco-friendliness by excluding harmful ingredients, minimizing allergy risks (HEMA-free & TPO-free), and nurturing healthy nails. With a diverse color range and long-lasting wear (approximately 21 days), they cater to mainstream aesthetics, ensuring every consumer enjoys a safe and worry-free experience.
Vous avez des difficultés à suivre les étapes ? Consultez le tutoriel vidéo dont le lien se trouve à la fin de ce guide ! Si vous avez trouvé cela utile, n'hésitez pas à lui donner un pouce vers le haut et à le sauvegarder ⭐. Abonnez-vous à ma chaîne - à bientôt dans le prochain tutoriel !