Friends, today I’m sharing a super beautiful princess-style nail art tutorial. The steps are so detailed that even a novice can succeed on the first try. Follow this tutorial and you’ll definitely become a nail art expert~

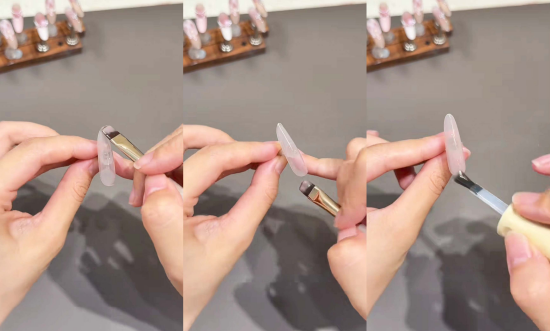
Basic Primer
First, choose a nude gel polish (here I used CHROMÉCLAIR Hema Free Gel Polish No. 13). Use a thin brush to evenly apply two coats for a clear, natural-looking base. After the base coat dries, apply a matte topcoat. This ensures that subsequent blush and cat-eye applications develop and adhere better. The matte texture also adds depth to the final effect.
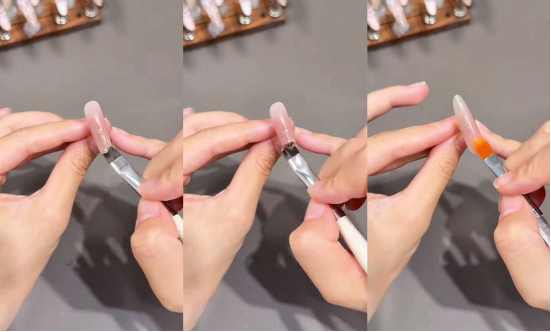
Blush Gradient
Prepare blush nail powder (or pink gel polish with fine shimmer) and apply blush with a sponge. Important! Apply three thin coats for a natural-looking effect. Curing each coat under a light, apply smaller and smaller areas each time. This way, the gradient will be soft and atmospheric, creating a natural, almost pink-tinged effect.
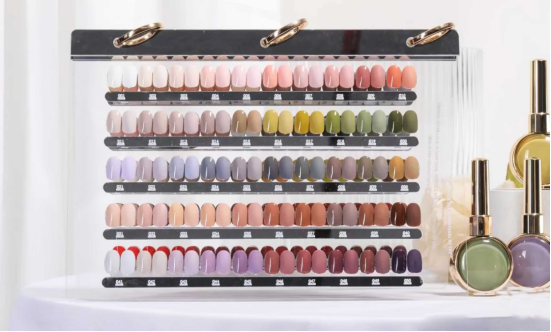
Recommended next step
Build the Nail Art Look Kit
Tutorial looks need more than a color bottle. Choose the color, art detail, transfer or sticker step, and a top coat as one look kit.
- Choose the main color or set.
- Add the art detail: sticker, transfer gel, magnet, or brush.
- Seal the finished look with top coat.

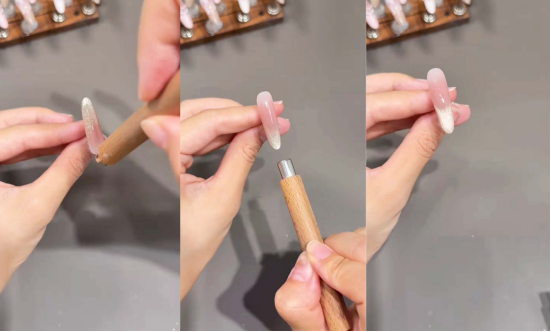
Golden Cat’s Eye
Take a golden cat’s eye gel polish (here I used CHROMÉCLAIR Hema Free Gel Polish 808; it’s rich, fluid, and easy to apply evenly, even for beginners. It’s also non-toxic and healthy). Apply it halfway down your fingertip. Use a brush to gently sweep from the applied gel toward the base of your nail, creating a natural gradient. (Remember to hold the polish in place after every few strokes to prevent smudging.)
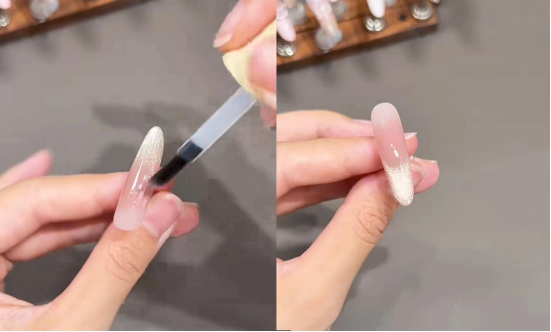
To create a cat-eye effect, first use a magnet to draw out a wide band of light. Then, push the magnet from back to front to create the curve of a French smile line. This step is crucial! It gives your fingertips the glamour of a cat’s eye and the sophistication of a French manicure.
After the cat’s eye is done and dried, apply a layer of frosted topcoat to lock in the cat’s eye effect while maintaining the overall matte tone.
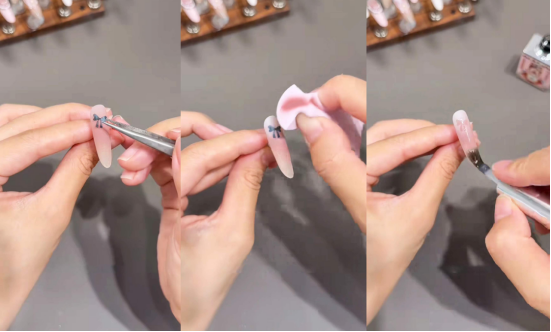
Bow & Pearl & Diamond Decorations
First, apply the bow sticker to position it. Then, take some white taping glue and use a sponge to create a seagull-like “hollow bow” shape (gently press and lift when tapping to ensure a clean edge).
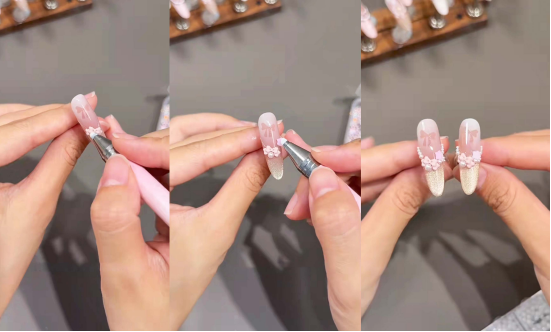
Apply soft reinforcing glue to cover the taping glue area. Once dry, apply a sealing layer to give the bow a more three-dimensional and secure look.
Finally, use tweezers to stick the pearls, small diamonds and other accessories made from the mold, and the exquisiteness is instantly increased, giving the princess necklace a “pendant” feel.
Checkered Chain Edition
First, apply a matte topcoat to your checkered nails. After applying the checkered stickers, use white gel polish and a sponge to create a gradient (similar to blush, but gradually reduce the area for a more natural look).
After wrapping with soft reinforcement, seal the layer, then use carat powder to draw along the grid lines (every grid line must be drawn, be patient),

After curing with light, apply chain accessories. The exquisite plaid pattern + the noble chain, this combination is a perfect match!

French Lace Style
After applying blush, apply the French Lace Style sticker. Use pink gel polish to draw French lines along the edge of the sticker. After removing the sticker,

Dip a ballpoint pen in off-white gel polish and apply polka dots (even spacing will make it look more sophisticated).
Apply a soft reinforcing sealant to the entire surface, and finally attach accessories according to the designed position. Lace + polka dots + accessories, the sweet and elegant French princess style can be easily achieved.

Well, the whole nail art tutorial is over. Although there are many steps, each one is not difficult. Newbies, be bold and try it out. Hurry up and arrange it for yourself and transform into an exquisite princess.
In the tutorial, I used CHROMÉCLAIR gel polish. Their products focus on safety, low irritation, environmental protection, and do not contain harmful ingredients, reducing the risk of allergies (HEMA-free Gel Polish). They protect healthy nails and have a variety of colors to cater to mainstream aesthetics, ensuring that every consumer has a safe and secure user experience.
If you encounter any problems during the process, you can watch the video tutorial below. If you think the tutorial is useful, please like and subscribe to me. See you next time.