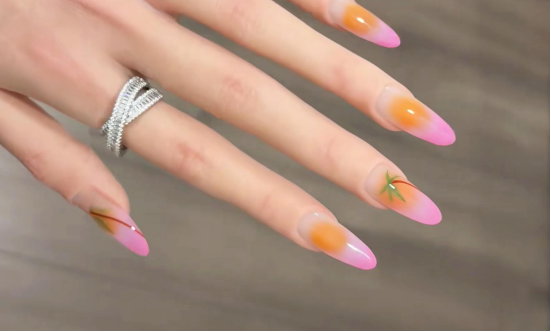
Would you like to have a manicure that evokes a beach vacation vibe this summer? Today, we will show you how to create this sunset coconut tree manicure, which captures the sunset, coconut trees, and sea breeze on your fingertips.
Step 1: Base Coat and Preparation
First, apply a nude-colored gel polish as a base coat (I used CHROMÉCLAIR’s Hema Free Gel Polish SR-13, which is perfect for this style, has good flow, and is easy to apply evenly even for beginners). After applying, cure under a lamp.
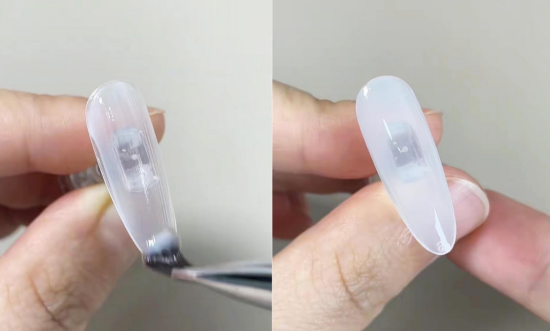
Before using the patting gel, apply a layer of matte top coat to your nails. Key point: The matte top coat allows the subsequent patting gel to blend more naturally and evenly, preventing color block accumulation or harsh blending. It is equivalent to applying a smooth base coat to a “gradient canvas.”
Step 2: Creating a gradient and sunset atmosphere
Recommended next step
Build the Nail Art Look Kit
Tutorial looks need more than a color bottle. Choose the color, art detail, transfer or sticker step, and a top coat as one look kit.
- Choose the main color or set.
- Add the art detail: sticker, transfer gel, magnet, or brush.
- Seal the finished look with top coat.
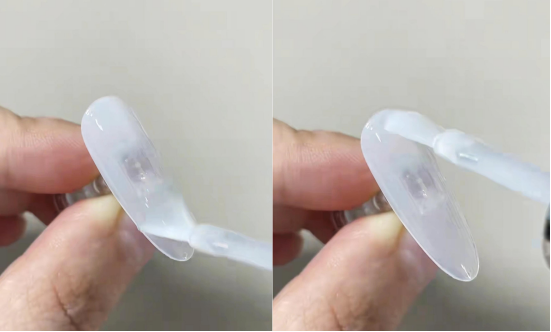
Use multiple layers of color with the patting technique (you can choose warm colors such as pink and orange).
After each layer is added, use a lamp to fix it in place. The key point is to use orange pattie glue in the middle area.
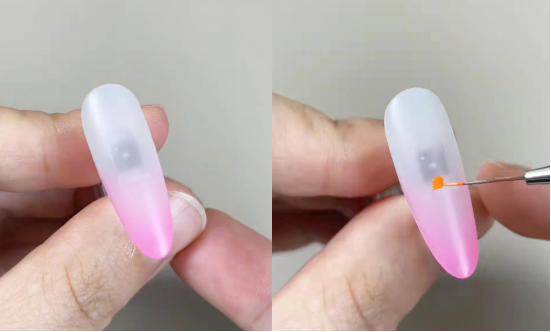
Gently tap to blend the transition from pink to orange in the sky at sunset—imagine a sunset by the sea, with the sun painting the sky a warm orange color. The gradient on your fingertips is meant to replicate this relaxed feeling! Apply multiple layers of highlighter to make the colors more vibrant.
Step 3: Reinforcement and error prevention
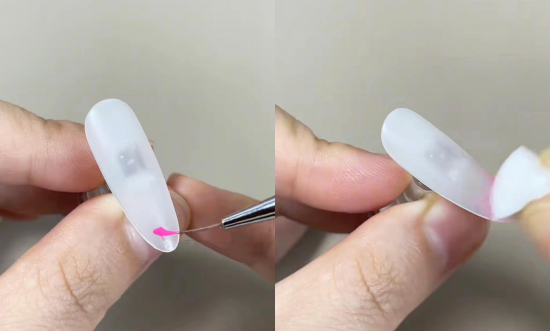
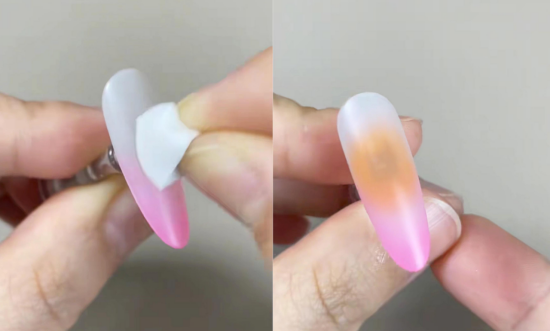
Apply a layer of base gel to “seal” the previous color, then cure under the lamp. This step not only makes the nail art more durable and long-lasting but also prevents mistakes during the subsequent hand-painted coconut tree design, making corrections easier.
Use a cotton pad to wipe away any excess gel from the nail surface, ensuring a smoother application for subsequent painting.
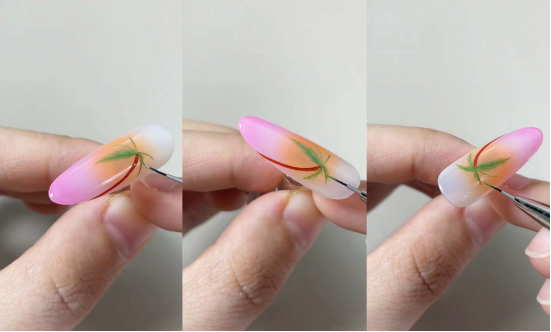
Step 4: Hand-draw the details of the coconut tree
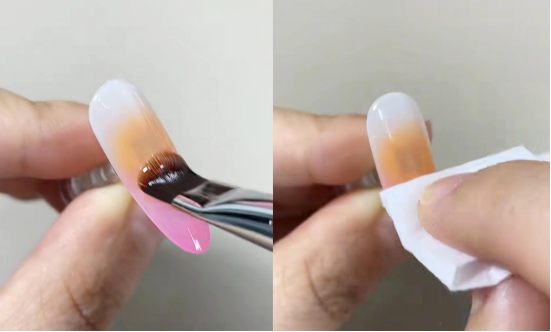
Next, take out the ruling pen, dip it in brown paint, and draw the trunk of the coconut tree.
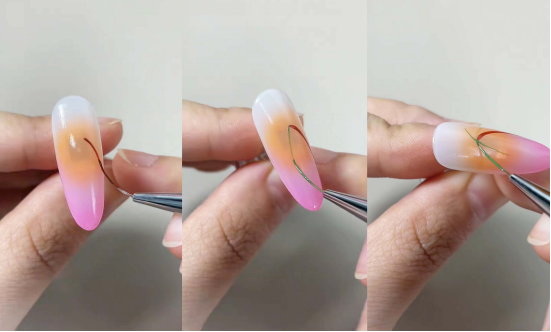
Next, use green to draw the basic shape of the leaves—don’t worry too much about this step; natural lines will give it a more hand-drawn feel. Once you’ve finished the basic shape, you’ll find that the “coconut tree prototype” already has that certain something!

If you want to make the coconut tree more vivid, you can add some glue and use a fine-tip pen to draw the details of the leaves, simulating the texture of coconut leaves, which will instantly increase the level of refinement!
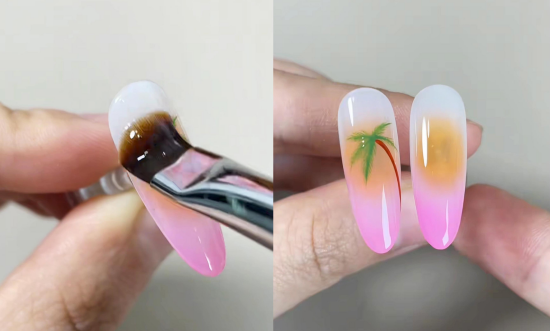
Step 5: Top Coat Finish
Finally, apply a top coat to the nails and cure under a UV lamp. The top coat not only makes the entire manicure brighter and more glossy but also locks in the effects of all previous steps, ensuring this “Beach Sunset Nails” design stays strong and beautiful throughout the entire summer!
After getting this manicure, looking at the sunset and coconut trees on your fingertips, don’t you instantly want to rush to the beach? After all, wearing a “vacation vibe” on your hands, why not give it a try and let your nails go on vacation to the beach first!

(Friendly reminder: When applying, remember to follow the instructions on the gel polish bottle for each step. Beginners can practice the blending technique to achieve a natural gradient, which is key to creating the right atmosphere.)
This tutorial uses CHROMÉCLAIR’s HEMA-free Gel Polish. The brand places particular emphasis on safety, offering low irritation, environmental friendliness, and no harmful ingredients such as HEMA, which greatly reduces the risk of allergies and gently protects nail health. It also comes in a wide range of colors that keep up with popular aesthetics, allowing every user to enjoy the nail art process with peace of mind and comfort.
Having trouble with the operation? Be sure to check out the video tutorial below. If you find it useful, please like and save it, and subscribe to my channel! See you next time!