One nail art tip a day: how to quickly attach steel beads. Learn step by step to make your nail art process more efficient!
Preliminary preparations:
Paper, magnetic strips, needles (or iron wire), adhesive tape
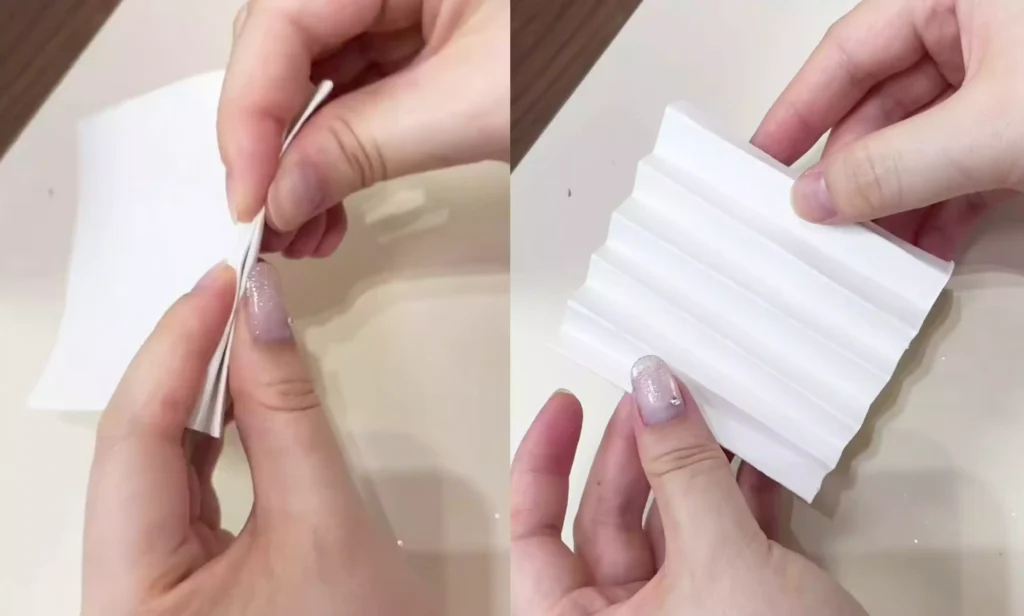
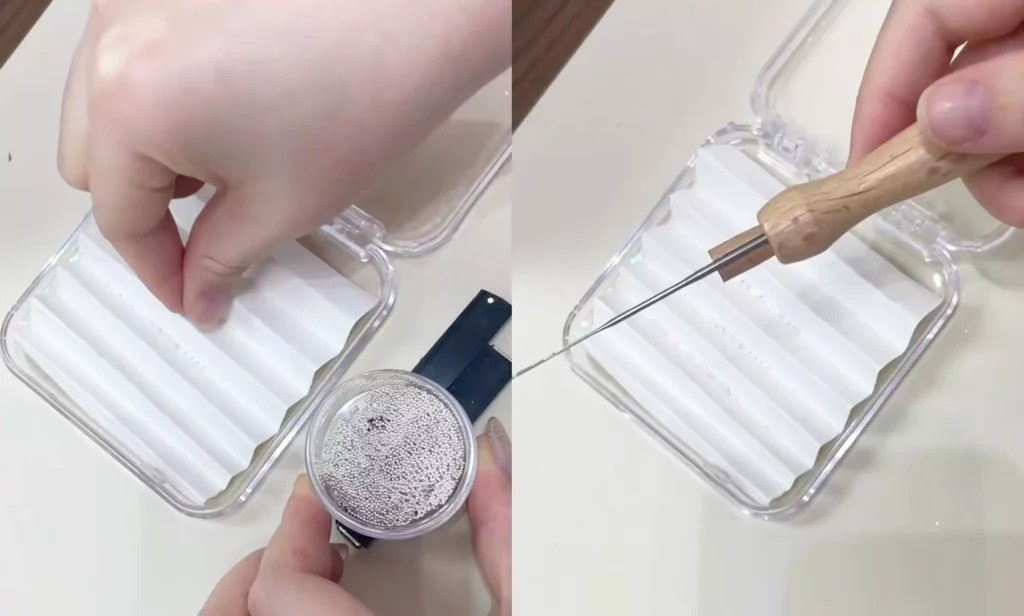
Step 1: Prepare a piece of paper,
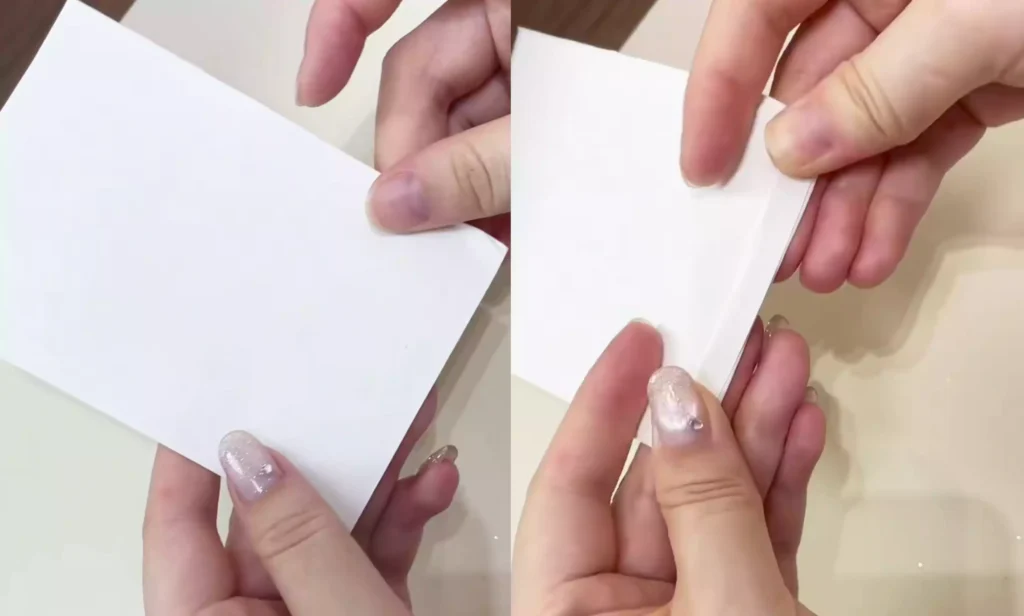
Fold it in half to create a louvered shape.
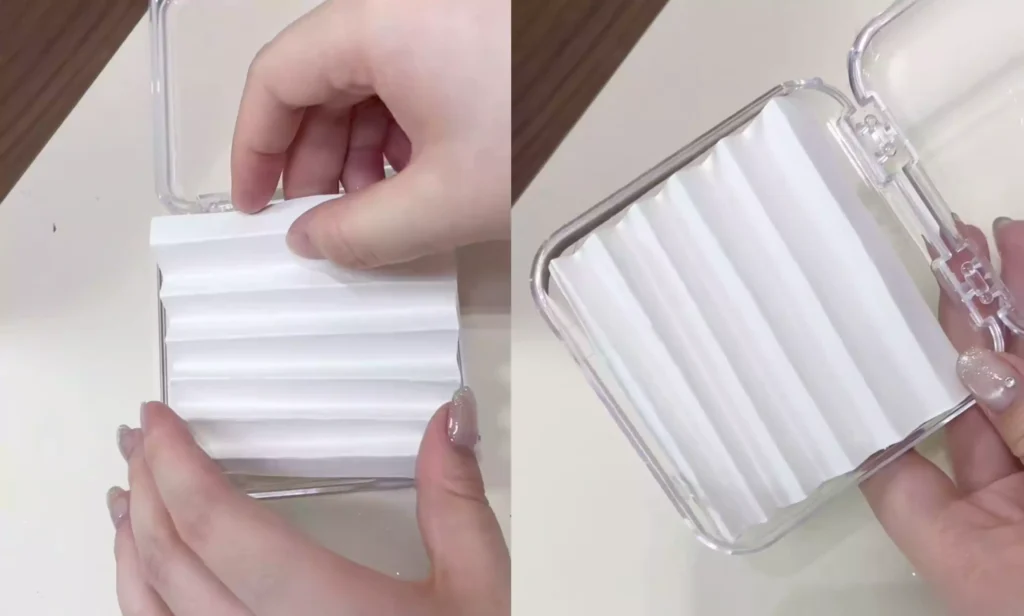
Put the folded paper into the box so that the steel balls will not scatter everywhere when you load them later, keeping the operating area clean.
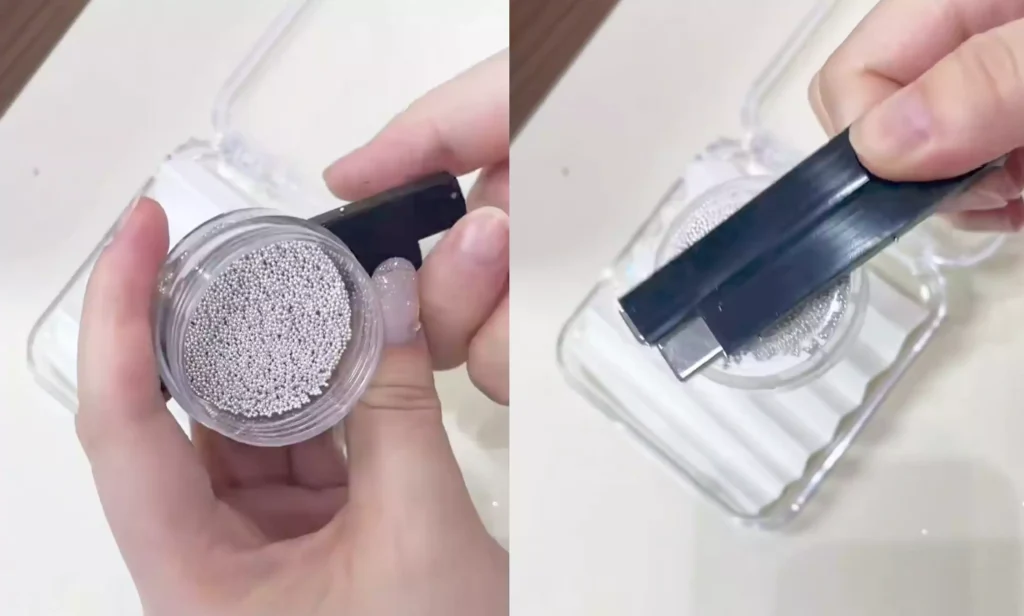
Step 2: Use a magnet to collect the steel balls. Place the steel balls on the magnet.
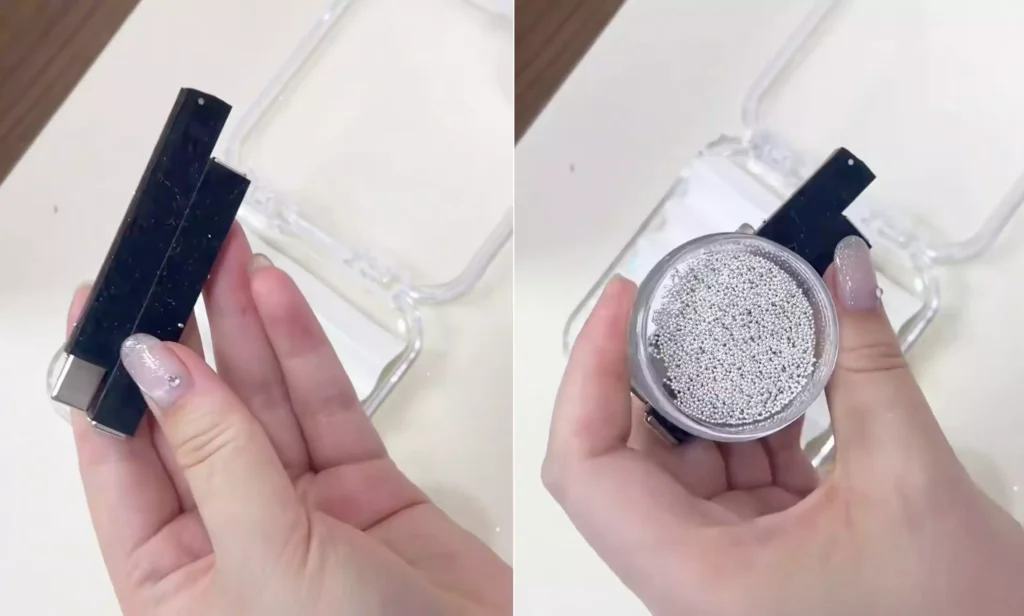
The magnet will attract the steel balls, so you no longer have to worry about them scattering everywhere, greatly reducing the hassle of cleaning up.
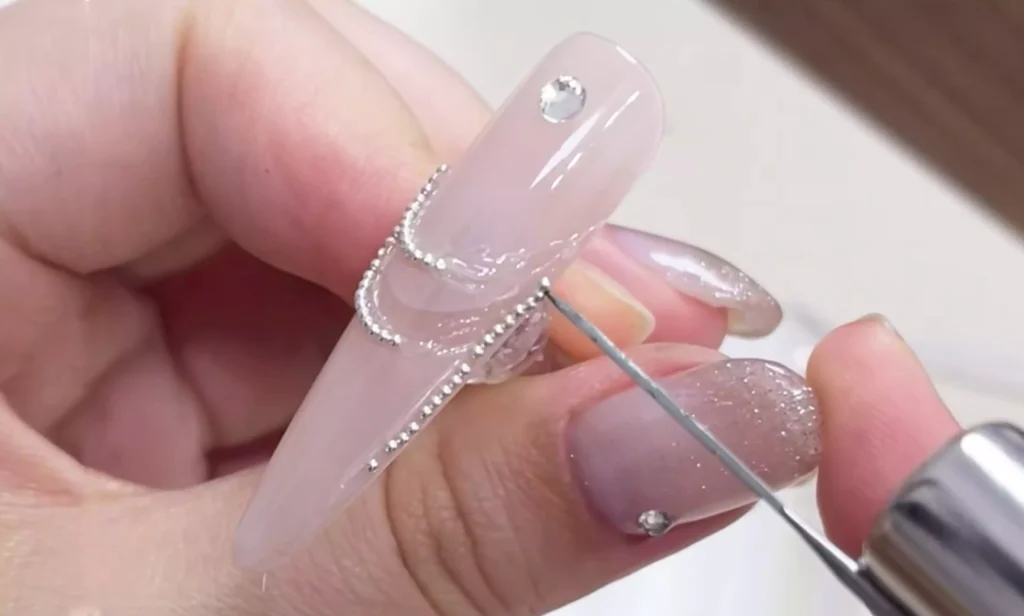
Step 3: Start attracting the steel balls. First, place the steel balls on the paper, then take out a needle.
Place the magnet behind the needle.
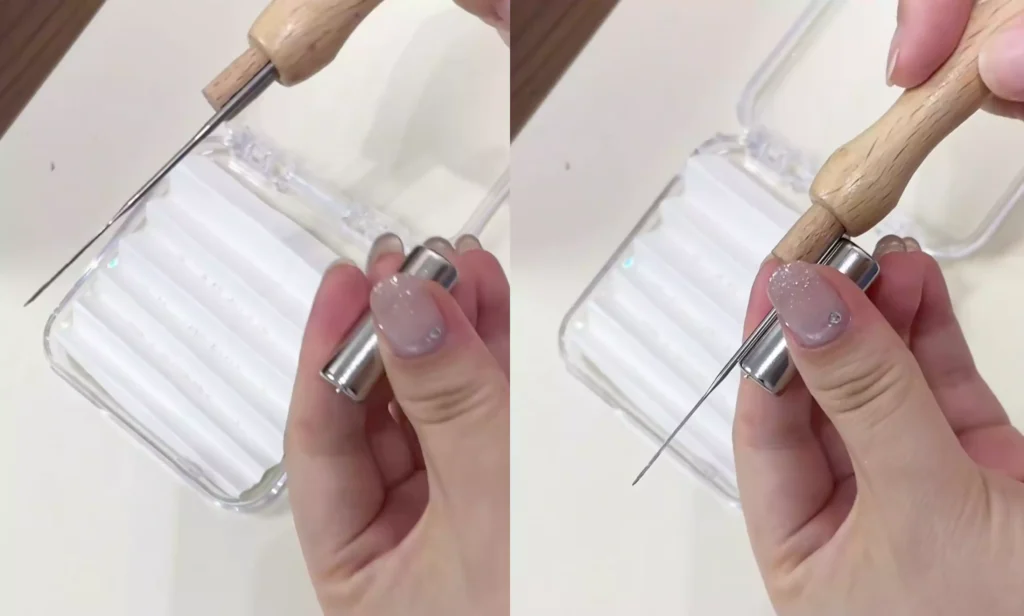
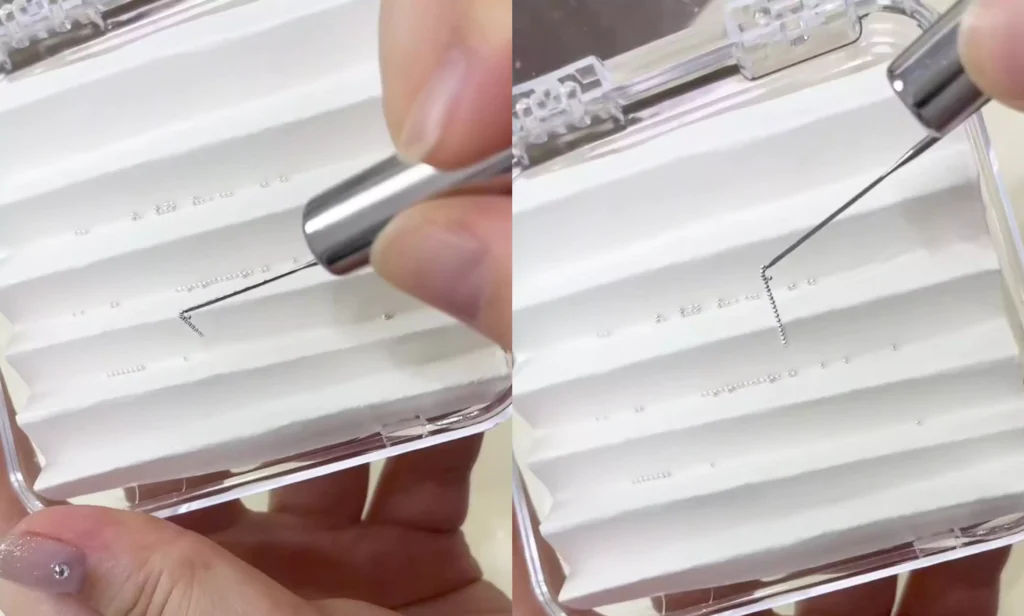
When the needle tip approaches the steel balls, something magical happens—the steel balls are sucked into a string.
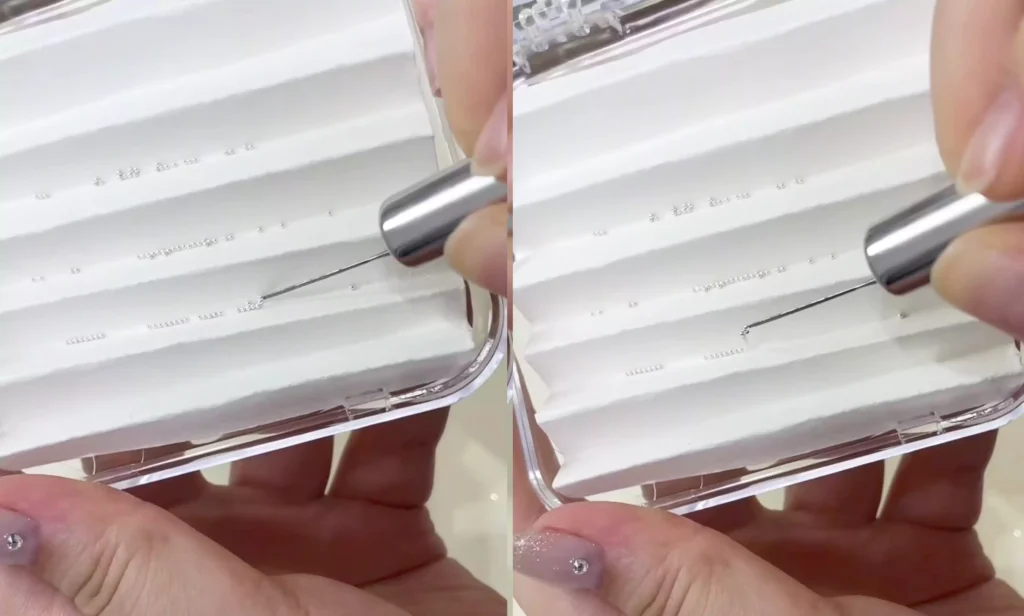
This makes it easy to select steel ball chains of the appropriate length.
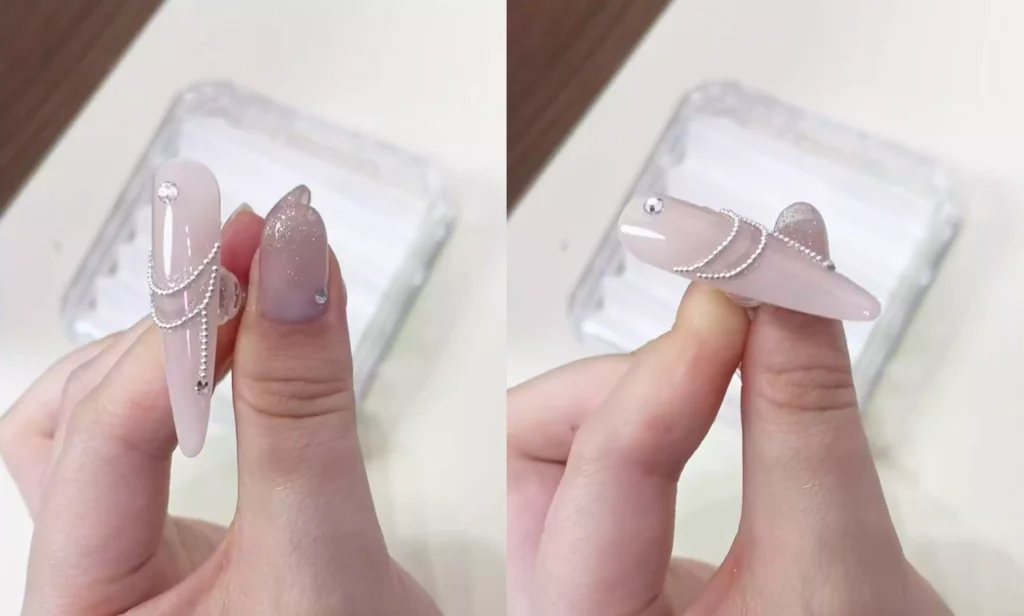
Step 4: Apply the steel balls to the nail surface. Place the steel balls, which have been sucked into a string, onto the nail surface that has been prepared with adhesive glue.
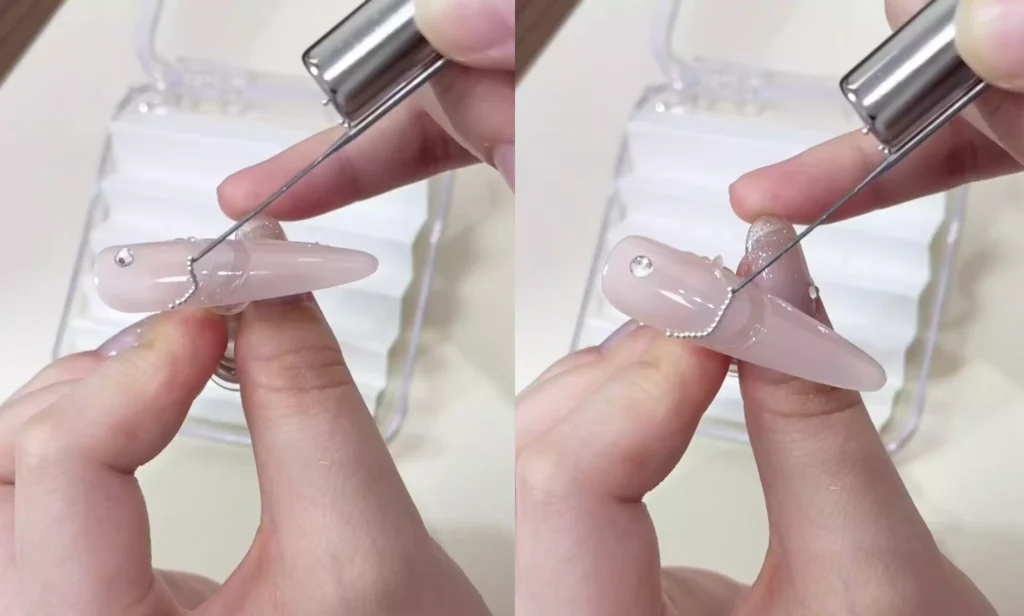
After that, slightly adjust the position and shape of the steel ball.
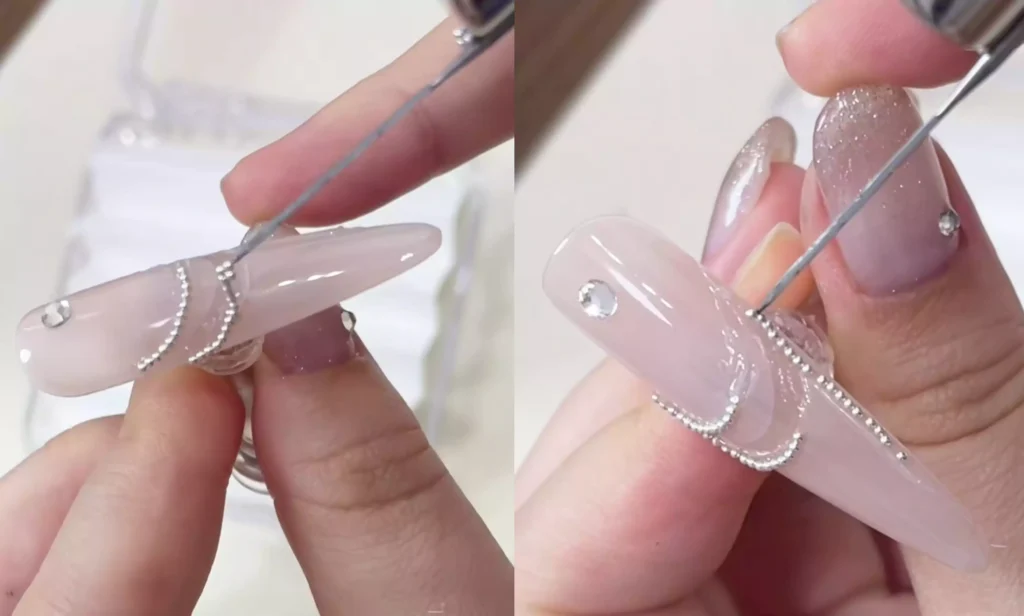
The entire process of attaching the steel balls is now complete.

This method is extremely fast. Even if you want to do your nails on all ten fingers, it only takes about three minutes. What are you waiting for? Try this technique now and boost your nail art efficiency!
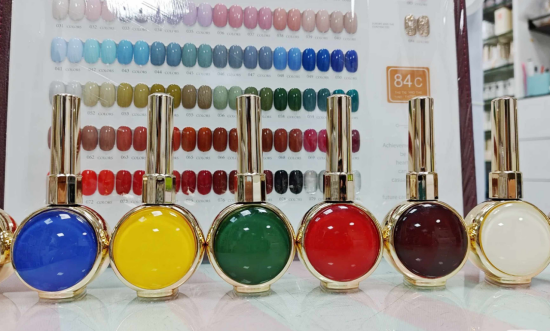
Finally, I would like to recommend CHROMÉCLAIR’s HEMA-free Gel Polish. Their products are safe and hypoallergenic (HEMA-free & TPO-free), environmentally friendly, and free of irritating and harmful ingredients, protecting the health of your nails. They offer a wide range of colors that keep up with the latest trends, so you can use them with confidence and look great!
Having trouble with the operation? Be sure to check out the video tutorial below. If you find it useful, please like and save it, subscribe to my channel, and see you next time!