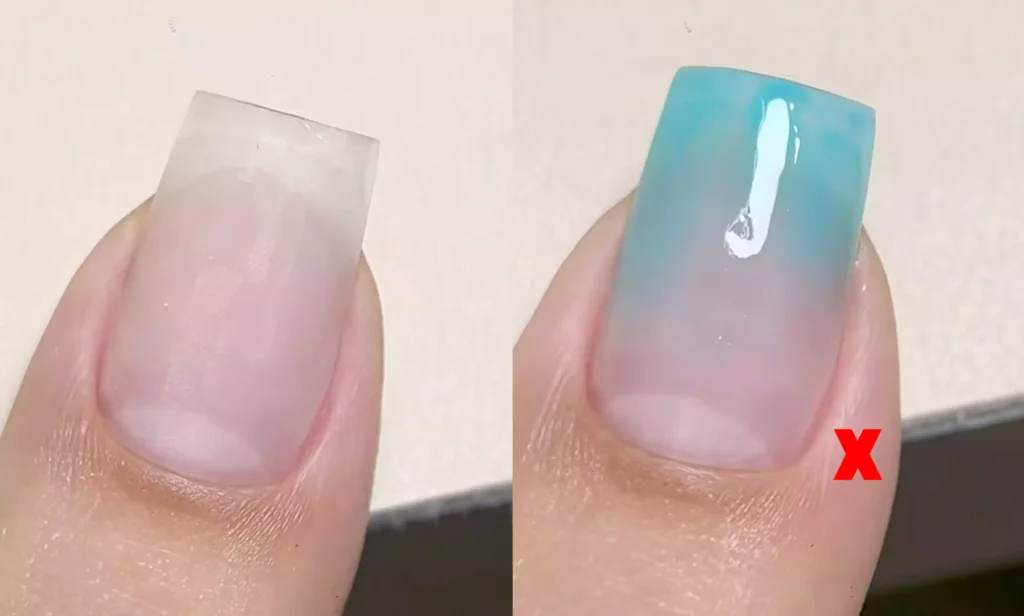
Do you want to have a gradient manicure that is moist and natural or full of solid colors?
Hello everyone! I’m a star employee at CHROMÉCLAIR, a brand of hema free gel polish brands.Today I will bring you two super practical gradient nail art tutorials, so that you can easily create professional-level nail art effects at home.
01
Steps for a Hydrating, Natural Gradient Manicure
·Base Treatment
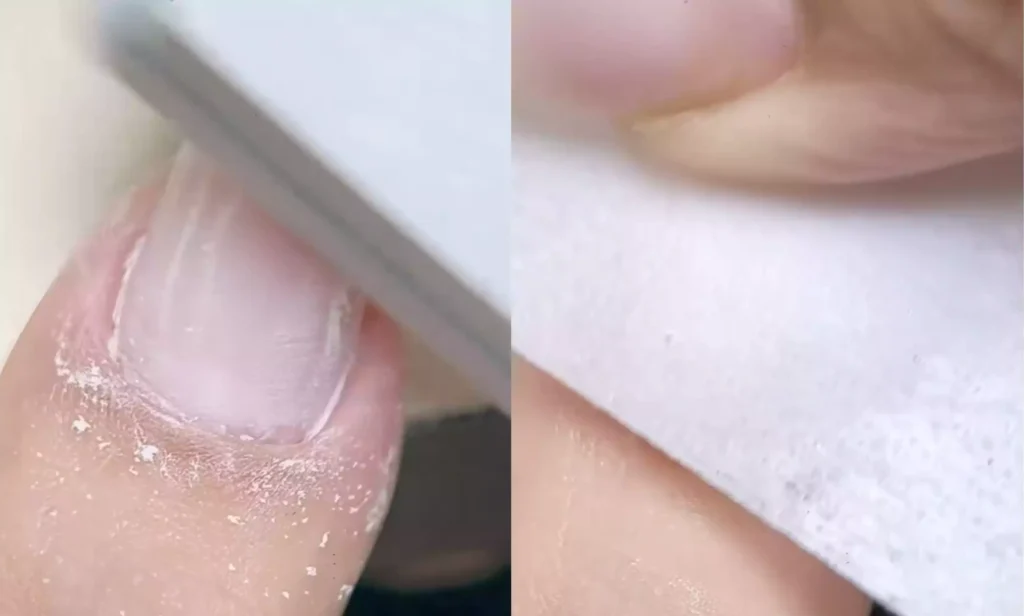
If your nails are uneven, the gradient will be bumpy and affect the effect.
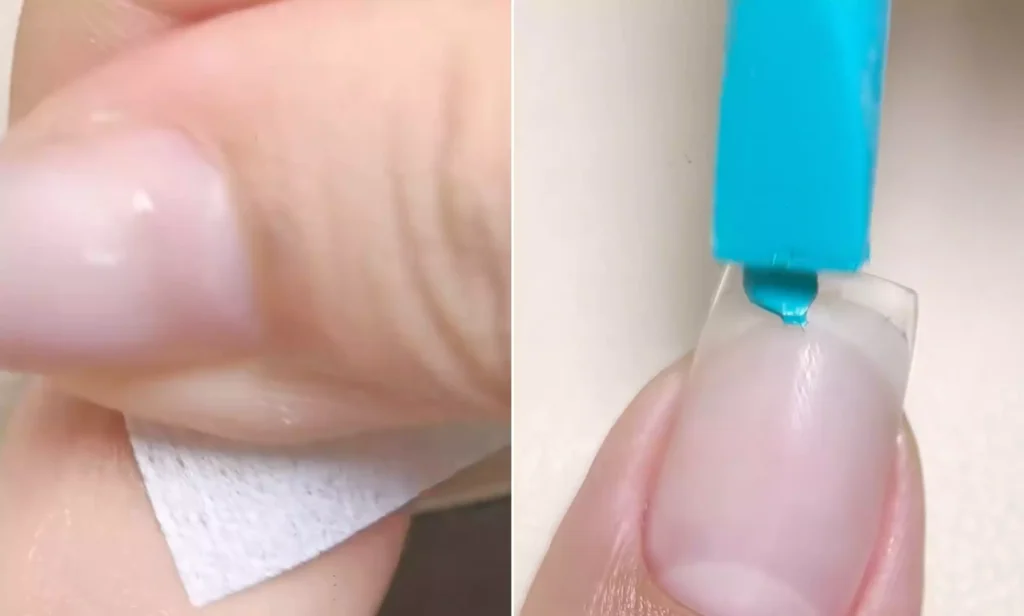
So the first step is to use a sponge to polish the entire nail smooth, then sweep away the dust, and then carefully wipe the nail surface clean to prepare for subsequent manicure.
Apply primer: First, use a round-tipped pen to apply a small amount of primer and apply a thin layer.
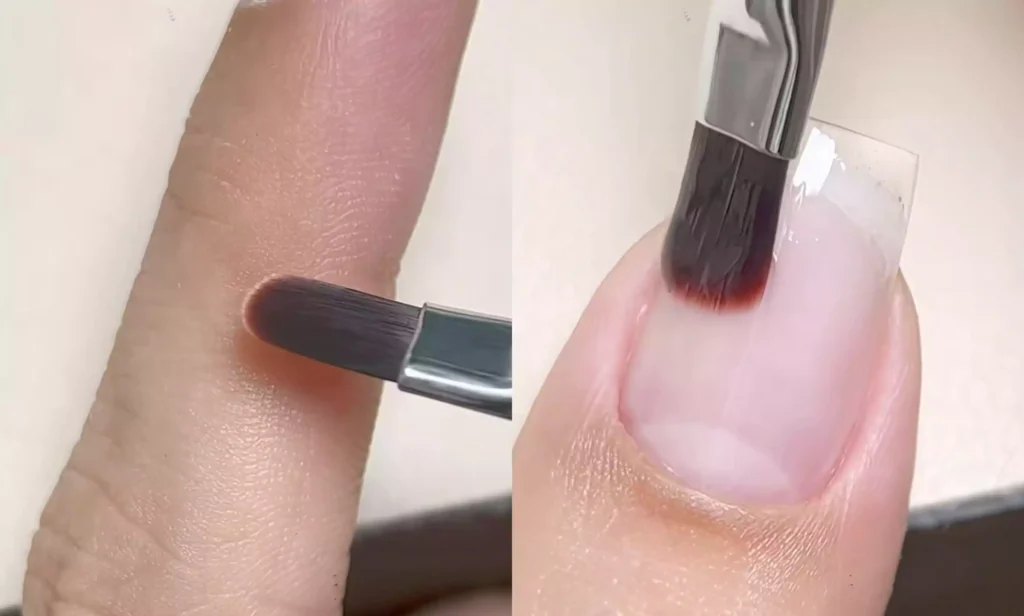
Then take the construction nail glue and gently press it on the back edge, slowly bring it forward, and use the drawing pen to slowly adjust the position on both sides.
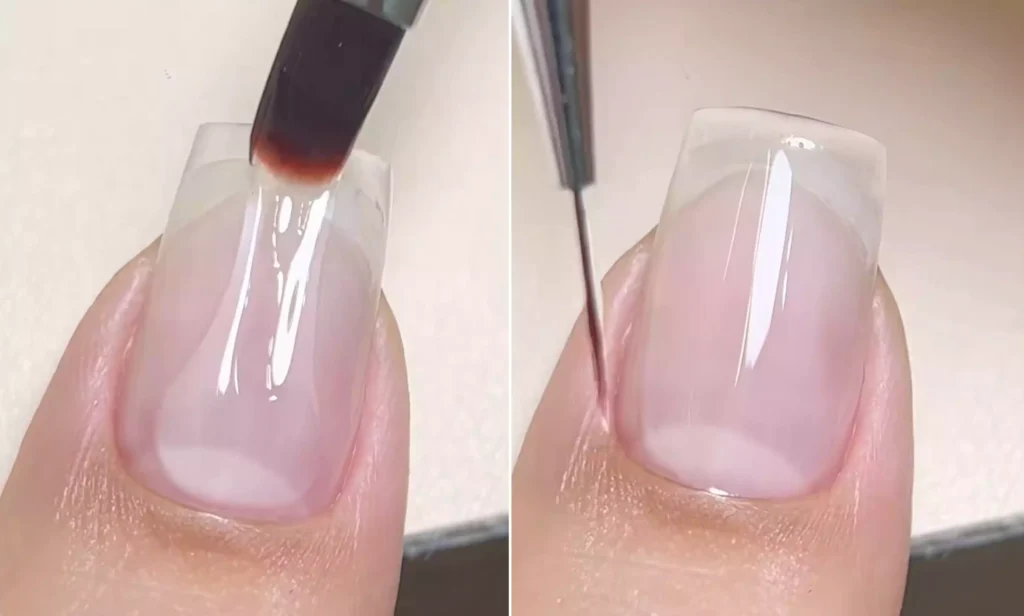
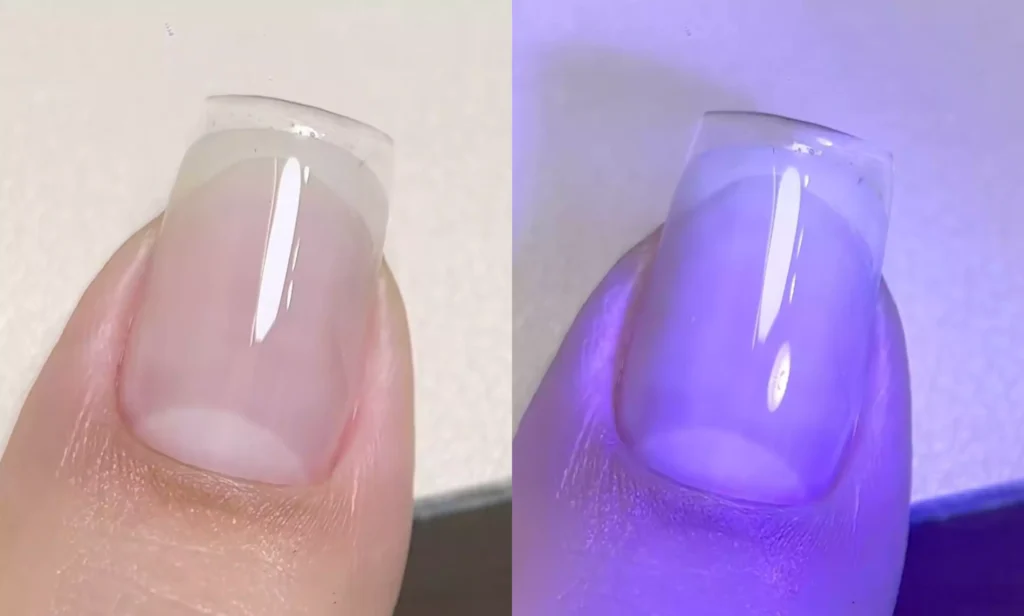
Then turn it upside down to level it, check that the aperture is ok, and then turn on the light.
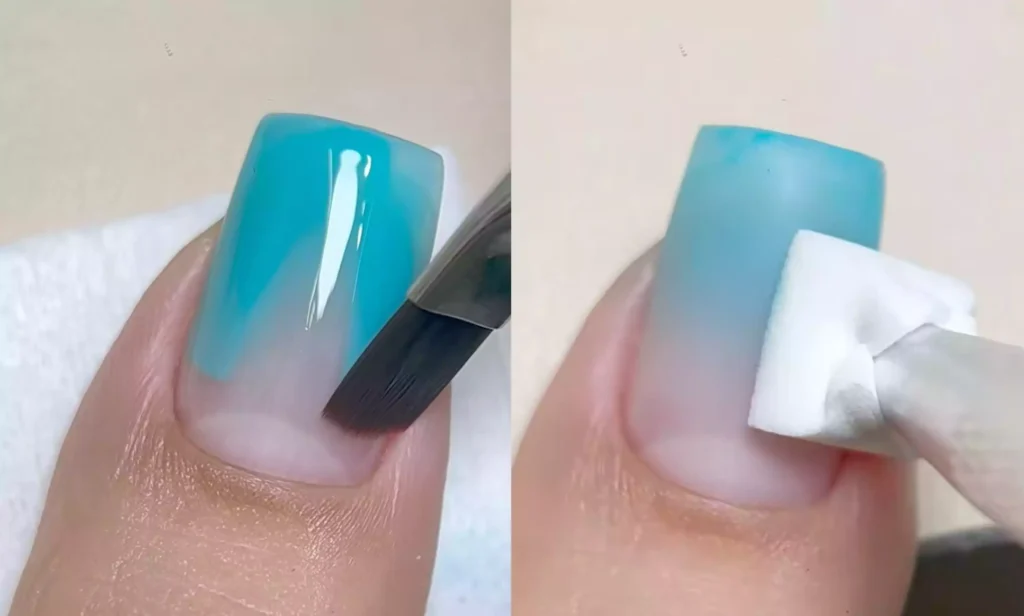
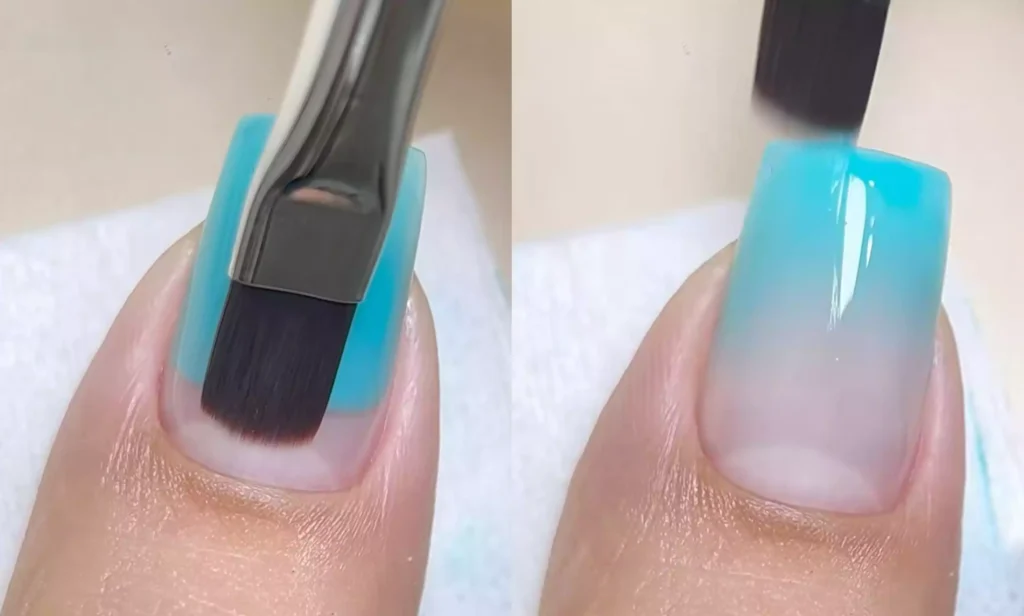
Gradient Creation
Take your desired color and blend it evenly with transparent extension glue.
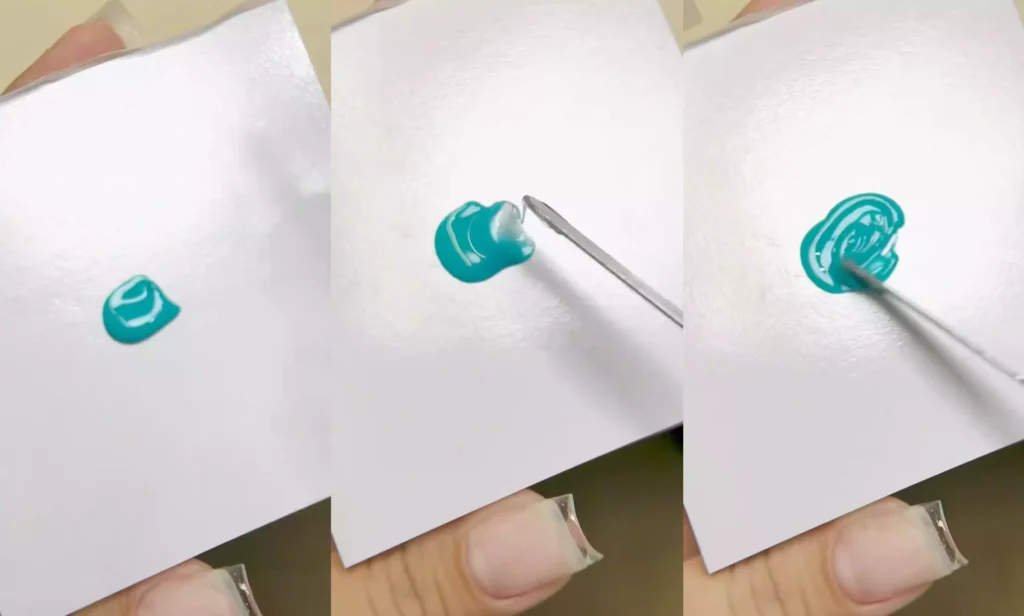
Moisten the light therapy pen first, then apply the color on the nails, and the application height can be a little higher.
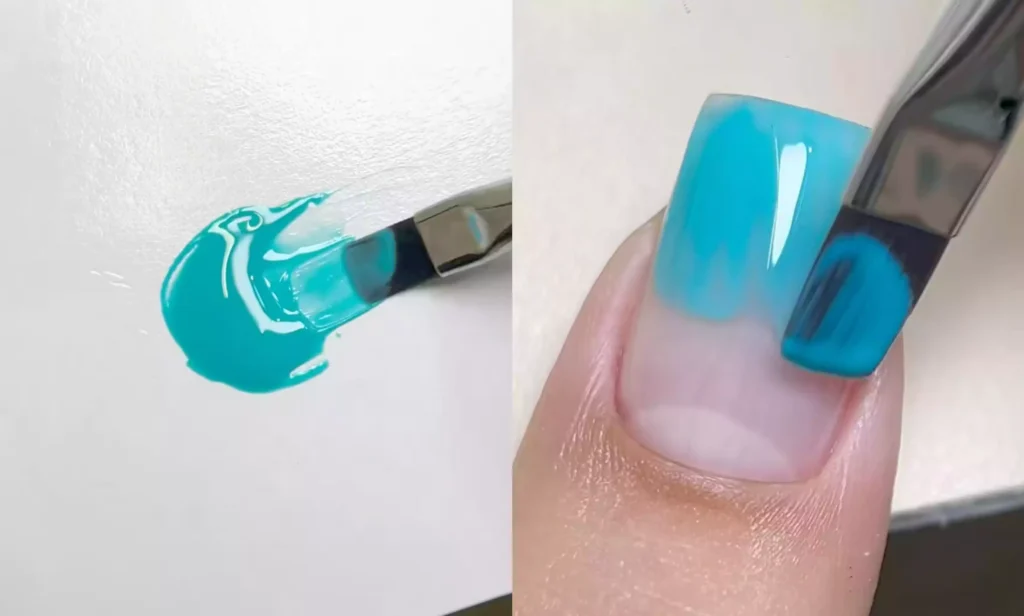
After wiping the light therapy pen clean, slowly move it forward along the back edge to create a gradient effect. Then wipe the brush hair clean and repeat the previous steps, creating it stroke by stroke. This way, the gradient will be more natural and more moist.
02
Steps for a Full, Solid Color Gradient Nail Art
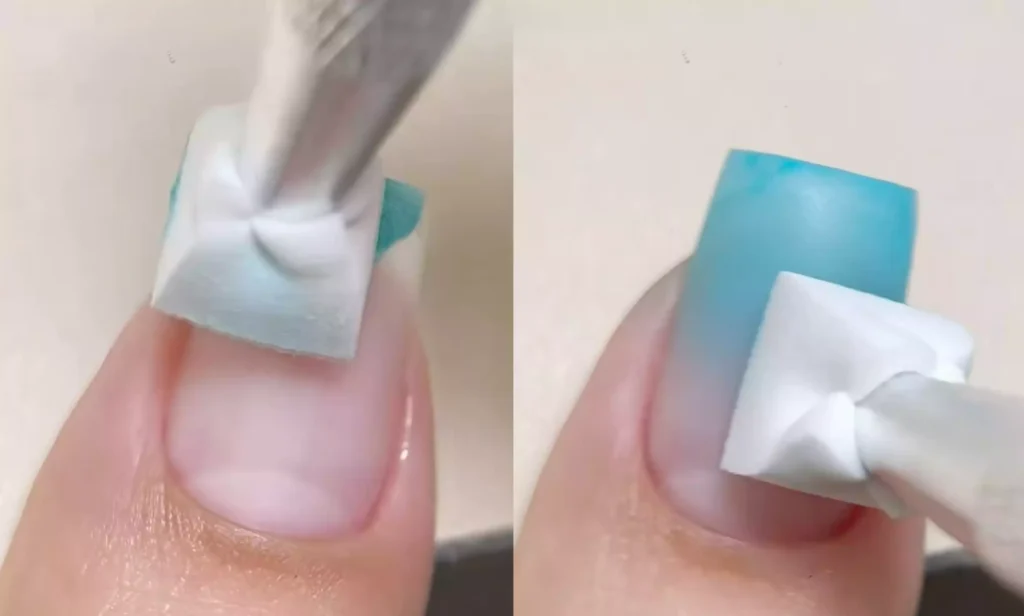
– Glue Treatment
First, wipe away any glue from the nail surface to prepare for the gradient application.
– Pat the color
Apply the color to your fingertips, then use a sponge to tap the color toward your fingertips, slowly blending it and creating a natural gradient effect at the back edge. This patted gradient creates a more intense and solid color.
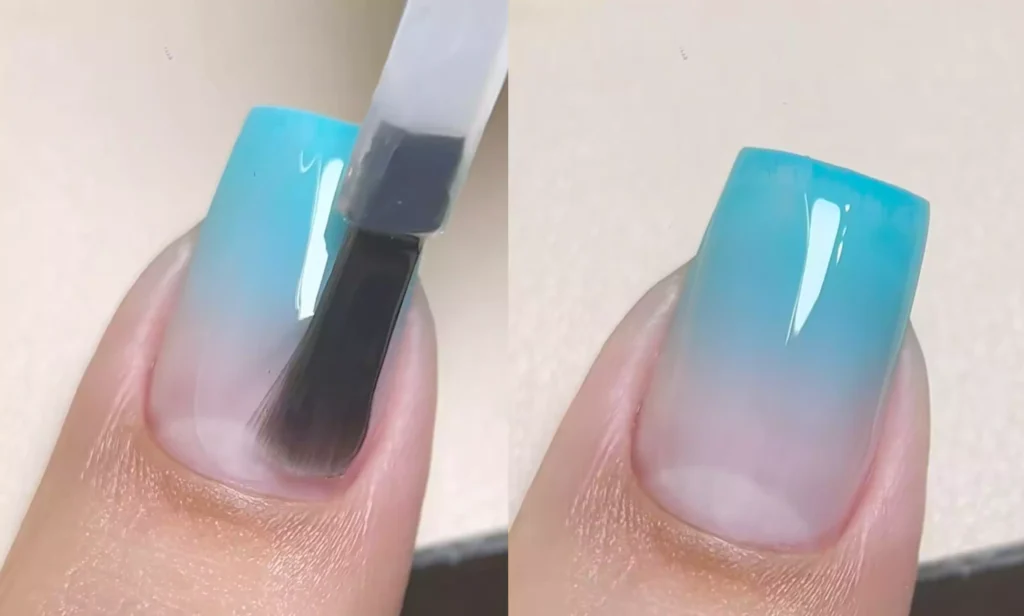
Finally, apply the topcoat, dry under UV/LED light, and you’re done!
The two gradient methods each have their own characteristics. The moist and natural one is fresh and refined, while the rich and solid color one is rich and eye-catching. You can choose according to your preference. Hurry and give it a try!
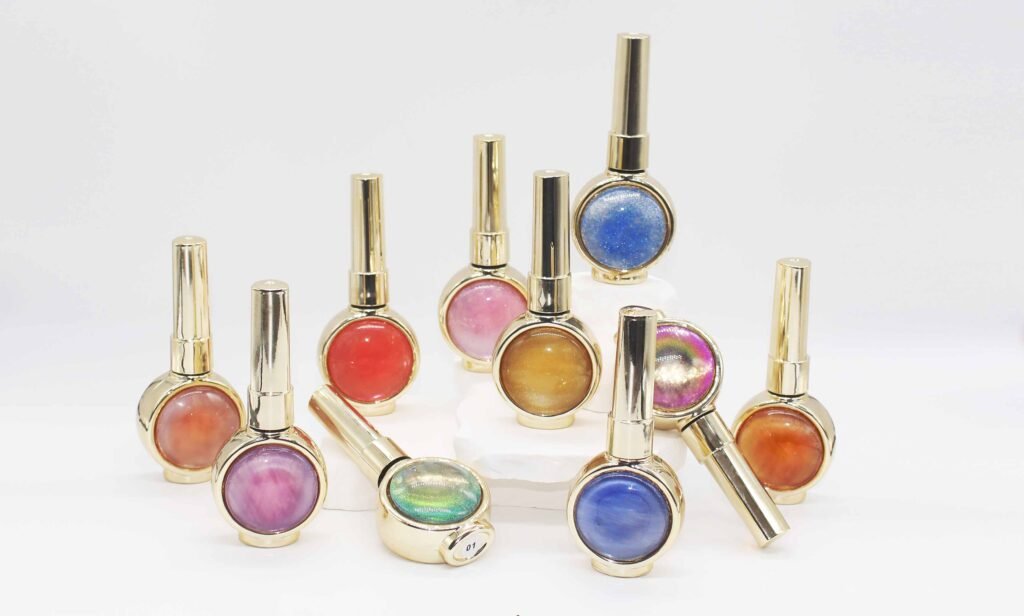
This tutorial uses CHROMÉCLAIR’s HEMA-free Gel Polish. This brand prioritizes safety. It’s not only hypoallergenic and eco-friendly, but also free of harmful ingredients like HEMA, significantly reducing the risk of allergies and gently protecting nail health. Each color is beautiful, with long-lasting color retention, aligning with popular aesthetics, ensuring a safe and comfortable manicure experience for every user.
If you have any questions during the process, the video tutorial below has detailed answers. If you found it useful, please like, bookmark, and subscribe. We’ll see you next time!