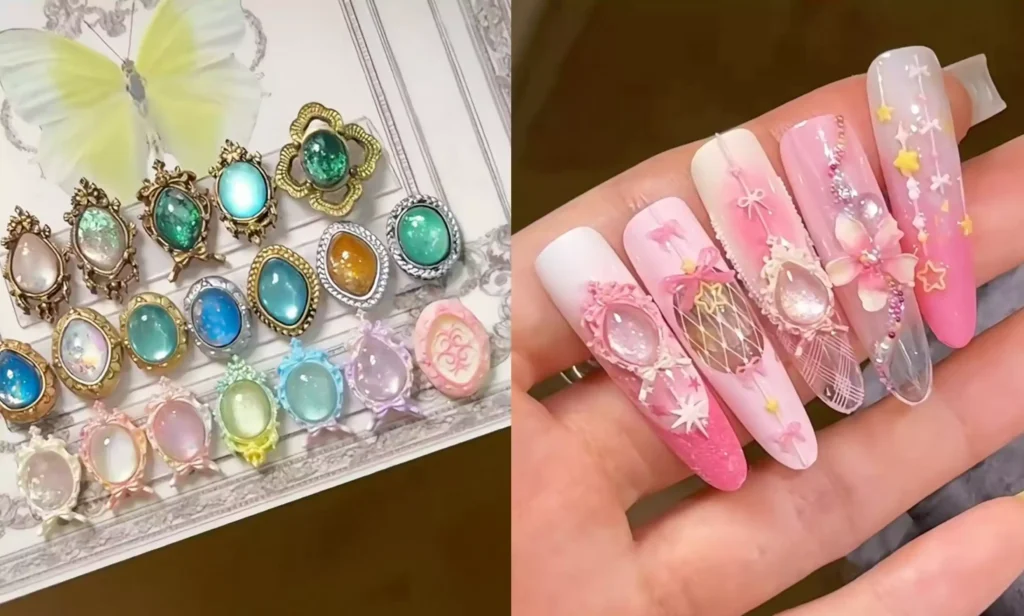
In the world of nail art, there’s always someone who can take creativity to the next level!
Hello everyone! I’m a star employee at CHROMÉCLAIR, a brand of hema free gel polish.
Today’s gemstone nail art tutorial is an absolute boon for nail enthusiasts. With step-by-step instructions so clear you can start right after reading, you’ll effortlessly achieve luxurious gemstone nails.
Step 1:
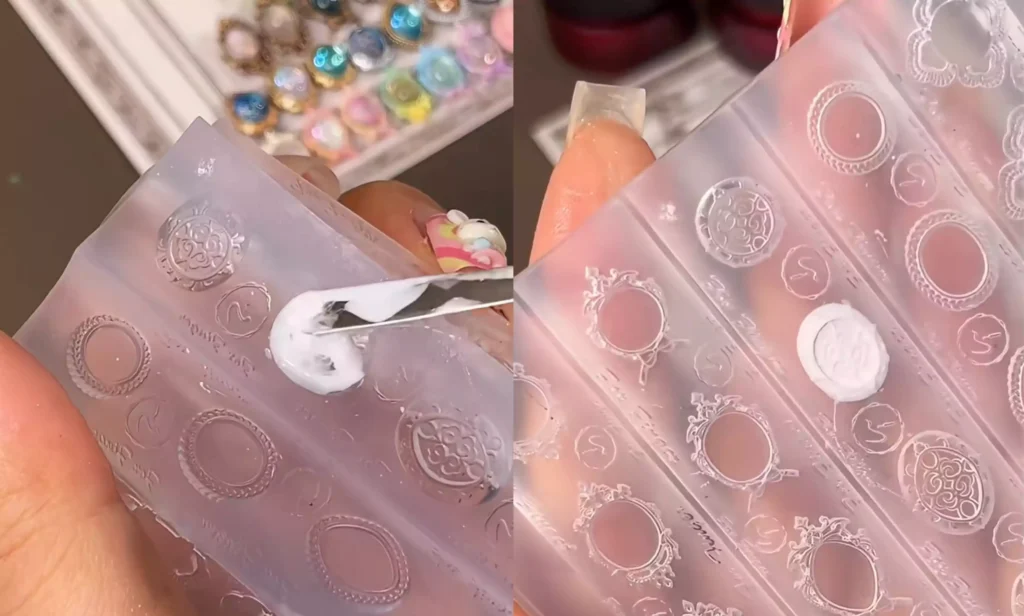
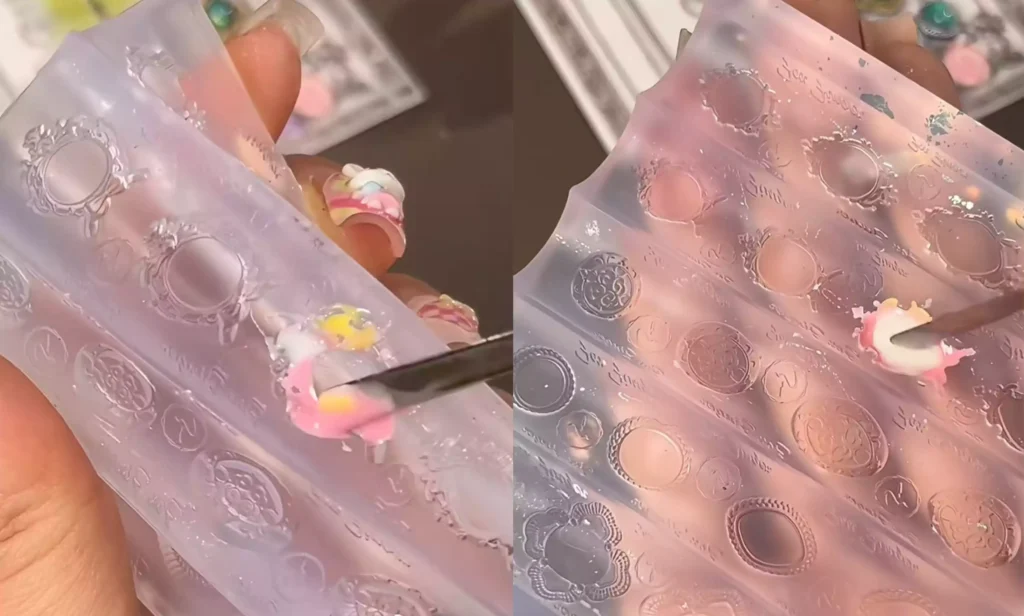
First, prepare the vintage Baroque gemstone mold (this mold is truly innovative, capable of creating gemstone borders in multiple shapes). If you don’t have mold release agent, using a sealing layer mixed with painting glue is perfectly acceptable.
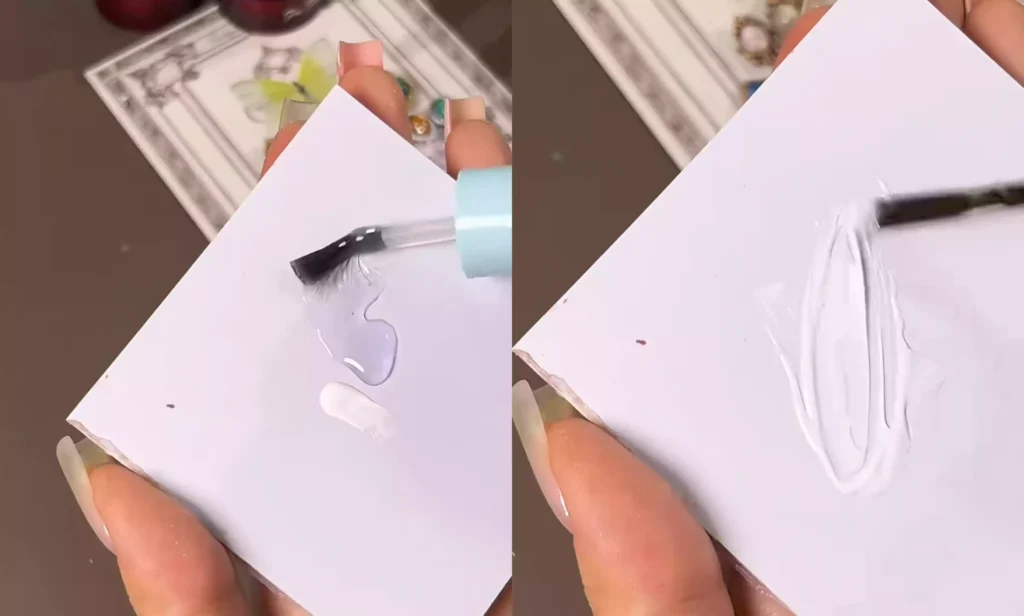
Apply the mixed adhesive to the mold using a mixing stick. After confirming it is correct, cure it under the lamp.
Recommended next step
Build the Nail Art Look Kit
Tutorial looks need more than a color bottle. Choose the color, art detail, transfer or sticker step, and a top coat as one look kit.
- Choose the main color or set.
- Add the art detail: sticker, transfer gel, magnet, or brush.
- Seal the finished look with top coat.
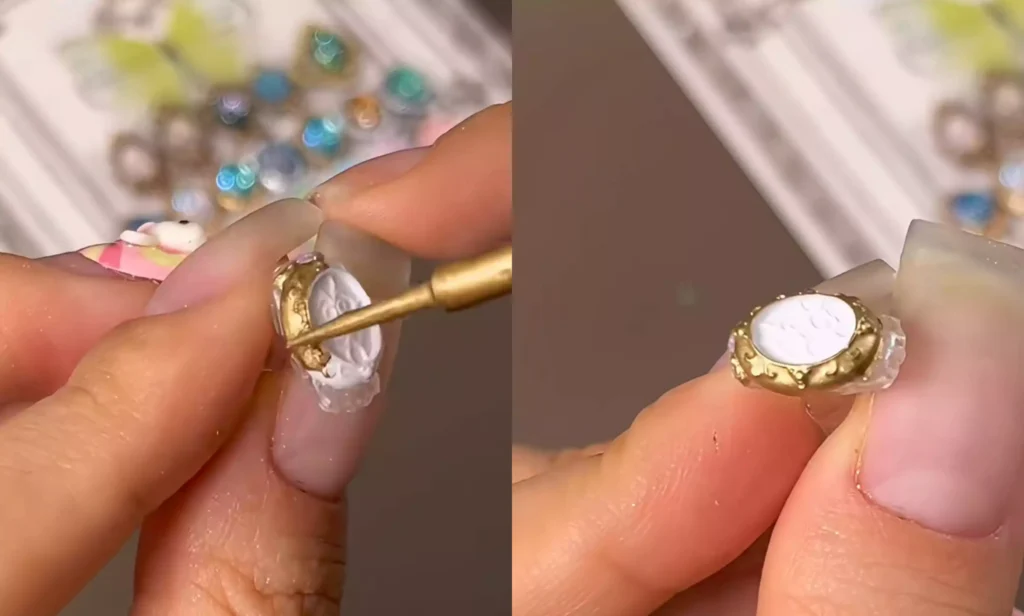
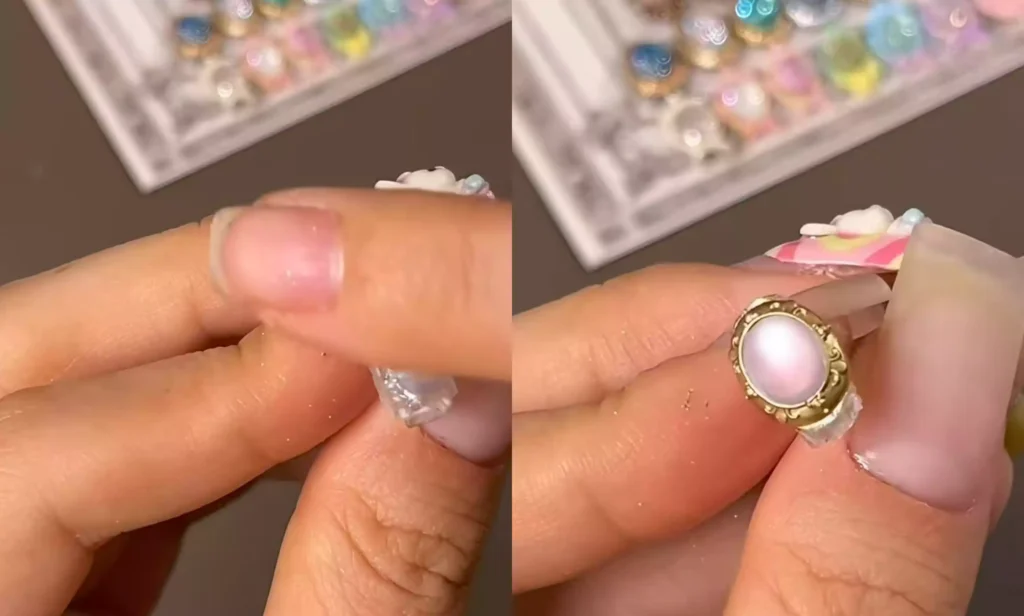
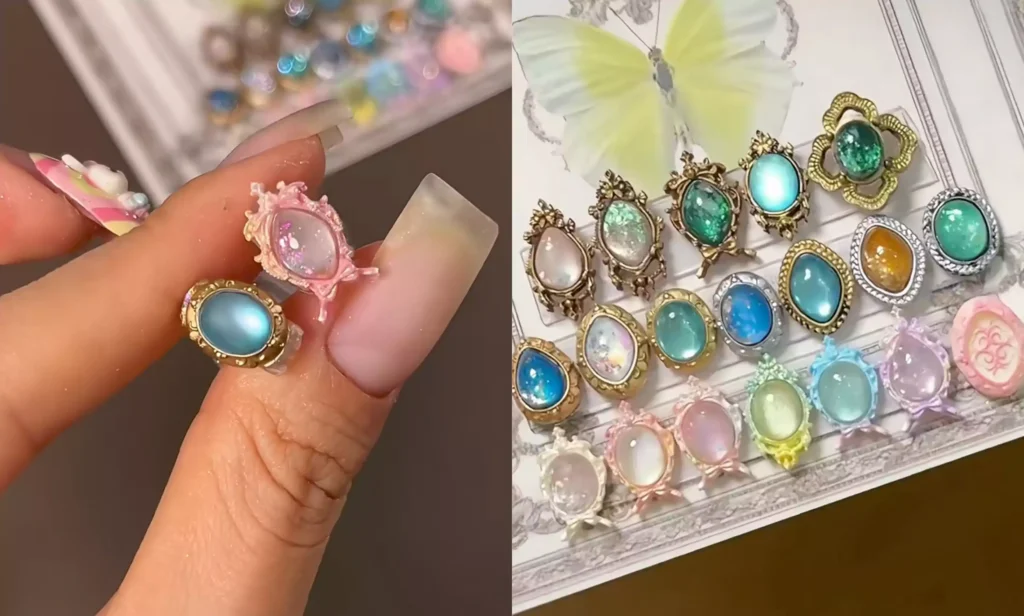
After removal, apply metallic shading solution to the frame, taking care not to apply it to the center. This completes the exquisite gemstone frame.
Step 2:
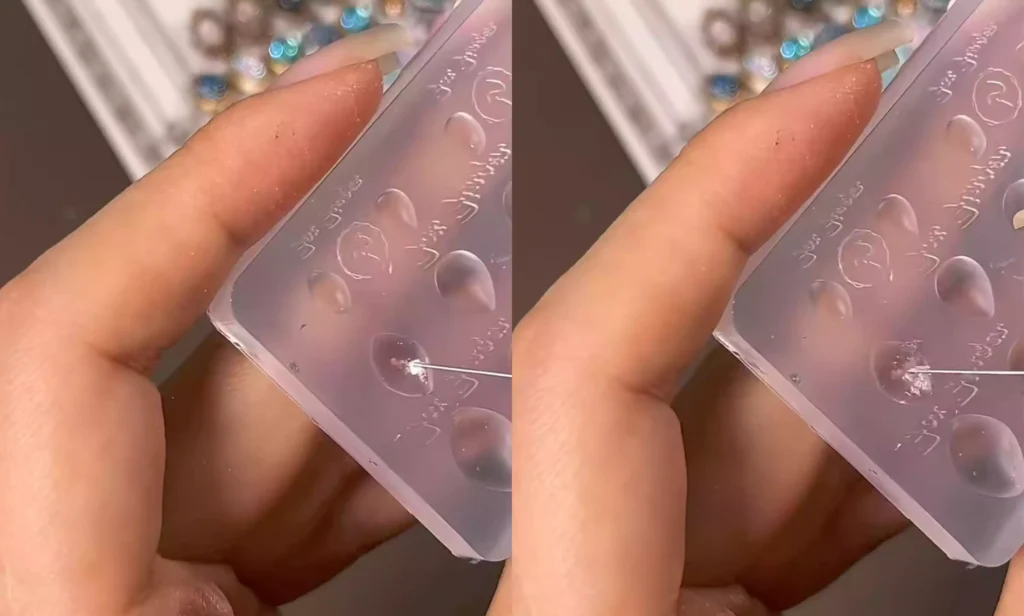
Next, process the gemstone section by directly filling the sealing layer into the corresponding gemstone mold.
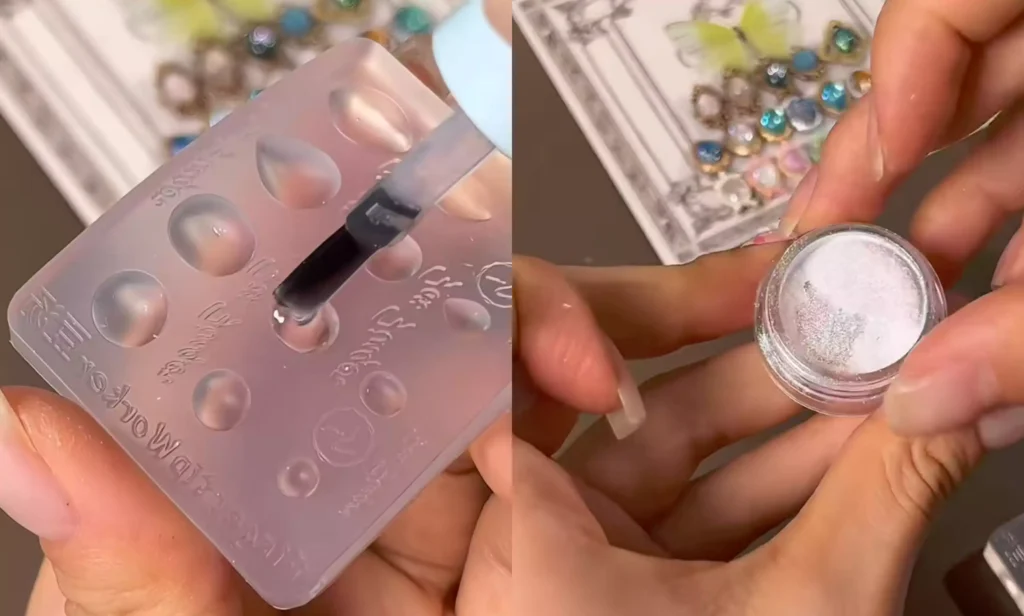
After removing it from the light, dust it with Aurora Powder or Moonlight Powder to instantly achieve a crystal-clear gemstone finish.
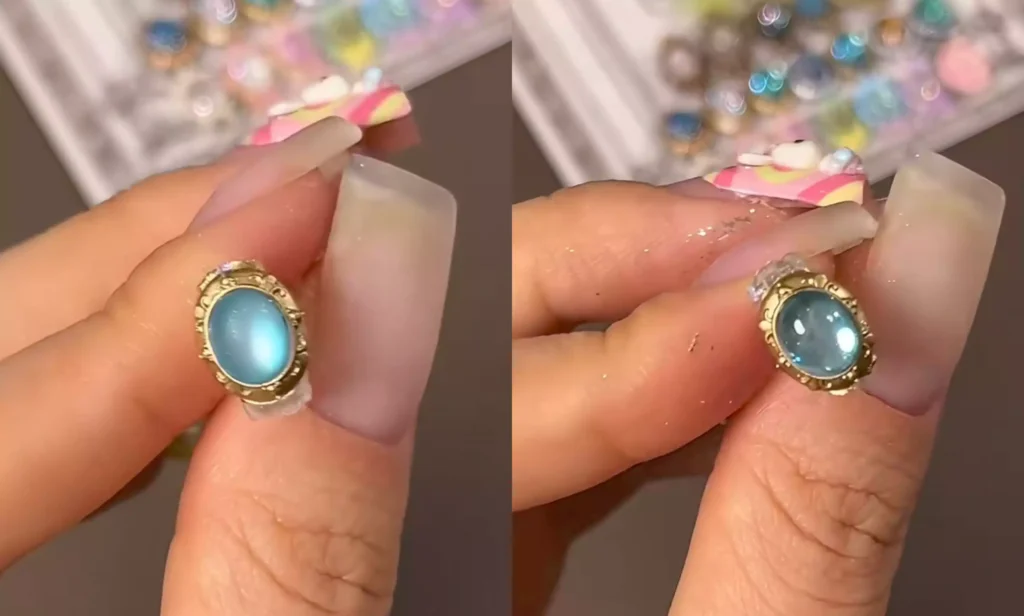
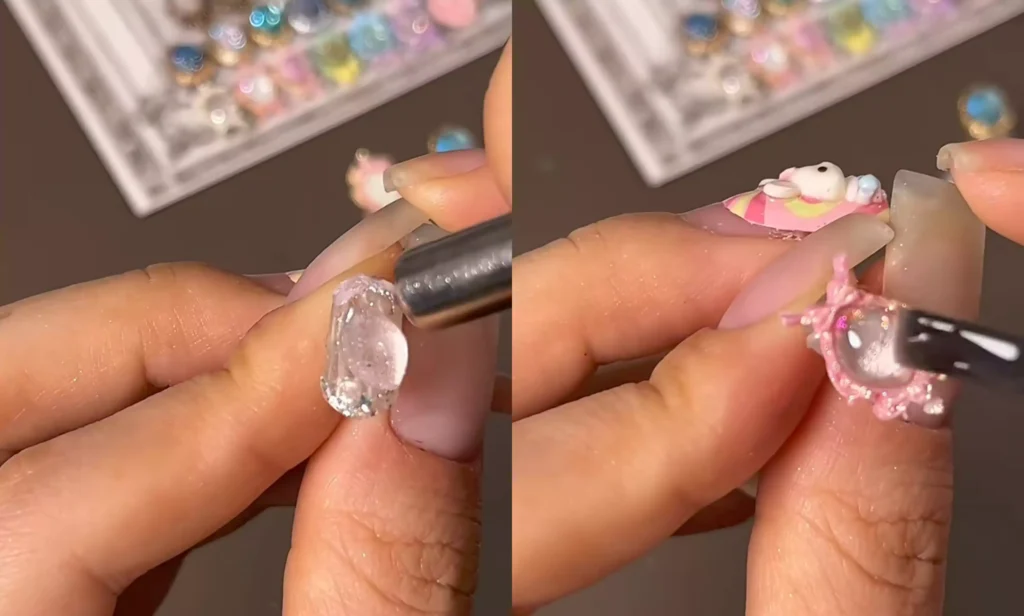
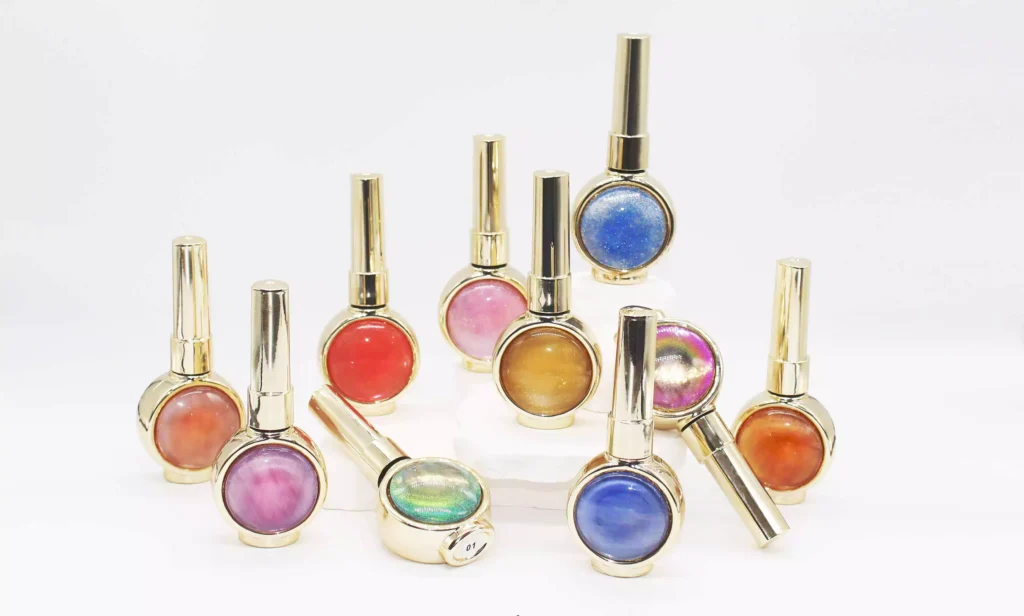
For a different look, you can also apply cat-eye gel polish (I used CHROMÉCLAIR’s Hema Free Gel Polish CE-04—it has a sophisticated, high-end finish, excellent flow, and is easy to apply evenly even for beginners). For example, you could create a sapphire cat-eye effect.
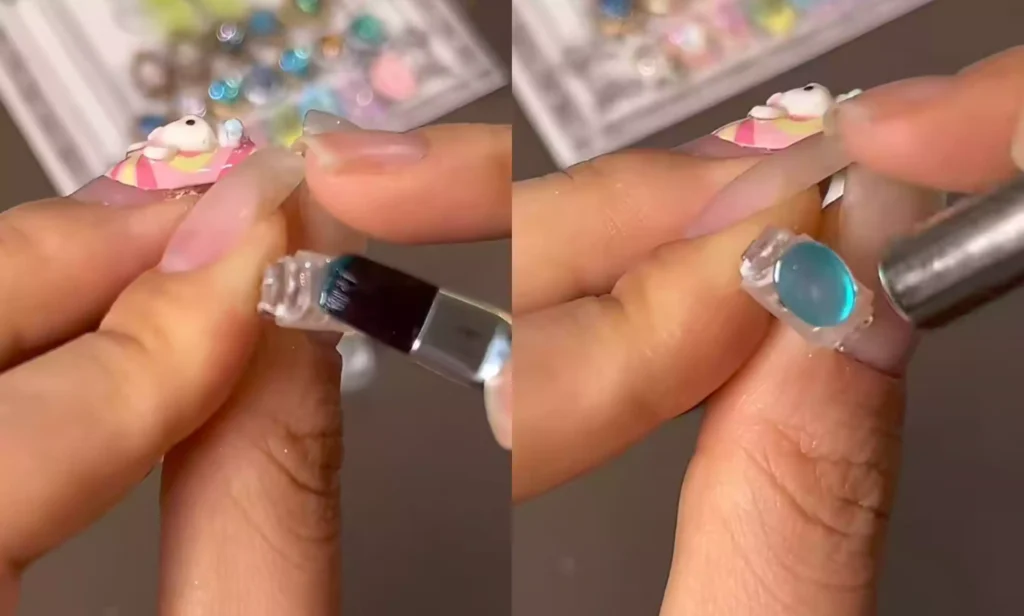
Whether glossy or matte, both exude an ultra-luxurious feel.
Step 3:
You can also try creating soft-pink gemstones by freely mixing 2 to 3 light colors.
Fill the bottom of the mold completely, then add some highlights with the shading solution.
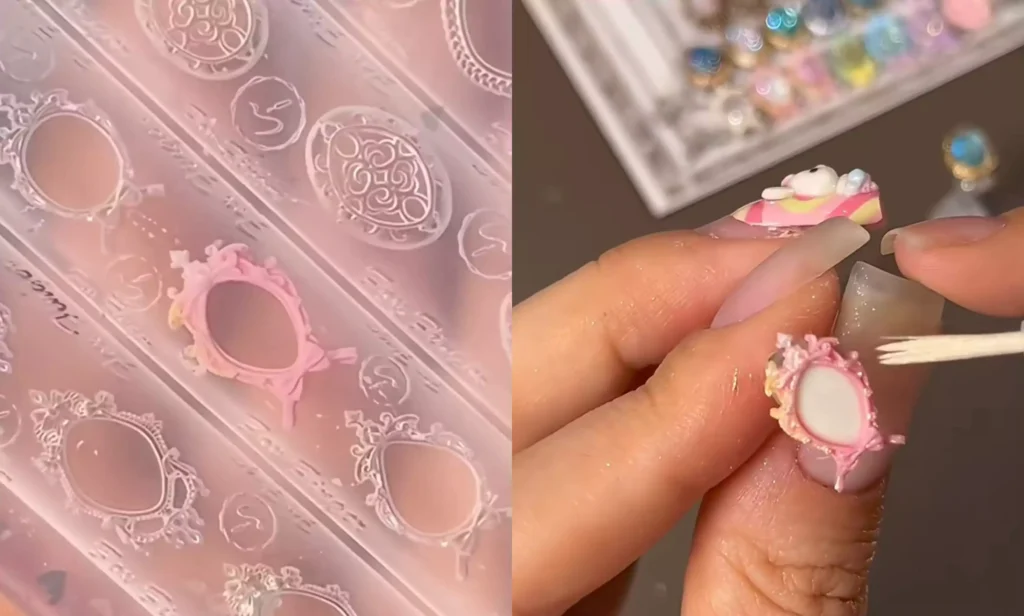
Apply the first layer of gemstone sealant, then place the opal on top. Be careful not to press it all the way down—let it float on the surface. This technique will make the finished gemstone appear more crystal clear and translucent.
Then apply cat-eye gel polish, capture the cat-eye effect, and your one-of-a-kind pink gemstone manicure is complete.
From gathering materials to the final touch, every step is filled with ingenuity. Whether for everyday outings or special occasions, these gemstone nails will make you the center of attention. Get started now and create your own “gemstone kingdom” right at your fingertips!
Lastly, I highly recommend CHROMÉCLAIR’s HEMA-free Gel Polish. The brand places exceptional emphasis on safety, featuring low irritation and eco-friendly formulations (HEMA-free & TPO-free) that gently protect nail health. With a wide range of shades and long-lasting wear (approximately 21-35 days), every user can enjoy a product that’s both safe and reassuring.
Having trouble with the steps? Be sure to check out the video tutorial below! If you found this helpful, feel free to give it a thumbs-up and save it ⭐. Subscribe to my channel, and see you in the next tutorial!