Want to have unique and eye-catching nails? Today, we will unlock the romantic mermaid nails.The operation is simple,The process is simple, and I will explain the techniques in detail in the following tutorial. Even beginners can try it out. I will teach you step by step how to create “ocean magic.” If you like it, follow me and let’s get started!

Paso 1: Color base y gel cat eye capa base
Primero, elija su favorito esmalte en gel cat eye (I used CHROMÉCLAIR’s Esmalte en gel sin hema CE-06, que tiene un efecto de degradado transparente).

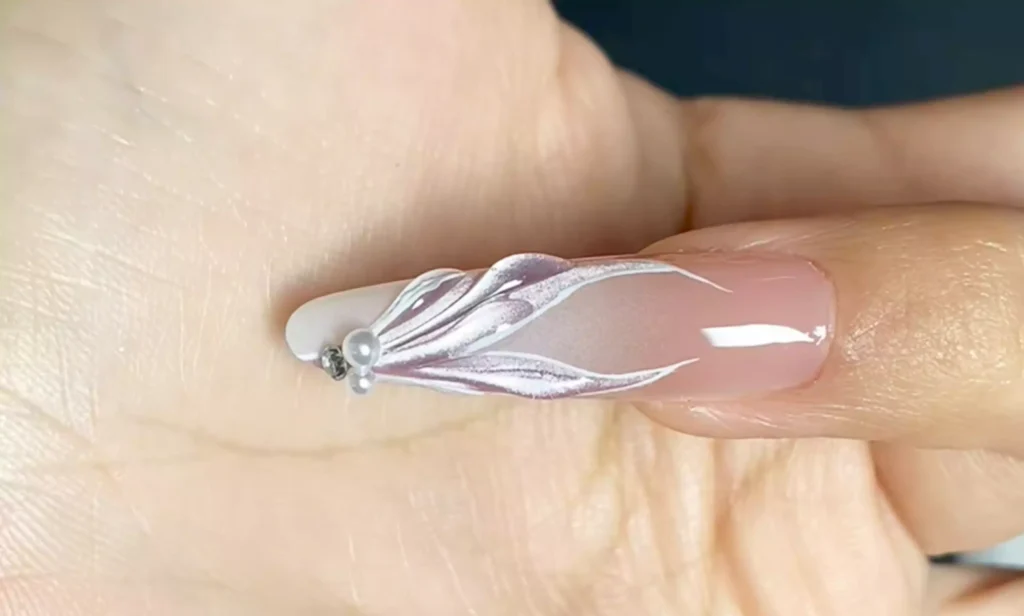
It applies smoothly and has long-lasting color retention. After applying it to the nail surface, first outline the mermaid tail contour—imagine the flowing lines of a mermaid’s tail.
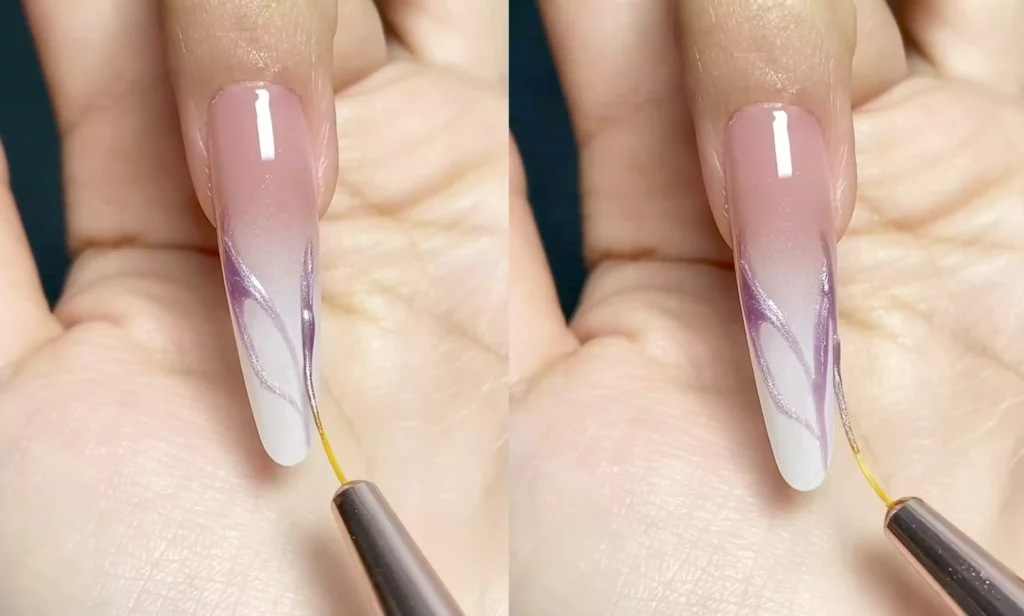
Fill in the contour area with cat’s eye glue, then use a magnet to create a glossy effect, making the base color resemble the sparkling surface of the sea and laying a dreamy foundation for the subsequent styling.
Recommended next step
Build the Nail Art Look Kit
Tutorial looks need more than a color bottle. Choose the color, art detail, transfer or sticker step, and a top coat as one look kit.
- Choose the main color or set.
- Add the art detail: sticker, transfer gel, magnet, or brush.
- Seal the finished look with top coat.
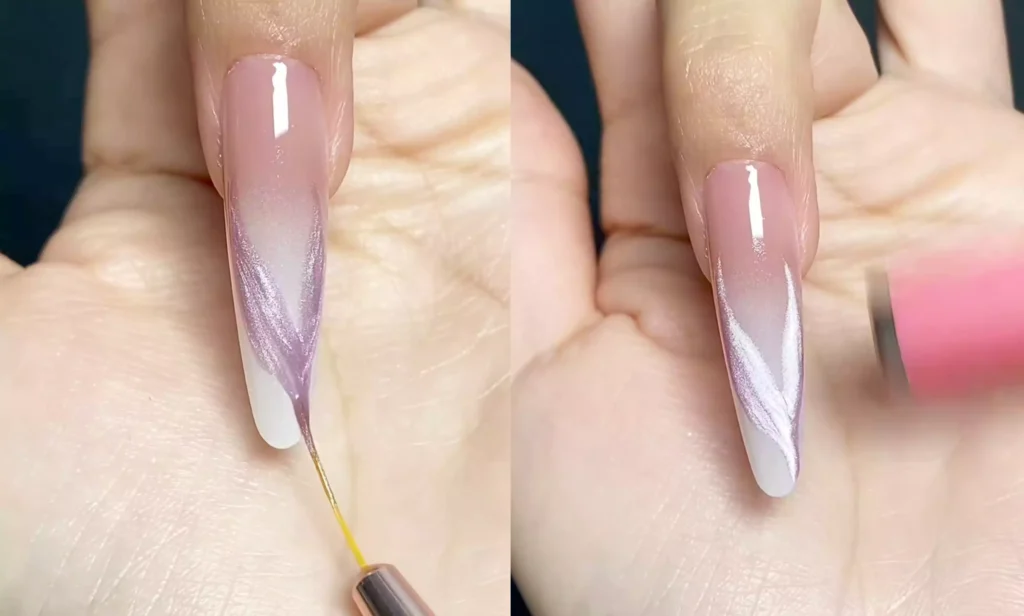
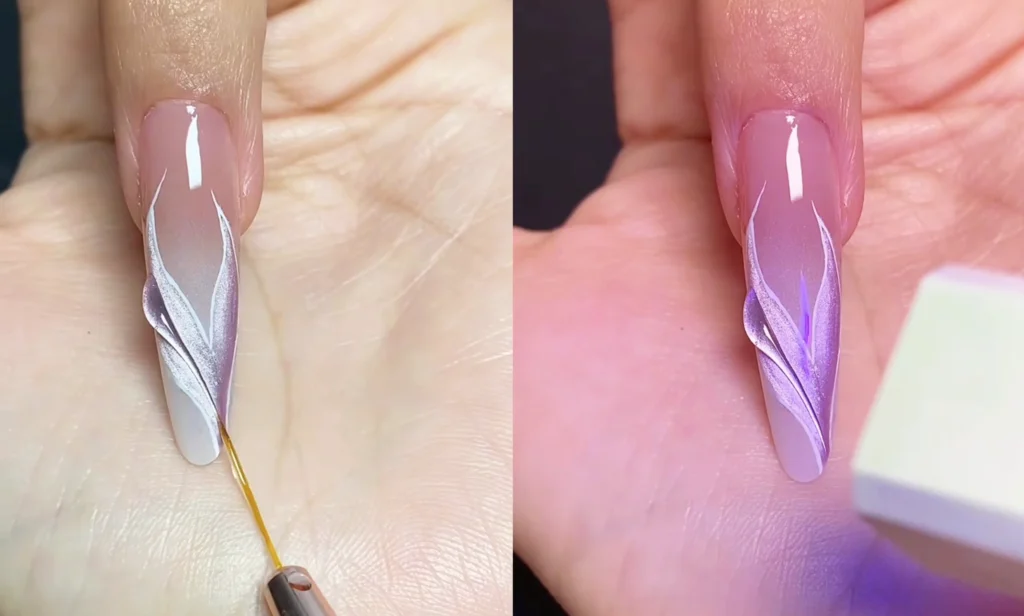
Etapa 2 : Delineado fino con cola blanca
Una vez que se haya secado el color base, cambia a la cola de pintura blanca para contornear.
This step tests your attention to detail: slowly trace along the mermaid’s tail line, especially the tip of the tail. The smoothness of the lines directly determines the overall refinement of the design. Imagine embellishing the fish tail with silver trim. Each stroke must be steady, ensuring that the lines are clear and naturally follow the curve of the fish tail.
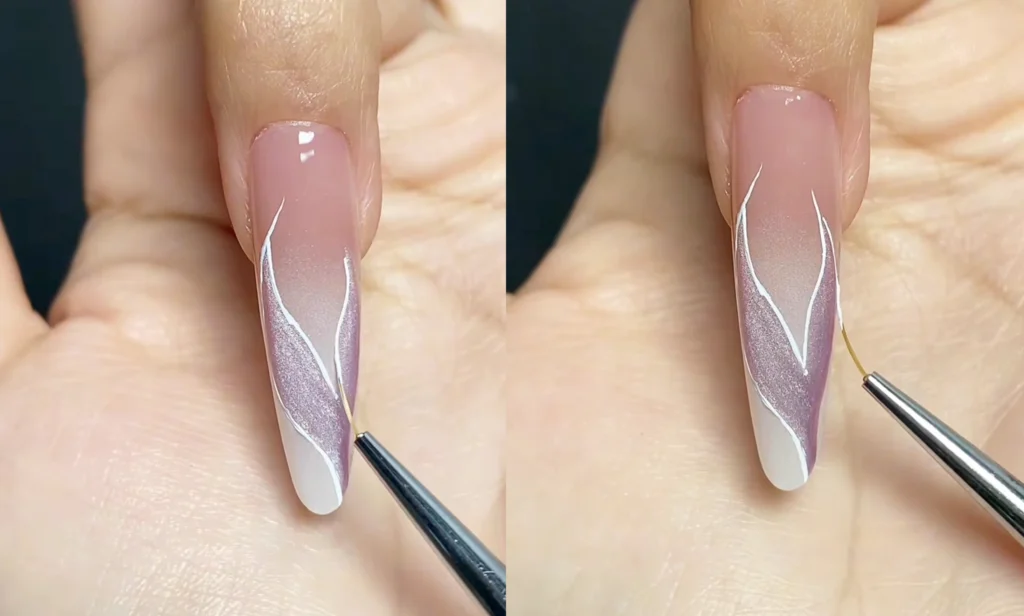
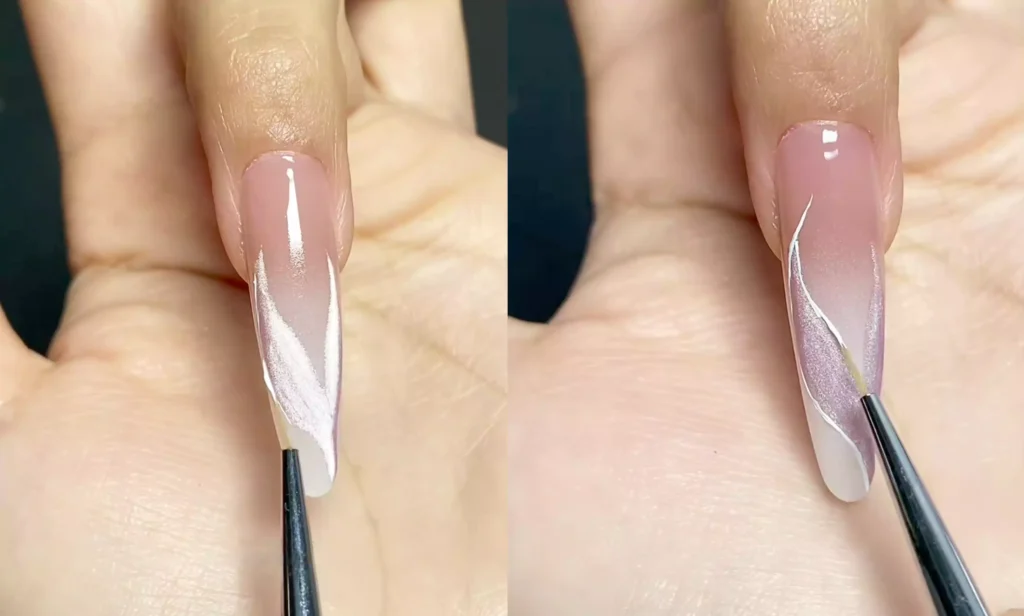
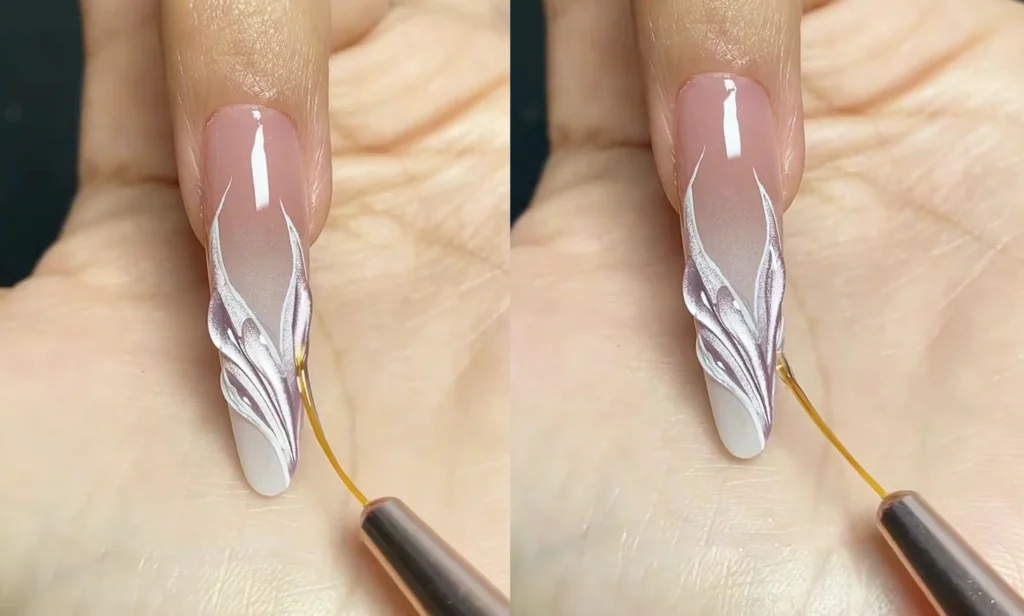
Paso 3: Crear capas tridimensionales con sellador sin aclarado
Elige un sellador sin aclarado de alta viscosidad para añadir tridimensionalidad. Sumerja la punta del pincel en el pegamento y, a continuación, inviértalo para que el pegamento fluya de forma natural hacia la punta.
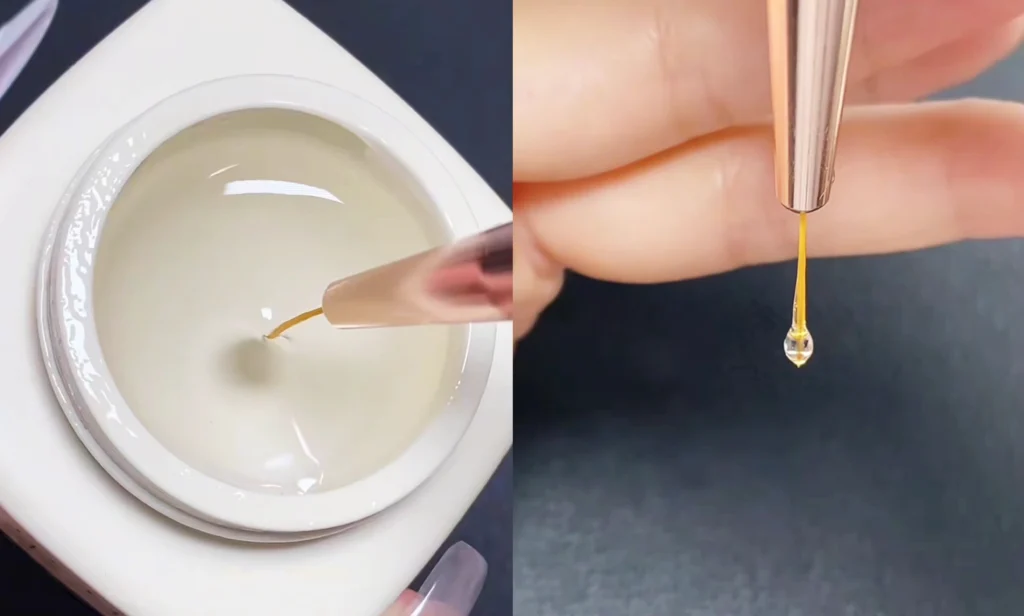
A continuación, "presiona el cordón de cola con la punta del rotulador y arrástralo hacia abajo". Después de arrastrar cada línea, utiliza una lámpara para fijar la forma (para evitar que el pegamento se deforme).
If you don’t control the amount of gel beads properly during the process (like in the failed example), don’t panic.
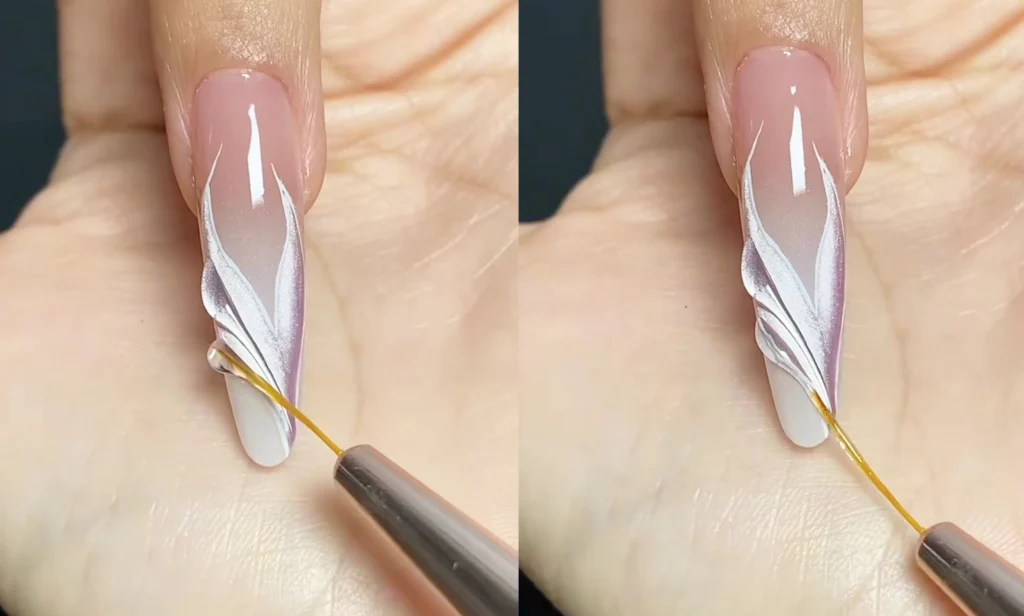
Después de hacer los ajustes, continúa. Las ligeras imperfecciones creadas a mano hacen que el nail art sea más vivo.
Paso 4: Añade toques decorativos para completar el look
Una vez secas todas las líneas tridimensionales, añade pequeñas piedras de strass o perlas: elige accesorios delicados y pequeños y fíjalos suavemente cerca de la cola del pez, como estrellas centelleantes en el océano. Por último, aplica un top coat para reforzar el diseño, aumentar la durabilidad de la manicura y conservar el brillo translúcido único de la sirena.
Desde el color base degradado hasta el diseño tridimensional de cola de pez, pasando por los adornos brillantes, este nail art captura el romanticismo del océano al alcance de tu mano. Sigue los pasos y pruébalo: tú también puedes conseguir tu propio estilo inspirado en una sirena.
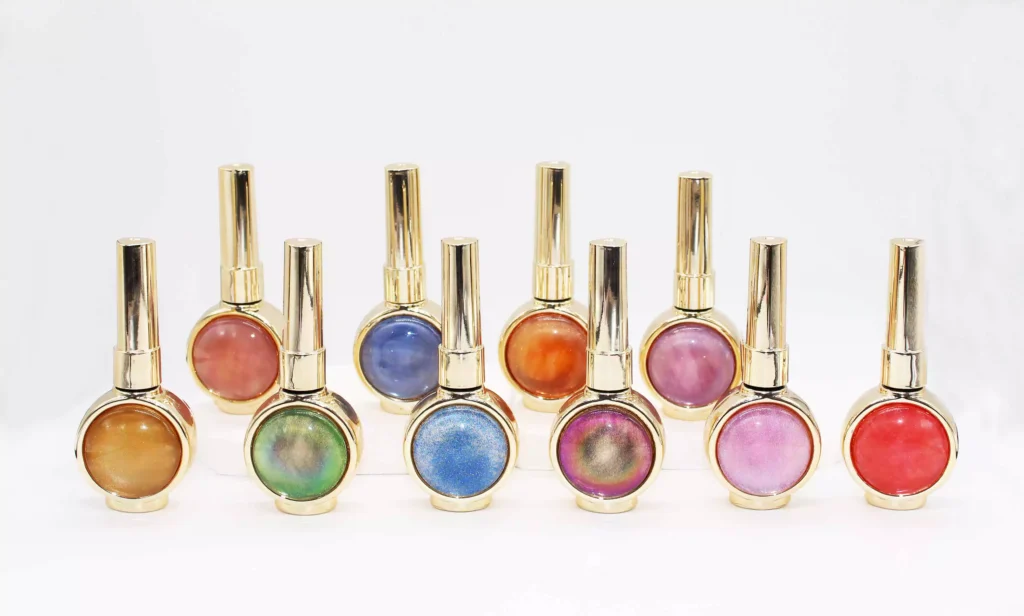
In the tutorial, I used CHROMÉCLAIR’s Esmalte en gel sin HEMA. Their products are known for being safe and hypoallergenic (HEMA-free & TPO-free), environmentally friendly, and free of irritating and harmful ingredients, protecting the health of your nails. They offer a wide range of colors, long-lasting color retention (around 21 days), and keep up with the latest trends, so you can use them with confidence and look great!
If you have any questions during the process, the video tutorial below provides detailed answers. If you find it useful, don’t forget to like and save it, and subscribe! See you next time!