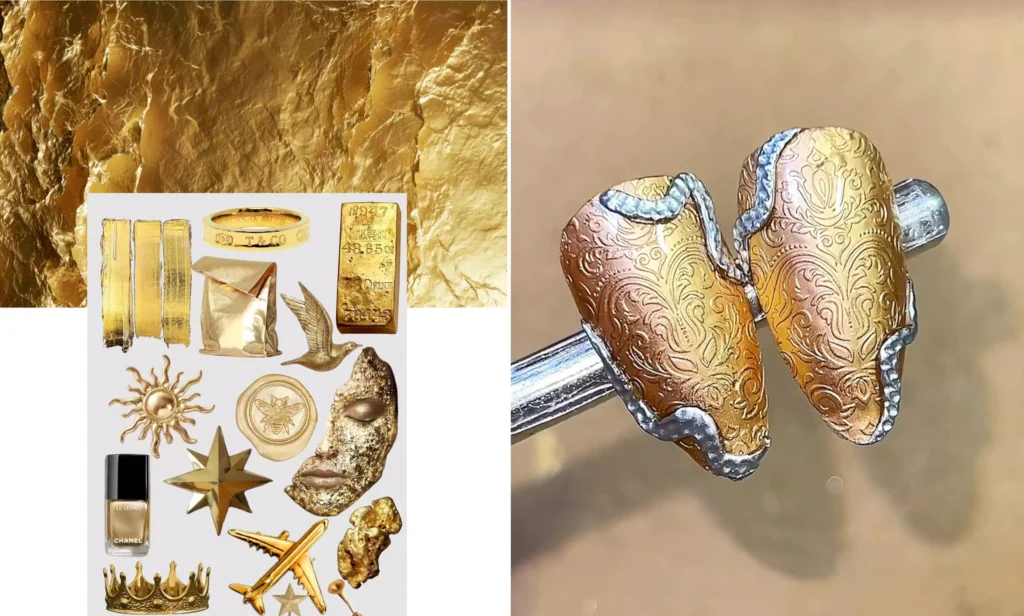
¿Todavía te cuesta seguir los complicados pasos del nail art pintado a mano?
Hola a todos Soy un empleado estrella en CHROMÉCLAIR, una marca de marcas de esmalte en gel sin hemaHoy te traemos un tutorial de decoración de uñas que ofrece exquisitos efectos de cincelado metálico sin necesidad de dibujar a mano, permitiéndote conseguir sin esfuerzo una decoración de uñas sofisticada que irradia lujo.
Paso 1: Aplicar la capa base
En primer lugar, aplique una capa de base uniformemente sobre la superficie de la uña. Este paso garantiza que el nail art posterior se adhiera mejor a la uña y también protege la uña natural.
Paso 2: Crear el patrón de impresión
- Seleccione un patrón de impresión de chapa de acero de estilo chino y aplique una fina capa de aceite de dedos al diseño.
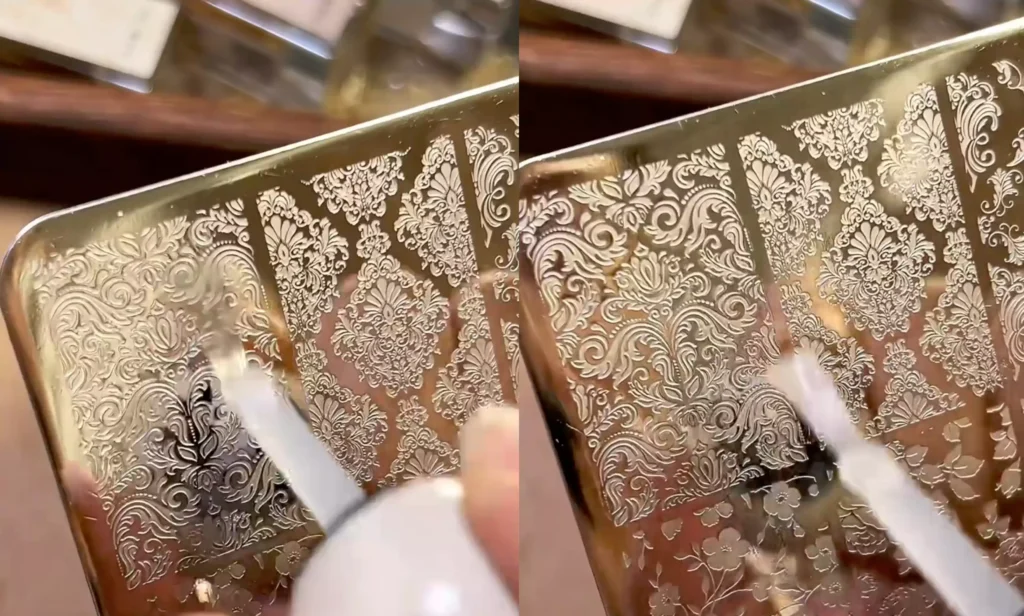
- Tome un trozo de masa de caramelo blanda y colóquelo sobre el patrón untado con aceite para dedos. Primero, aplánalo con la mano,
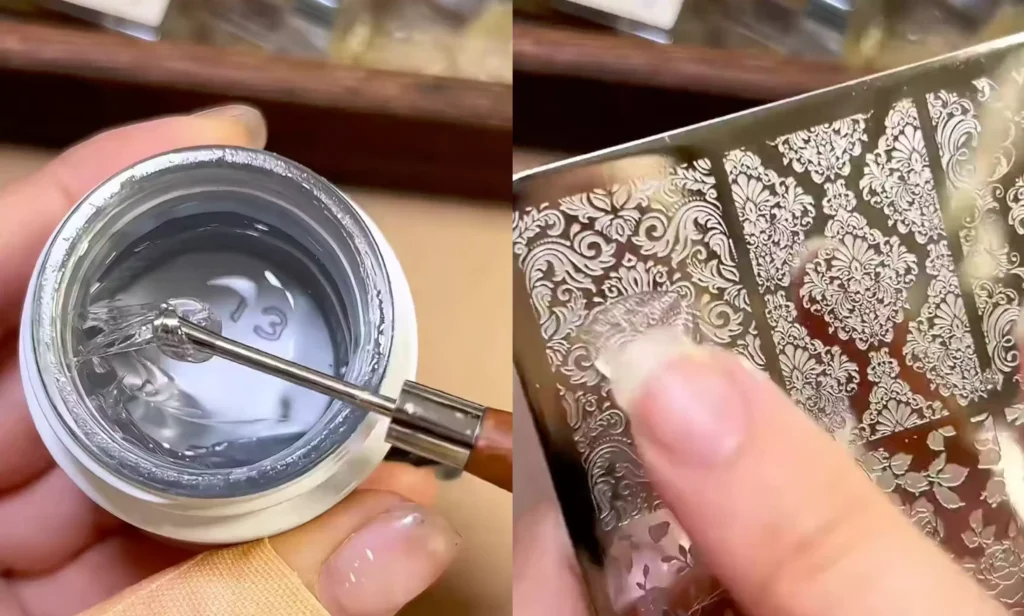
A continuación, utilice el eje del lápiz fototerapéutico para hacerla más fina y, después de hacerla más fina, proceda a la exposición a la luz.
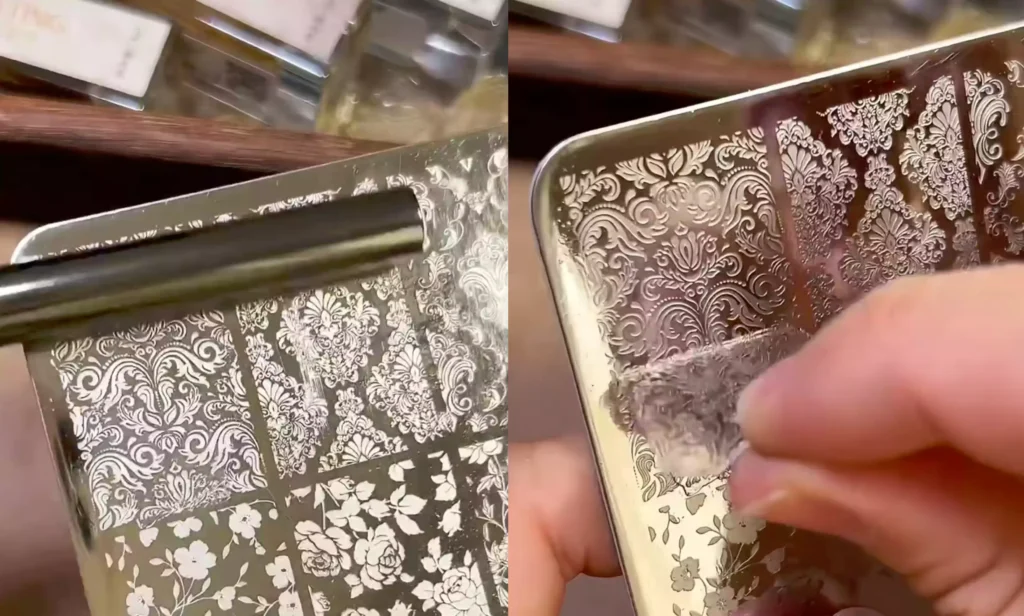
- Una vez terminada la lámpara, basta con despegar uno de los bordes con la mano para que la lámina de goma estampada se desprenda fácilmente. Verás que el diseño impreso es excepcionalmente claro.
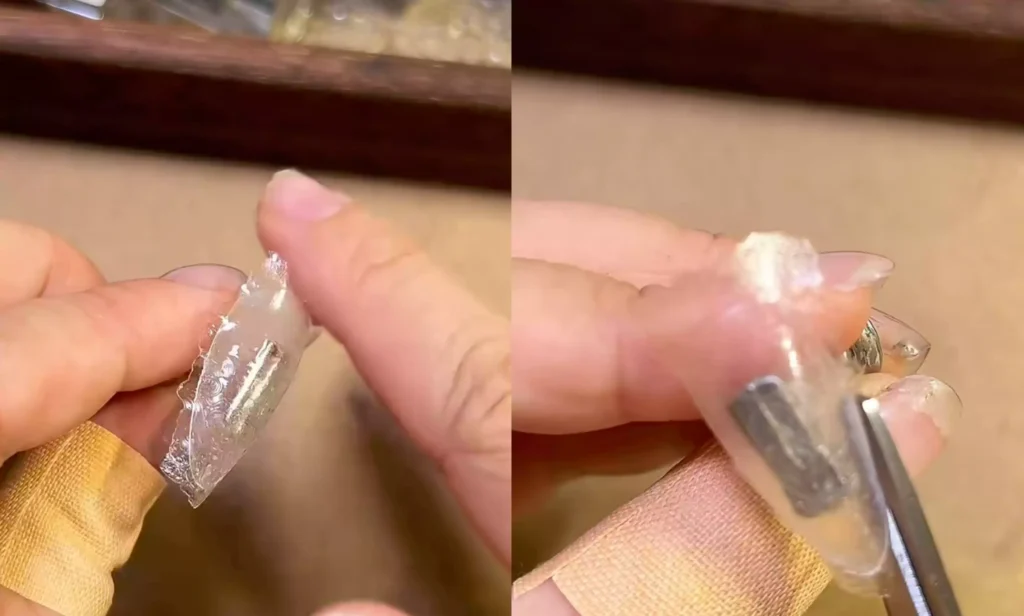
Paso 3: Aplicar y recortar el diseño
Coloca el lado liso del adhesivo de gelatina con dibujo sobre la superficie de la uña y ajusta la posición del diseño.

A continuación, sumerja los dedos en alcohol y presione firmemente el diseño sobre la superficie de la uña. A continuación, recorta el material sobrante a lo largo del borde de la uña con unas tijeras.
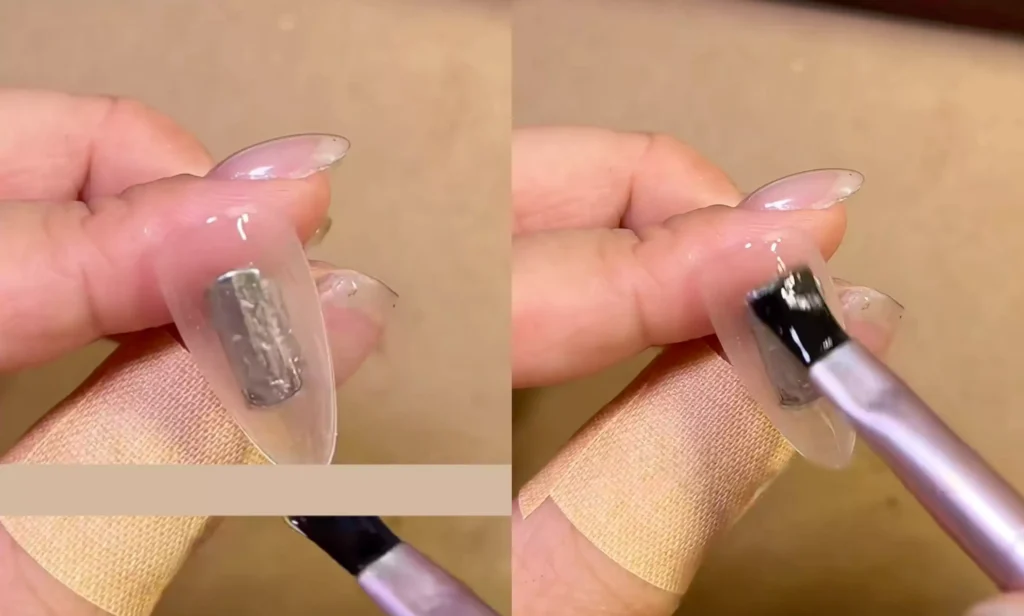
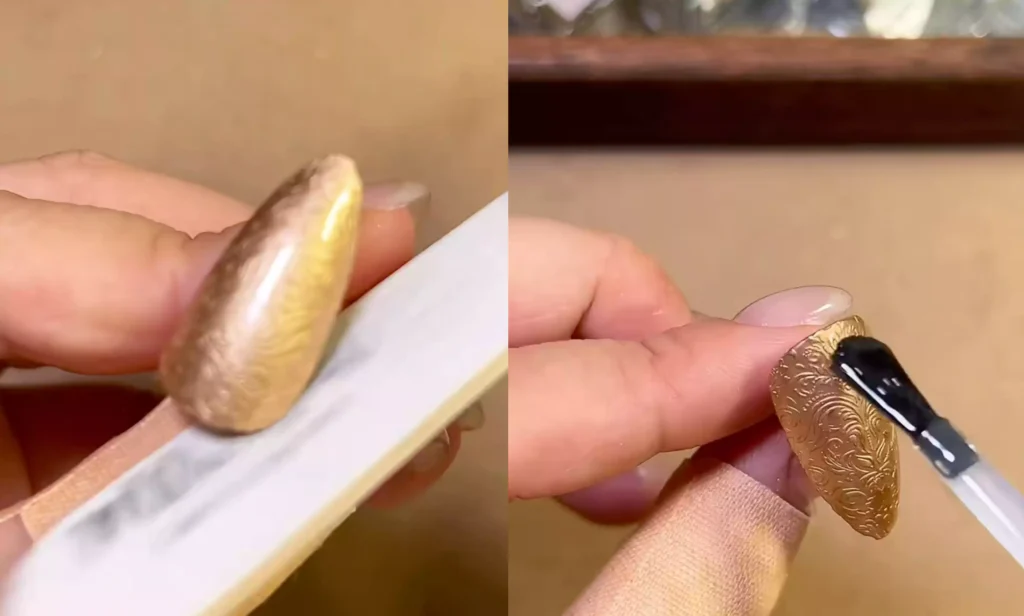
Paso 4: Sombreado metálico y refuerzo
- Seleccione el tono bronce de la solución de tonos metálicos y aplíquelo sobre la superficie de la uña. Tras la aplicación, espere unos 15 segundos a que la solución se seque al aire. En ese momento, el efecto cincelado se hará visible.
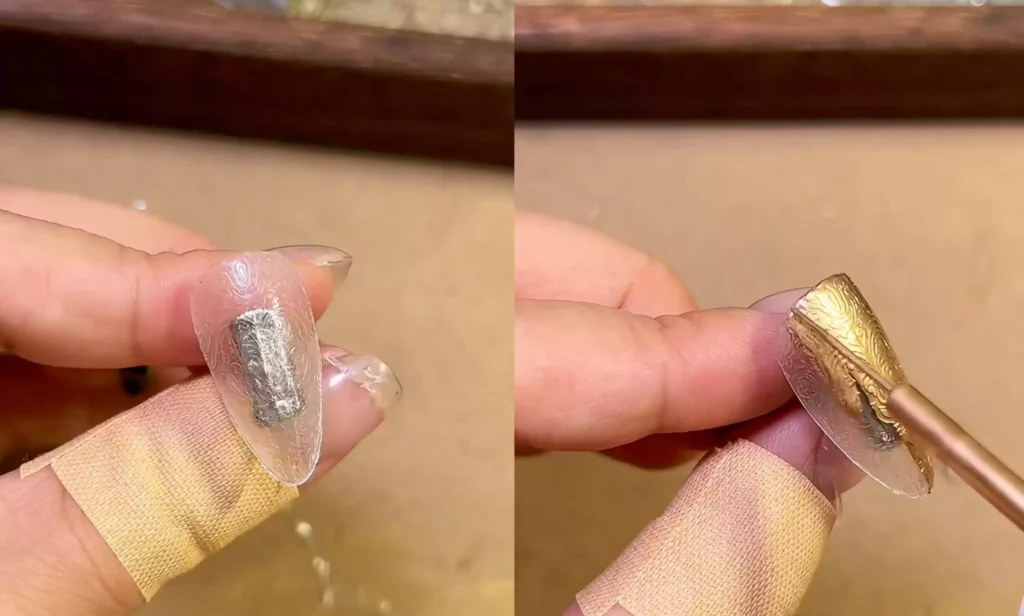
- Aplique una capa de base para cubrir la superficie de la uña. Una vez aplicada, la solución de degradado metálico aparecerá más lustrosa.
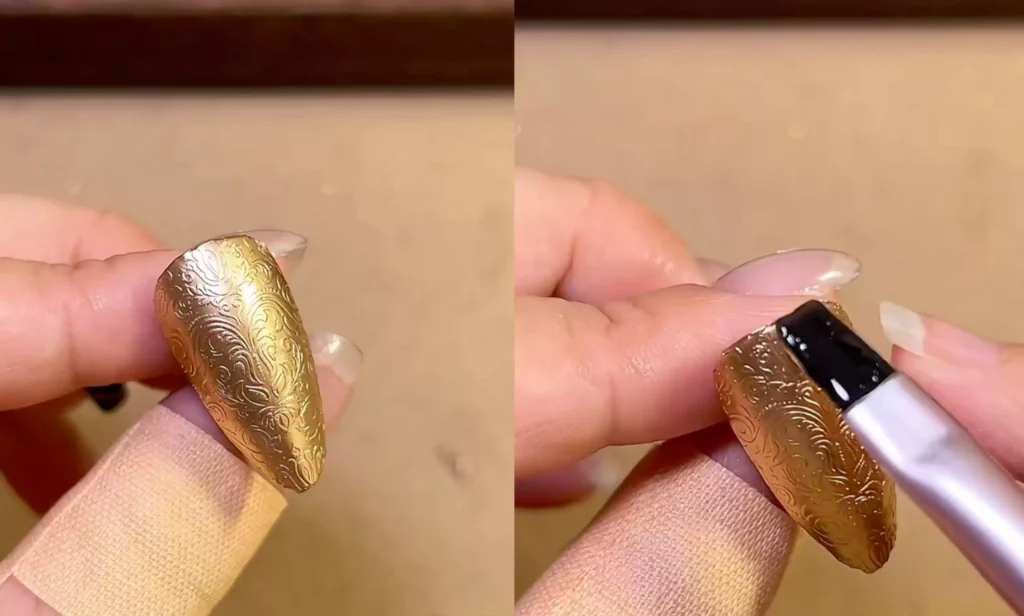
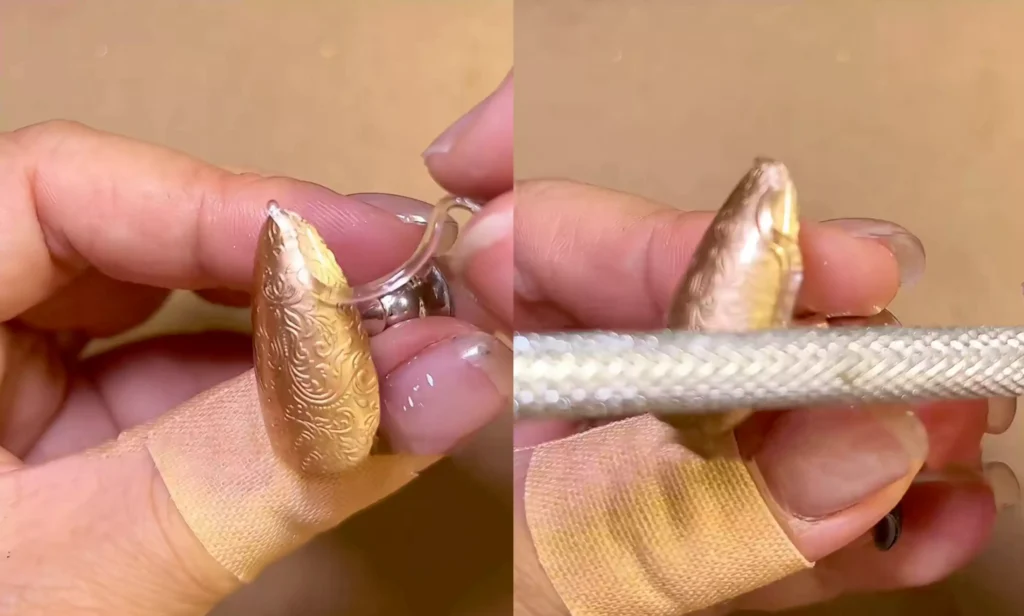
Para evitar el alabeo, lije los bordes después del curado bajo la lámpara y, a continuación, aplique una capa de adhesivo de refuerzo antes de sellar.
Paso 5: Decoración de los bordes
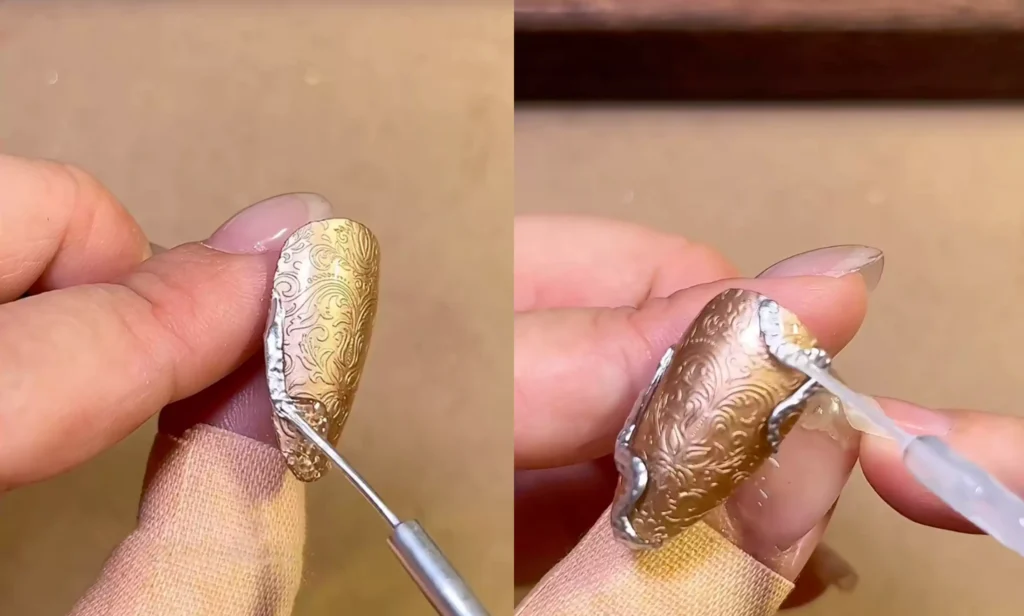
Enrolla el fondant en una tira larga y aplícala a la superficie de la uña. Tras ajustar la forma, utilice el rodillo de acero para presionar un dibujo sobre ella.
A continuación, aplica la solución de brillo metálico plateado sobre el esmalte de gel suave. Por último, sella la solución de brillo metálico con una capa de top coat. Así se completa el diseño de uñas cinceladas metalizadas.
¿Qué te parece? ¿No es súper fácil de hacer? Sigue los pasos ahora mismo y deja que las yemas de tus dedos disfruten de este elegante acabado metalizado.
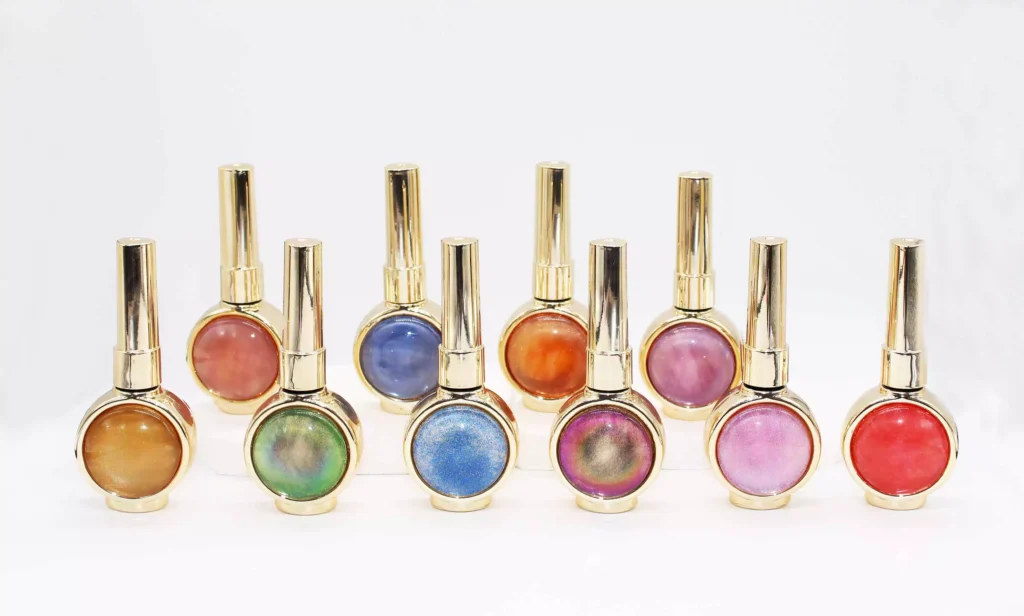
Por último, recomendamos el producto de CHROMÉCLAIR Esmalte en gel sin HEMA. La marca da prioridad a la seguridad, con fórmulas respetuosas con el medio ambiente y poco irritantes (sin HEMA ni TPO) que reducen significativamente los riesgos de alergia al tiempo que cuidan la salud de las uñas. Con una amplia gama de tonos y una larga duración (de 21 a 35 días aproximadamente), todas las usuarias pueden disfrutar de un producto seguro y tranquilizador.
Si tienes alguna duda durante el proceso, en el tutorial en vídeo que encontrarás a continuación encontrarás respuestas detalladas. Si te resulta útil, no olvides darle a me gusta, marcarlo como favorito y suscribirte. ¡Hasta la próxima para más tutoriales!