This time, we’ll provide a super detailed tutorial on how to create the “Magic Hole” nail effect! No acceleration required, we’ll show you the steps to help you master this nail art technique.
Step 1: Selecting Cat’s Eye Gel and Initial Application (Cylindrical Magnet)
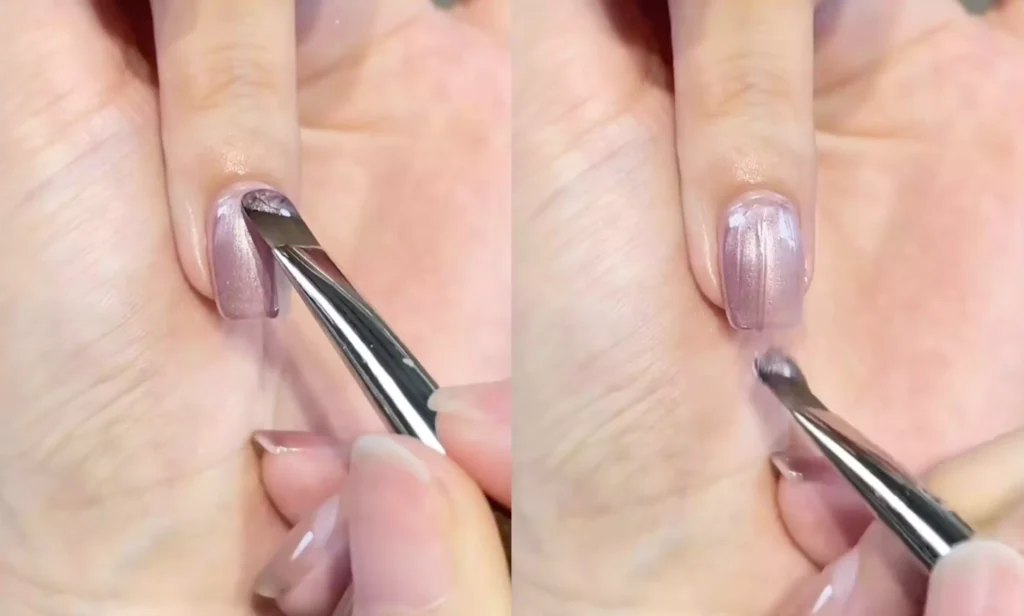
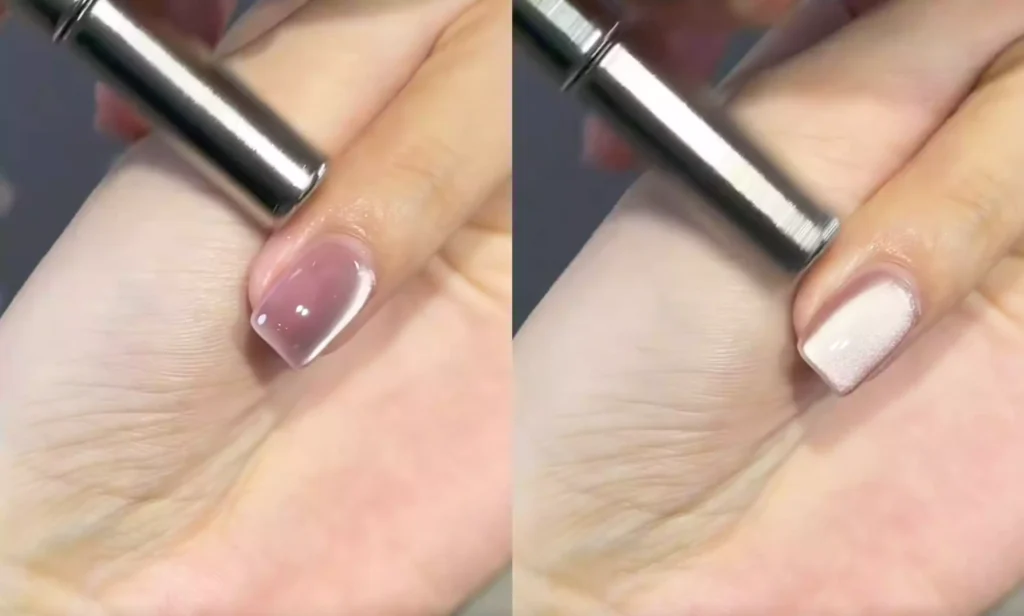
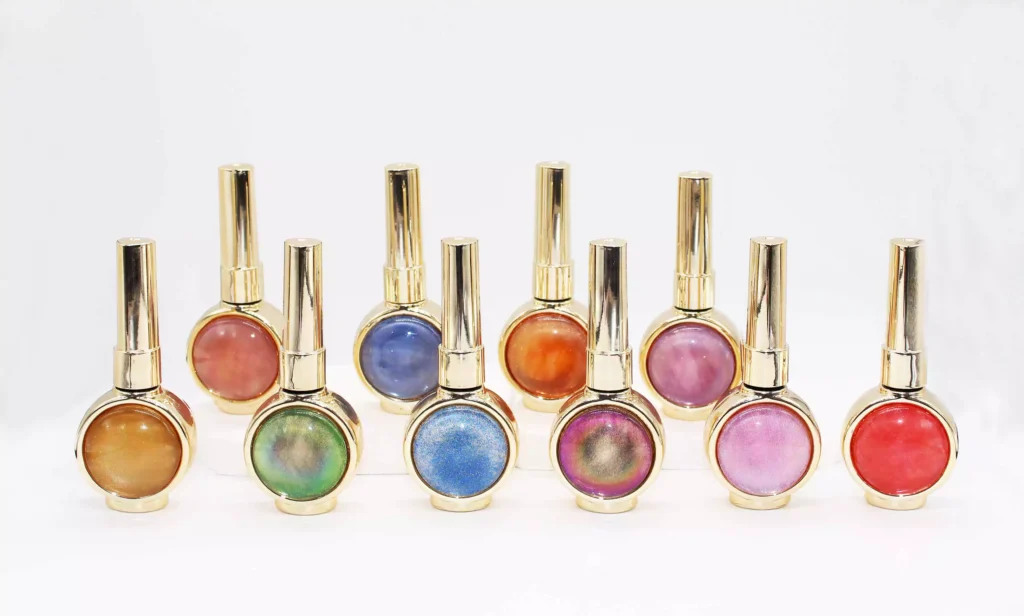
First, choose a cat’s eye gel with a satin-textured finish (I used CHROMÉCLAIR’s Esmalte en gel sin hema CE-05, que ofrece un color lujoso y texturizado, una retención del color duradera y no es tóxico ni perjudicial para el medio ambiente). Para aplicarlo, aplique una capa gruesa de gel sobre las uñas.
A continuación, saca el imán cilíndrico, colócalo fijo y encuentra la posición de la mitad de la longitud del imán como punto de referencia operativo.
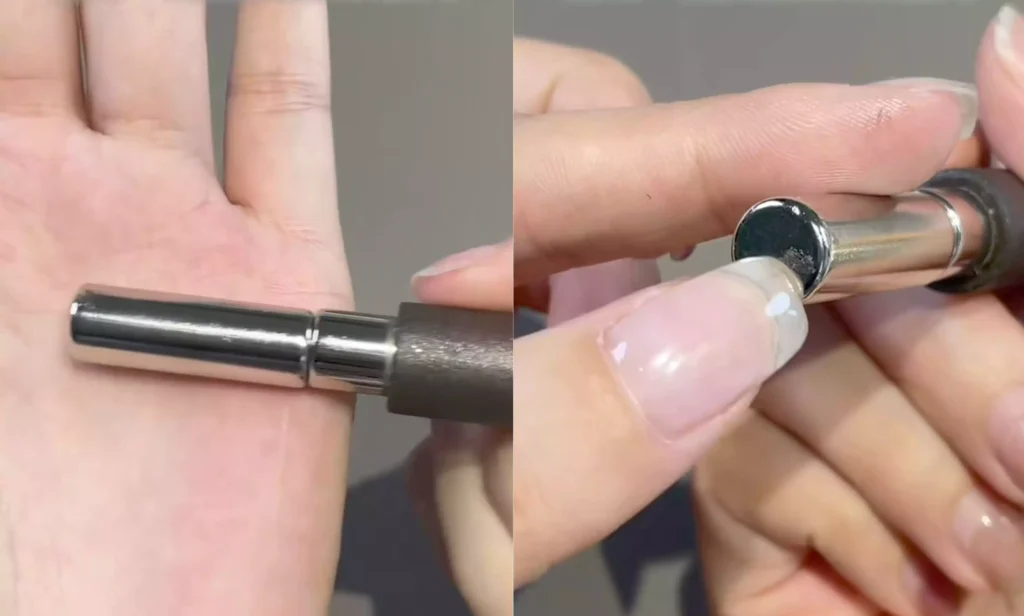
Mantenga los clavos en posición horizontal, alinee los bordes de los clavos con las ranuras para clavos de ambos lados y, a continuación, utilice el imán cilíndrico para deslizarlo hacia arriba y hacia abajo en paralelo a la superficie de los clavos.
Recommended next step
Complete the Cat Eye Look
Cat eye gel is not just one bottle. The magnetic effect works best when color, magnet, base, and top coat are chosen as a complete look.
- Apply the cat eye shade over a prepared base.
- Shape the magnetic effect before curing.
- Seal with no-wipe top coat for a glossy finish.
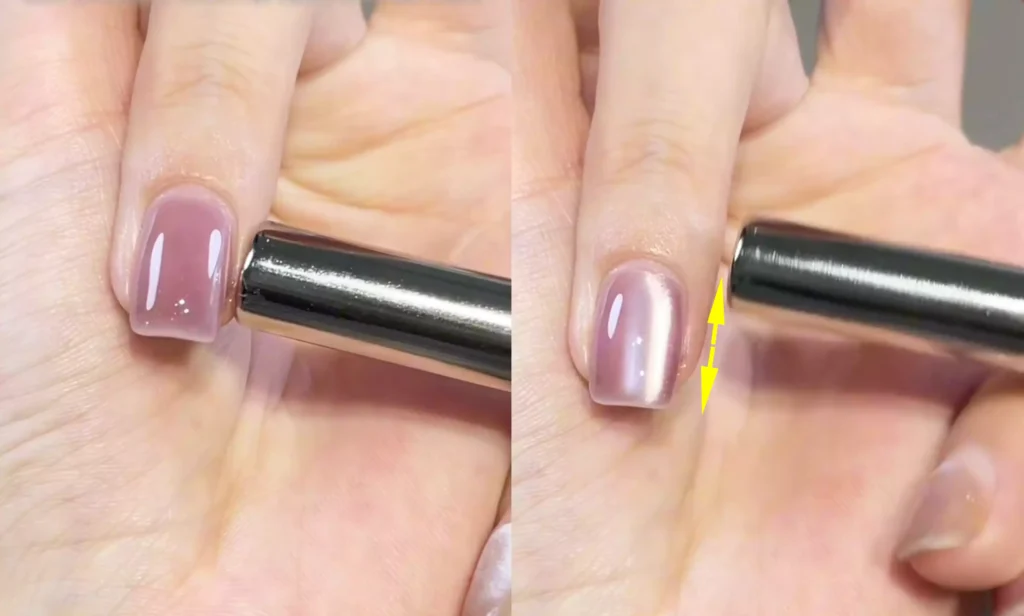
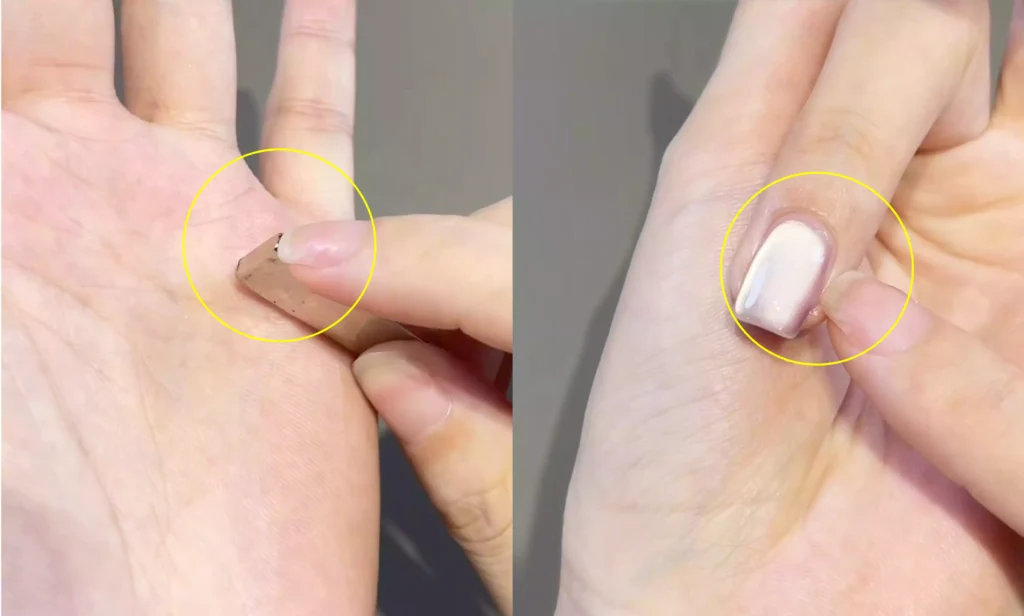
This will create a wide light effect on the nails, laying the foundation for creating a “magic hollow” texture later.
Paso 2: Funcionamiento de precisión con un imán plano
When switching to a flat magnet, hold the magnet vertically and use the magnet’s edge to precisely align it with the midpoint of the nail groove.
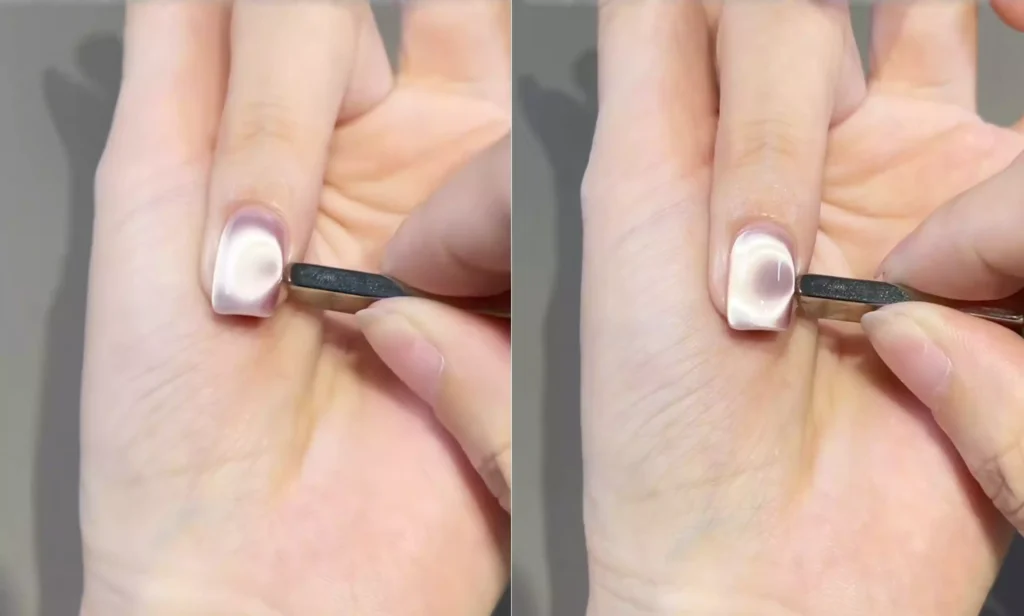
A continuación, acerque lentamente el imán a la uña, manténgalo quieto durante unos segundos y espere a que la fuente de luz sobre la uña se acumule gradualmente y adopte una forma específica.

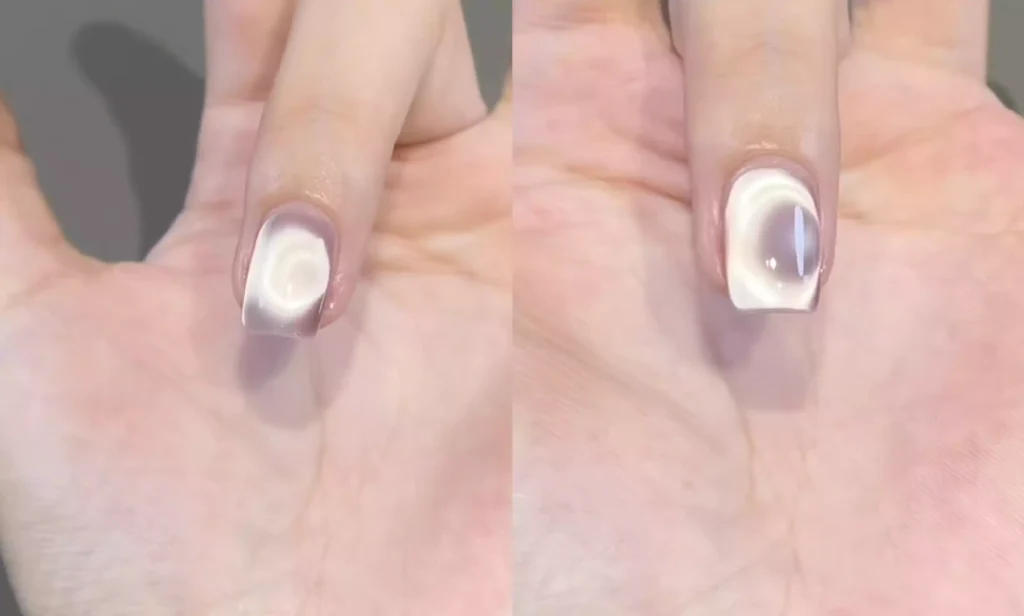
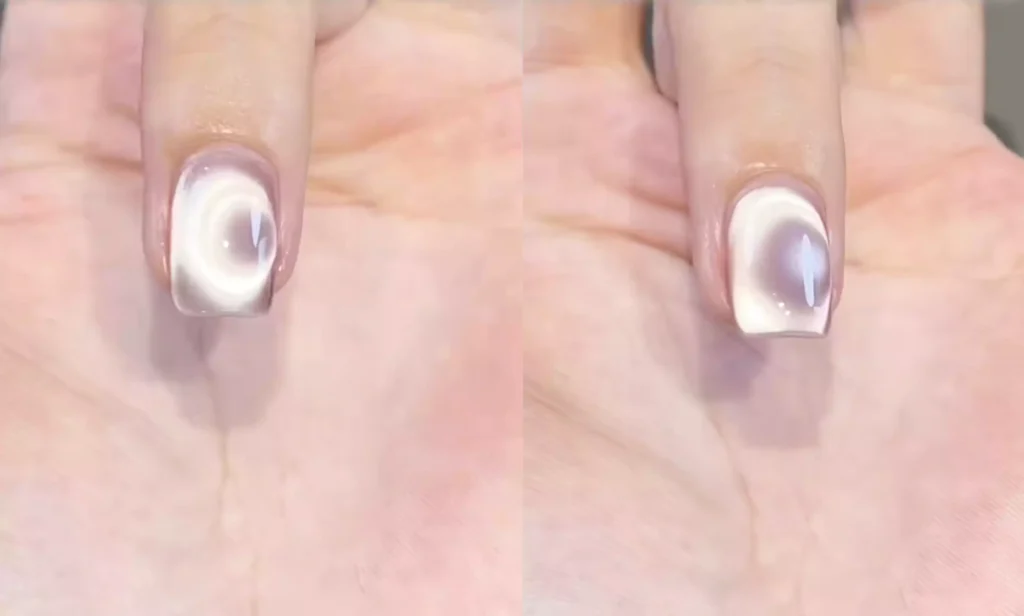
While waiting, you can also gently swing the magnet left and right to assist the light source in forming. When you see a clear light circle appear on your nails, quickly remove the magnet, and the “magic hole” nail art effect will appear.
Conclusión
Follow the above steps to create your “Magic Hole” manicure. Pay attention to the angle of the magnet, its position relative to the nail, and the rhythm of its movement. With practice, you’ll master it. Try it now to create your own unique manicure.
En el tutorial, he utilizado esmalte en gel CHROMÉCLAIR. Sus productos se centran en la seguridad, la baja irritación, la protección del medio ambiente y no contienen ingredientes nocivos, lo que reduce el riesgo de alergias (Esmalte en gel sin HEMA). Protegen unas uñas sanas y tienen una selección de colores súper rica. El color dura mucho tiempo (unos 21 días), la fluidez es buena e incluso los principiantes pueden aplicarlo uniformemente, lo que garantiza a cada consumidor una experiencia de uso segura.
¿Tienes problemas con el funcionamiento? Recuerda ver el video tutorial al final del artículo. ¡Si te gusta el tutorial de arte de uñas, por favor, como y recogerlo ⭐, suscribirse a mí, y nos vemos para el próximo tutorial!