
Summer is here, so today, let’s create a super sparkly, luminous shooting star manicure and capture the summer stars on your fingertips. Follow me step-by-step to recreate this beautiful manicure!
Paso 1: Imprimación y creación básica de ojos de gato
First, choose your favorite base polish (I used CHROMÉCLAIR’s Esmalte en gel sin HEMA 41, un tono azul verdoso transparente perfecto para el verano) y aplica una capa uniforme en las uñas. Este paso hará que el efecto ojo de gato sea más vibrante y dure más.
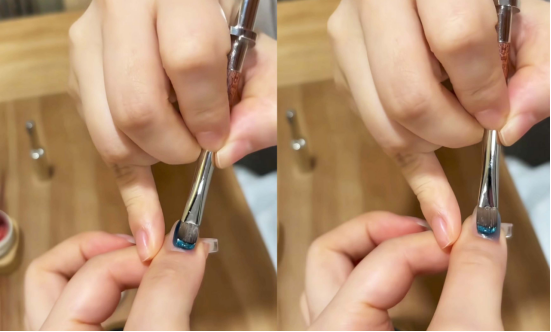
Cuando el capa base esté casi seco, saque el herramienta magnética, slowly suck it close to the surface of the nail, and use the magnet to suck out the cat’s eye texture with a glass pearl feel. At this time, you will see a delicate glossy band like the starry sky on the nails, which is super dreamy.
Step 2: Refine the cat’s eye & lidiar con el pegamento flotante
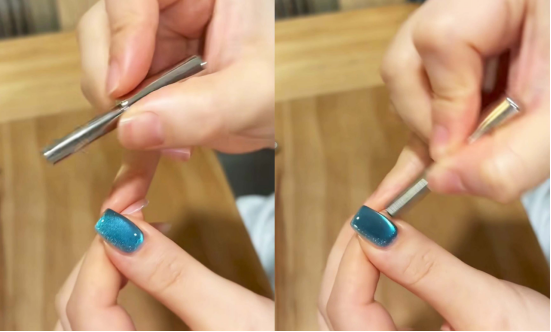
Next, use the smaller end of the magnet and circle it around your finger to create a more dynamic and evenly distributed light effect in the cat’s eye.
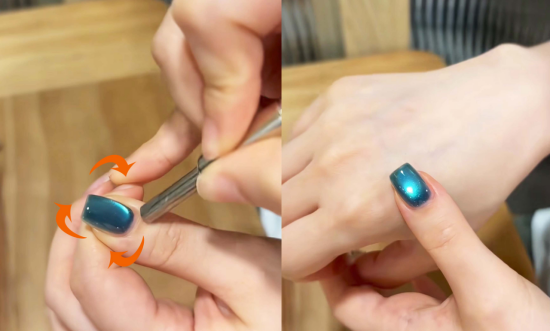
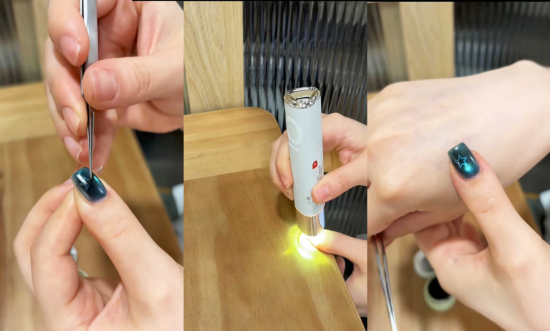
Use a nail lamp to cure this layer of glue. After curing, there will be a little floating glue on the surface of the nails. Don’t worry, just use a cleaning cotton to gently wipe off the floating glue, and the nails will become clear and clean in an instant.

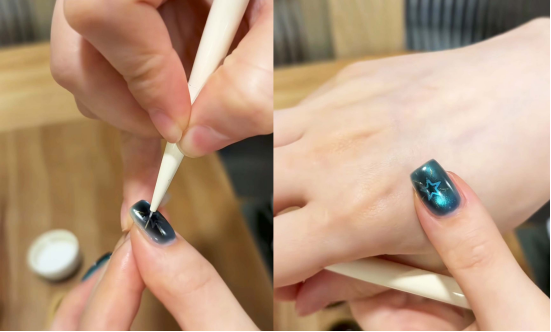
Paso 3: Decorar y superponer color (estrella de cinco puntas + pegamento negro)
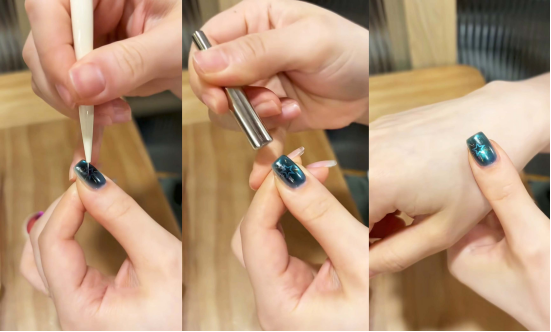
Now it’s time to decorate. First, apply a five-pointed star sticker (choose a delicate, small one for a truly stylish look!). Once it’s in place, use a small cotton pad to dab a small amount of black glue onto your nails. This will add depth and create a hazy, starry, misty effect around the star.

Después de hacer la foto, quita la pegatina y acuérdate de fijarla con la luz.
Paso 4: Superposición de ojos de gato multicolor (dorado + rojo rosado)
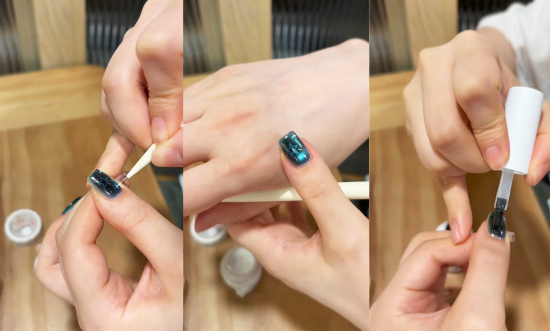
You can choose the colors based on your personal preference, but it’s recommended to choose two or three colors to enhance your manicure and make it easier to coordinate. First, apply gold cat’s eye gel and paint a circle along the edge of your nail. Keep a steady hand while applying to create smooth lines.
Next, switch to a rose-red cat-eye gel and gently draw a tiny line (it doesn’t need to be too long, just enough for a decorative effect). Then, use a magnet to draw out the cat-eye light again, making both the gold and rose-red luster three-dimensional. After this step, cure it under a lamp. Your nails will now shimmer like a galaxy.
Paso 5: Dibuja estrellitas y termina con un sellador
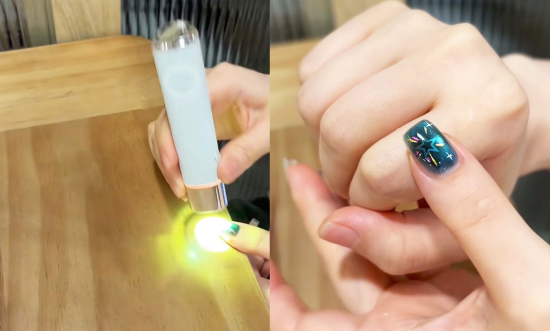
After the paint has cured, use a fine-tipped nail polish pen dipped in a bright color (silver or white are both very fairy-like) and draw two small stars on the blank areas of the nail to complete the “starry sky” effect.
Por último, aplica un top coat más resistente al desgaste y brillante. Después de la aplicación, cúrelo bajo una lámpara, y una manicura de meteorito brillante estará completamente terminada.
I recommend CHROMÉCLAIR nail polish products: focus on safety, low irritation, environmental protection, no harmful ingredients, reduce the risk of allergies (TPO-free & Sin HEMA), una variedad de colores, atienden a la estética dominante, están diseñados para usuarios de piel sensible, cuidan la salud de las uñas y garantizan que la experiencia de cada consumidor sea segura y protegida.

Los amigos interesados pueden consultar en el sitio web la
WEB: https://chromeclair.com/
El tutorial completo termina aquí. Al terminar, tus uñas serán como tener en la mano una estrella fugaz de una noche de verano, brillantes y bonitas. Combina muy bien con faldas y pantalones en verano. Animaos a probarlo, queridas. Si tenéis alguna duda, preguntadme en la sección de comentarios. Adiós.