Bonjour, je m'appelle Starry. J'ai été profondément immergée dans l'industrie de la fourniture d'ongles pendant huit années complètes, travaillant sur le terrain avec tous les types de gels à ongles, les formulations d'ingrédients, les problèmes d'allergie et les tests de résistance à l'usure tous les jours. Je connais les tenants et les aboutissants de presque tous les gels constructeurs sur le marché, et j'ai vu d'innombrables prothésistes ongulaires et utilisateurs à domicile commettre des erreurs évitables simplement parce qu'ils ne comprenaient pas vraiment ce produit.
Every other day, I get asked the exact same questions by my clients and nail techs alike: What is builder gel? How does it differ from normal gel polish? And is it good for damaged and thin nails?

In this article, I am going to share with you everything that I know after my eight years of experience in the industry to fully explain the builder gel, including the science behind it, correct application process, distinctions from normal gel nail polish, methods of removal, and picking up the least allergenic formulas possible. It is a guide without any useless information.
1. Tout d'abord, comprendre ce qu'est réellement le gel bâtisseur : il ne s'agit pas simplement d'un gel de polissage épais.
Most novices to nail technology think of Liquid Builder Gel as simply “thicker gel polish.” This misconception is the number one cause of people using it incorrectly, experiencing poor durability, and even damaging their own nails.
From a technical standpoint, builder gel (sometimes referred to as sculpting gel or structuring gel) is high viscosity gel that can be cured using UV or LED light. The main function of the gel is not coloring but providing structural reinforcement of the natural nail. Always explain to your clients and students: if gel polish is the paint that makes a house look pretty, then builder gel is its foundation and support.
Prochaine étape recommandée
Routine gel lisse et longue tenue
Les bulles, le décollement, le rétrécissement et l'usure terne sont généralement des problèmes de vernis. Réalisez votre manucure en suivant successivement les étapes de préparation, de base, de couleur et de finition.
- Préparer la plaque de l'ongle avant l'application du vernis.
- Utilisez une couche de base assortie au système de gel.
- Terminez par une couche de finition compatible pour une meilleure tenue et une brillance accrue.
Achetez un kit de routine longue duréeVoir la couche de finition sans essuyageComparer toutes les routines
Core Functions: Made for Weak & Damaged Nails
Builder gel has been created with the purpose of fixing all kinds of nail structure problems, with specific functions that were planned right from the start. It is an assisting and repairing agent, not just a cosmetic one:
- It strengthens brittle and weak nails, creating favorable conditions for proper nail growth
- Allows building natural nail extensions, repairing cracked, split or damaged nails
- Builds a structured nail shape, fixing flat or bent nails
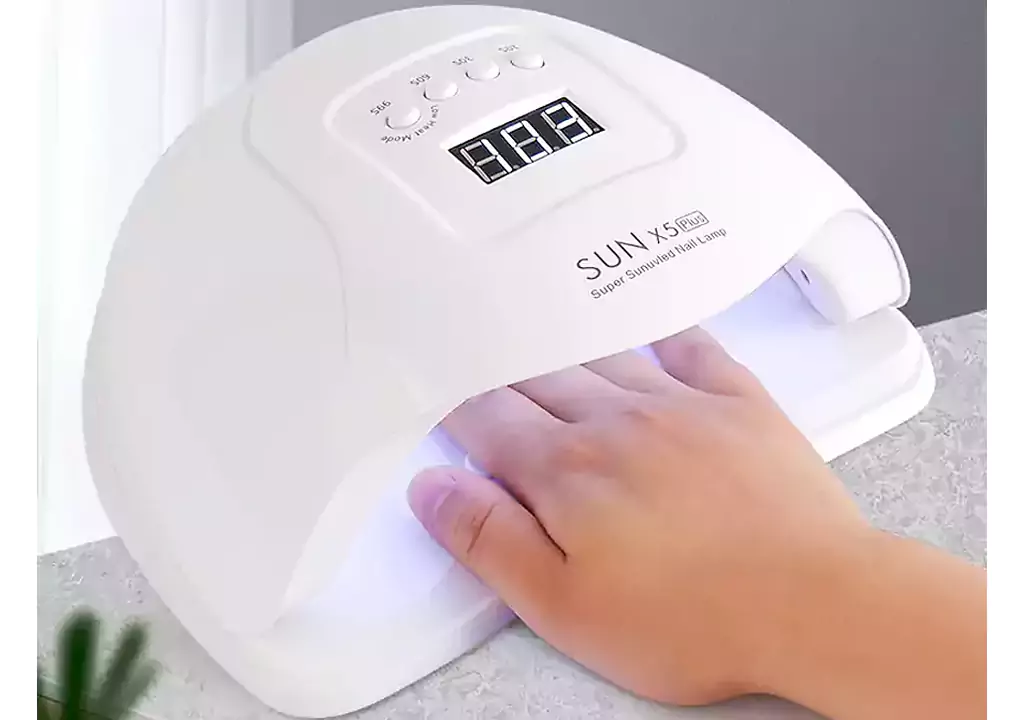
Cure : Chaque seconde compte plus que vous ne le pensez
Professional UV/LED curing light is used to fully harden the builder gel. The average curing process takes 30–60 seconds if you use LED curing light, and it takes 2-3 minutes when you cure builder gel with the help of UV light, and it’s not negotiable. For my partner brand, I performed product testing on the same builder gel, and I tested two groups – the first one was cured for 45 seconds and the second for 20 seconds only. In 5 days’ time, the second group started to peel from edges and was less than half as hard as the first one.
In summary, under-curing is not only a waste of time but also of product. It makes nails fragile, binds soft gel to the nail bed and raises chances of irritation. So there is no need to hurry since a few additional seconds will ensure durability and nail protection.
2. Principales différences : Gel bâtisseur vs. gel de polissage ordinaire (plus qu'une simple épaisseur)
This is the number one question I have been asked throughout my eight-year experience in this field. Although both are made from gel and need to be cured by using UV/LED light, they are completely separate products serving two completely separate purposes. No amount of expertise on your behalf will fix lifting and cracking of nails when you replace builder gel with regular gel polish. I have prepared a table to help beginners notice the difference right away:
| Catégorie de comparaison | Gel de construction (Gel structurant) | Gel Polish ordinaire |
| Texture & Consistency | Épaisse, haute viscosité, moulable, écoulement minimal | Mince, peu visqueux, coulant, ne peut pas garder sa forme ou supporter le poids. |
| Objectif principal | Soutien structurel, extensions, réparations, renforcement des ongles (accent mis sur la durabilité) | Couleur, brillance, finition décorative (accent mis sur l'esthétique) |
| Niveau de force | Haute résistance ; supportant le poids, résiste à la flexion et à la rupture | Faible résistance ; pratiquement pas de support structurel, repose uniquement sur la surface de l'ongle. |
| Outils d'application | Nécessite des pinceaux à sculpter, des formes à ongles ou des guides pour les pointes ; exige une technique précise. | S'applique à l'aide d'une brosse intégrée, sans outils spéciaux ni compétences avancées. |
But more importantly, when completely cured, the builder gel creates a very thick and compact three-dimensional cross-linked polymer network, combining the strength of acrylics and elasticity of soft gel. As compared to regular acrylics, the builder gel does not crack or chip easily and has considerably lower smell making it more pleasant to work with. That is the reason why it is used in salons across the world today.
Because of the thick nature of this material, care must be taken in applying it since improper application may result in bumps, bubbles, or an uneven surface, which needs to be done through thin layers and not in a haphazard way.
3. Retrait en toute sécurité : Un faux pas ruine des mois de croissance de l'ongle
I have personally seen how many individuals tend to mess up their nails just by the incorrect removal of the gel after spending so much time on them with the help of builder gels. This is the most critical step in which people tend to make mistakes, and if not done correctly, all efforts go in vain. The following is my 4-Step Safe Removal Technique, based on 10 years of experience:
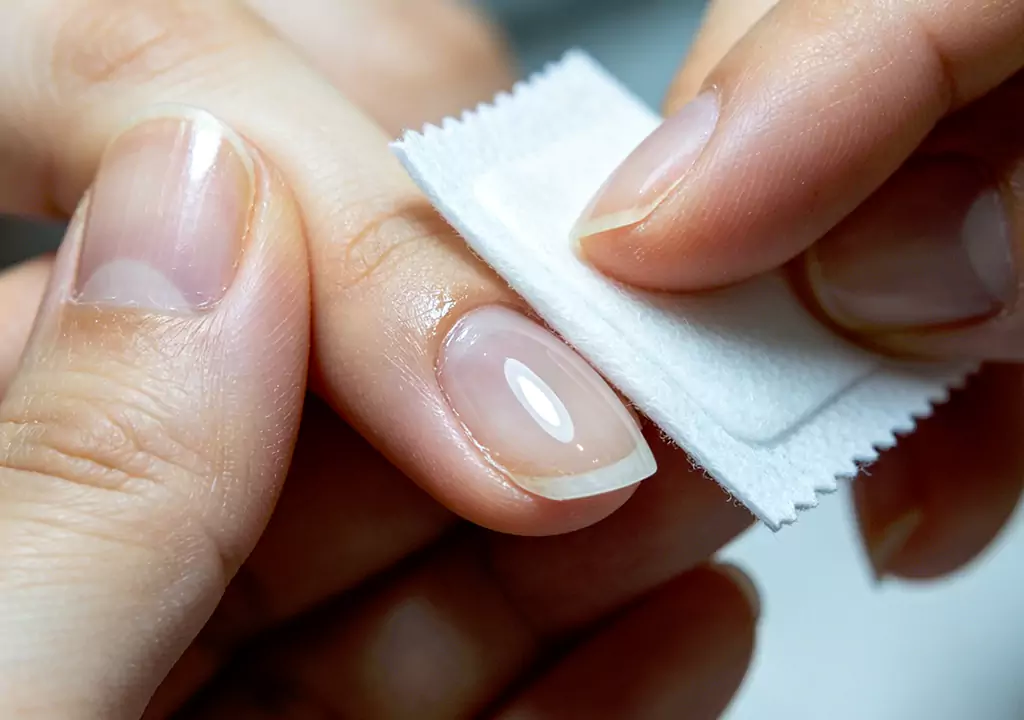
- Filing the Top Layer to Open the Seal: File the top layer using a medium nail file to scratch off the top layer and the glossy finish. Do not file through to the natural nail since you are only removing the seal to allow acetone in.
- The Soak & Wrap Method to Soften: Dip the cotton pads in pure acetone and wrap each nail with the cotton pads tightly and cover it with nail foil. Leave it like that for 10 to 15 minutes. There are some products with claims such as “2-minute soak off”, which are softening gel, follow the instructions only.
- Pousser doucement, ne jamais peler ou gratter: Une fois le gel complètement ramolli, utilisez un bâtonnet en bois d'oranger ou un repousse-cuticules en métal pour pousser délicatement le gel hors du lit de l'ongle. Ne jamais le décoller, le peler ou le forcer, Il s'agit de la principale cause d'endommagement permanent des ongles.
- Hydrater immédiatement: Juste après le retrait, appliquez de l'huile pour cuticules et de la crème pour ongles afin d'hydrater la plaque de l'ongle, la peau environnante et les bords de l'ongle, soulageant ainsi la sécheresse causée par l'exposition à l'acétone.
There was a client of mine who wanted to save time by not doing the filing and removed the gel from her nails after only five minutes of soaking, scrubbing very vigorously in the process. She made her nail plate thin almost to half and her nails became super sensitive. It took 8 long months for her nails to get back to normal again.

4. Variations populaires : BIAB vs. Hard BIAB - Qu'est-ce qui vous convient le mieux ?
Structured gel manicure has become an absolute hit among all nail trends thanks to its easy builder gel technology. Two most popular nail trends are BIAB (Builder in a Bottle, which is also known as Plexigel), an easy-to-use single step structured gel. People often get confused between regular and hard BIAB, that is why I will discuss them both here.
Regular BIAB: Best for Daily Care & Light Extensions
Regular BIAB is the most common variety. Its consistency is medium-thick, but the sculpting technique is made much simpler in one bottle, which makes it much more convenient to use than conventional builder gel. The result is a natural, flawless manicure that looks nothing like the bulky extension nails of the past, and can extend natural nails by 1 cm. Ideal for standard nail care and natural manicures.
Hard BIAB : pour les ongles très faibles ou abîmés
Hard BIAB is a superior, enhanced formulation that has twice the strength and rigidity of regular BIAB. This product is designed specifically for very thin, fragile, constantly breaking nails or for clients who have broken their nails due to biting or other trauma. I would always advise using Hard BIAB on such clients as it acts like a shield and allows nails to recover in a safe environment.
Kits de bricolage à domicile : Des kits faciles à utiliser pour les débutants, mais qui ne font pas de quartier
Home user friendly at-home kits from various brands now allow you to apply gel builder nails yourself by supplying custom nail forms and necessary tools for the procedure. This makes the process easier; however, there is a catch: usually home lights are not as powerful as those found in salons. The duration of the curing should be the same as prescribed, and you must apply thin layers as usual.
5. Shopping Guide: Safety Certifications & Ingredients Are Non-Negotiable
Following eight years working in the nail industry, I would like to reiterate one fundamental principle: safety should be prioritized over beauty. When considering builder gels, never base your decision on price or color alone, particularly when you have delicate or allergy-prone nails. Here is what you need to keep in mind:
- SGS, MSDS, and FDA Standards: Go for SGS or MSDS-tested products that comply with FDA standards. These independent certification ensure the safety and non-irritating nature of the products. Never opt for unbranded and inexpensive products since you cannot compromise on your nail health.
- Éviter les déclencheurs d'allergie courants: Le HEMA (méthacrylate de 2-hydroxyéthyle) est l'allergène le plus courant dans les gels à ongles, et le TPO est un photo-initiateur à haut risque lié à des réactions cutanées telles que des rougeurs et des démangeaisons. De nombreuses marques réputées proposent désormais desHEMA-Free & TPO-Free formules pour les utilisateurs sensibles. Par exemple, CHROMÉCLAIR offre une gamme complète de produits comprenant Liquid Builder Gel, Le vernis de finition est un diamant, Top Coat mat et Couche de base en caoutchouc, formulated without these harsh ingredients. This is not just removing a few chemicals; it is redefining safe nail care, retaining salon-level durability and shine while minimizing allergy risks.

- Proper Storage Ensures Product Is Not Wasted: Builder gel is sensitive to light and heat. Avoid storing this product near sources of heat and light as it will cause premature thickening or curing. Thickening due to exposure to cold is expected and all you need to do is warm the bottle and it goes back to its proper consistency.
Aperçu de l'industrie : Le gel de construction pourrait-il devenir un outil de réhabilitation des ongles ?
Besides the practical advice that I have provided above, there is one thought which I have spent much time thinking about over my eight-year career.
With more and more low-allergy, vegan and dermatologist tested formulas appearing on the market, the distinction between cosmetic nail treatments and professional nail care becomes blurred. One question comes to my mind: can builder gel become a clinical nail treatment device?
As it is today, dermatologists have little to go on when it comes to treating nail malnutrition, thin nails caused by trauma, and peeling nails. A mild builder gel that will help protect damaged nails and foster the growth of healthy ones could provide a great non-invasive complement to the work done by dermatologists.
Of course, extensive tests and medical approvals would be necessary, but there is no question where things are heading, as nail care is not simply about beauty any more but about having healthy nails. That has always been my guiding principle throughout my career.
Réflexions finales
Le gel de construction n'est pas un mystère ; c'est une bouée de sauvetage pour les ongles faibles et abîmés et la base de manucures structurées et durables. Suivez les règles suivantes : choisissez des formules certifiées et sûres, polymérisez complètement, retirez le gel correctement et évitez les allergènes agressifs. C'est ainsi que vous obtiendrez des ongles magnifiques et maintenir des ongles naturels en bonne santé.
J'aimerais que vous me fassiez part de vos commentaires : Quels produits pour les ongles utilisez-vous actuellement ? Si vous avez essayé gel constructeur, Si vous n'êtes pas sûr de vous, quelle est la partie la plus difficile - la mise en forme et le nivellement, ou l'enlèvement en toute sécurité ? Faites-nous part de vos expériences ou de vos questions dans les commentaires ci-dessous, et résolvons ensemble les problèmes qui se posent. Après tout, dans l'industrie de l'ongle, ce sont les détails qui font toute la différence.