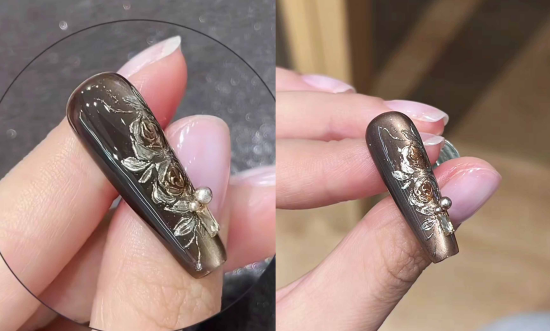
This tutorial shares a “retro 3D floral” nail art tutorial, from the base color to the 3D floral design and powder coating, using step-by-step instructions to recreate a luxurious texture.
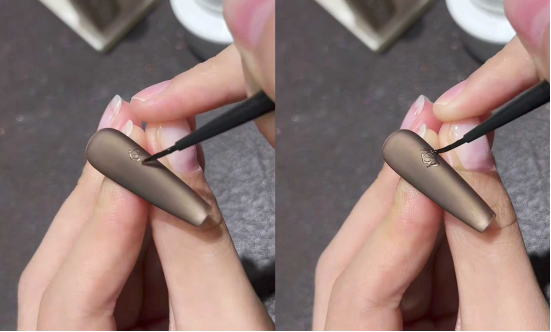
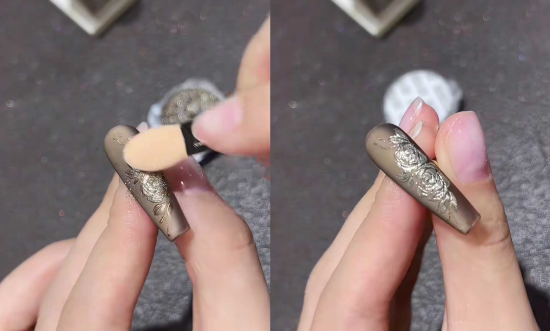
Step 1: Create the base color for the cat eye
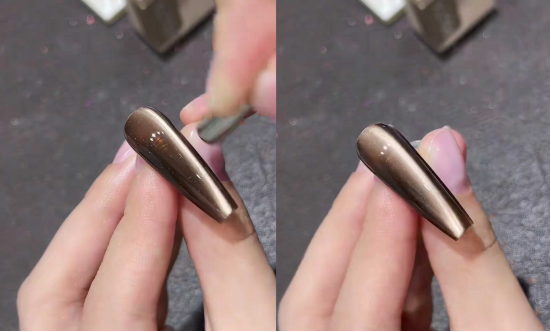
Apply a thin coat of copper-colored cat eye gel polish gel to the entire nail (I used CHROMÉCLAIR’s Hema Free Gel Polish No. 807, which has a sophisticated, high-quality color and is non-toxic and healthy).
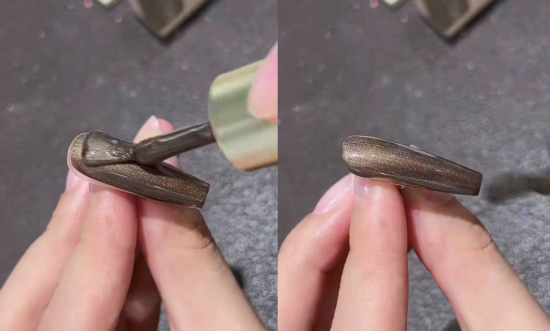
Use a magnet to sweep back and forth on one side of the nail surface to create a noticeable side glow. This cat’s eye gel magnetic powder is densely concentrated, so even a quick sweep can give the nail surface a metallic luster, laying a luxurious foundation for a retro look.
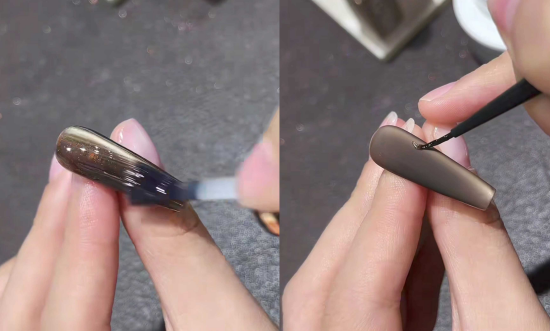
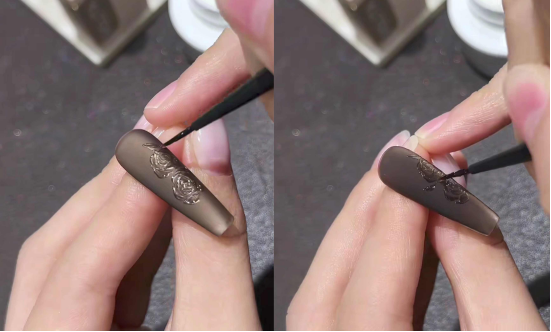
Step 2: Russian-style matte sealant + three-dimensional carving
– First apply Russian-style matte sealant: the matte texture makes the subsequent carving more three-dimensional and avoids the sticky feeling of a glossy finish.
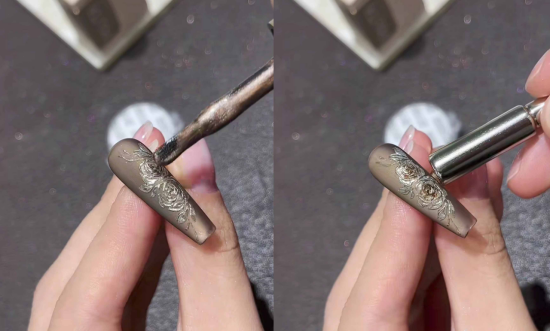
– Take some “non-collapsible modeling clay” and use a fine brush to draw the petals using a “light touch – heavy pressure – light lift” technique: starting from the center of the flower and working outward.
Irregular triangles are used to represent the natural folds of vintage roses, which are layered from the inside out and from large to small, allowing the petal texture to be clear and not collapse.

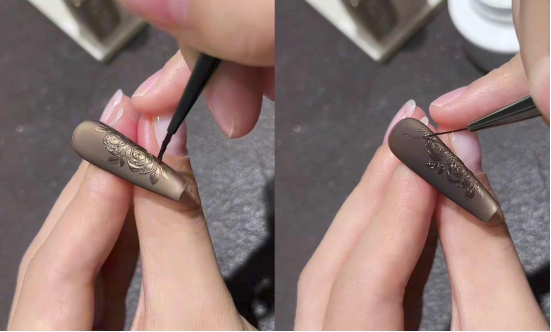
– Decorate with leaves: Draw leaf shapes next to the flowers, one next to the other.
The brushstrokes closely follow the edges of the petals, simulating the growth pattern of real flowers.
Step 3: Rock Gold Powder + Detailed Coloring
– After curing the modeling glue under a lamp, take some rock gold powder and lightly rub it onto the carved areas with a sponge.
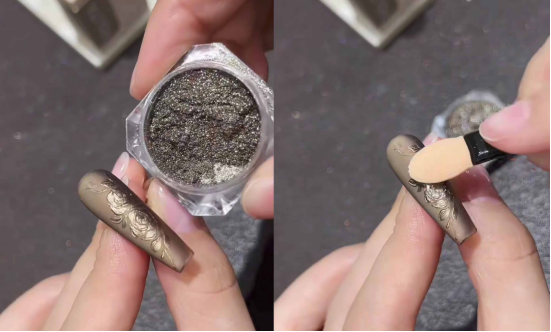
Sweep away any remaining powder. The gold powder blends with the matte base to create a subtle, luxurious look.
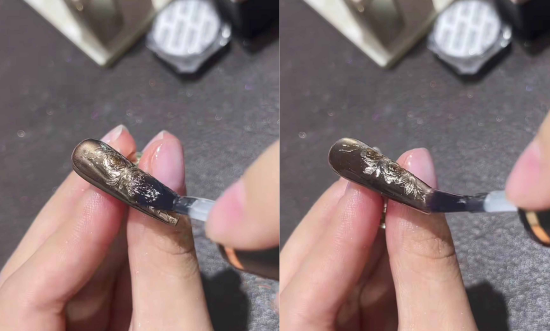
– Apply (807 color glue)to the center of the flower, use a magnet to remove some of the cat’s eye magnetic powder, and allow the center of the flower to appear “amber-colored,” naturally blending from the center to the edges to enhance the vintage layers.
Step 4: Sealing and Decorating
– Apply a layer of Magic Mirror Powder to cover the entire nail. This will fix the gold powder in place, protect the carving, and restore the translucent luster of the nail surface.
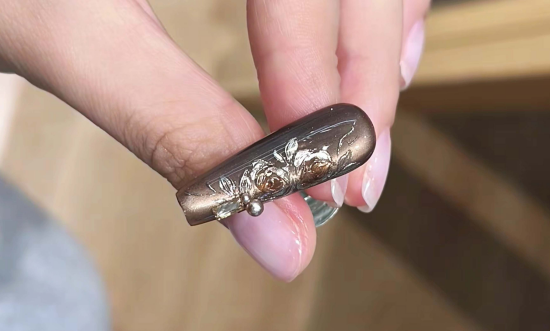
– Apply exquisite metal/pearl accessories to flowers or blank areas of the nail surface, secure with base glue, and complete the retro look.
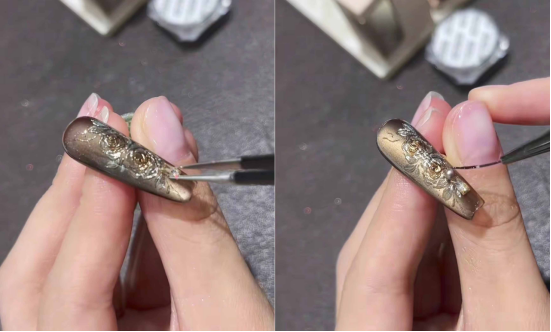
Conclusion
Once completed, the nail surface will have both the shimmering texture of cat’s eyes and the vintage elegance of three-dimensional carvings, making it a sophisticated match for any style of clothing. By following the steps, even beginners can recreate luxurious and elegant nails.
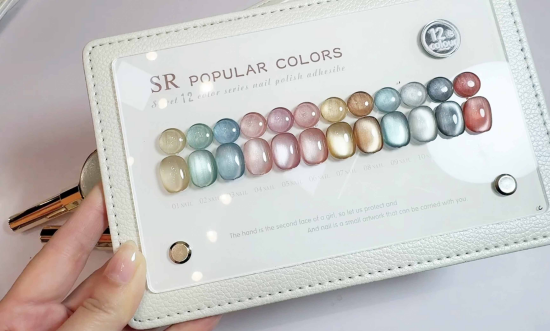
In the tutorial, I used CHROMÉCLAIR’s HEMA-free Gel Polish. Their products are safe and hypoallergenic (HEMA-free & TPO-free), environmentally friendly, and free of irritating and harmful ingredients, protecting the health of your nails. There is a wide range of colors to choose from, keeping up with the latest trends, so you can use them with confidence and look good!
If you encounter any problems during the process, you can watch the video tutorial below. If you find the tutorial useful and like it, remember to give it a thumbs up, save it, and subscribe to me. See you next time!