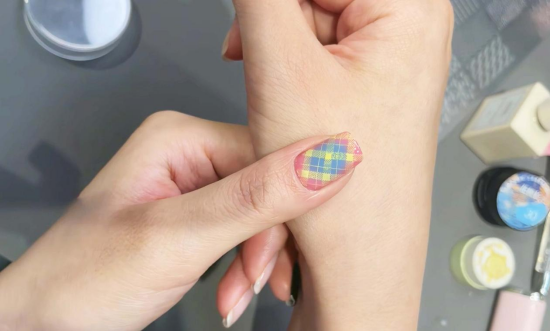
Today I’m sharing a blush plaid nail art tutorial that’s perfect for summer. It’s beginner-friendly, just follow the steps and you’ll be done!
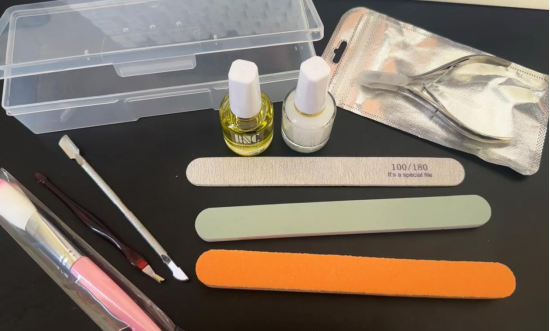
Required tools and materials:
Nail clippers
Nail file (optional)
Cuticle pushers and scissors (optional, but recommended)
Buffing strips/sponges (optional)
Cleansing pads/alcohol (75% concentration or higher)
Nail polish remover/removal bag (if removing old polish)
Base gel (essential for gel polish)
Colored gel/polish (primary color)
Top coat/top coat
Gel polish (UV/LED, essential for gel polish)
Transfer gel polish (or regular transfer polish): Designed for transferring designs, offering strong adhesion and rich color.
Checkered pattern transfer sheet: Features various checkered patterns and serves as a “template” for transfers.
Silicone transfer tip: Used to remove designs from the transfer sheet. Soft texture allows for better adherence to the nail.
Scraper: Scrapes off excess polish from the transfer sheet, leaving a clear image on the sheet.
Below is a step-by-step checkered nail art tutorial:
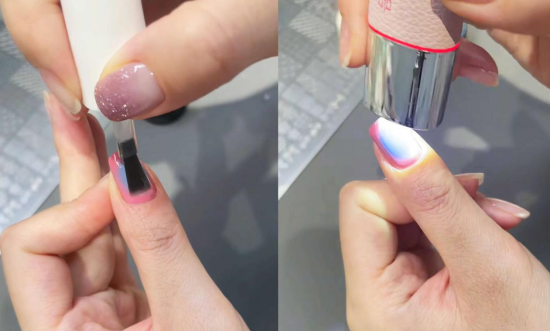
Step 1: Base Color
Choose a guava pink gel polish (I used CHROMÉCLAIR’s HEMA-free Gel Polish products No. 45, the color is gorgeous!) and apply it evenly to the nails, making sure to cover the edges. Once applied, dry under a UV/LED lamp to set the look.
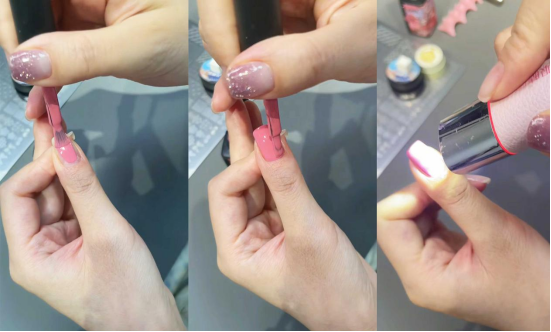
Step 2: Treating Slack + Applying Glue Gradient
– Use a cleaning cotton pad to clean any excess glue from the nail surface.
– Use the “Blush Blue” Glue Tool to gently blend the colors to create a natural blush blue gradient.

– After taking the gradient effect, use UV/LED light to fix the color
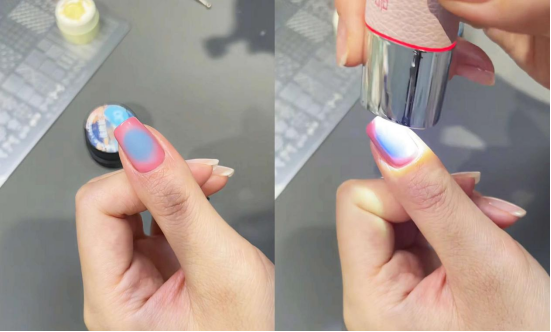
Step 3: Primer for reinforcement: Apply primer to cover the previous color (making subsequent patterns more solid). After applying primer, cure with a UV/LED light.
Step 4: Checkered Pattern Transfer
– Use yellow adhesive to transfer the checkered pattern from the nail art stencil.
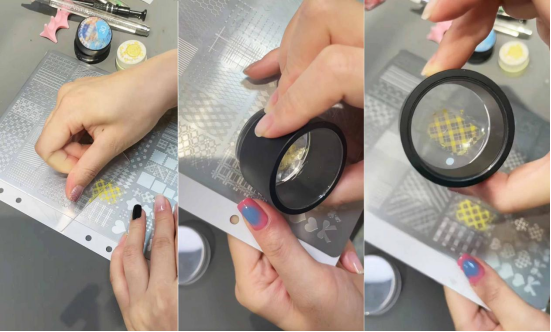
– Slowly transfer the grid pattern onto the surface of your nail. After adjusting the position, use UV/LED light to firmly fix the pattern.
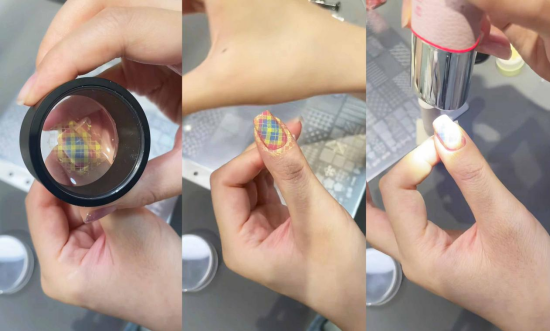
Step 5: Finish with a topcoat
Apply a topcoat (to enhance the shine and protect the previous pattern and color). After applying the topcoat, illuminate the nails with a UV/LED lamp. Once the light is on, your checkered nail art is complete.

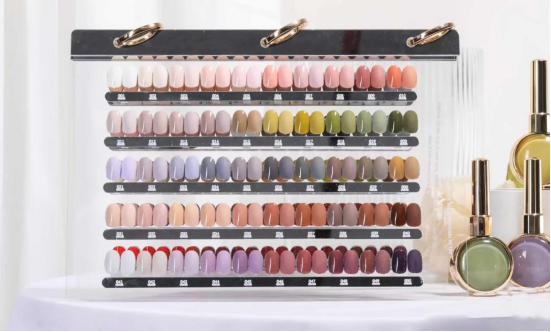
Finally, I recommend CHROMÉCLAIR’s HEMA-free Gel Polish products: focus on safety, low irritation, environmental protection, no harmful ingredients, reduce the risk of allergies (TPO-free & HEMA-free), a variety of colors, Catering to mainstream aesthetics, it is designed specifically for users who pursue non-toxic and environmentally friendly products, protecting healthy nails and ensuring a safe and secure experience for every consumer.
Doing this manicure in summer is refreshing and eye-catching. Friends who are interested can follow me and do it at home. If you find it useful, remember to like and collect it.
For more interesting and beautiful nail art tutorials, please subscribe to me