
Summer is here, so today, let’s create a super sparkly, luminous shooting star manicure and capture the summer stars on your fingertips. Follow me step-by-step to recreate this beautiful manicure!
Step 1: Primer and Basic Cat-Eye Creation
First, choose your favorite base polish (I used CHROMÉCLAIR’s HEMA-free Gel Polish products No. 41, a sheer blue-green shade perfect for summer!) and evenly coat your nails. This step will ensure the cat-eye effect is more vibrant and lasts longer.
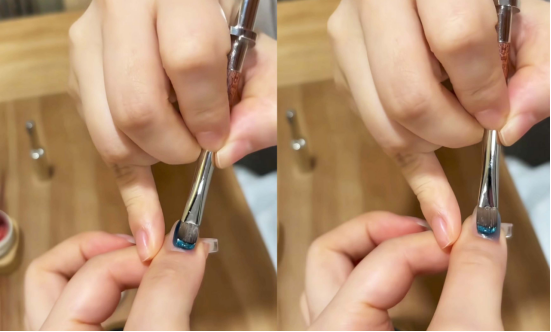
When the base coat is almost dry, take out the magnet tool, slowly suck it close to the surface of the nail, and use the magnet to suck out the cat’s eye texture with a glass pearl feel. At this time, you will see a delicate glossy band like the starry sky on the nails, which is super dreamy.
Step 2: Refine the cat’s eye & deal with floating glue
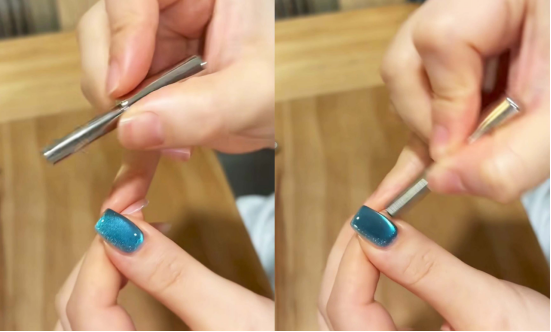
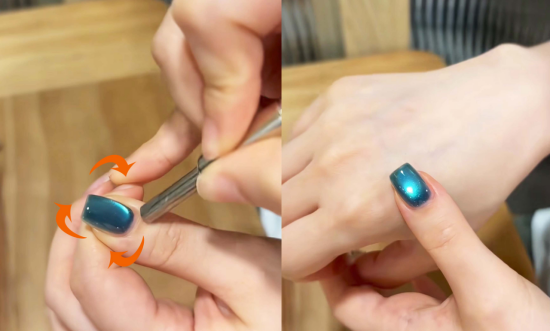
Next, use the smaller end of the magnet and circle it around your finger to create a more dynamic and evenly distributed light effect in the cat’s eye.
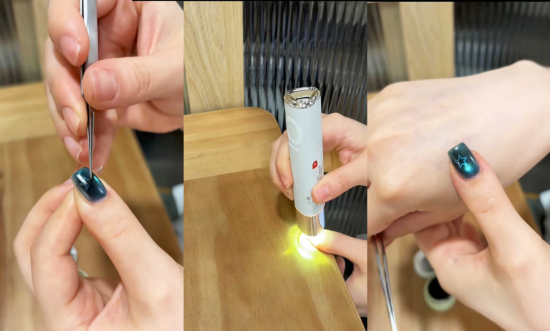
Use a nail lamp to cure this layer of glue. After curing, there will be a little floating glue on the surface of the nails. Don’t worry, just use a cleaning cotton to gently wipe off the floating glue, and the nails will become clear and clean in an instant.

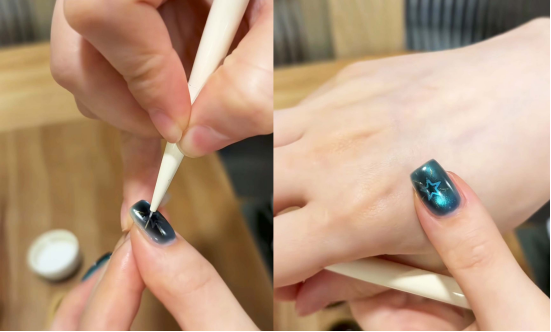
Step 3: Decorate and Overlay Color (Five-Pointed Star + Black Glue)
Now it’s time to decorate. First, apply a five-pointed star sticker (choose a delicate, small one for a truly stylish look!). Once it’s in place, use a small cotton pad to dab a small amount of black glue onto your nails. This will add depth and create a hazy, starry, misty effect around the star.

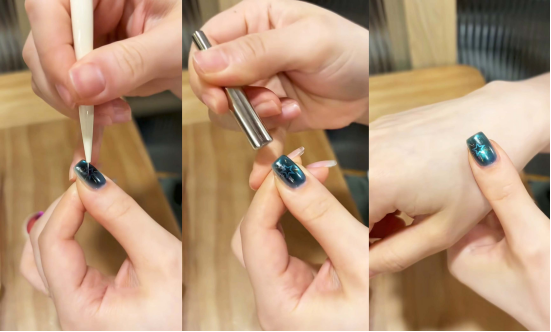
After taking the photo, take off the sticker and remember to fix it with the light.
Step 4: Multi-Color Cat-Eye Overlay (Gold + Rose Red)
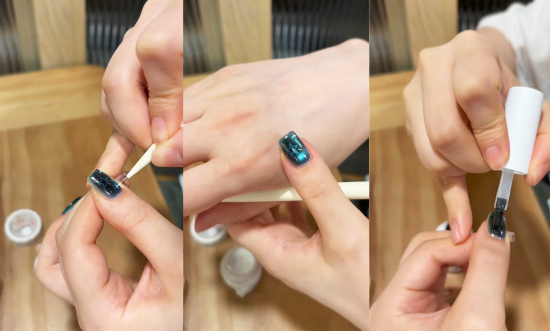
You can choose the colors based on your personal preference, but it’s recommended to choose two or three colors to enhance your manicure and make it easier to coordinate. First, apply gold cat’s eye gel and paint a circle along the edge of your nail. Keep a steady hand while applying to create smooth lines.
Next, switch to a rose-red cat-eye gel and gently draw a tiny line (it doesn’t need to be too long, just enough for a decorative effect). Then, use a magnet to draw out the cat-eye light again, making both the gold and rose-red luster three-dimensional. After this step, cure it under a lamp. Your nails will now shimmer like a galaxy.
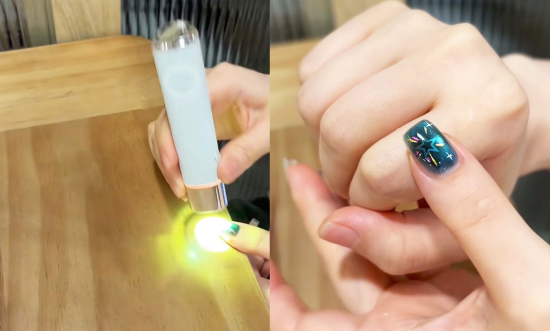
Step 5: Draw little stars and finish with a sealant
After the paint has cured, use a fine-tipped nail polish pen dipped in a bright color (silver or white are both very fairy-like) and draw two small stars on the blank areas of the nail to complete the “starry sky” effect.
Finally, apply a top coat that is more wear-resistant and brighter. After application, cure it under a lamp, and a sparkling meteor manicure is completely completed.
I recommend CHROMÉCLAIR nail polish products: focus on safety, low irritation, environmental protection, no harmful ingredients, reduce the risk of allergies (TPO-free & HEMA-free), a variety of colors, cater to mainstream aesthetics, designed for sensitive skin users, care for healthy nails, and ensure that every consumer’s experience is safe and secure.

Friends who are interested can go to the website to browse the
WEB: https://chromeclair.com/
The whole tutorial ends here. After finishing, your nails will be like catching a summer night shooting star in your hand, sparkling and beautiful. It goes well with skirts and pants in summer. Go and try it out, my dears. If you have any questions, please ask me in the comment section. Bye~