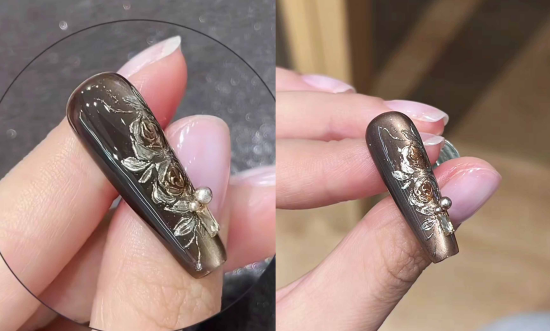
Deze tutorial deelt een "retro 3D floral" nail art tutorial, van de basiskleur tot het 3D bloemmotief en de poedercoating, met behulp van stap-voor-stap instructies om een luxueuze textuur te creëren.
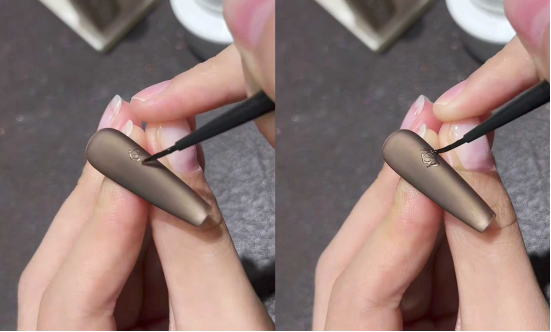
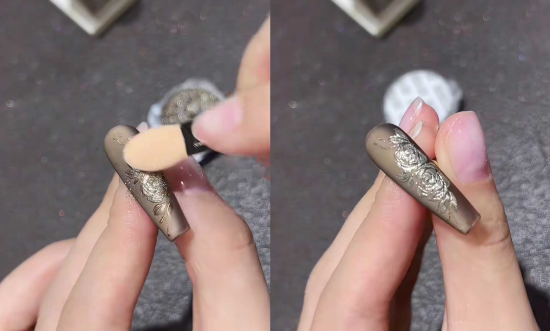
Stap 1: Creëer de basiskleur voor de cat eye
Breng een dunne laag koperkleurige gelpolish voor kattenogen gel to the entire nail (I used CHROMÉCLAIR’s Hema-vrije gelpolish Nr. 807, die een verfijnde, hoogwaardige kleur heeft en niet giftig en gezond is).
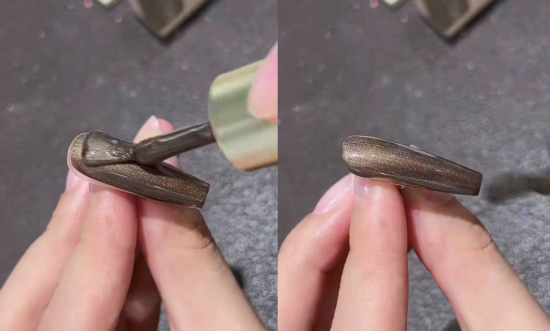
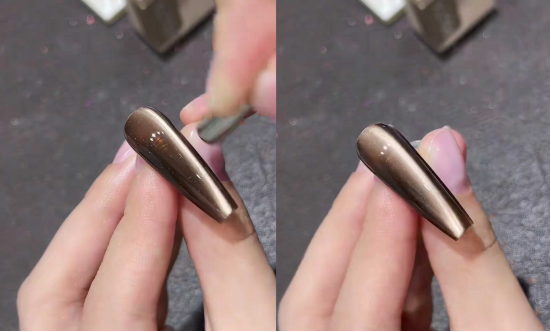
Use a magnet to sweep back and forth on one side of the nail surface to create a noticeable side glow. This cat’s eye gel magnetic powder is densely concentrated, so even a quick sweep can give the nail surface a metallic luster, laying a luxurious foundation for a retro look.
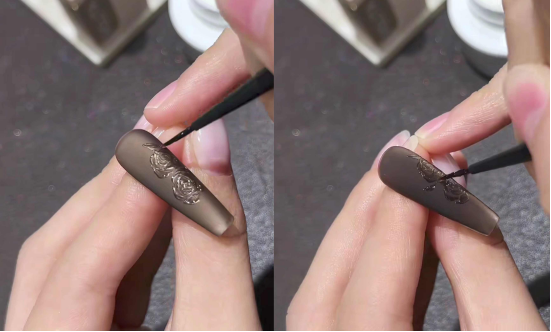
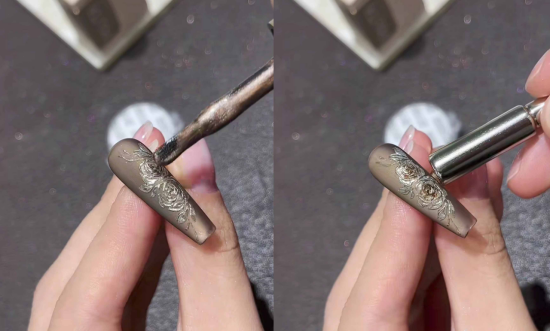
Stap 2: Russische stijl matte kit + driedimensionaal snijwerk
Recommended next step
Build the Nail Art Look Kit
Tutorial looks need more than a color bottle. Choose the color, art detail, transfer or sticker step, and a top coat as one look kit.
- Choose the main color or set.
- Add the art detail: sticker, transfer gel, magnet, or brush.
- Seal the finished look with top coat.
– First apply Russian-style matte sealant: the matte texture makes the subsequent carving more three-dimensional and avoids the sticky feeling of a glossy finish.
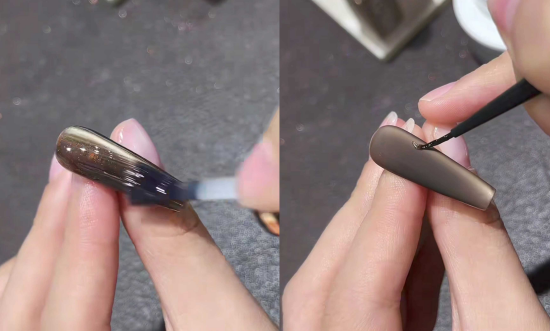
– Take some “non-collapsible modeling clay” and use a fine brush to draw the petals using a “light touch – heavy pressure – light lift” technique: starting from the center of the flower and working outward.
Onregelmatige driehoeken worden gebruikt om de natuurlijke plooien van vintage rozen weer te geven, die van binnen naar buiten en van groot naar klein worden gelaagd, waardoor de textuur van de bloemblaadjes duidelijk is en niet inzakt.

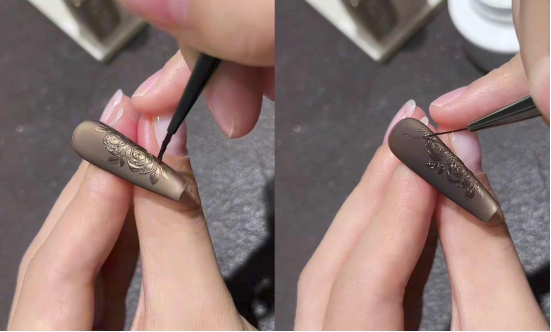
– Decorate with leaves: Draw leaf shapes next to the flowers, one next to the other.
De penseelstreken volgen nauwgezet de randen van de bloemblaadjes, waardoor het groeipatroon van echte bloemen wordt nagebootst.
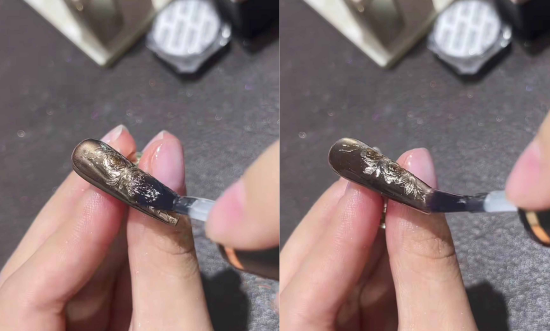
Stap 3: Goudpoeder + gedetailleerde kleuring
– After curing the modeling glue under a lamp, take some rock gold powder and lightly rub it onto the carved areas with a sponge.
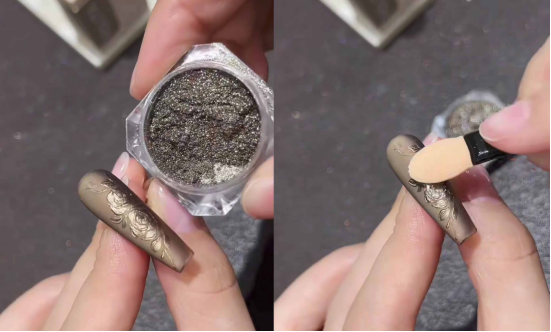
Veeg het achtergebleven poeder weg. Het goudpoeder mengt zich met de matte basis voor een subtiele, luxueuze look.
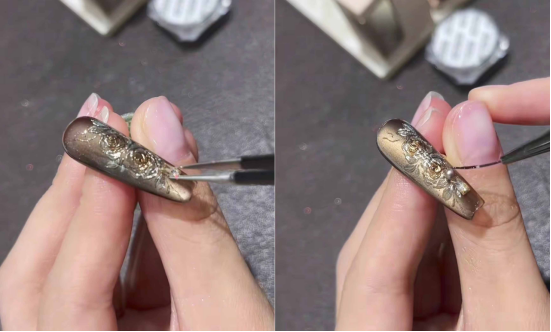
– Apply (807 color glue)to the center of the flower, use a magnet to remove some of the cat’s eye magnetic powder, and allow the center of the flower to appear “amber-colored,” naturally blending from the center to the edges to enhance the vintage layers.
Stap 4: Verzegelen en versieren
– Apply a layer of Magic Mirror Powder to cover the entire nail. This will fix the gold powder in place, protect the carving, and restore the translucent luster of the nail surface.
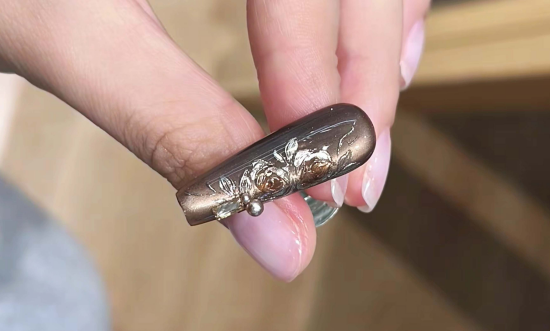
– Apply exquisite metal/pearl accessories to flowers or blank areas of the nail surface, secure with base glue, and complete the retro look.
Conclusie
Once completed, the nail surface will have both the shimmering texture of cat’s eyes and the vintage elegance of three-dimensional carvings, making it a sophisticated match for any style of clothing. By following the steps, even beginners can recreate luxurious and elegant nails.
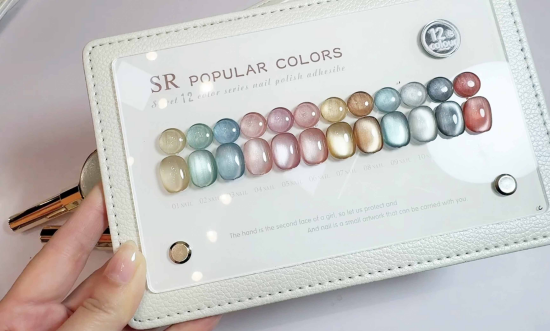
In the tutorial, I used CHROMÉCLAIR’s HEMA-vrije gelpolish. Their products are safe and hypoallergenic (HEMA-free & TPO-free), environmentally friendly, and free of irritating and harmful ingredients, protecting the health of your nails. There is a wide range of colors to choose from, keeping up with the latest trends, so you can use them with confidence and look good!
Als je problemen ondervindt tijdens het proces, kun je de onderstaande instructievideo bekijken. Als je de handleiding nuttig en leuk vindt, geef dan een duim omhoog, sla hem op en abonneer je op mij. Tot de volgende keer!