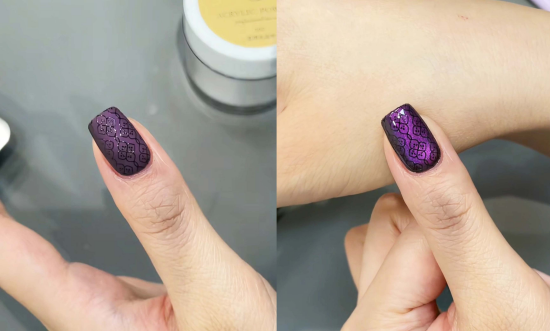
Today I’m sharing a very high-end purple window grille cat-eye print nail art | Get two textures at once, with the agility of the cat’s eye and the sophistication of the print, and you can choose between glossy and three-dimensional textures ~ Even novices can easily replicate it, so go and try it!
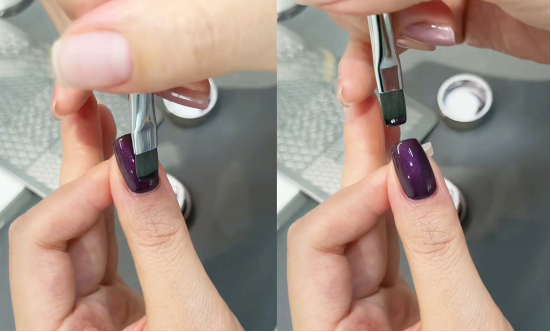
Step 1. Base Color: Purple Cat’s Eye Gel with a Black Base
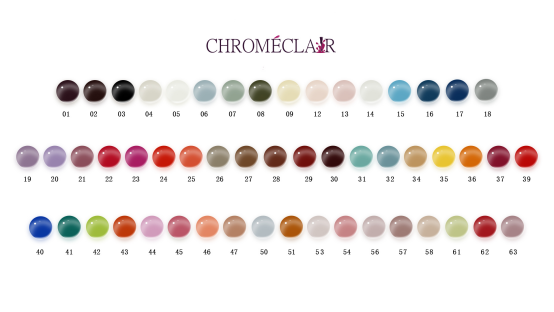
First, choose a purple cat’s eye gel with a black base (I used CHROMÉCLAIR Hema Free Gel Polish #448 Cat’s Eye Gel Polish, which is non-toxic, easy to apply, and has a luxurious, textured color). Use a nail art brush to evenly coat your nails. This base color creates a natural depth, which will make the subsequent cat’s eye effect even more eye-catching.
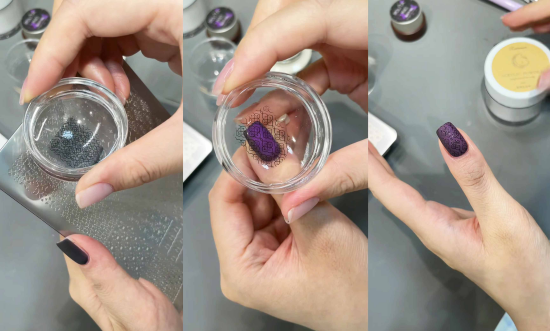
Step 2. Cat’s Eye Effect: Create a “glass bead” shimmer in two steps
Use a thick magnet to create a wide shimmer: Hold a thicker magnet close to the nail surface and move it horizontally to create a wide cat’s eye shimmer, spreading the base color’s fine shimmers horizontally.
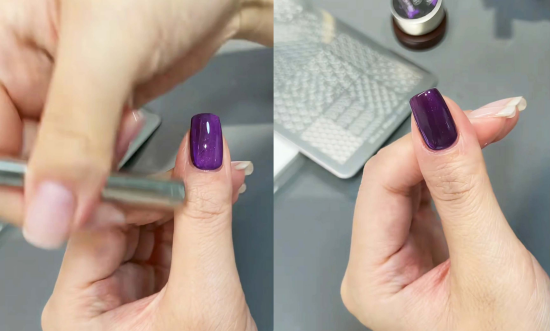
Use a thin magnet to push the glass beads: Use a thin magnet and gently push from both ends of the nail toward the middle to focus the cat’s eye light into a “glass bead in the middle” effect → solidify with a light.
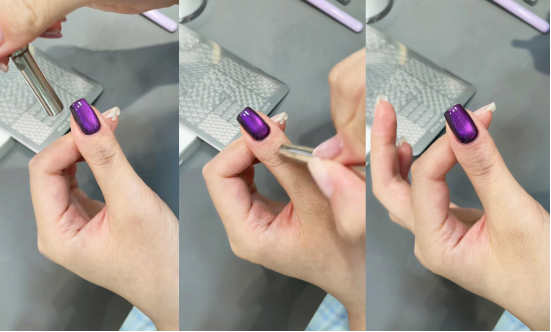
Step 3. Matte Topcoat: Creates a Matte Base
Applying a matte topcoat creates a luxurious matte finish when illuminated, paving the way for subsequent printing.

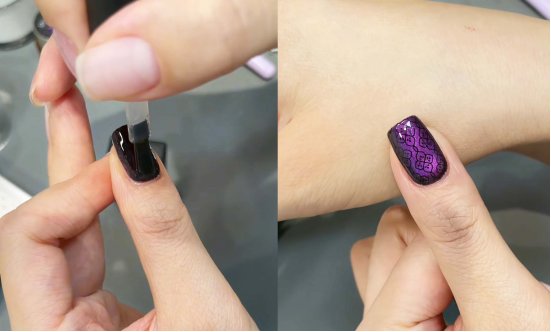
Step 4. Black Glue Printing: Super Easy Transfer from Stencil
Apply Glue and Scrape Evenly: Apply black glue to the patterned area of the nail art stencil. Use a scraper to smooth the glue evenly, filling the grooves of the pattern.
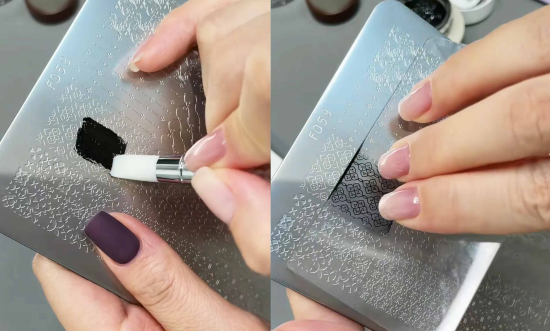
Transfer pattern: Use a transparent stamp to “stick” the pattern on the steel plate → Aim at the surface of the nail and accurately print the pattern (do not use a light for this step!)
Step 5: Use Crystal Powder to Create a 3D Effect (First Effect)
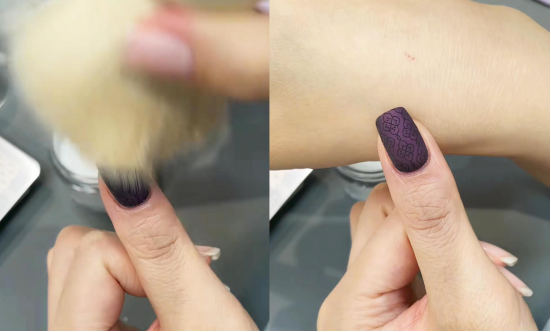
Lightly sprinkle transparent crystal powder over the printed pattern → Curing under a light.
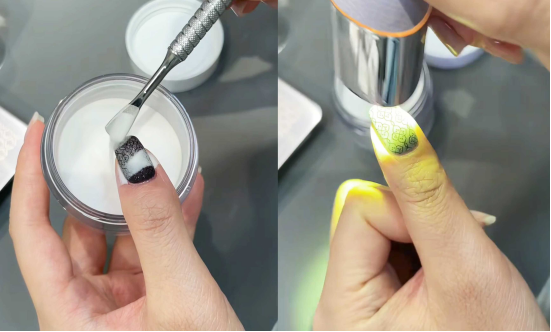
Use a brush to sweep away the excess powder on the surface of the nails, and the pattern will have a slightly raised three-dimensional effect, like a layer of embossed gauze covering the nails.
Transparent Glossy Finish (Second Effect):
Apply a topcoat directly after printing the pattern, eliminating the need for crystal powder. The nails will have a mirror-like sheen, and the pattern will appear as if embedded in glass, creating a refined and luxurious look!
The 3D style is retro and artistic, while the glossy style is transparent and eye-catching. Which effect do you prefer? Tell me in the comment section to unlock more nail art tutorials.
In the tutorial, I used CHROMÉCLAIR nail polish. Their products focus on safety, low irritation, environmental protection, and do not contain harmful ingredients, reducing the risk of allergies (Hema Free Gel Polish). They protect healthy nails and have a variety of colors to cater to mainstream aesthetics, ensuring that every consumer has a safe and secure user experience.
Don’t worry if you encounter any problems! If you have any questions during the operation, the video tutorial with more intuitive step-by-step instructions is at the end of the article. Subscribe and bookmark it to watch it anytime.