Dear friends, today we are going to unlock the super beautiful morning dew manicure and create a crystal clear fairy manicure. The whole process is full of practical information. Just follow the steps and you can easily get the same clear feeling~

Creating a Base Color: The Foundation for a Translucent Look
1. Color Selection and Gradients
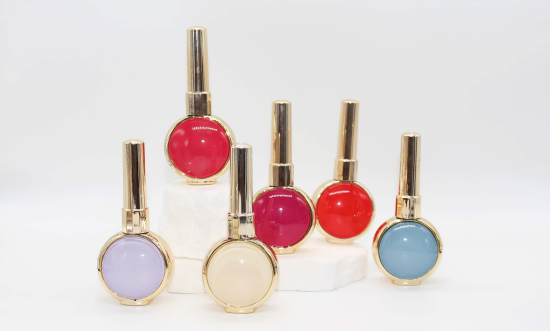
First, choose a nude nail polish that’s not pinkish (a pinkish hue will diminish the sheerness; a nude brown/beige shade will create a cleaner look. I’m using CHROMÉCLAIR No. 12 HEMA Free Gel Polish, which has a clean, translucent finish, perfect for today’s tutorial). Apply the polish using a “half-coat” technique, sweeping forward to create a natural gradient. This creates a layered base color, as soft as a veil in the early morning light.

2. Layer with Pearlescent Paint Gel
Recommended next step
Build the Nail Art Look Kit
Tutorial looks need more than a color bottle. Choose the color, art detail, transfer or sticker step, and a top coat as one look kit.
- Choose the main color or set.
- Add the art detail: sticker, transfer gel, magnet, or brush.
- Seal the finished look with top coat.
Take out the nanakara Pearlescent Paint Gel and apply it horizontally, creating irregular blocks of color (don’t make it too regular; a natural, casual pattern will create a more dynamic “morning dew” effect). Afterward, apply a layer of bluish-green opal pink. This step is key to achieving a translucent effect! The fine shimmer of the opal pink makes the base color look like morning dew with tiny diamonds, which is stunning in the sunlight.
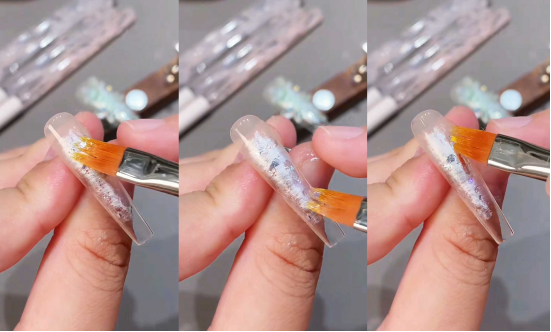
3. Blending + Glitter
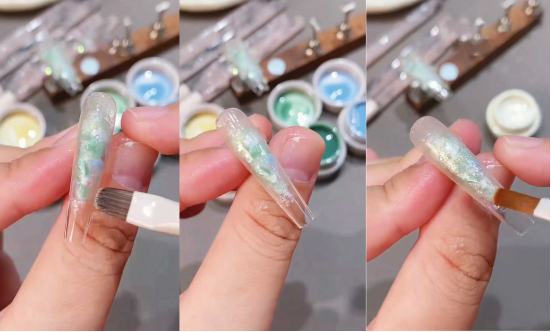
Prepare three semi-transparent blending gels: yellow, green, and blue. With green as the primary color, lightly blend the base of the nails (use gentle strokes to ensure a smooth transition between edges for a translucent effect). Finally, add a layer of glitter to complete the look.
3D Butterfly Decoration: A Fairy-Soul Touch
1. Watercolor Butterfly Outline
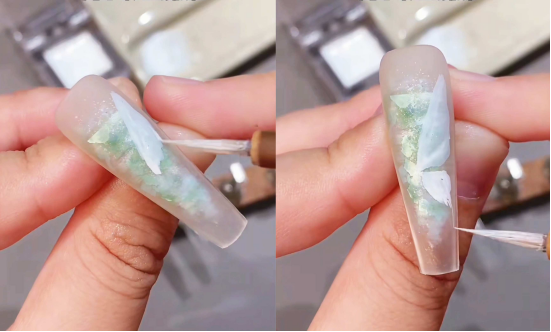
After the base paint is completely dry, apply a matte topcoat (the matte base will help the subsequent watercolors show through better). Then, use watercolor paint to outline the butterfly on the nails. This step doesn’t require excessive detail; it preserves the natural, hand-painted feel.
2. Use gum to create three-dimensional wings
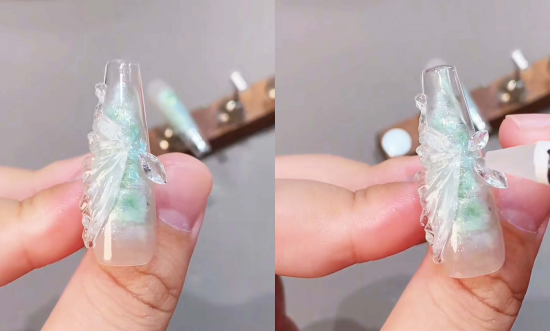
Use gum to create three-dimensional butterfly wings (gum has a chewy texture and can create a translucent and three-dimensional texture).

After the wings are pinched, the other half of the butterfly is pieced together with transparent marquise zircons, giving the butterfly both the agility of hand-painted pieces and the sophistication of diamond jewelry.
3. Wire-drawing Adhesive + Gravel Embellishment
After the sealant, use wire-drawing adhesive to create the lines and whiskers of the butterfly’s wings. (Use a fine-tipped brush for wire-drawing adhesive to create delicate lines.)
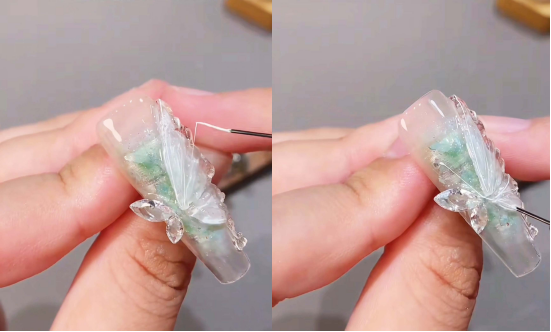
Next, mix the crushed stones and no-wash styling glue, and spread them irregularly on the butterfly wings to simulate the natural feeling of morning dew on the wings.
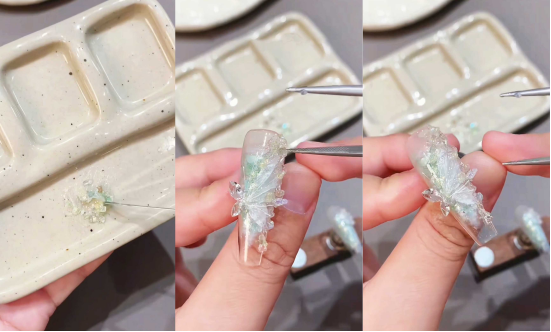
4. Hard Seal to Create Water Droplets
Finally, use a hard sealer to create small water droplets. Be mindful of the size and consistency of the drops.
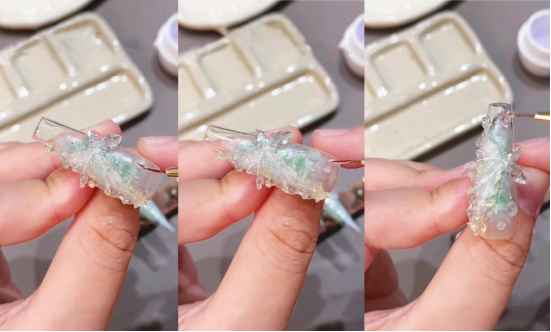
This will make it look more like real morning dew. After completing this step, the crystal-clear feeling of the entire manicure will be doubled!
Conclusion: Try this fairy-like manicure!
This morning dew manicure truly embodies the concepts of “clear, ethereal, and exquisite”! From the base color to the butterfly embellishment, every step is simple and beautiful. Find some free time to try this translucent manicure!
In this tutorial, I used CHROMÉCLAIR gel polish. Their products are safe, hypoallergenic, and eco-friendly, containing no harmful ingredients to reduce allergy risk (HEMA and TPO are free), protecting healthy nails, and offering a wide range of shades to suit mainstream aesthetics, ensuring a safe and secure experience for every consumer.
If you encounter any problems during the process, feel free to leave a message and ask me. If you find the tutorial useful, remember to like and collect it so that you won’t get lost when looking for the tutorial next time.