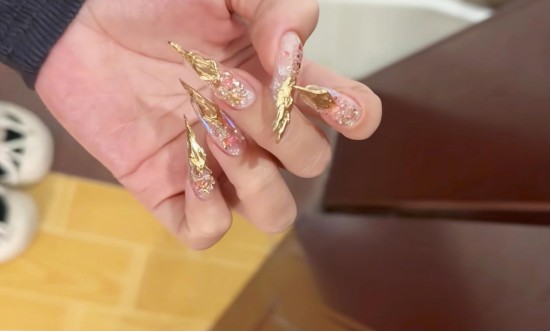
The metal lens nail art tutorial is here! Who doesn’t want to have a fairy-like and cool nail art? Follow the steps and you can get the same style.
Preparing for the installation
First, gather all the necessary tools, such as cellophane, glue, and sealant. Once you have all the necessary tools, the process will proceed smoothly.
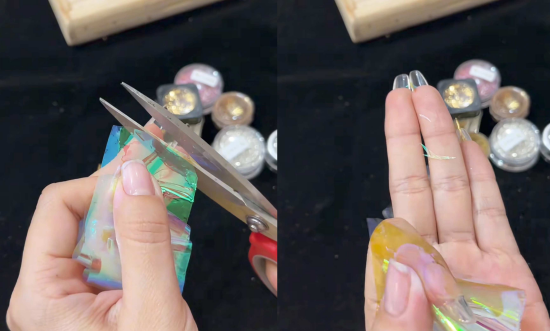
Cellophane Preparation and Attachment
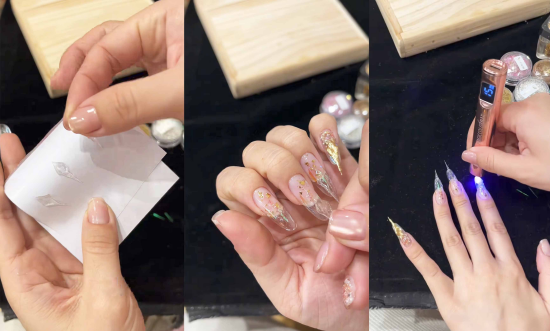
First, prepare the cellophane and cut it into triangles. This step will ensure it fits the nail shape better later on.
Recommended next step
Build the Nail Art Look Kit
Tutorial looks need more than a color bottle. Choose the color, art detail, transfer or sticker step, and a top coat as one look kit.
- Choose the main color or set.
- Add the art detail: sticker, transfer gel, magnet, or brush.
- Seal the finished look with top coat.
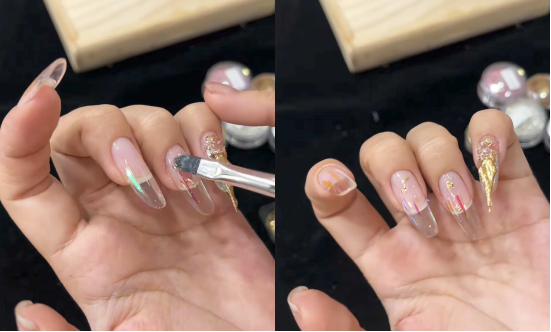
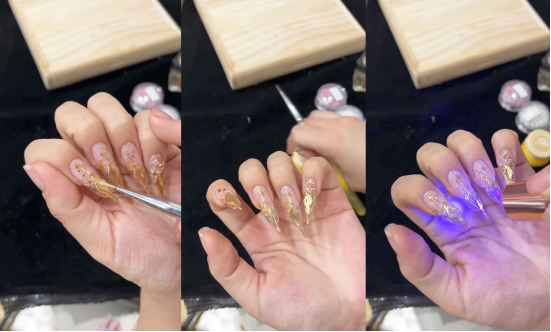
Then apply transfer glue on the nails, and then you can stick the cut cellophane next to the nails.
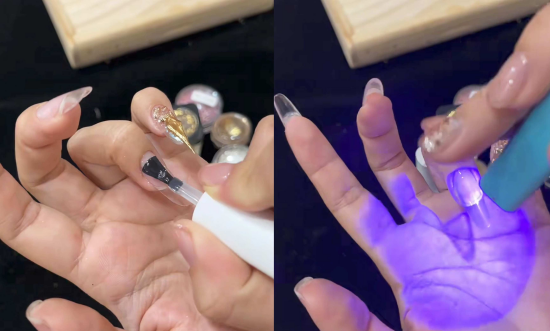
When applying, pay attention to the location to choose, so that the subsequent effect will look good. After applying the cellophane, wrap the cellophane with reinforcing glue. This step can make the cellophane stay on the nail more firmly.
How to Use Opal and Magic Mirror Powder
After applying the reinforcing glue, don’t rush to shine the light. Next, crush the opal and apply it to your nails to create a shimmering, rich texture.
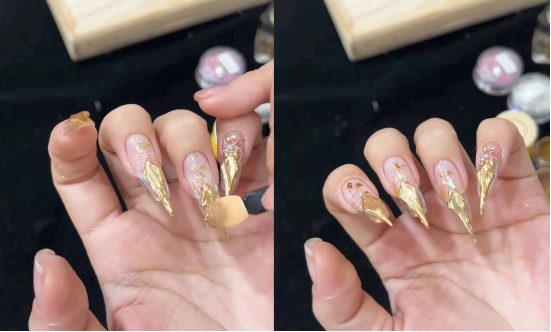
Then apply magic mirror powder gradually on the fingertips to create a unique gradient effect. The modeling part is to use soft candy glue to pinch, put a piece of soft candy glue on the palette, and then dip the silicone pen in a little water,

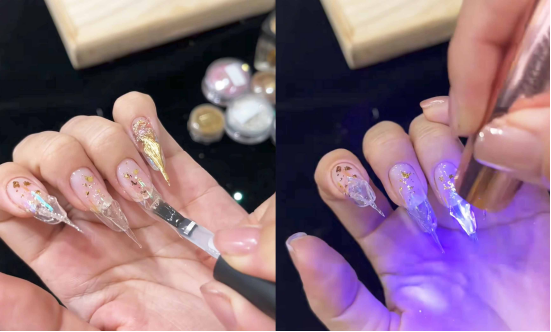
Mould the soft candy glue into a diamond shape and drag it out to make it look pointed. Then use diamond glue to remove the moulded shape and stick it to the glued area on the nail. Once the position is right, you can fix it with a light.
Topcoat and Powdering
After applying the light, apply a topcoat, then it’s time to apply powder.
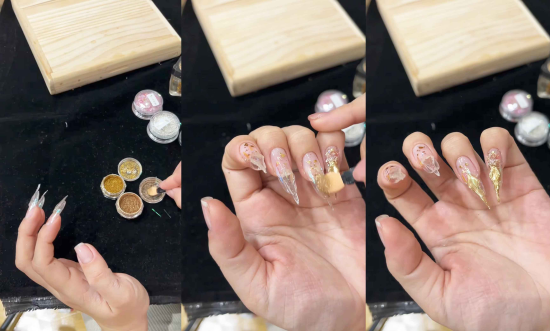
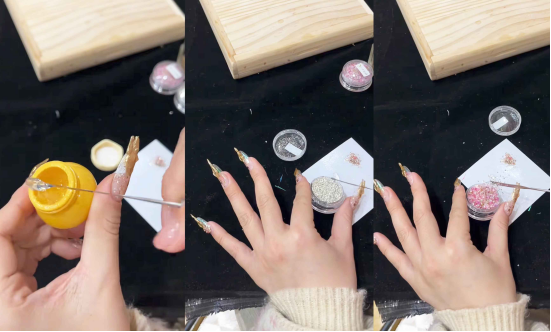
When applying powder, you can mix the brown and gold colors, and apply a little different powder to each.
Move it a little higher, and when gluing the broken corners, place it on the edge of the nail. After you are done, fix it under the light.
Then apply some powder on it, and wrap it with mochi base glue to make the powder more adherent.
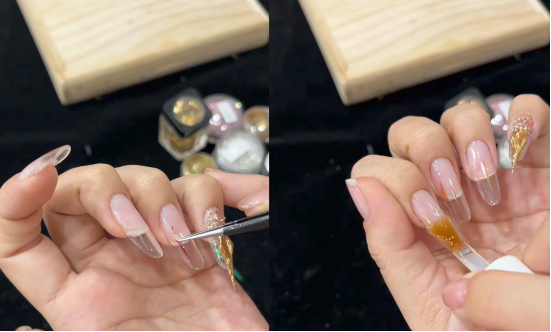
Decorative Details
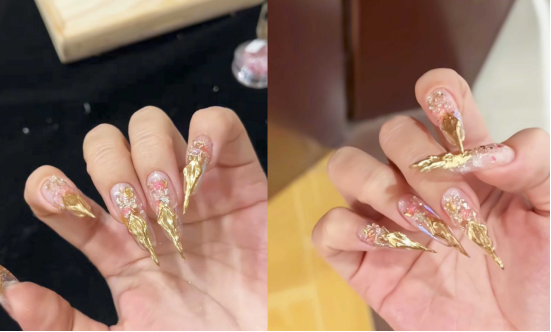
The back edge will feature small stones, silver frames, and gold pieces for added detail. Simply use modeling glue and mix the silver frames in. Then, add pink stones and sequins.
Spread it directly to the empty space at the back edge, which will make the manicure more layered and rich.

After laying them all out, you will find that they echo the shape of the thumb, and the overall feeling comes out.
Finishing Topcoat
Finally, apply a topcoat to your nails to enhance their glossiness and durability.
That’s it for your metal lens manicure! Go ahead and give it a try!
Finally, I would like to recommend CHROMÉCLAIR’s gel polish. Their products are safe and hypoallergenic (HEMA-free gel polish), environmentally friendly, and free of irritating and harmful ingredients, protecting the health of your nails. They offer a wide range of colors that keep up with the latest trends, so you can use them with confidence and look great!

Having trouble with the operation? Be sure to check out the video tutorial below. If you find it useful, please like and save it⭐, and subscribe to my channel! See you next time!