Want to have unique and eye-catching nails? Today, we will unlock the romantic mermaid nails.The operation is simple,The process is simple, and I will explain the techniques in detail in the following tutorial. Even beginners can try it out. I will teach you step by step how to create “ocean magic.” If you like it, follow me and let’s get started!

Step 1: Base color and cat eye gel base coat
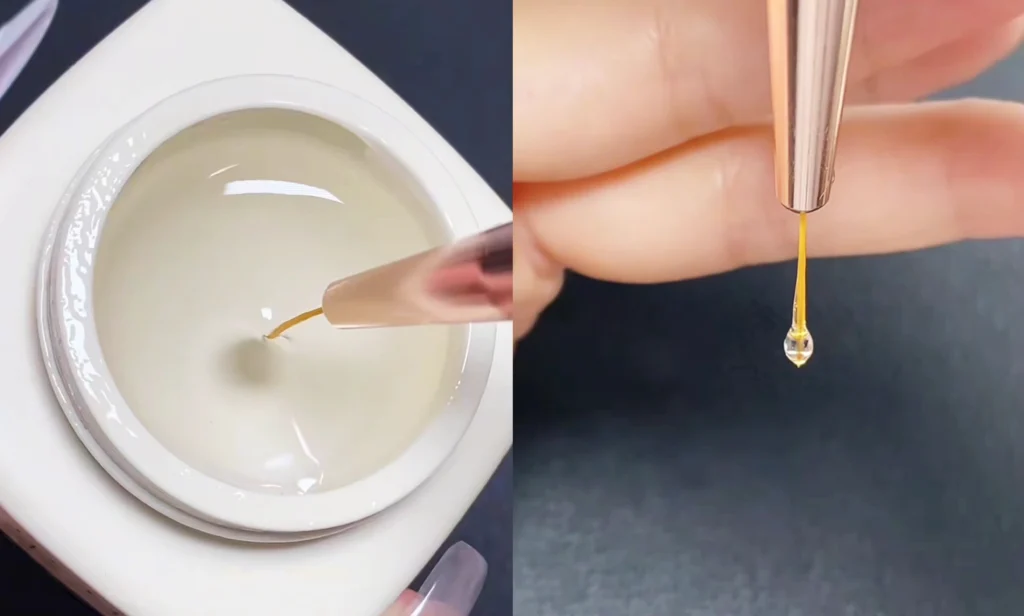
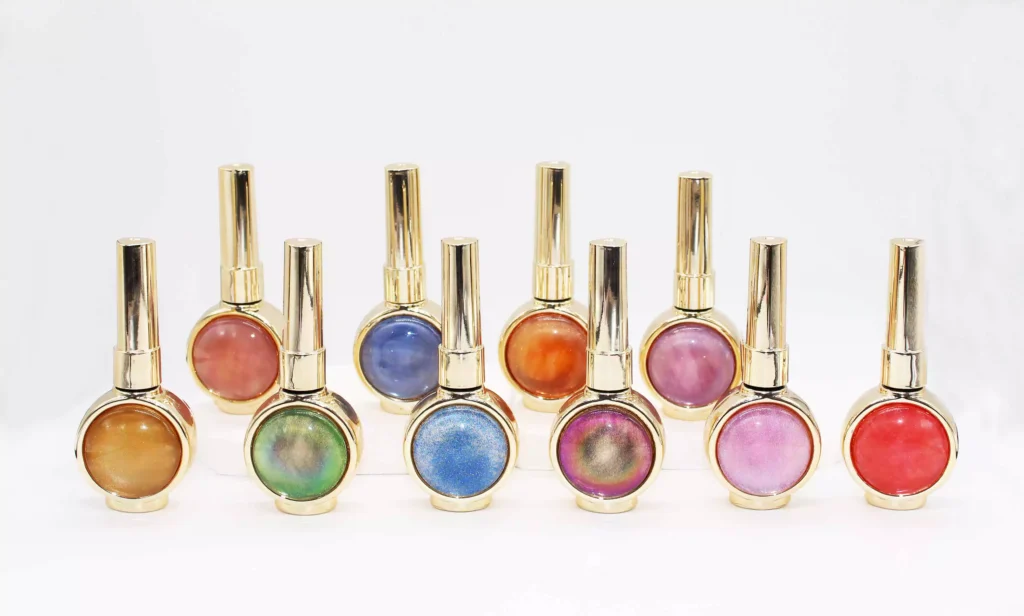
First, choose your favorite cat eye gel polish (I used CHROMÉCLAIR’s Hema Free Gel Polish CE-06, which has a transparent gradient effect).

It applies smoothly and has long-lasting color retention. After applying it to the nail surface, first outline the mermaid tail contour—imagine the flowing lines of a mermaid’s tail.
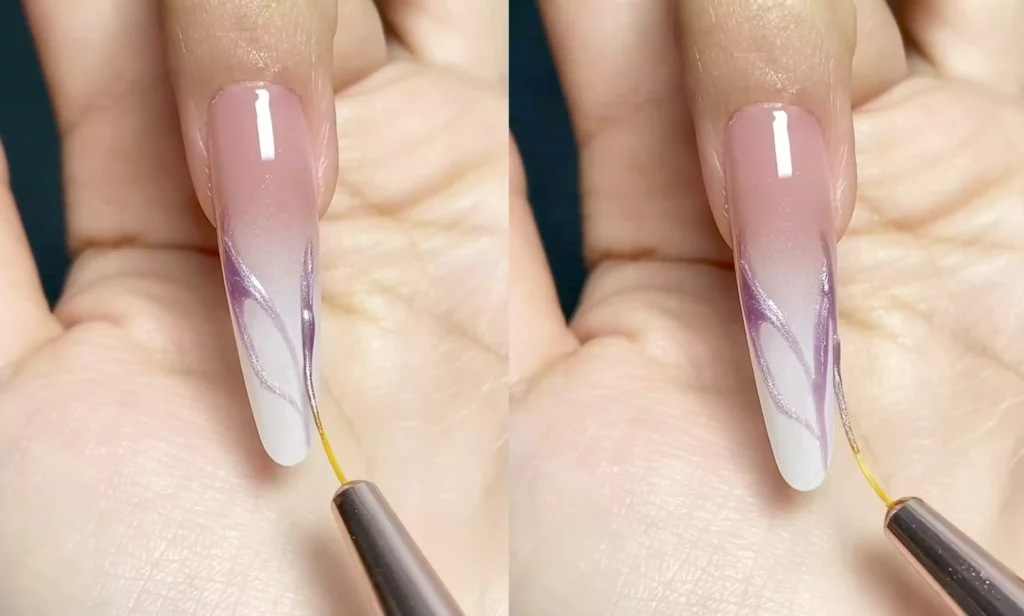
Fill in the contour area with cat’s eye glue, then use a magnet to create a glossy effect, making the base color resemble the sparkling surface of the sea and laying a dreamy foundation for the subsequent styling.
Recommended next step
Build the Nail Art Look Kit
Tutorial looks need more than a color bottle. Choose the color, art detail, transfer or sticker step, and a top coat as one look kit.
- Choose the main color or set.
- Add the art detail: sticker, transfer gel, magnet, or brush.
- Seal the finished look with top coat.
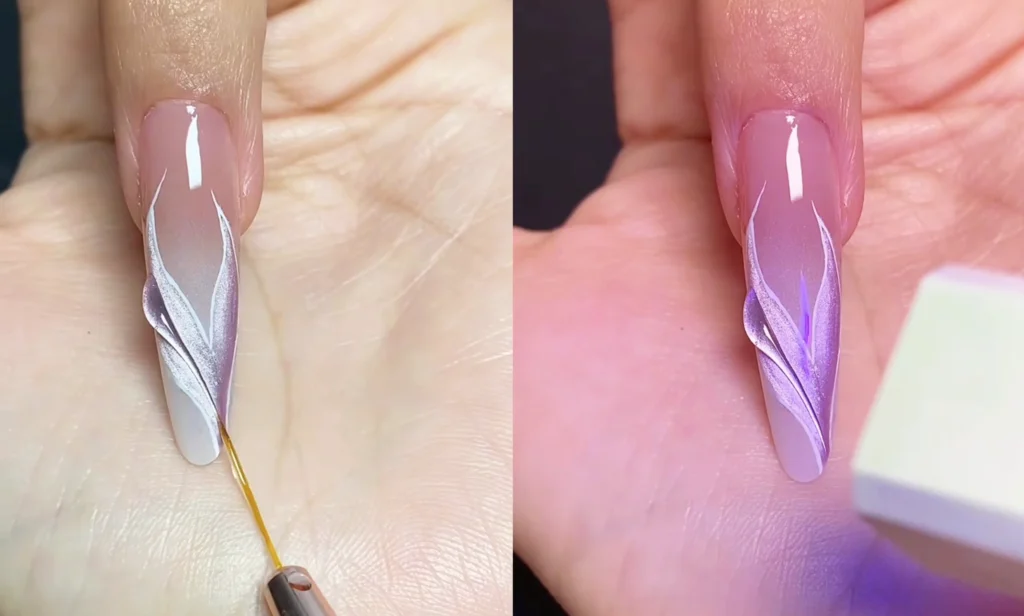
Step 2: Fine outlining with white paint glue
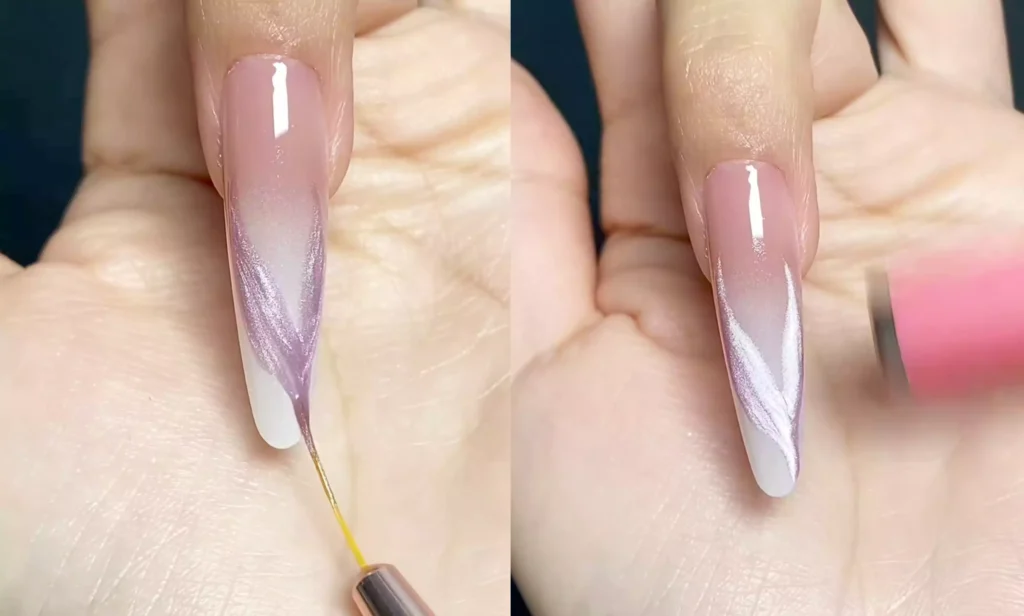
After the base color has dried, switch to white paint glue for outlining.
This step tests your attention to detail: slowly trace along the mermaid’s tail line, especially the tip of the tail. The smoothness of the lines directly determines the overall refinement of the design. Imagine embellishing the fish tail with silver trim. Each stroke must be steady, ensuring that the lines are clear and naturally follow the curve of the fish tail.
Step 3: Create three-dimensional layers with no-rinse sealer
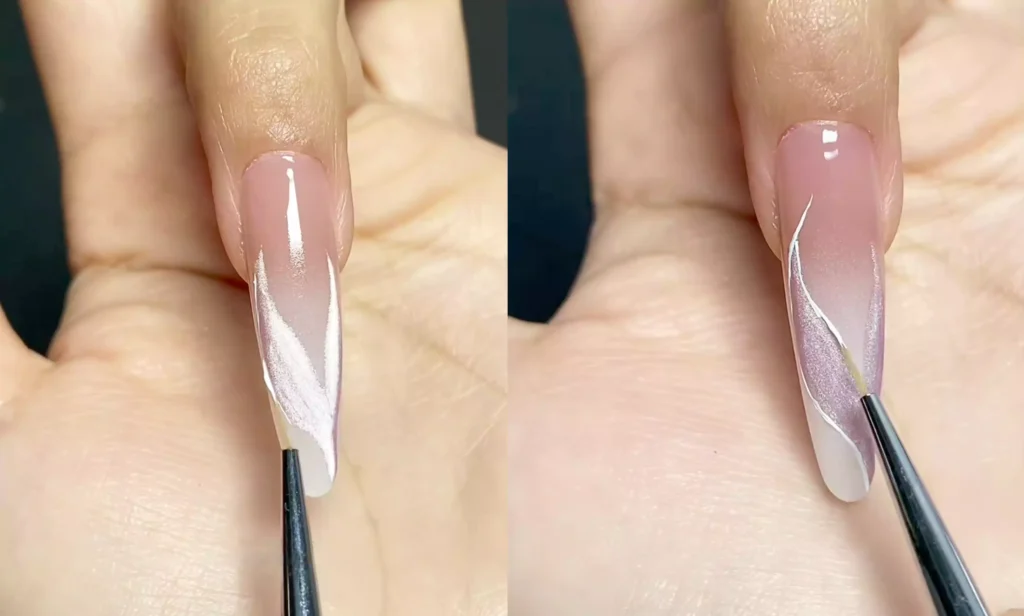
Choose a no-rinse sealer with high viscosity to add three-dimensionality. Dip the tip of the brush into the glue, then invert it to allow the glue to flow naturally to the tip.
Next, “press the glue bead with the tip of the pen and drag it downward.” After dragging each line, use a lamp to set the shape (to prevent the glue from deforming).
If you don’t control the amount of gel beads properly during the process (like in the failed example), don’t panic.
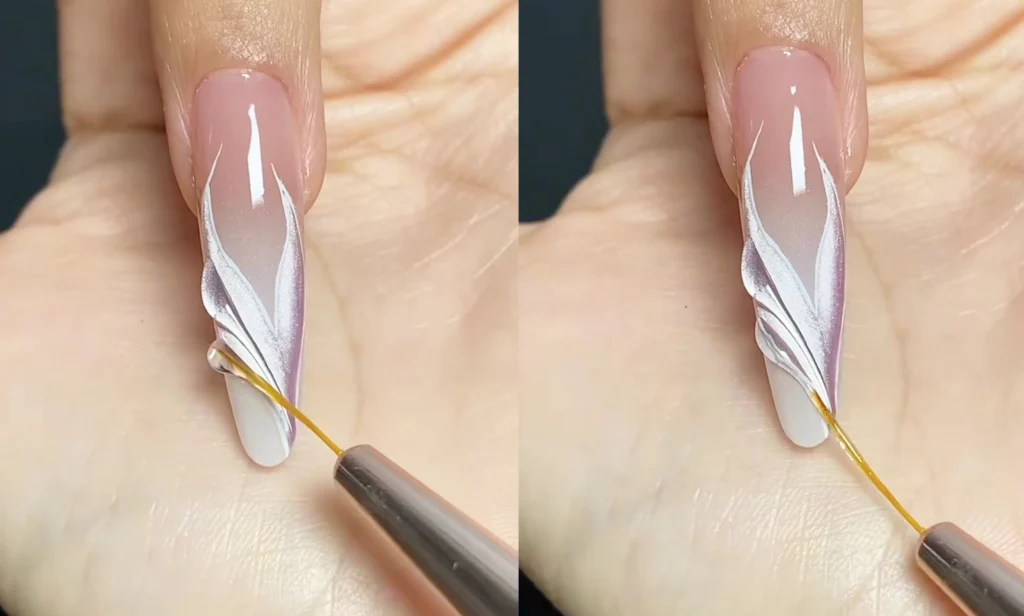
After making adjustments, continue. The slight imperfections created by hand actually make the nail art more vivid.
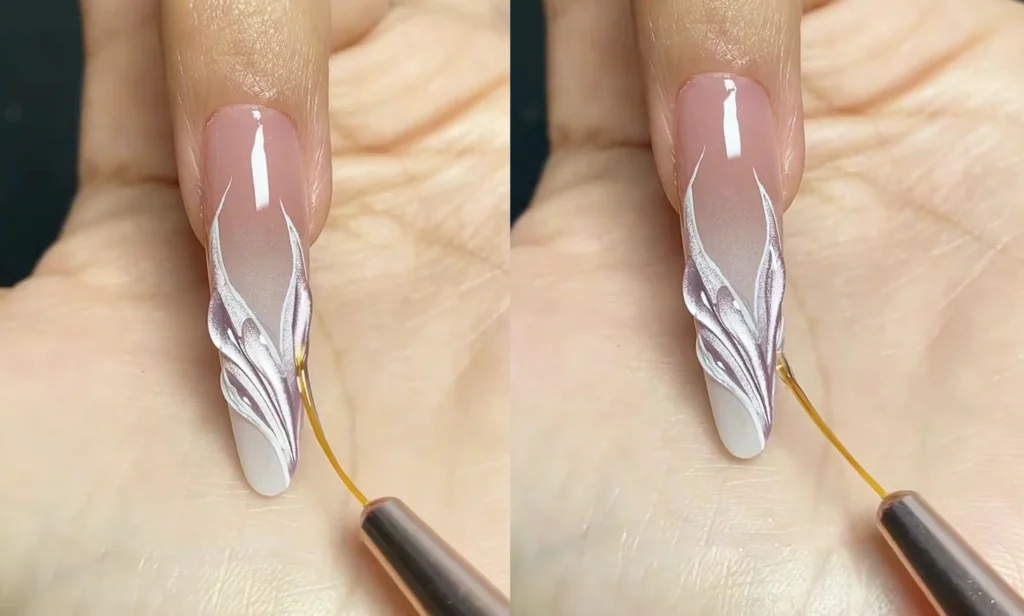
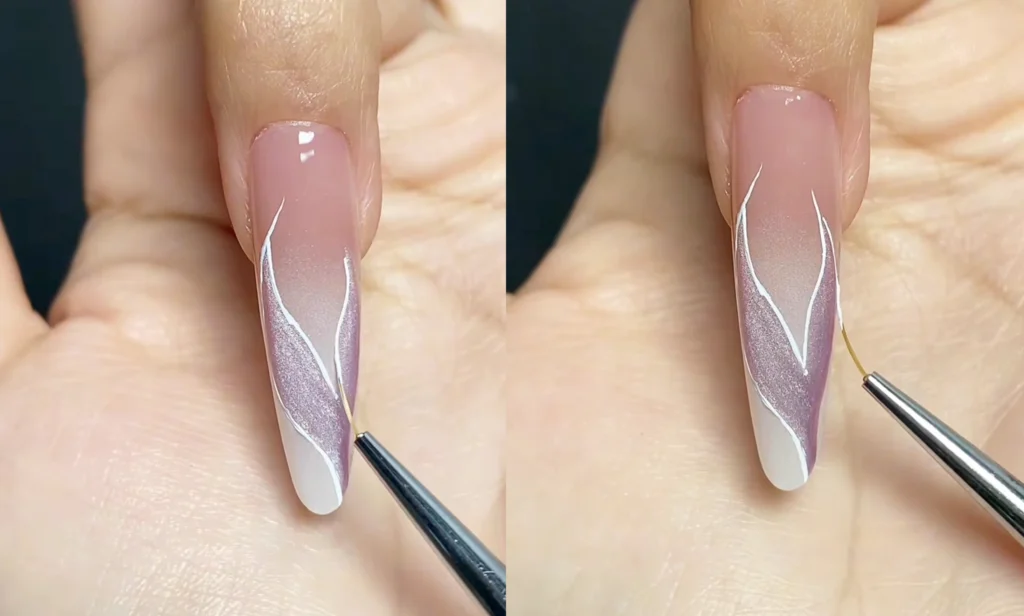
Step 4: Add decorative touches to complete the look
Once all the three-dimensional lines are dry, add small rhinestones or pearls—choose delicate, petite accessories and gently attach them near the tail of the fish, like twinkling stars in the ocean. Finally, apply a top coat to reinforce the design, increase the durability of the manicure, and preserve the unique translucent luster of the mermaid.
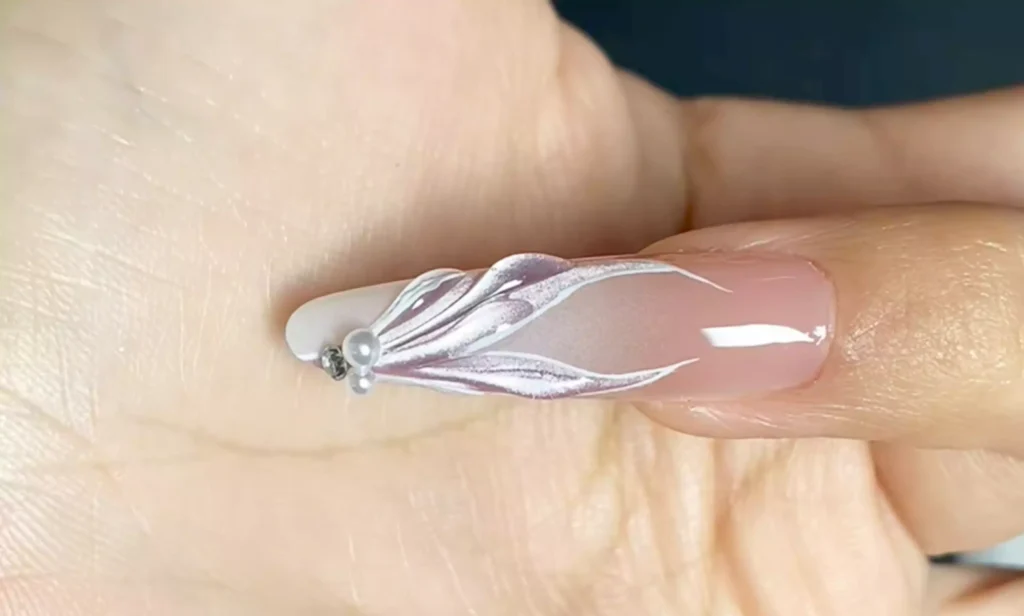
From the gradient base color to the three-dimensional fishtail design, and the sparkling decorations, this nail art captures the romance of the ocean right at your fingertips. Follow the steps and give it a try—you too can achieve your own mermaid-inspired style.
In the tutorial, I used CHROMÉCLAIR’s HEMA-free Gel Polish. Their products are known for being safe and hypoallergenic (HEMA-free & TPO-free), environmentally friendly, and free of irritating and harmful ingredients, protecting the health of your nails. They offer a wide range of colors, long-lasting color retention (around 21 days), and keep up with the latest trends, so you can use them with confidence and look great!
If you have any questions during the process, the video tutorial below provides detailed answers. If you find it useful, don’t forget to like and save it, and subscribe! See you next time!