Ce tutoriel vous montre comment créer des "French shrimp line nails", de la coloration de base à la décoration détaillée, étape par étape, pour obtenir un effet raffiné. Je l'ai divisé en quatre étapes pour l'expliquer, et il est facile à apprendre, donc même les débutantes peuvent le faire !
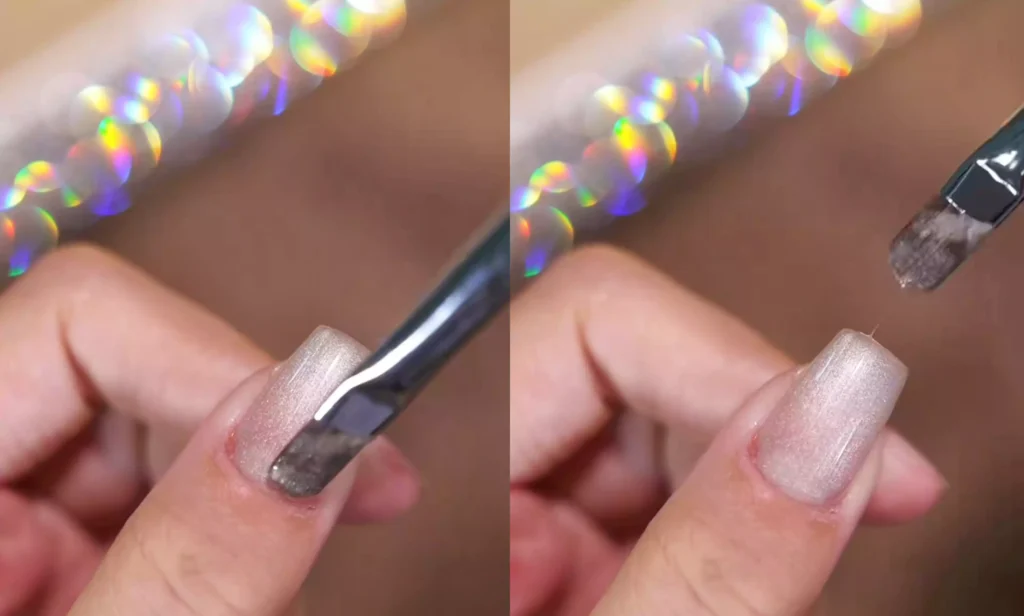
Étape 1 : Couche de base
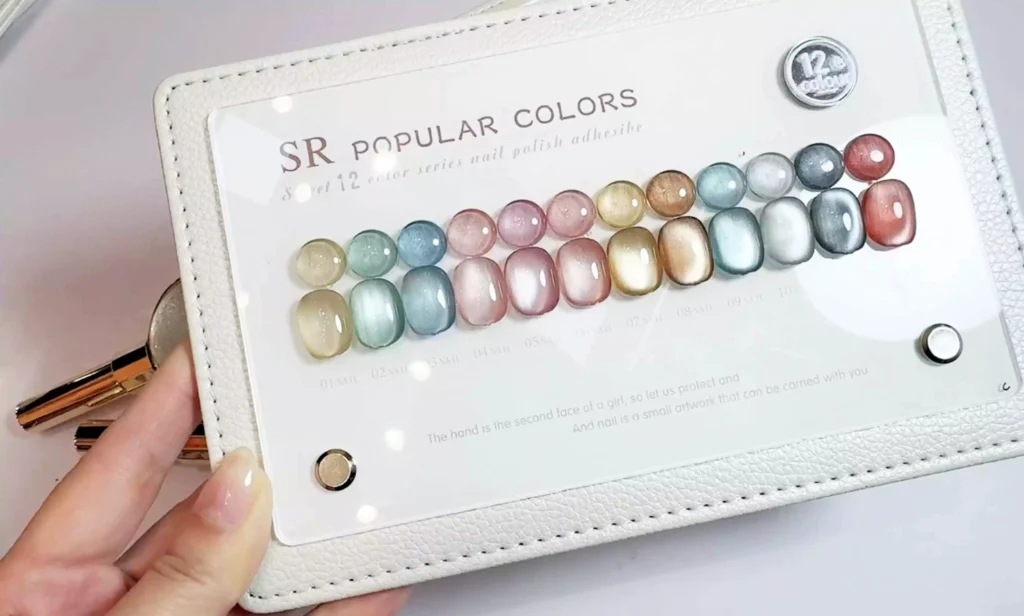
Commencez par appliquer une fine couche de vernis gel œil de chat hautement transparent (j'ai utilisé celui de CHROMÉCLAIR). Gel Polonais sans Hema No. 424, qui a une belle couleur, dure longtemps, coule bien et est facile à appliquer même pour les débutants). Cette couche de base doit être fine et uniforme pour poser les bases des effets ultérieurs.
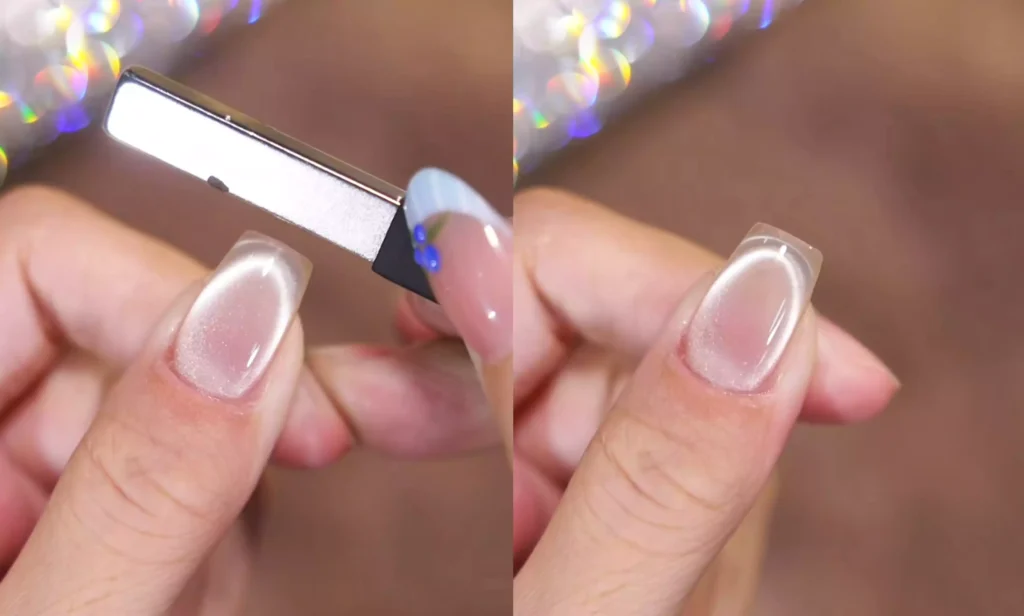
Étape 2 : Créer l’effet œil de chat
Prenez l'outil magnétique, passez-le sur les deux côtés de vos ongles, nettoyez la surface et étirez la lumière. Lors de l'utilisation, approchez l'aimant de l'ongle afin que la poudre magnétique du vernis gel soit magnétisée et crée un effet lumineux.
Prochaine étape recommandée
Use a Compatible UV/LED Curing Setup
CHROMÉCLAIR gel polish and gel nail stickers require a compatible UV/LED nail lamp. Build the curing step into the complete routine instead of treating it as optional.
- Apply the compatible gel product in a controlled layer.
- Cure it under a UV/LED nail lamp according to the product label.
- Check the surface before continuing with the next coat or top coat.
Shop UV/LED nail lampSee handheld UV lampComparer toutes les routines
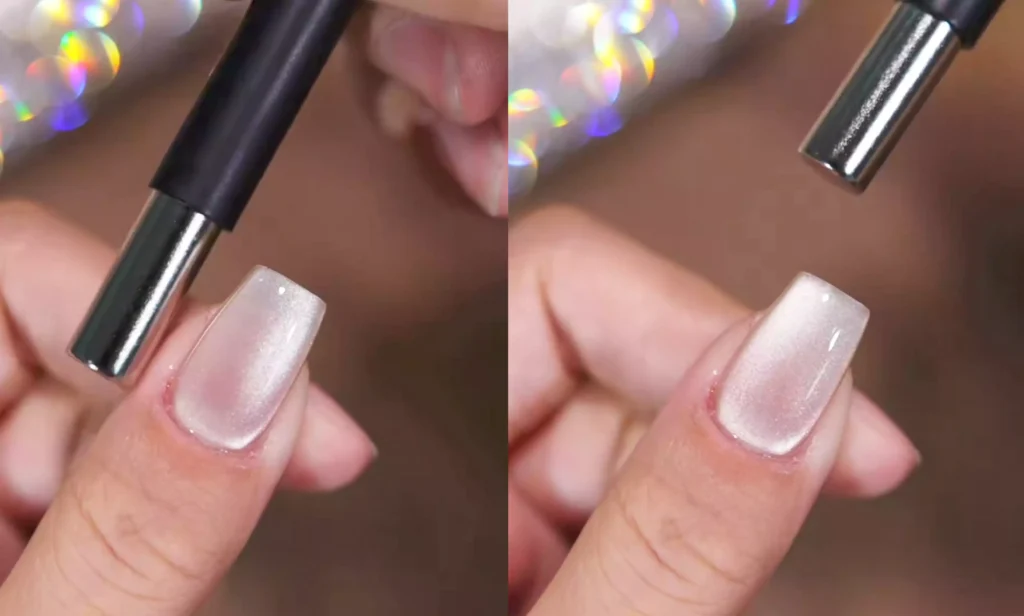
Inclinez ensuite l'aimant à un angle de 45 degrés et observez le clou. Lorsqu'un halo clair apparaît, ajustez la position de l'aimant de haut en bas.
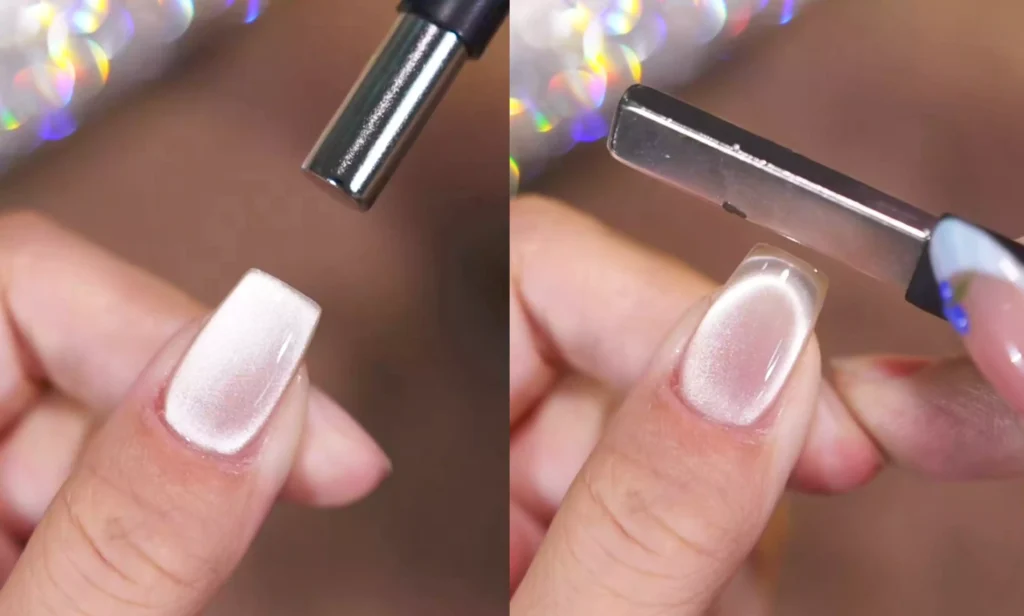
Cela donnera à la surface de l'ongle un effet unique, semblable à plusieurs couches d'anneaux pour double paupière, accentuant ainsi l'effet œil de chat. Après avoir appliqué l'aimant, utilisez immédiatement une lampe UV pour sécher le vernis gel et fixer l'effet œil de chat.
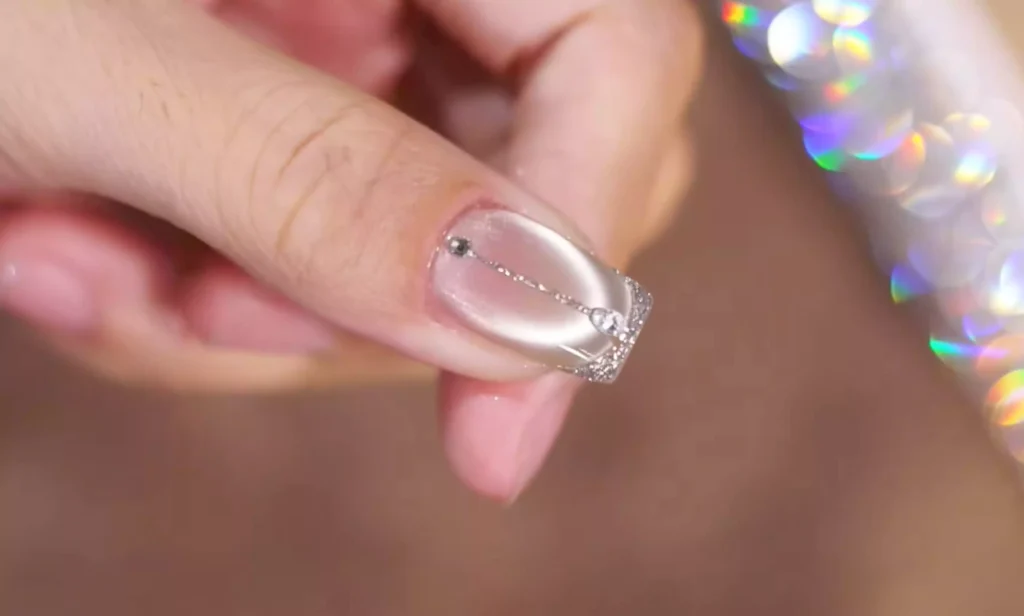
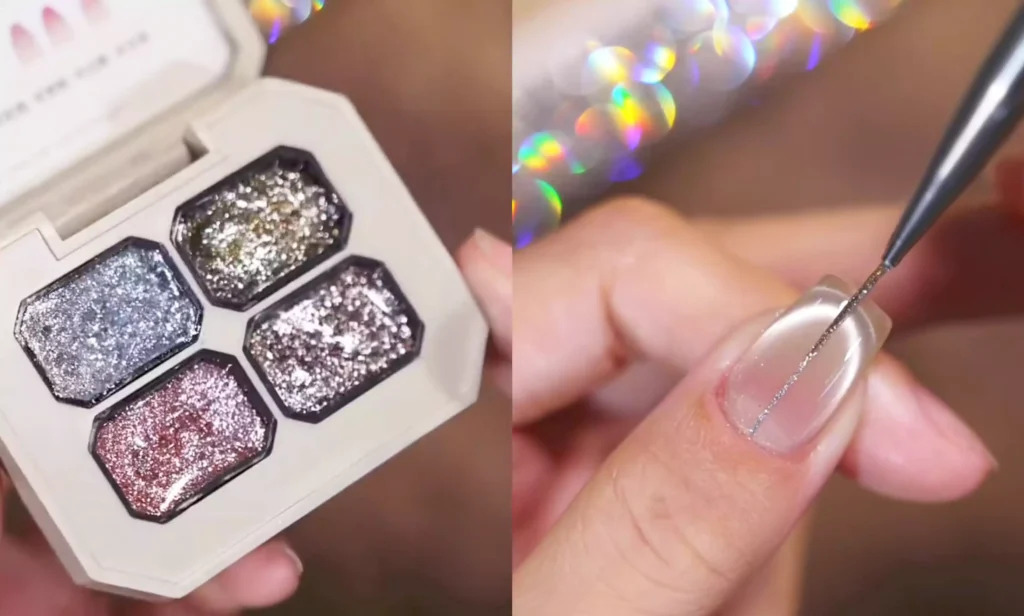
Étape 3 : Ligne crevette et french manucure
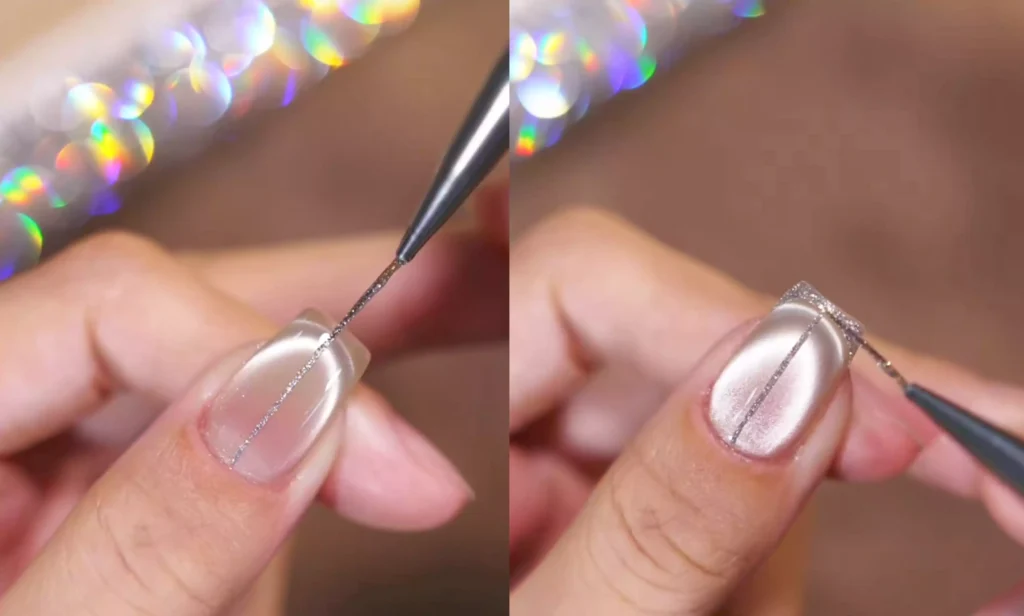
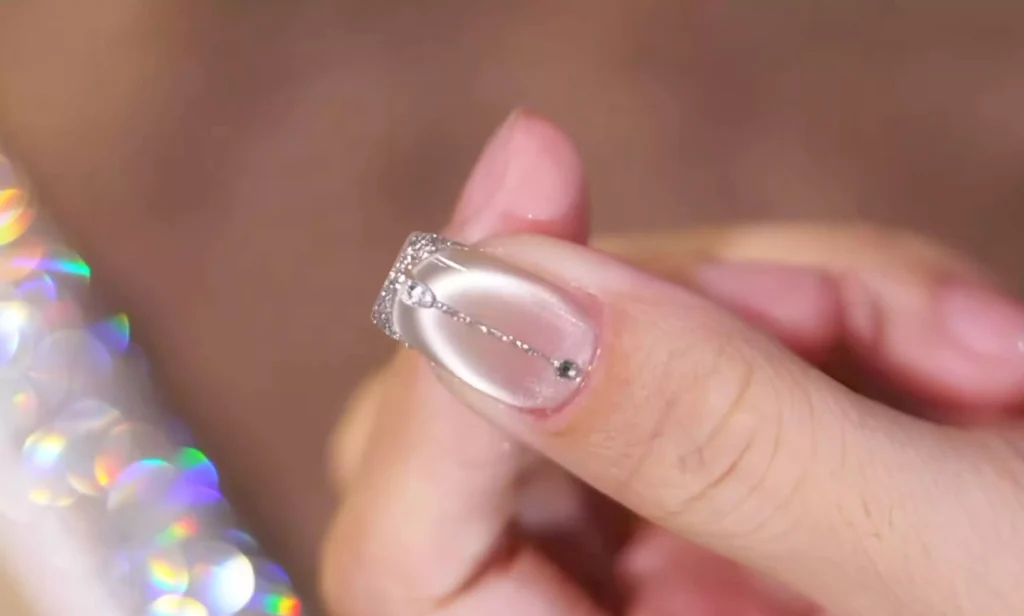
Utilisez un crayon et trempez-le dans de la colle platine argentée. Tracez d'abord un "trait de crevette" brillant au milieu de l'ongle, à la manière d'un eyeliner. Le trait doit être lisse et fin.
Dessinez ensuite des pointes françaises sur le bout des doigts pour donner à la manucure un aspect français plus classique.
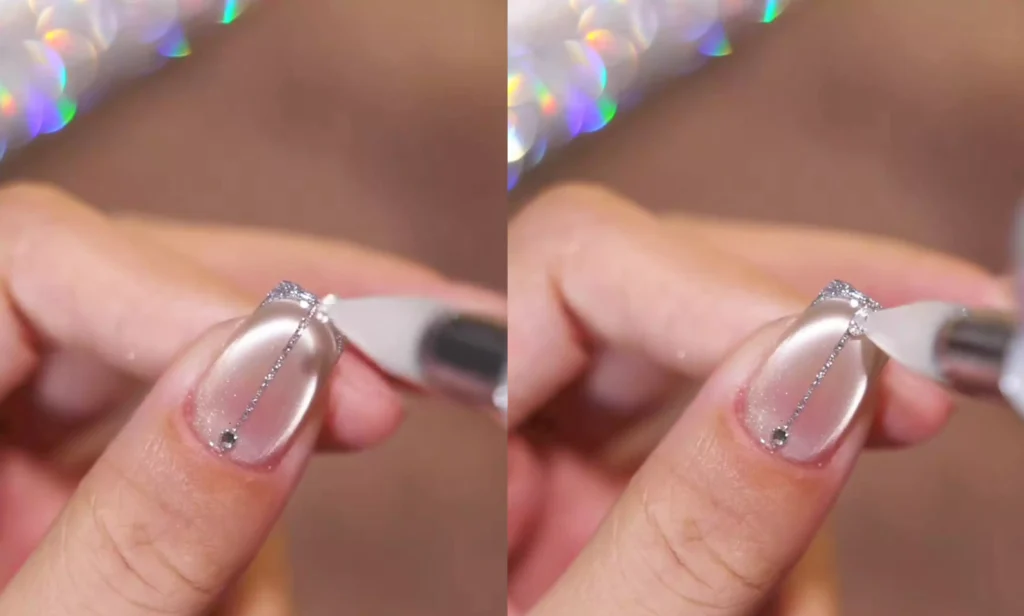
Étape 4 : Décorer et embellir
Enfin, ajoutez de petits diamants sur les ongles. Utilisez de l'adhésif pour fixer les diamants aux endroits appropriés afin d'ajouter une touche d'élégance et de glamour. La manucure French shrimp line est alors terminée.
Conclusion :
En suivant les étapes ci-dessus, vous pouvez créer des ongles French shrimp line à la fois simples et sophistiqués. Chaque étape, de la couleur de base à la décoration, fait l'objet d'une attention particulière, ce qui permet d'obtenir un effet unique et accrocheur sur le bout de vos doigts.
Dans le tutoriel, j'ai utilisé CHROMÉCLAIR. Gel Polish sans HEMA. Leurs produits sont réputés pour être sûrs et hypoallergéniques (sans HEMA ni TPO), respectueux de l'environnement et exempts d'ingrédients irritants et nocifs, préservant ainsi la santé de vos ongles. Ils offrent une vaste gamme de couleurs, une tenue longue durée (environ 21 jours) et suivent les dernières tendances, pour que vous puissiez les utiliser en toute confiance et obtenir un résultat impeccable !
Si vous avez des questions pendant la procédure, le tutoriel vidéo ci-dessous vous apportera des réponses détaillées. Si vous le trouvez utile, n'oubliez pas de le liker, de l'enregistrer et de vous abonner ! À bientôt !