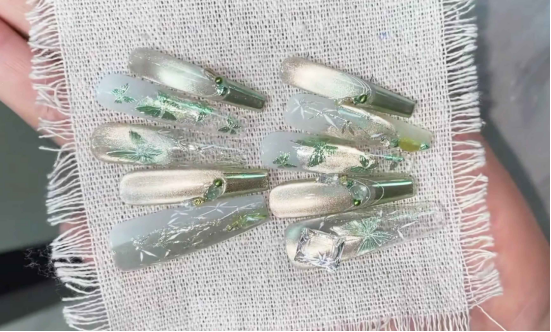
A touch of fresh green brings a minty coolness to summer. Create a manicure to please yourself! Today, let’s explore the essence of the “Green Bamboo Manicure Tutorial” and learn how to create a vibrant and refreshing summer manicure.
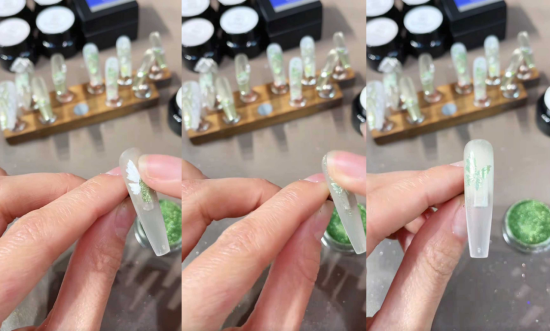
Étape 1 : Choisissez une couleur de base, en l'occurrence le vert menthe.
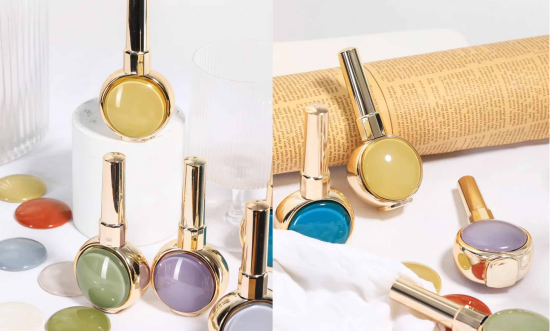
Pour obtenir une ambiance estivale rafraîchissante, le choix de la couleur de base est crucial. Je recommande d'opter pour un vert clair aux reflets subtilement nacrés pour créer un effet translucide et naturel. (Dans ce tutoriel, j'ai utilisé CHROMÉCLAIR Gel Polish sans hémoglobine No. 809; it’s clear, easy to blend, and non-toxic!)
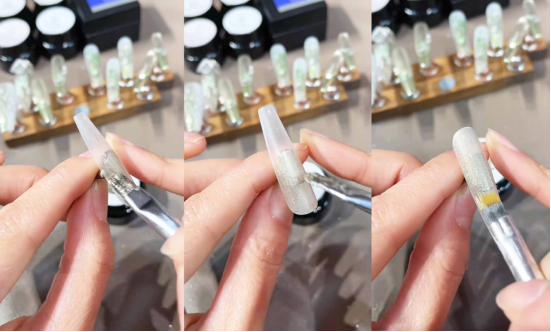
Apply the paint to half of your nail. Don’t rush; once you’ve evenly applied the paint, use a sweeping brush to gently create a gradient effect. Next, use the cat’s eye magnet: first draw it sideways to create a “broad light” effect, then push it in the center to create a “glass bead” texture. The result is a light, clear green, resembling newly emerged bamboo shoots, setting the stage for the subsequent “green bamboo” element and making the green more vibrant.
Étape 2 : Couche de finition mate pour une texture mate
Une fois que la couche de base cat-eye est complètement sèche, appliquez une couche de finition mate non collante. Cette couche de finition ne crée pas seulement un fini mat luxueux, mais fournit également une surface antidérapante pour la peinture ultérieure, permettant une meilleure adhérence de la colle à peinture et de la poudre magique pour miroirs.
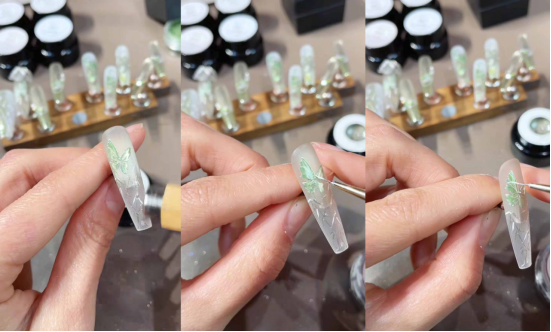
Étape 3 : Dessinez un papillon et appliquez la poudre Magic Mirror pour un effet dynamique.
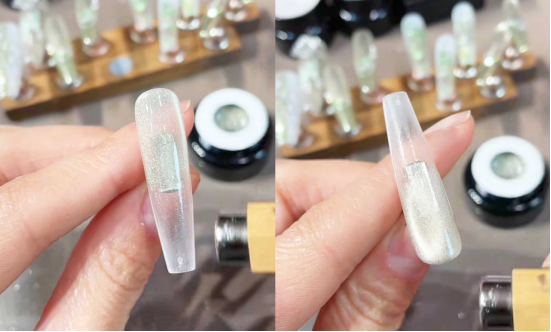
Use “No-Wash White Paint Glue” to draw a butterfly: Dip the tip of your brush into the glue and lightly outline the butterfly on the nail. Draw the wings lightly, imagining the butterfly perched on a bamboo leaf.
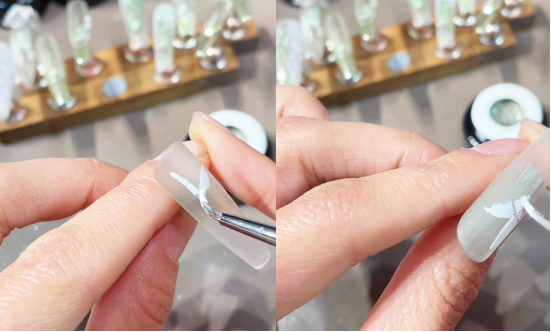
After painting the butterfly, take the “green magic mirror powder” to rub the butterfly with powder: use your fingertips or cotton swab to gently press and wipe, so that the magic mirror powder sticks firmly to the painting glue, and the butterfly will instantly turn into a gradient green.
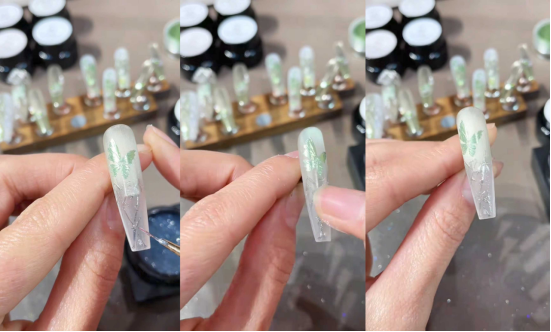
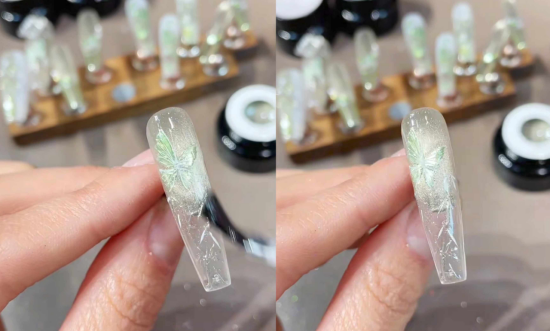
Étape 4 : Peindre le bambou pour capturer la beauté poétique de la forêt de bambous
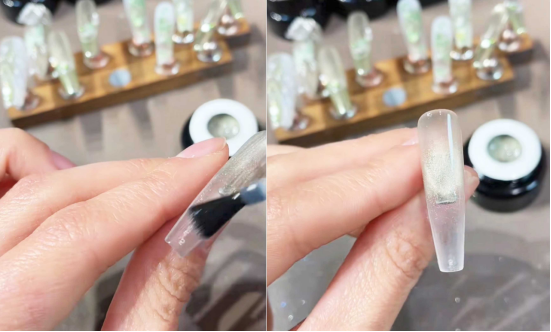
Use modeling glue to paint the bamboo. This glue is non-flowing, making it ideal for creating three-dimensional or intricate designs. Dip the tip of your brush into the glue and slowly outline the bamboo branches on your nails, then add the details of the leaves. Because the glue doesn’t flow, you can paint the entire bamboo shape in one go without worrying about lines collapsing. After painting the bamboo, apply “Light Champagne Magic Mirror Powder” to give the branches and leaves a soft sheen.
Étape 5 : Ajouter des détails et renforcer l'étanchéité
Utilisez de la colle à peinture blanche pour ajouter au hasard quelques petites feuilles afin de simuler les branches éparses d'une forêt de bambous.
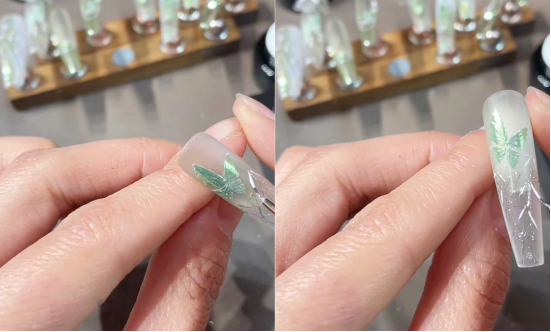
Then take “No. 809 Cat’s Eye Glue” and paint it on the butterfly. The magnetic strip absorbs the light to make the butterfly’s color richer and more layered. Finally, use “white drawing glue” to outline the butterfly. The butterfly instantly has a “skeletal feel” and is extremely agile!
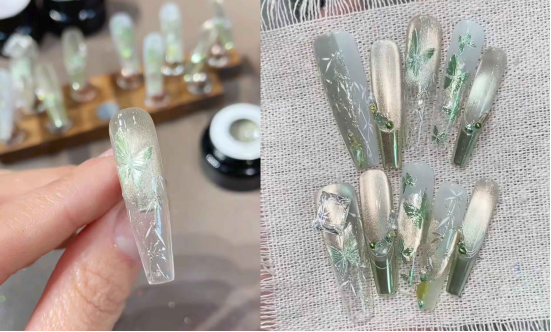
Une fois que tous les motifs sont secs, appliquez une couche de mastic de renforcement et, enfin, faites briller la lumière pour achever le tout.
Suivez ce tutoriel pour créer une manucure bambou rafraîchissante. Associée à des vêtements clairs ou à une robe à fleurs, elle peut instantanément rehausser l'ensemble du look et vous permettre de vous démarquer en cette période de canicule. Essayez-la !
Dans ce tutoriel, j'ai utilisé le vernis en gel CHROMÉCLAIR. Leurs produits sont axés sur la sécurité, la faible irritation, la protection de l'environnement et ne contiennent pas d'ingrédients nocifs. Ils réduisent le risque d'allergies (Gel Polis sans HEMAh), protect healthy nails, and have a variety of colors to cater to mainstream aesthetics, ensuring that every consumer’s user experience is safe and secure.
Si vous rencontrez des problèmes au cours du processus, vous pouvez regarder le tutoriel vidéo ci-dessous. Si vous trouvez ce tutoriel utile, n'hésitez pas à m'aimer et à vous abonner. Rendez-vous dans le prochain tutoriel !